To View Quotes through the customer mobile app, tap the "Menu" icon.
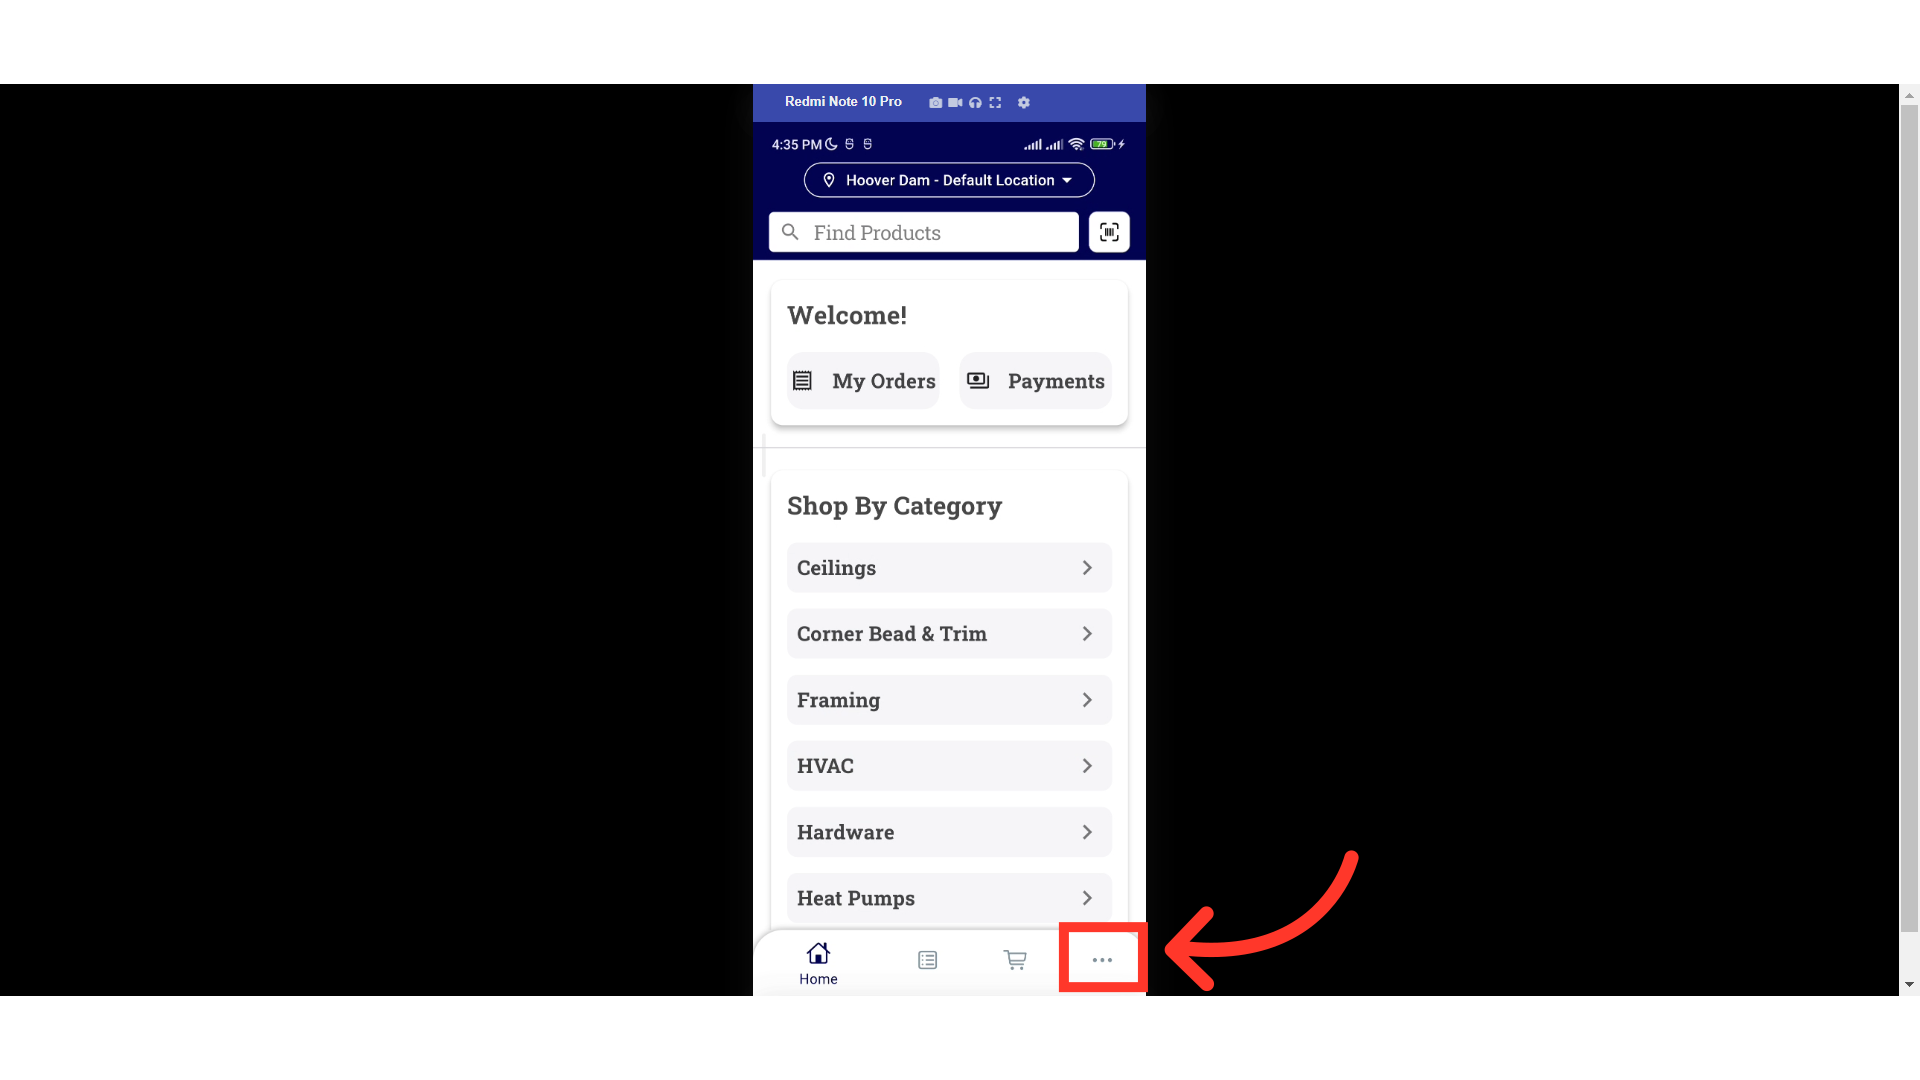
Select the "Quotes" option in the menu.

On the Quotes screen, you will find your company’s quotes in a scrollable list format.
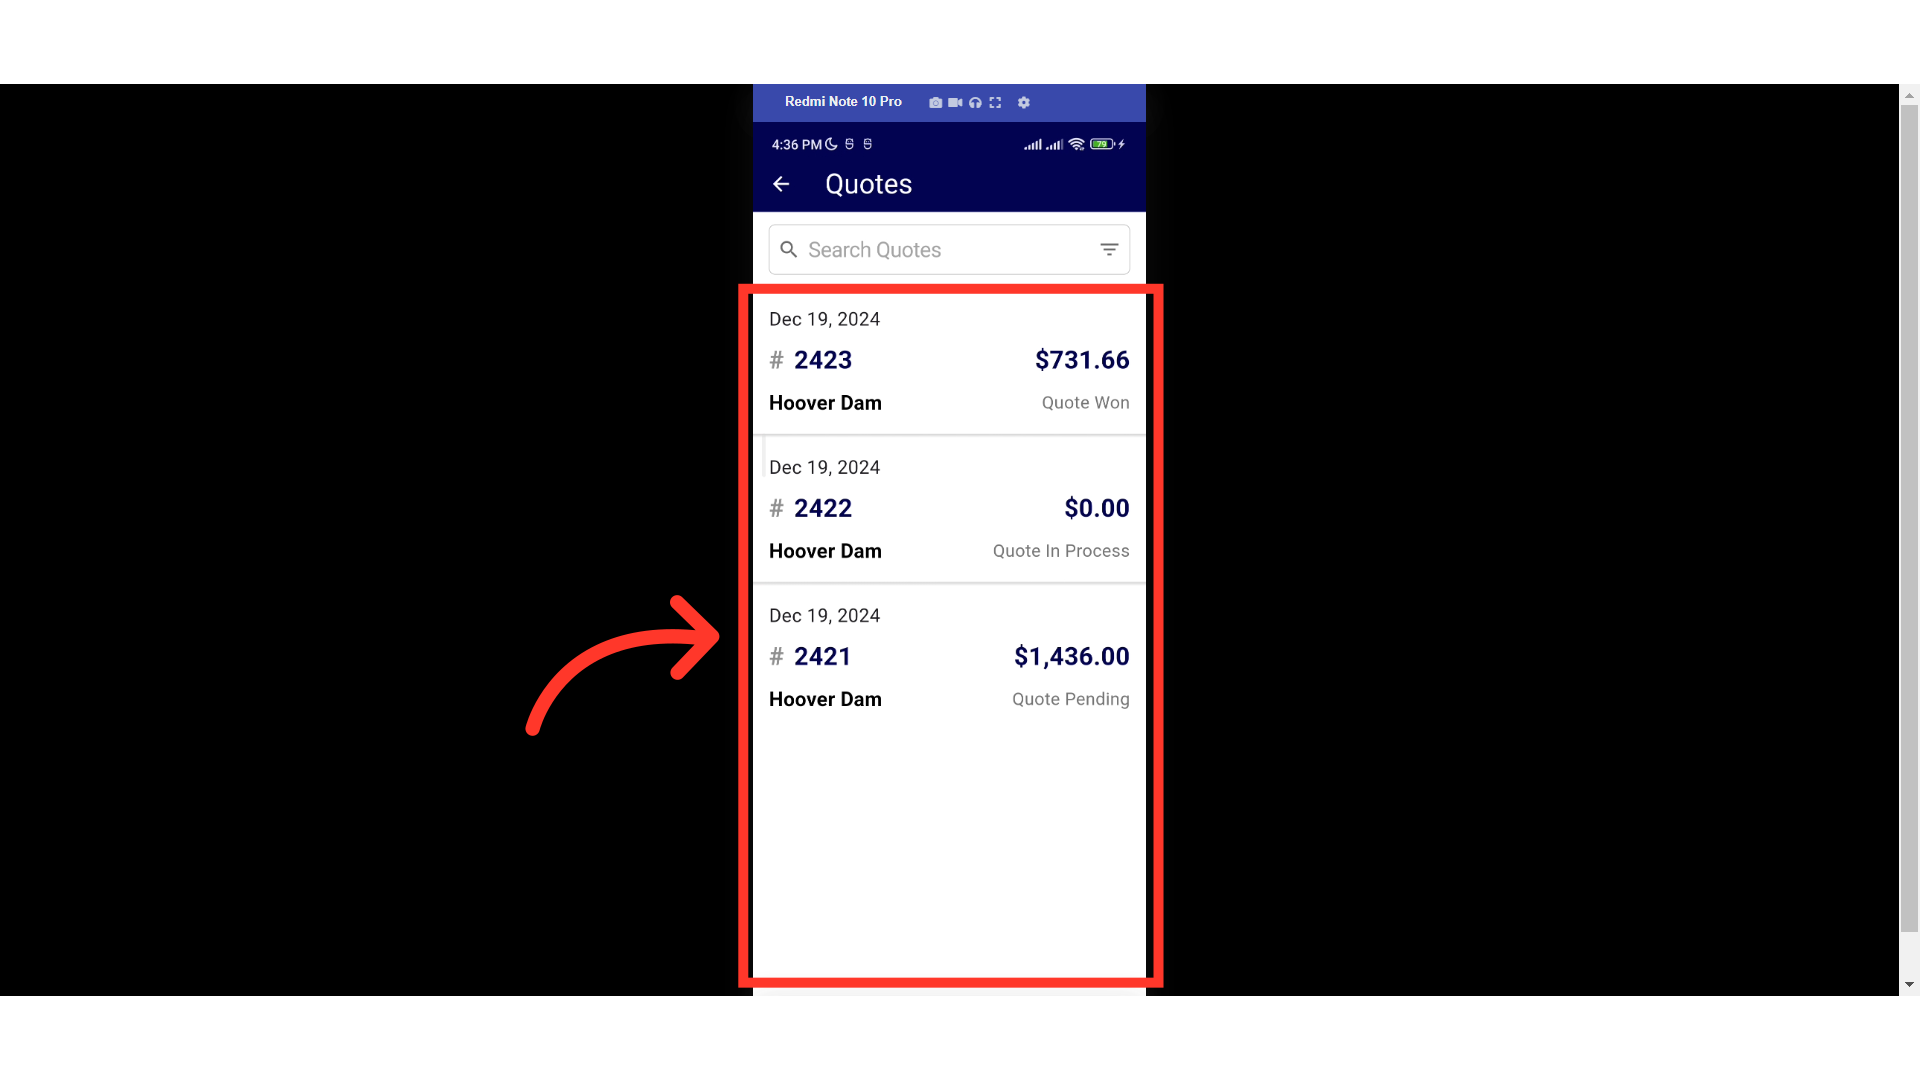
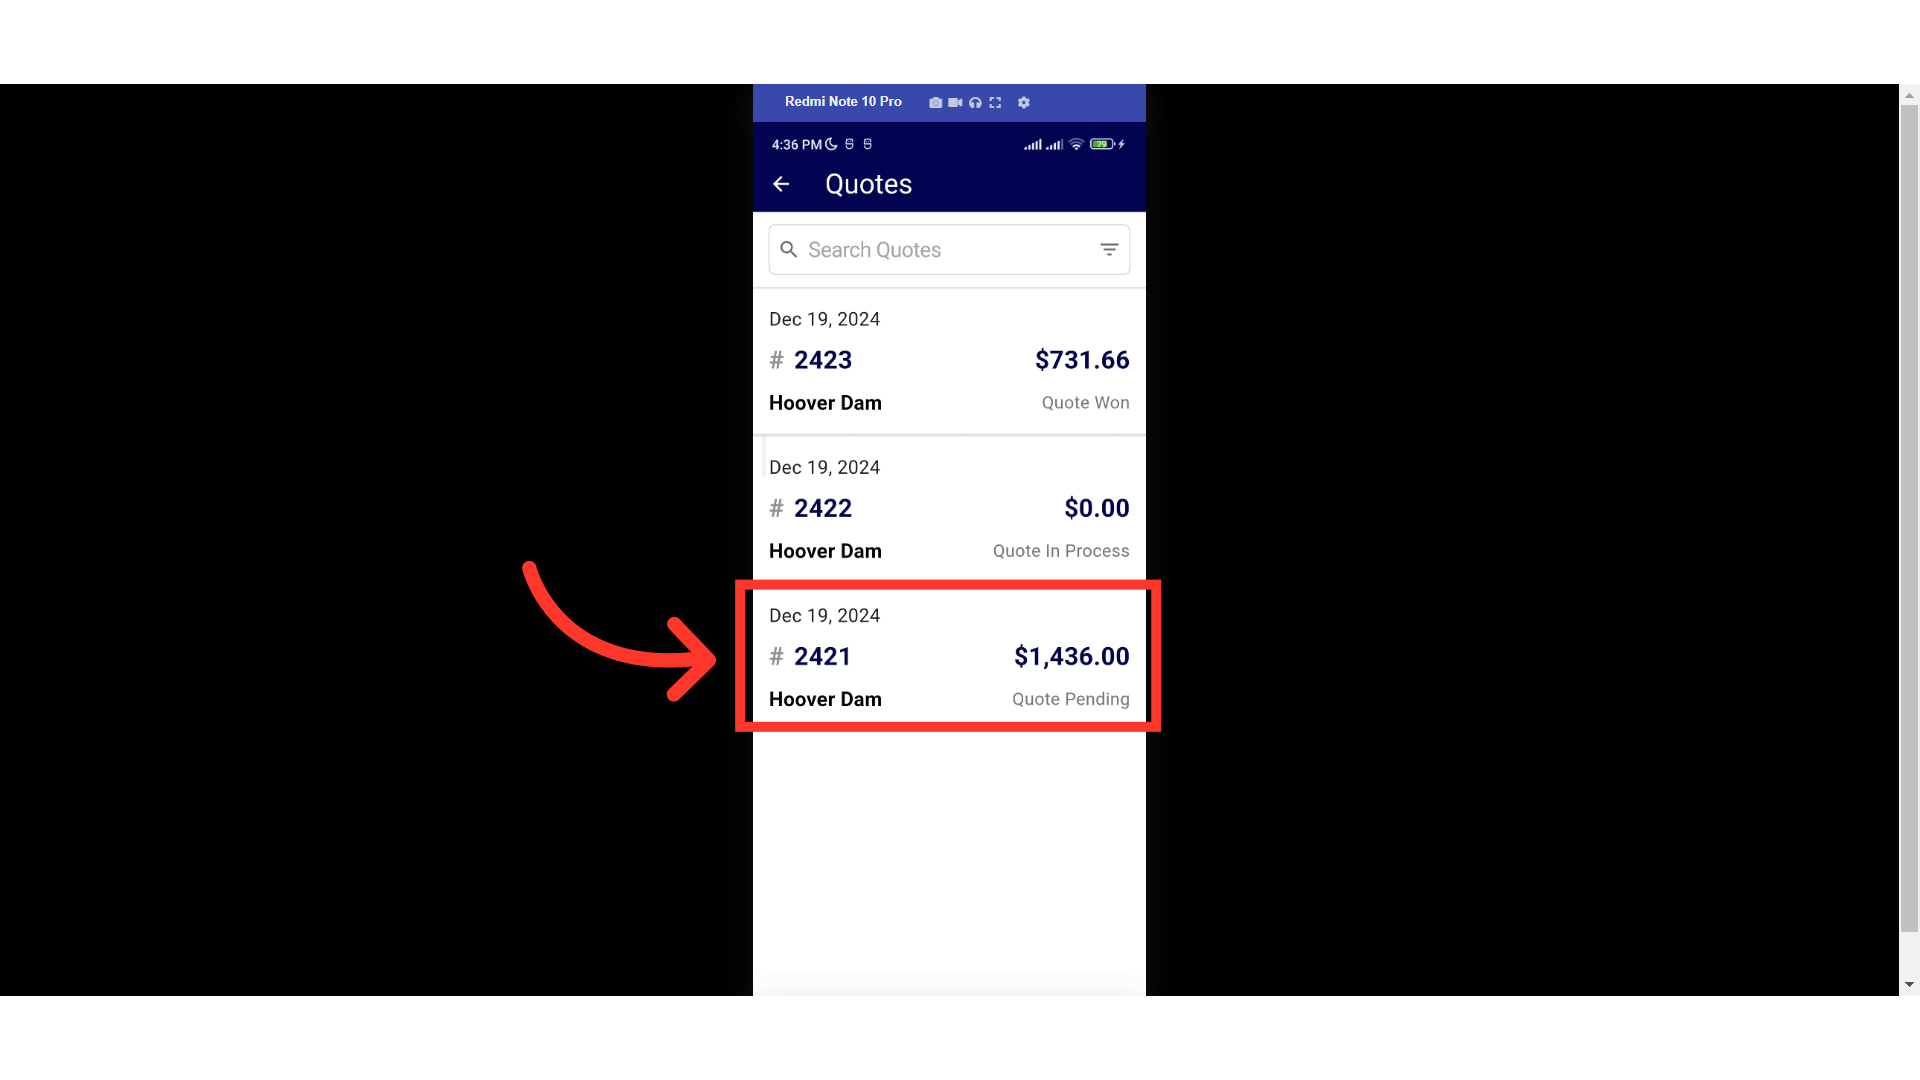
If you spot a quote you need to view from the list, just tap it to open the Quote details page.
You can also easily search the Quotes screen by entering a quote number, date, price, or other keywords from the quote.

On the Quote details, you will find the quote status, number, shipping method, subtotal, shipping charges, and the total amount of the quote. The Shipping Address section contains the customer's shipping address and contact information.

Swipe up a little to view the quote Billing Address and the products included in the quote.

Enhance your searches by using the extensive filter options—simply tap the "Filters" icon.

Select a button if you would like to sort the quote list. In this example, we will sort by "Status".

Then, tap on "Apply".

You will see that your company quotes are now sorted by status.

You can also utilize the "FILTERS" option. Swipe up a little and choose how you want to filter the quotes list.

Enter the needed data to filter. In this example, we will filter by the total amount.

Tap on the "APPLY" button.

The quote with that amount should populate.

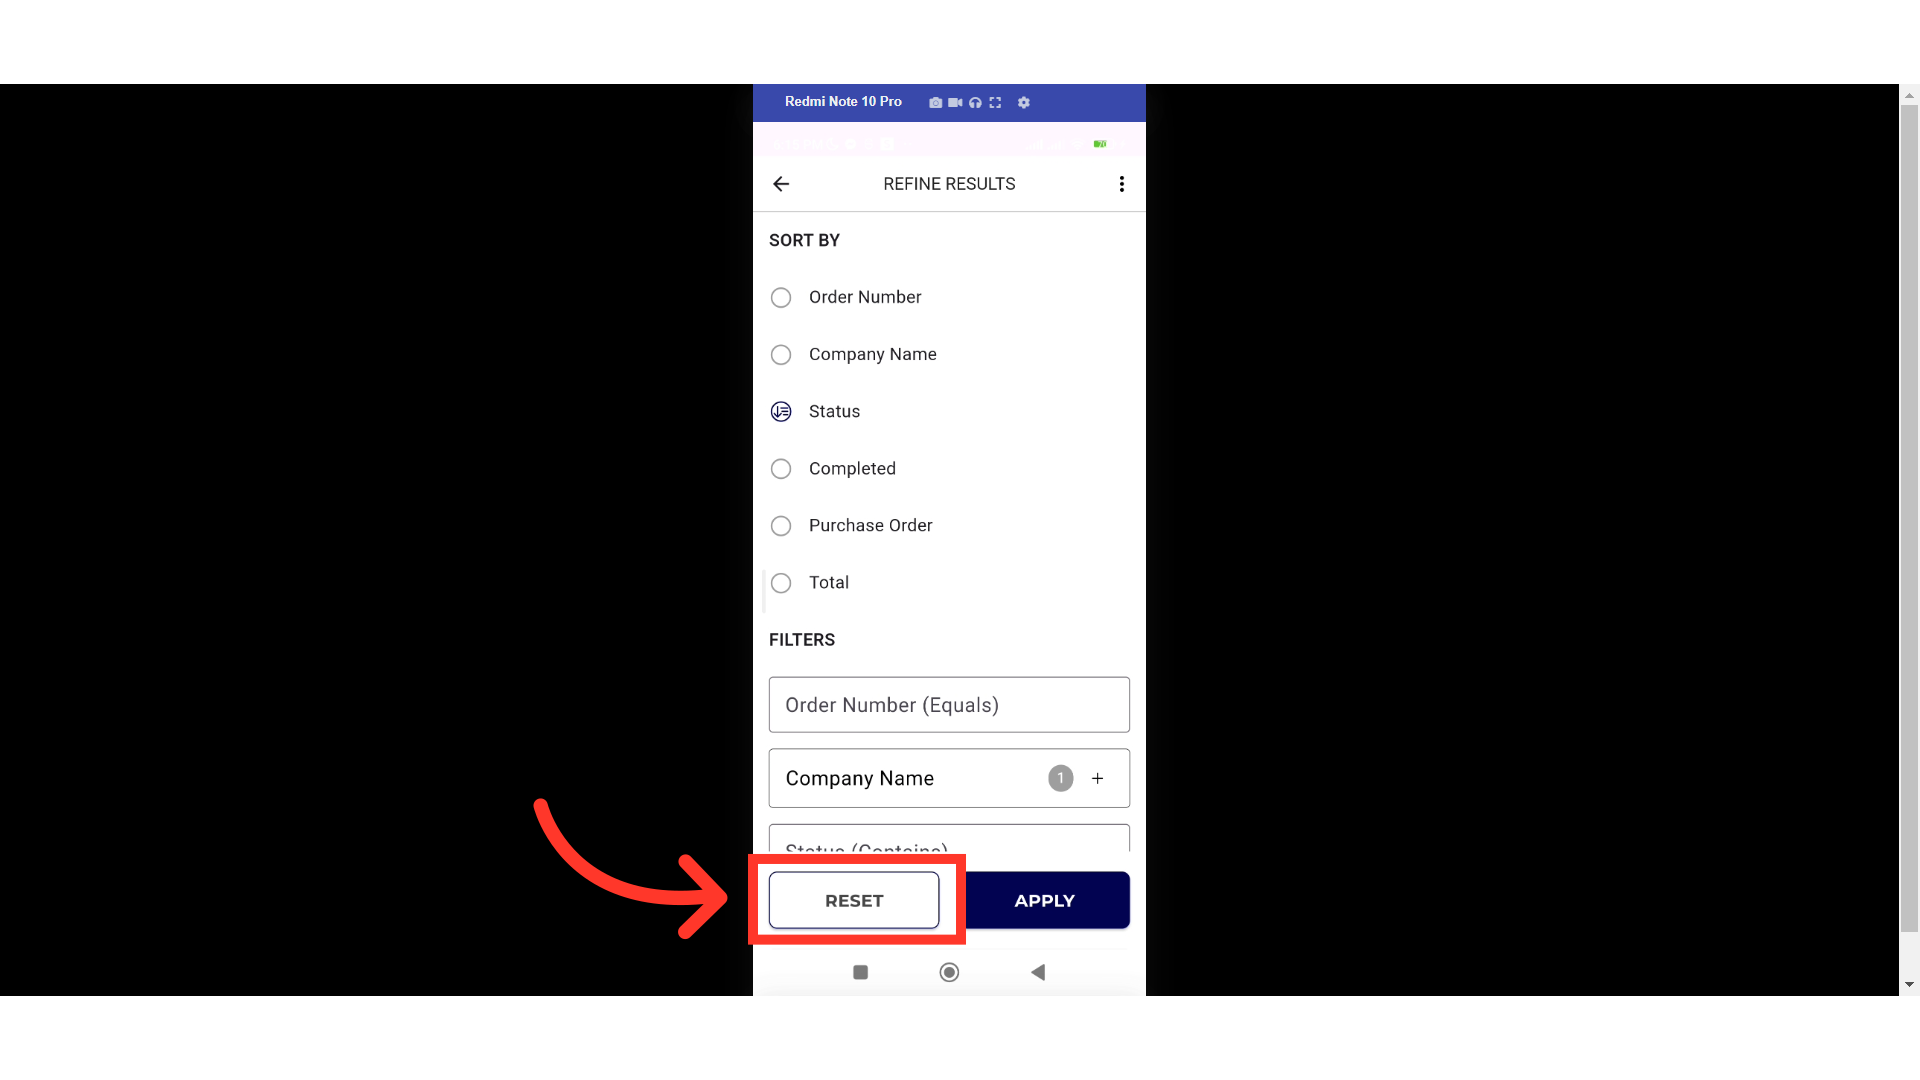
If you want to unapply the sort by and filter function, just tap the "RESET" button.
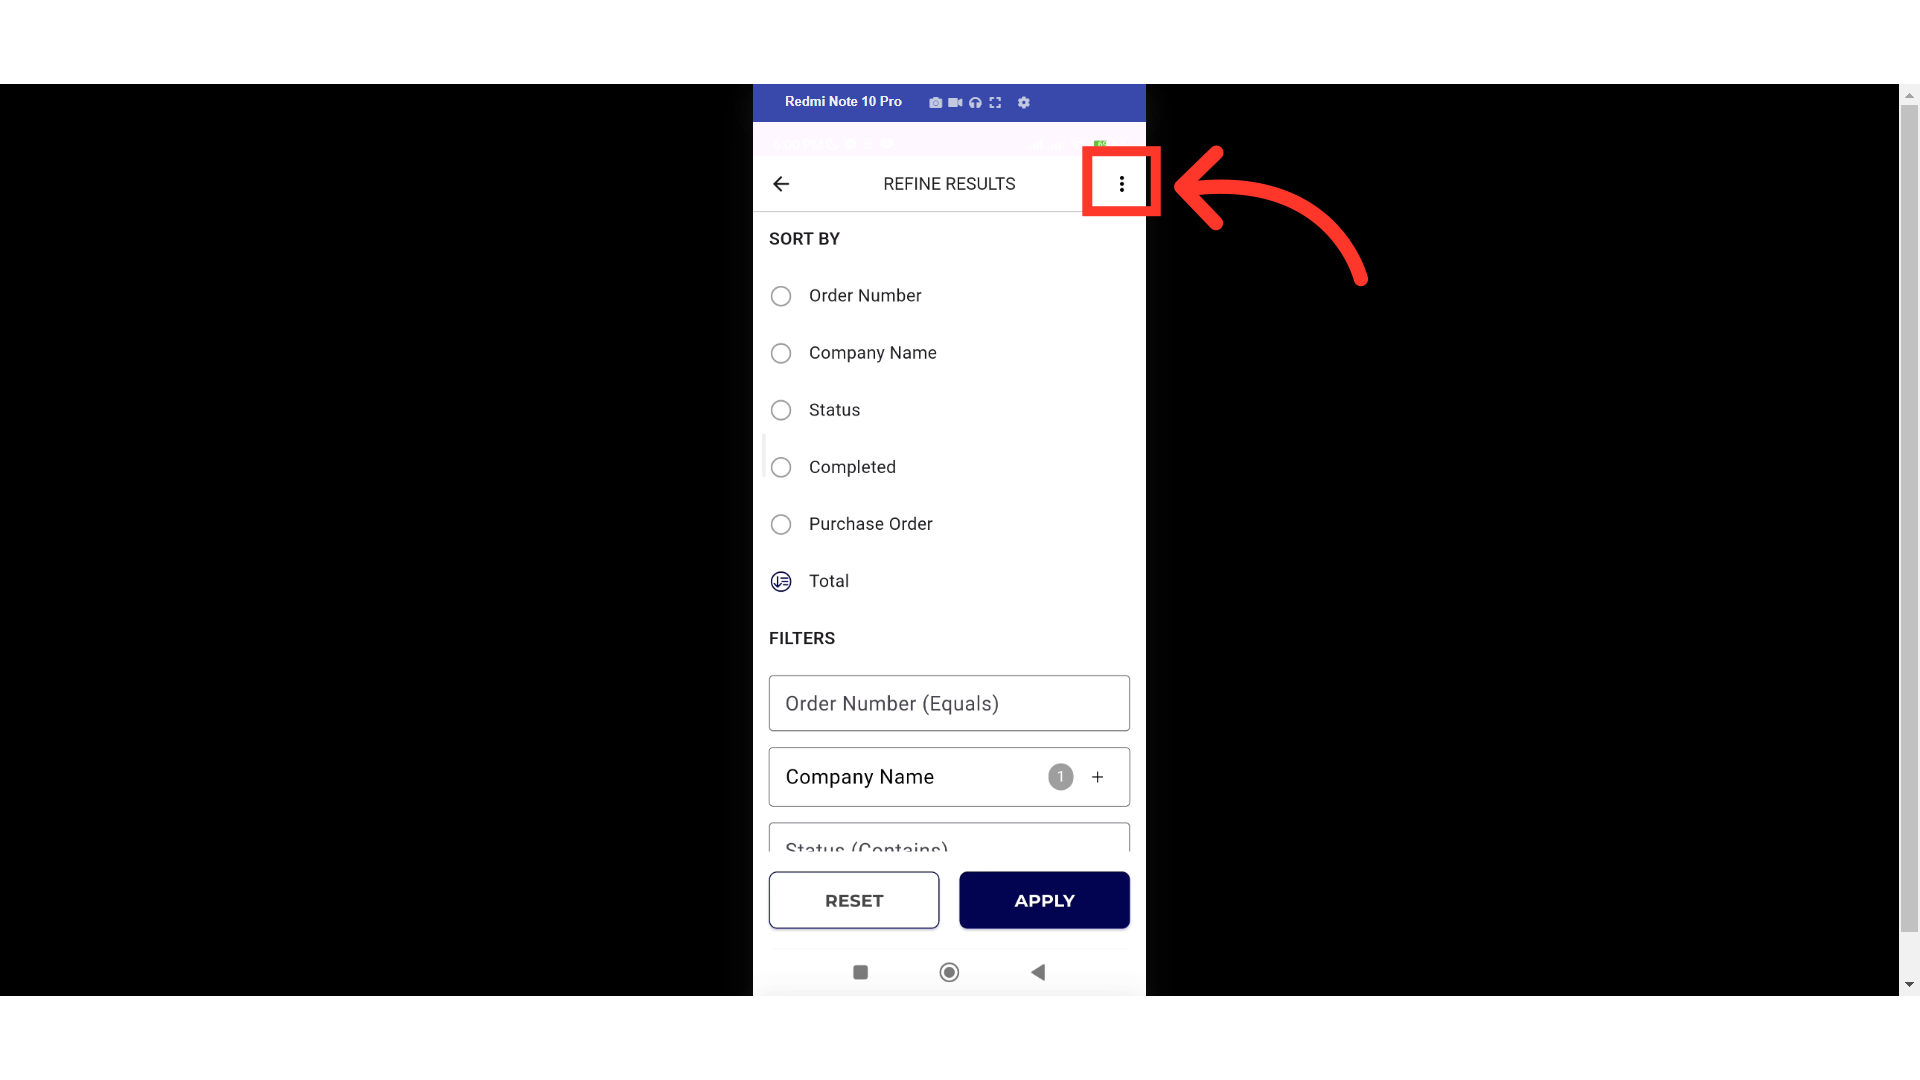
You can also save your views so you don't have to filter every time you log in. To do that, tap the "More Menu" icon.
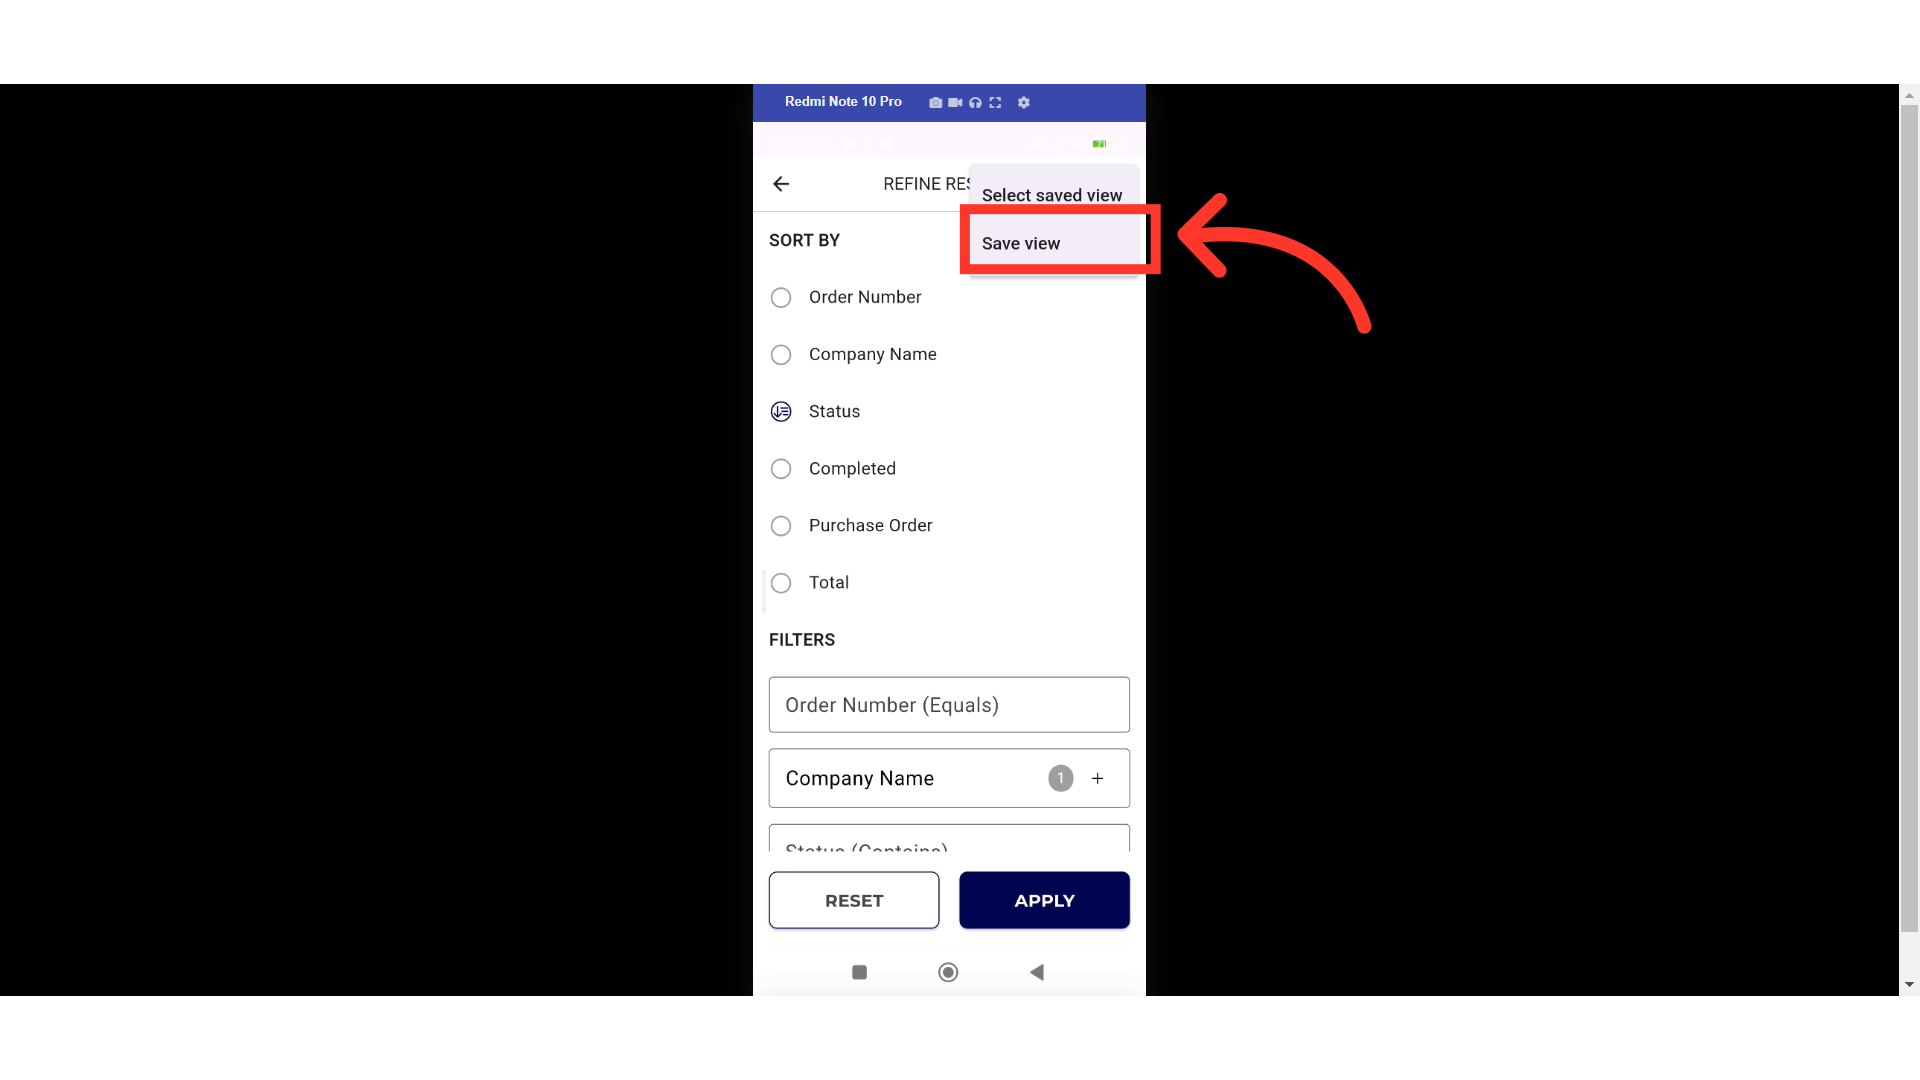
Select "Save View".
Enter title for your saved view.

Tap the "Available for company" button to turn on and becomes available for all users in the company.

Tap "Save" to save the view.

A message will appear confirming that your view was saved successfully.

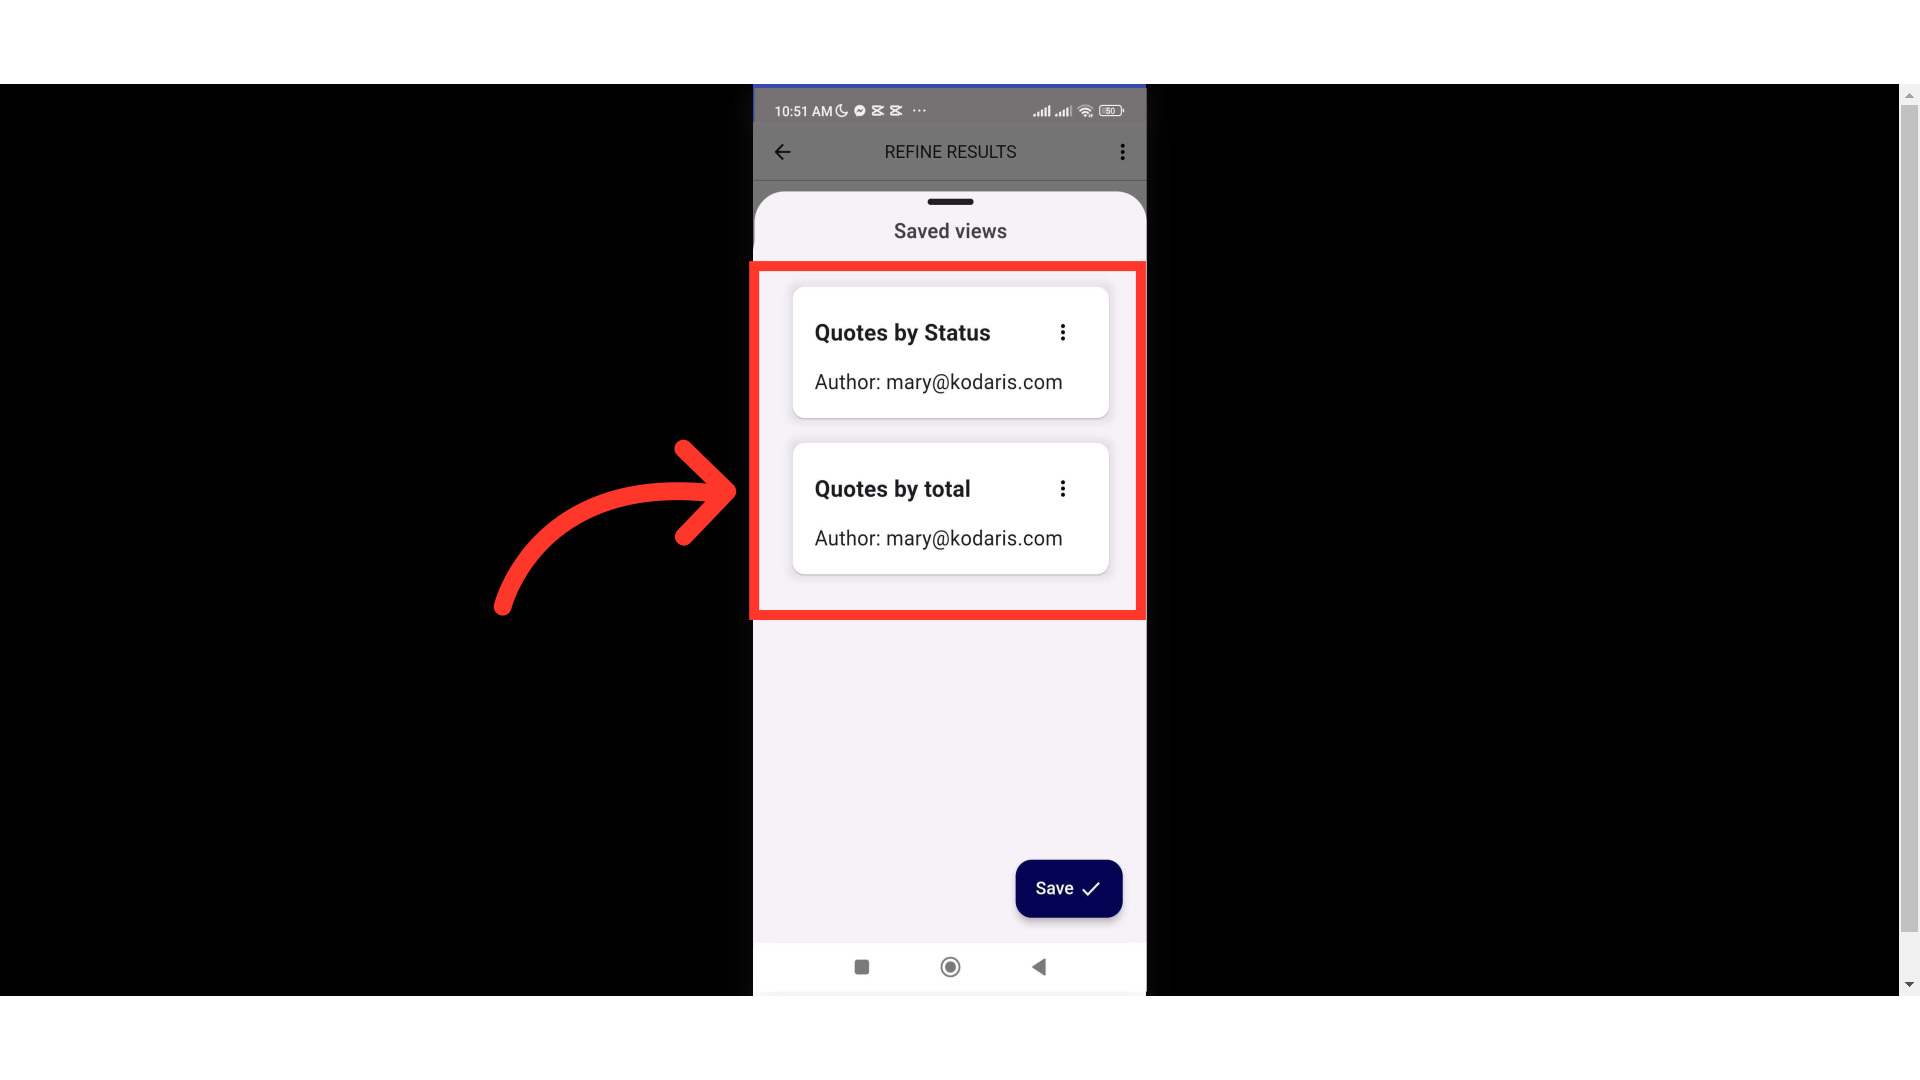
Tap on the "Select saved view" to open saved views.
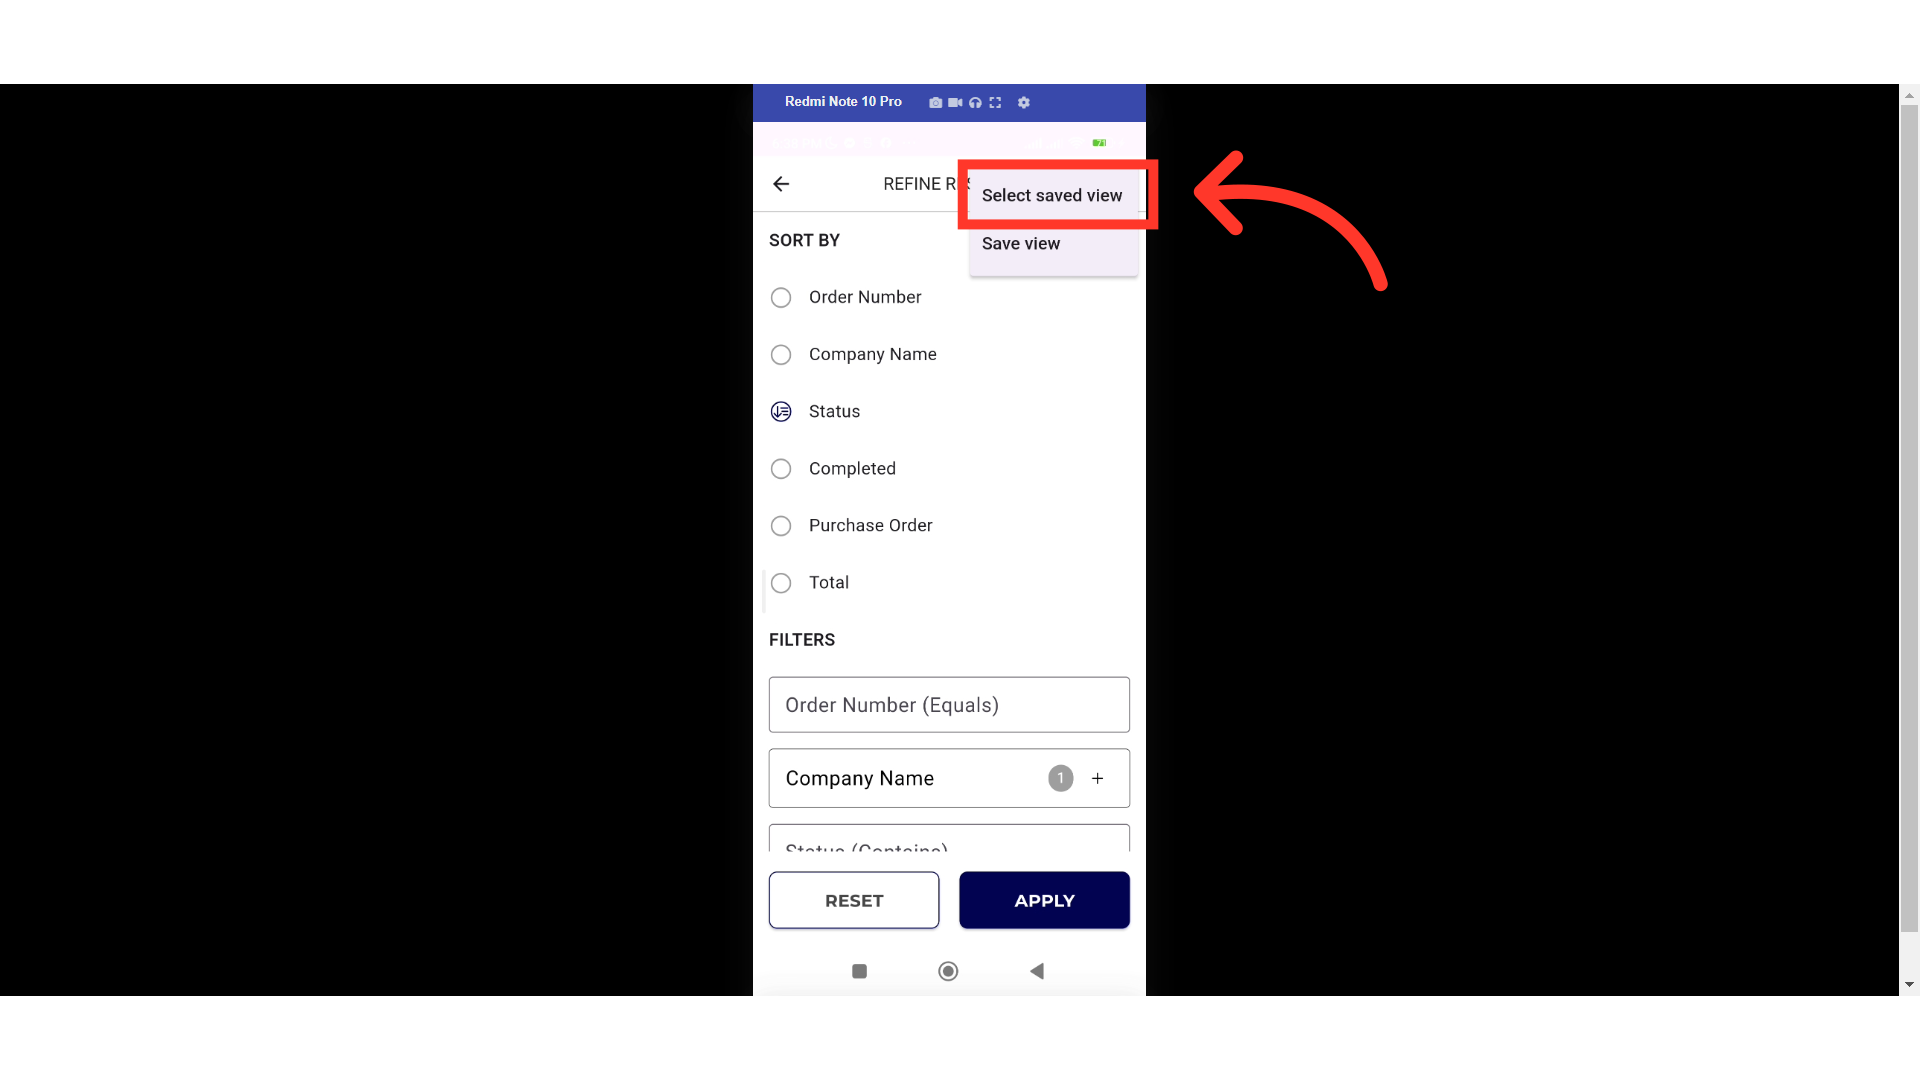
You can easily switch views by selecting one of your saved views.