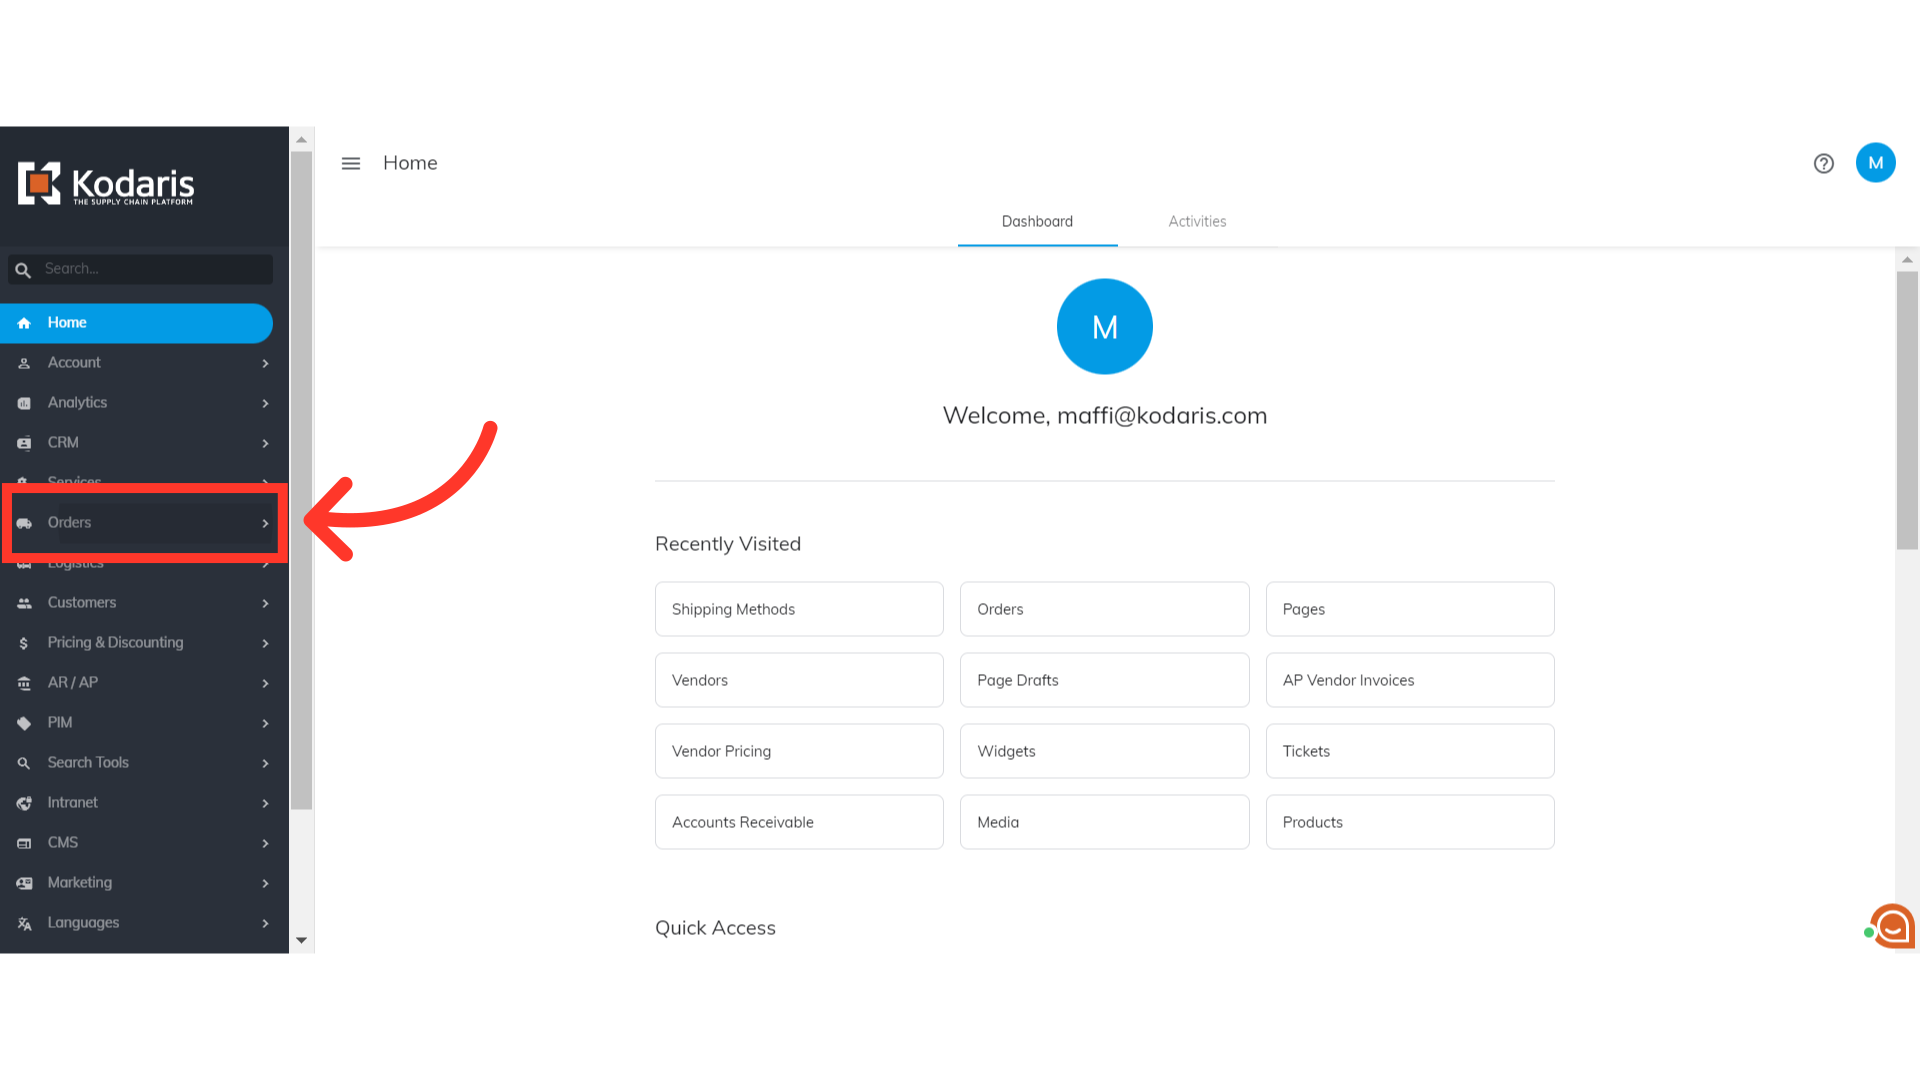
Shipping Methods are interconnected to an ERP. These should correspond to the Ship Vias you have setup in your ERP so that when a user does place an order to the checkout and Kodaris inserts the order into your ERP it will send the ship via on the order that the user selected on the checkout. Start adding shipping methods by navigating to the "Orders" section in the Operations Portal.
Then, click "Shipping Methods". In order to access and update “Shipping Methods”, you will need to be set up as an “administrator” or “superuser” or have the roles of: “shippingMethodView” and “shippingMethodEdit”.

Shipping methods are displayed on the Shipping Methods screen. You will use the "Add a row" fields to add a new one.

Enter your ERP Ship Via Code in the "Code" field.
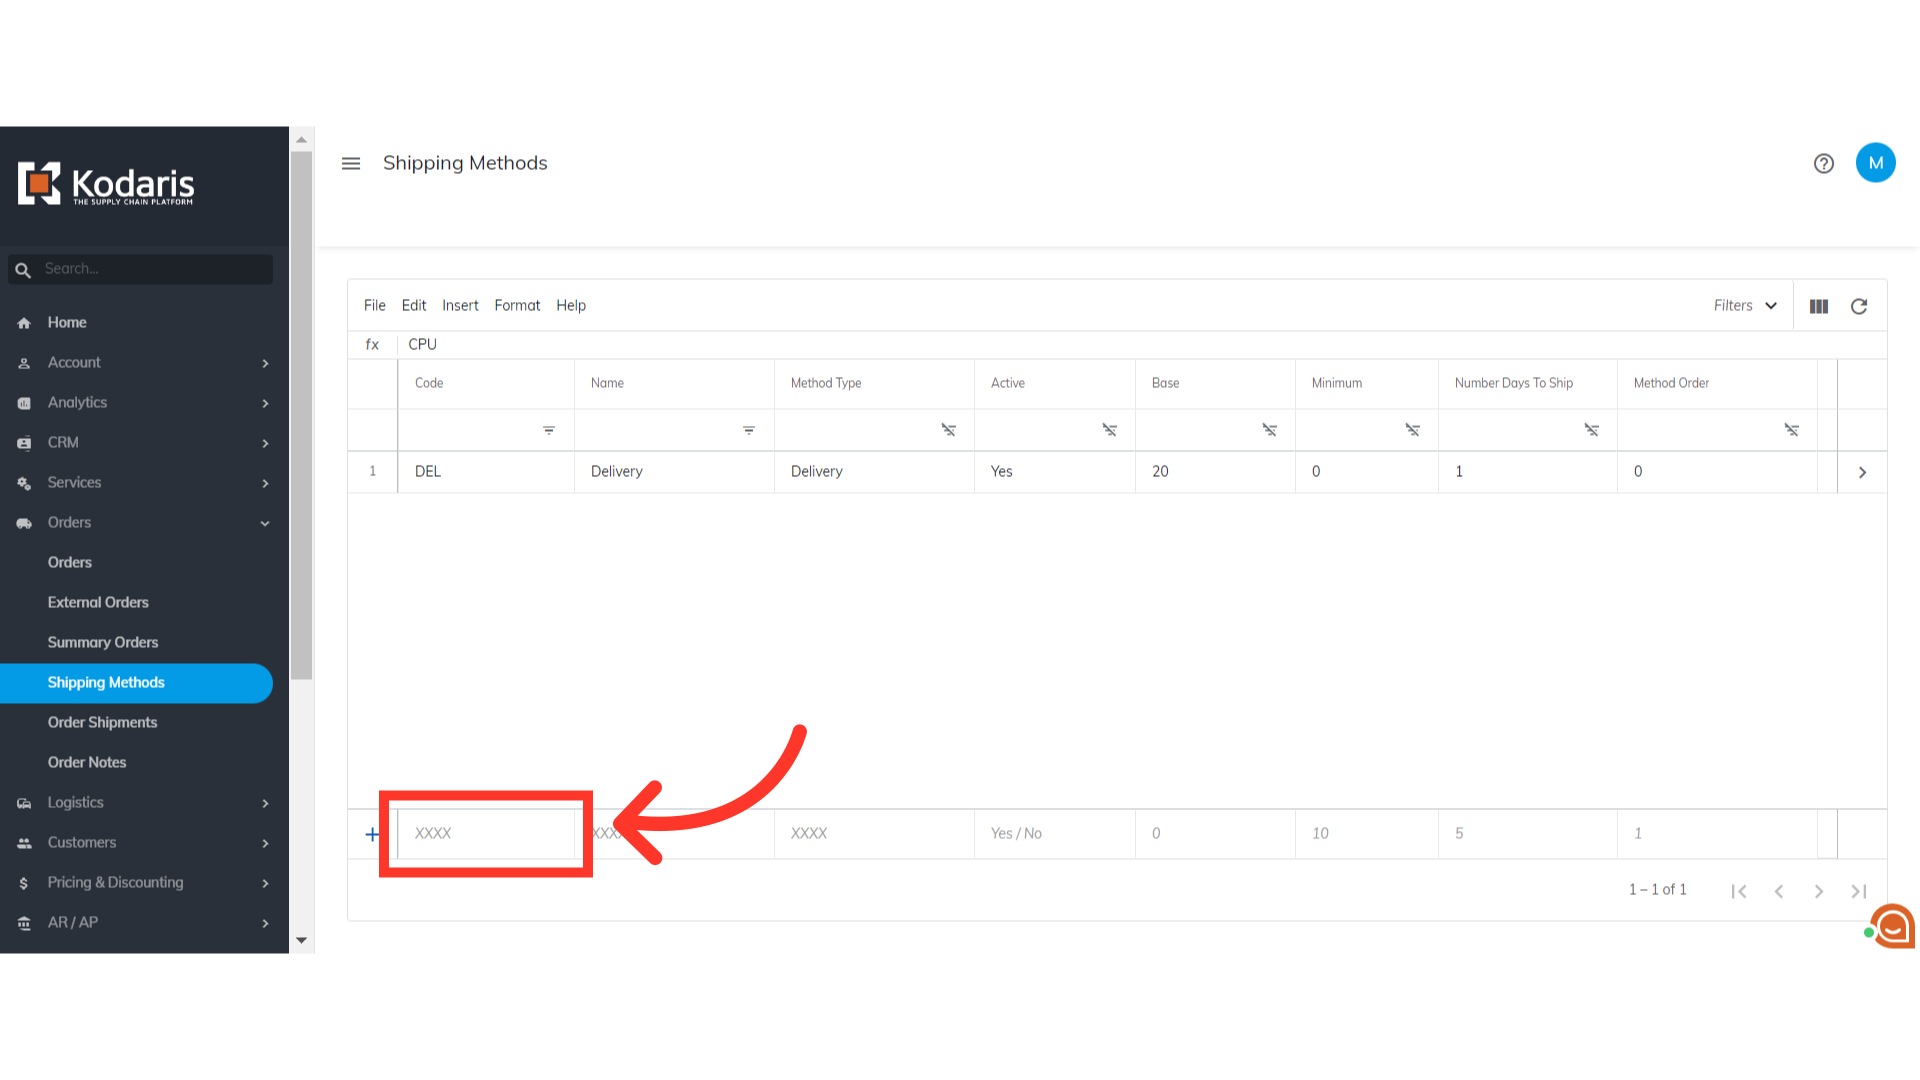
Enter the shipping method name in the "Name" field. This will be visible to users when checking out.

Next, enter the type of shipping method in the "Method Type" field.

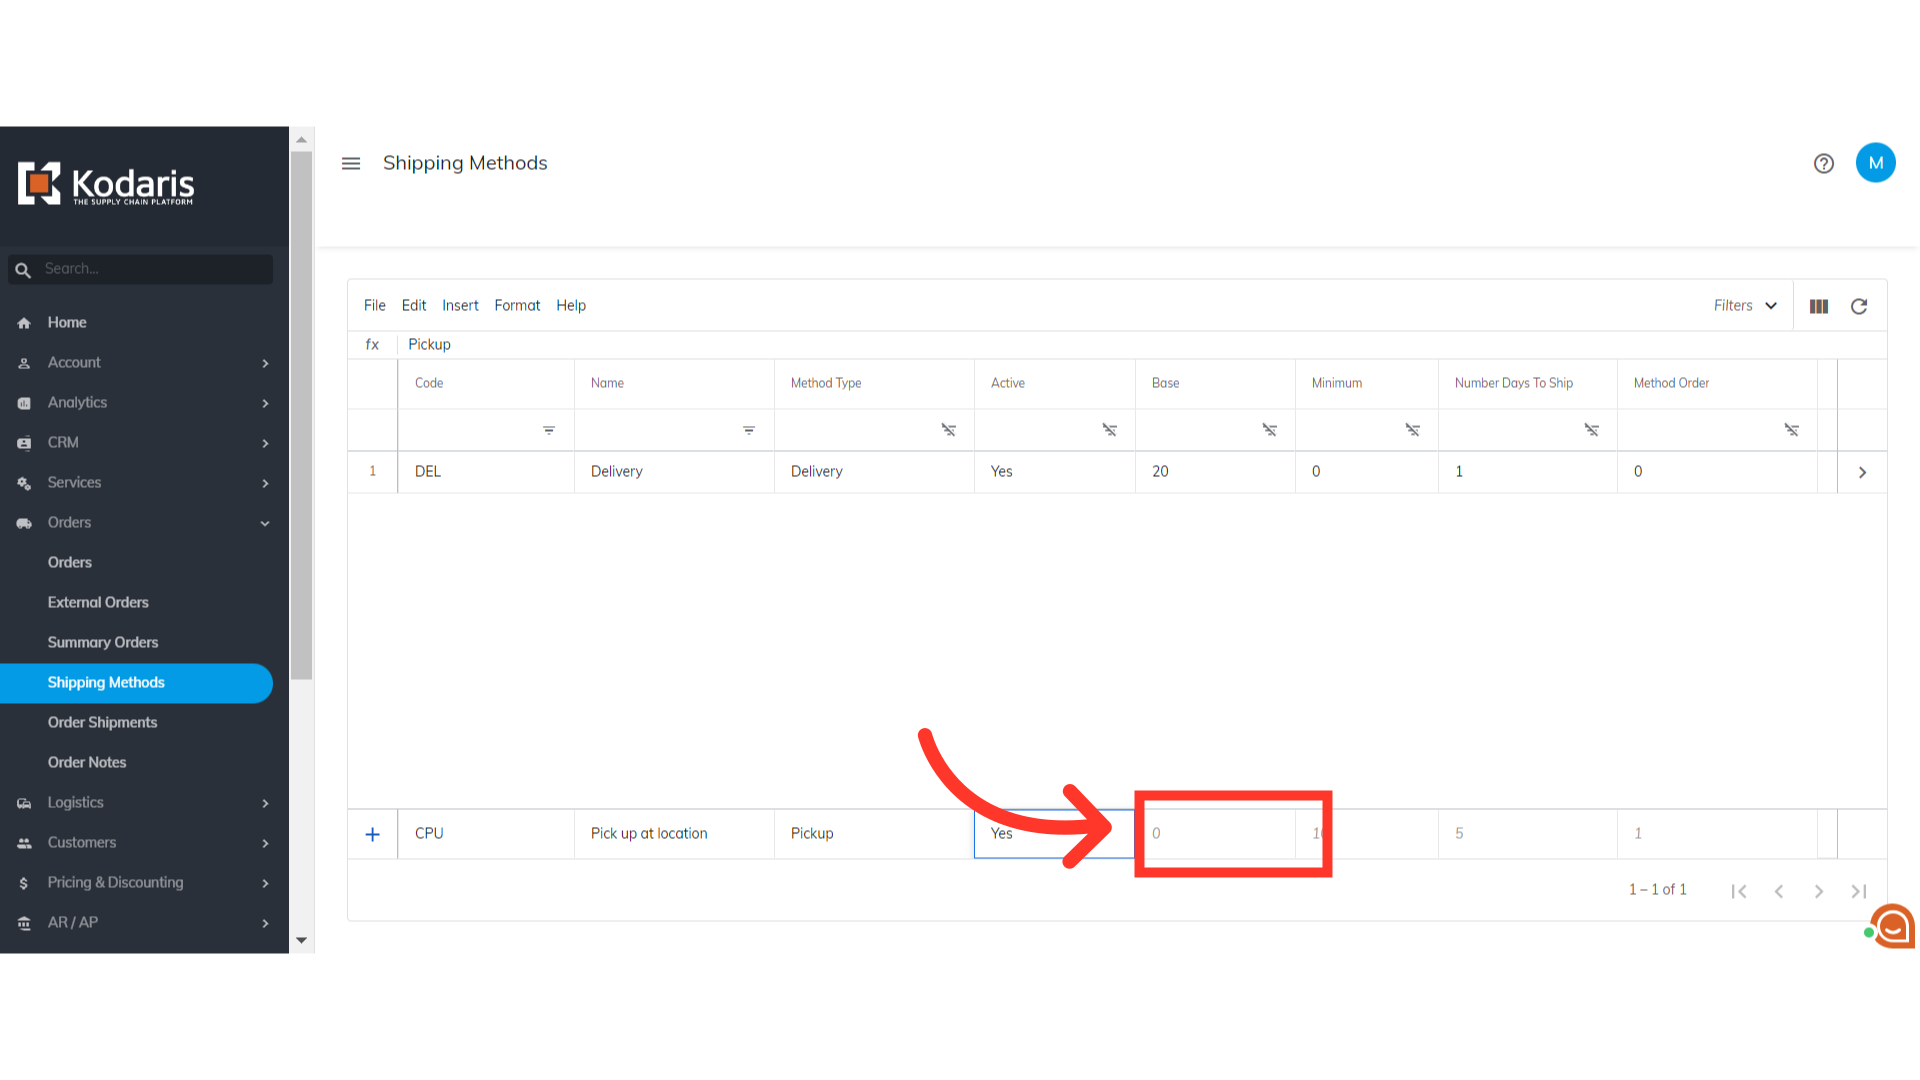
Set "Active" to "Yes" to make the shipping method available in the checkout.

You can set a value for the base shipping charge in the "Base" field, depending on the type of shipping method you want to add.
Then, hit the "Enter" key. The new shipping method has been added to the grid. You can add as many shipping methods as you like to match what Ship Vias you have in your ERP.

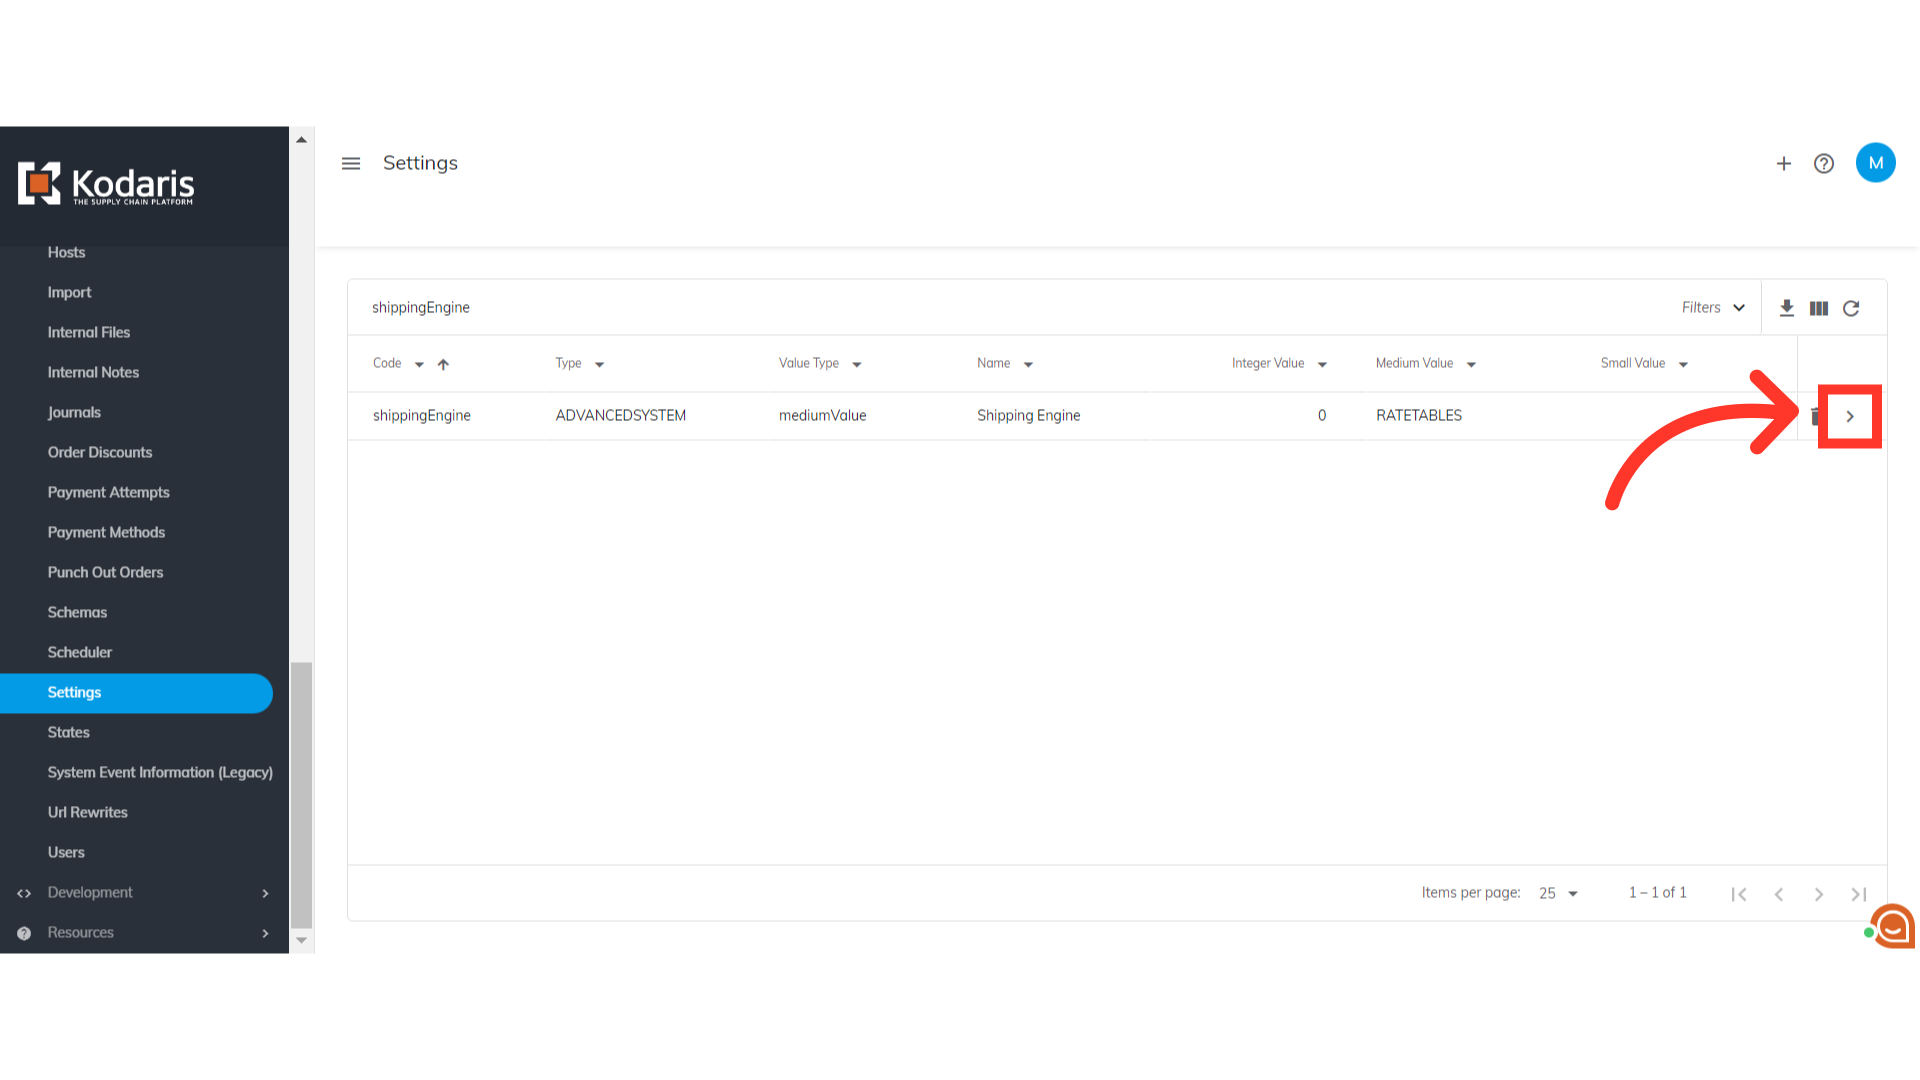
The last configuration that is needed is to set the shipping engine in the Settings page. There are many ways for displaying and configuring shipping methods on the checkout. For this particular way of configuring shipping methods, you need to set the "shippingEngine" setting to "RATETABLES". That means that the system will use the shipping methods that we just set up on the Shipping Methods screen. To do that, navigate to the "System" section.

Then, click "Settings". To access and edit settings, you will need to be set up either as an “administrator” or a “superuser”, or have the following roles: “settingEdit” and “settingView”.

Enter "shippingEngine" in the "Search" field.

Check the value if it is set to "RATETABLES". If not, click its more details icon.
Set the value to "RATETABLES".
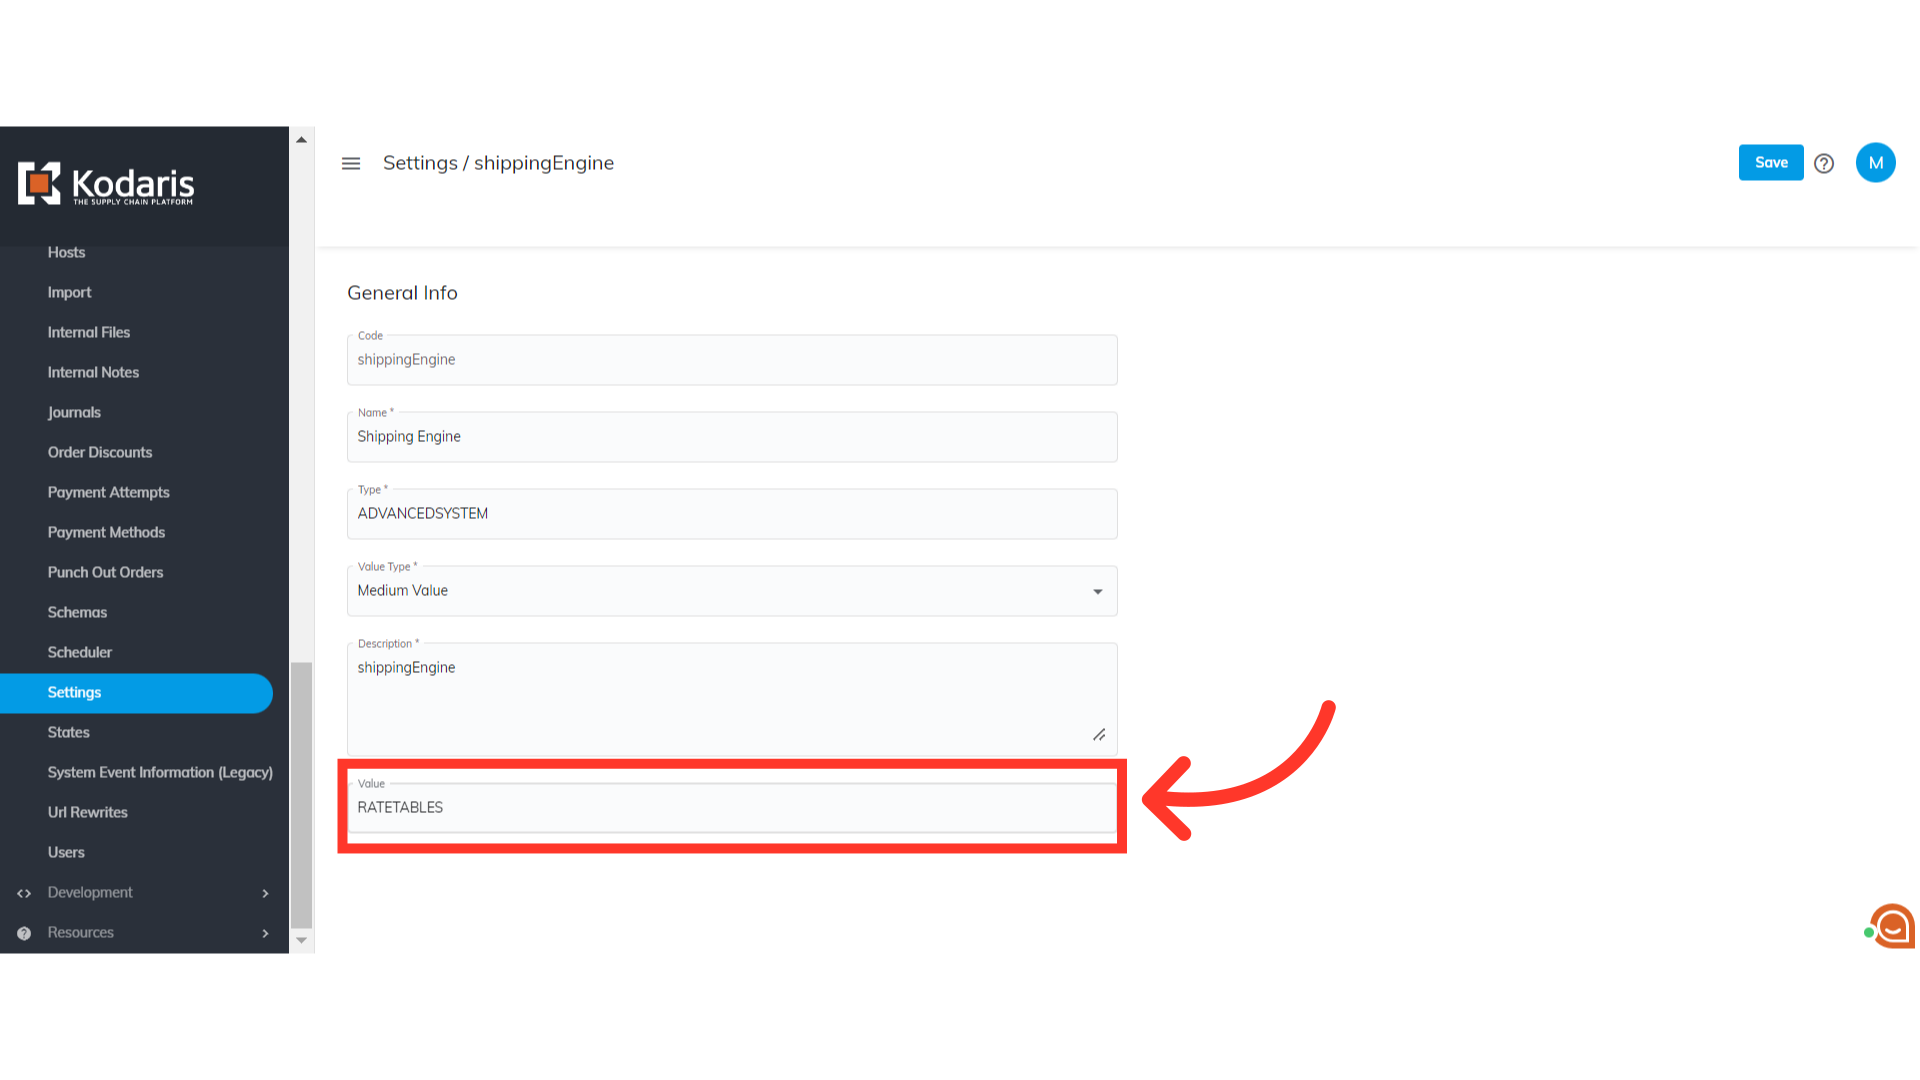
Then, click the "Save" button to save the changes.
