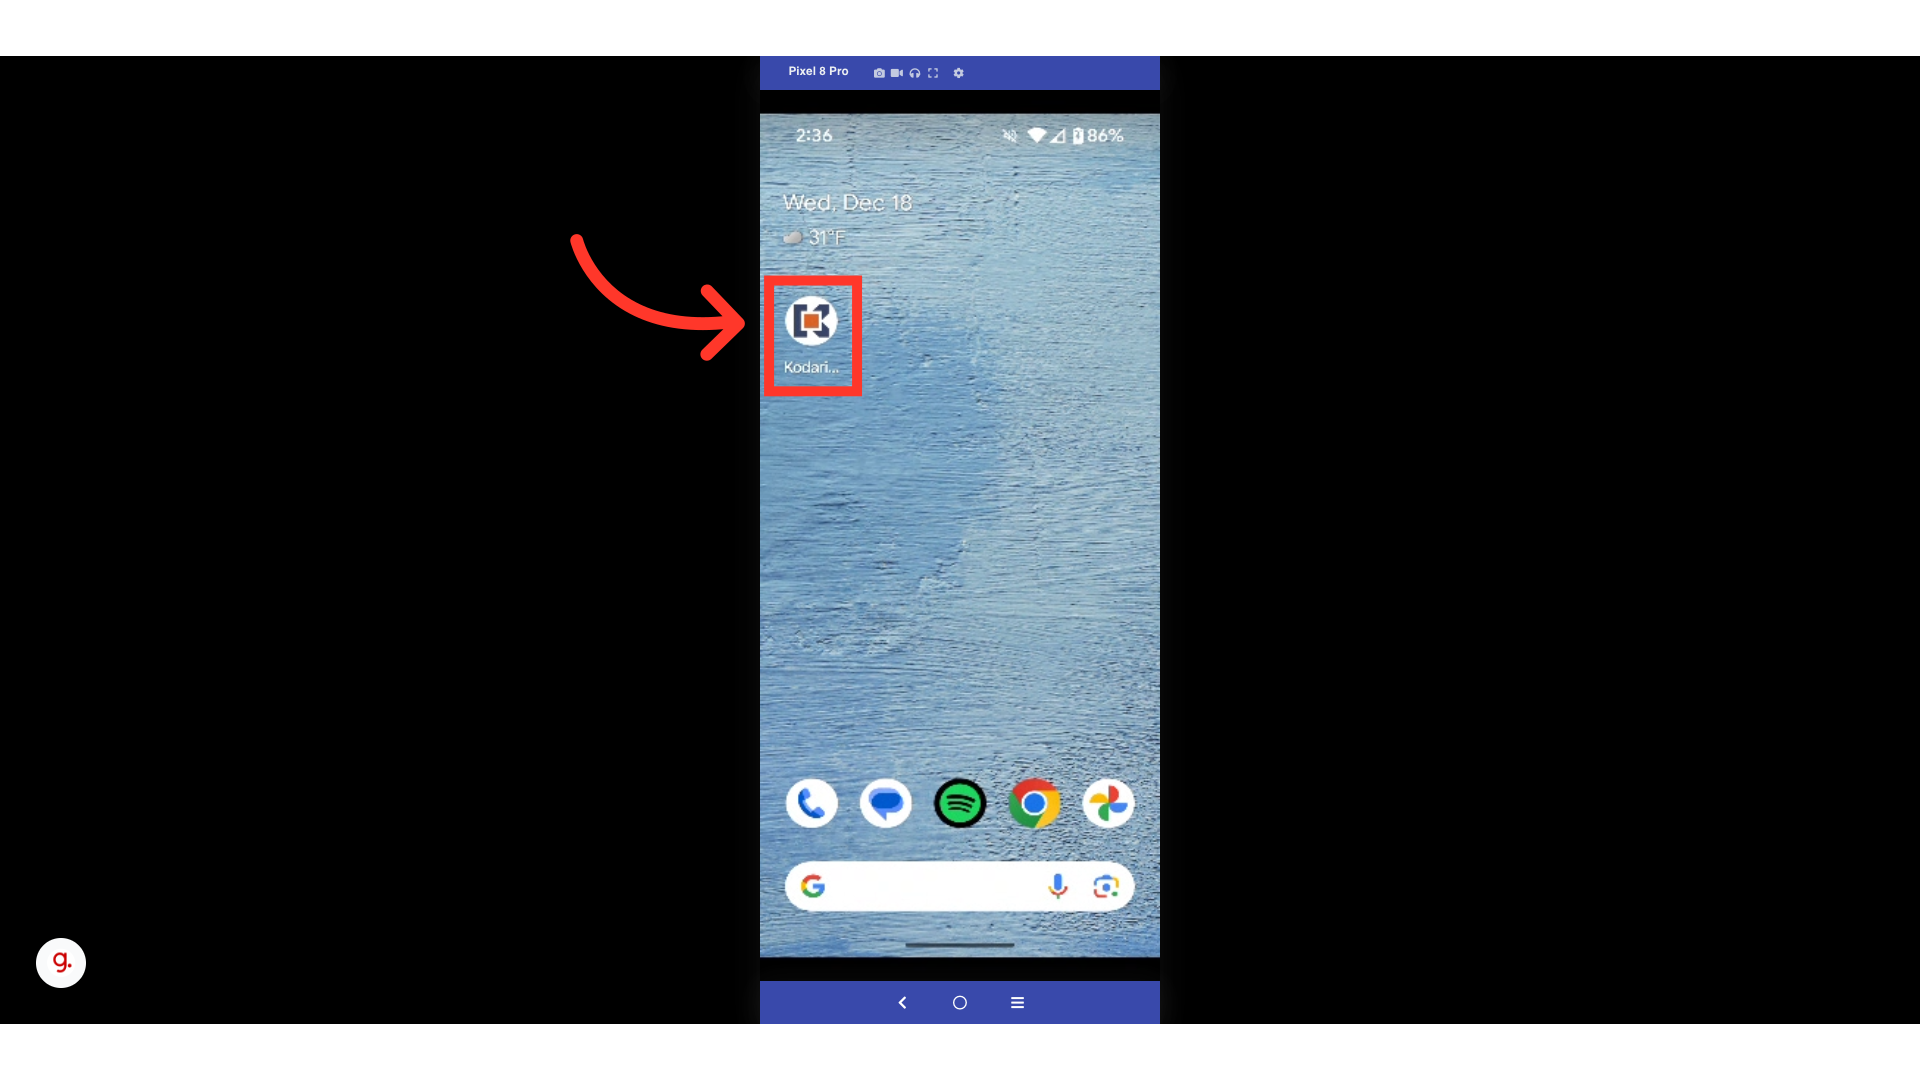
When checking out using the Customer Mobile App, you can select pre-saved locations for your shipping and billing addresses to expedite the checkout process. To begin, start by opening the app.
Select the "Shopping Cart" icon.

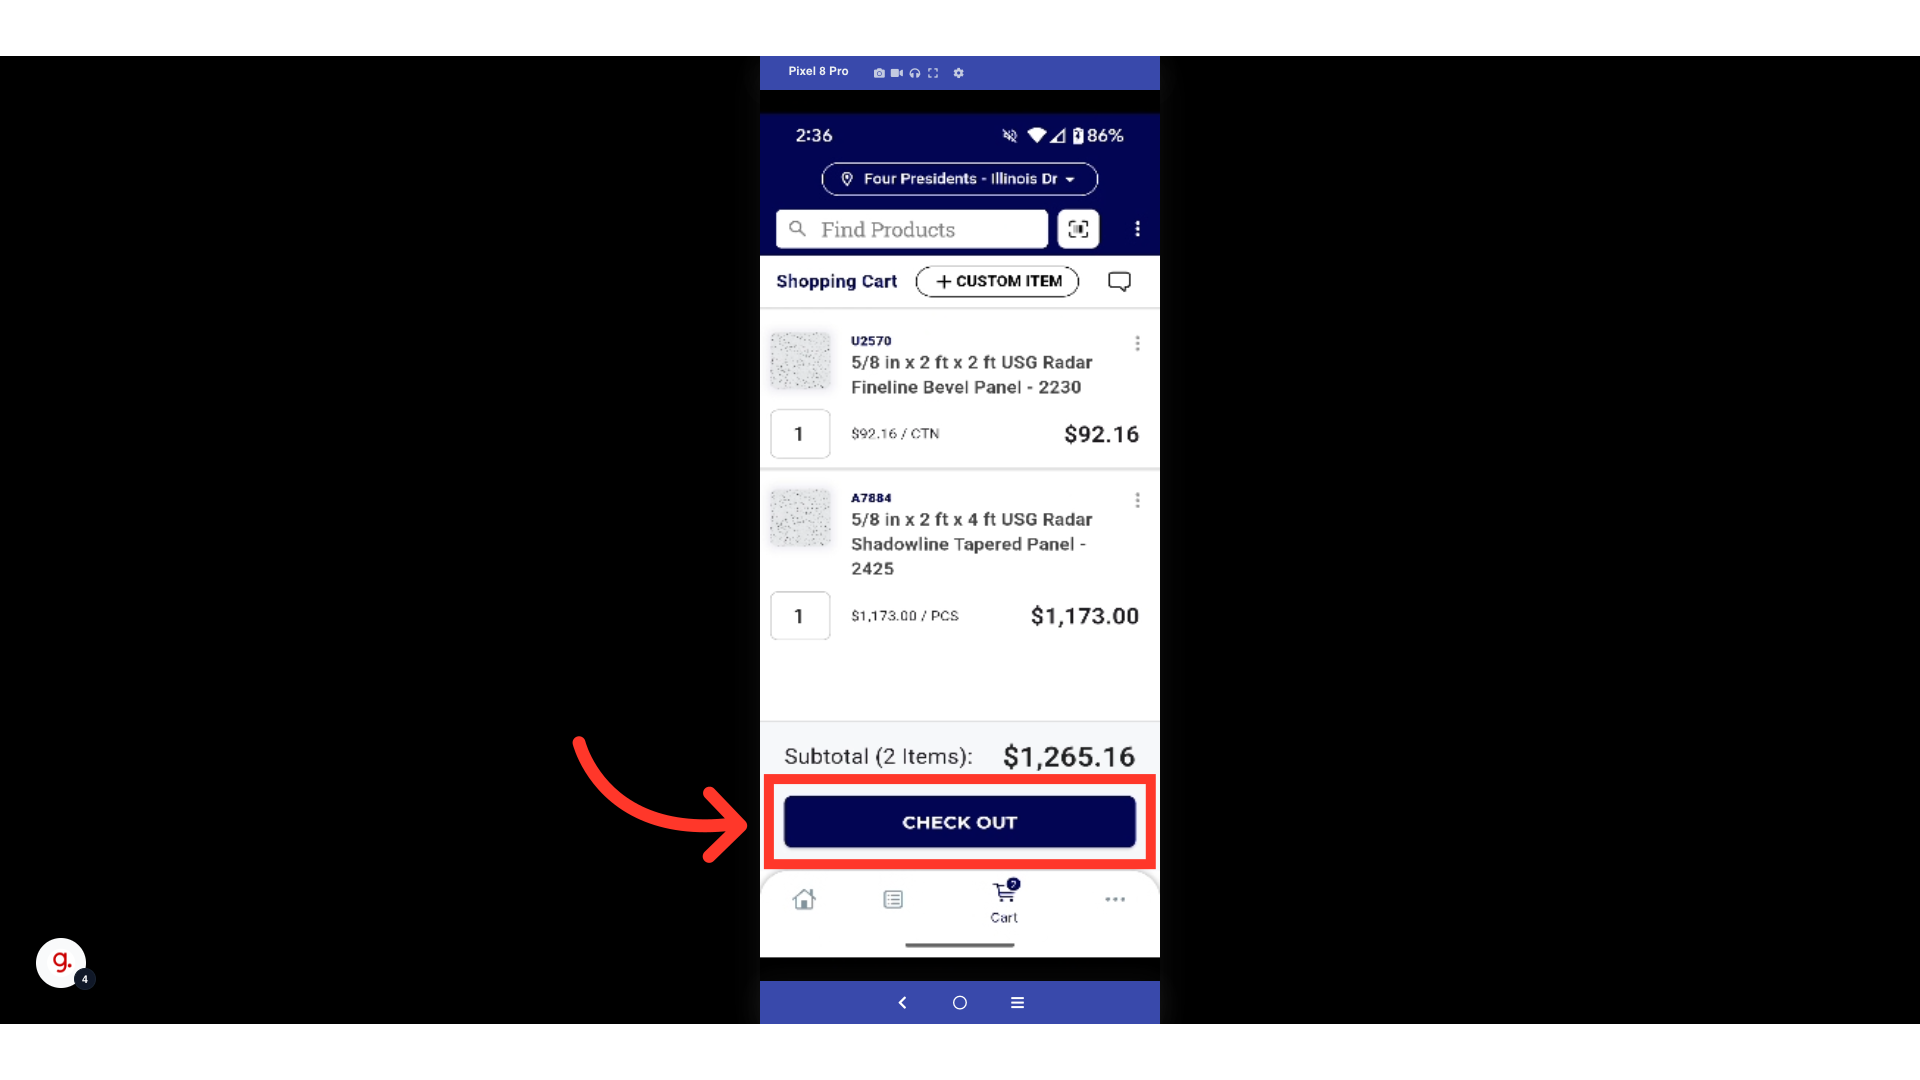
To walk through the checkout process, please note that you must have at least one item already in your cart. Once your cart contains an item or multiple items, select the "Check Out" button.
On the checkout screen, you will see a "Shipping Address" section and a "Billing Address" section. This is where you will be able to use your existing locations. To begin, select "Change" under the "Shipping Address" tile.

The shipping address information will appear. Select "Change" on the address tile.

A list of your existing locations will appear. Tap on one of the location tiles to select it.

Once you select a new location, it will appear under the "Shipping Address" section.

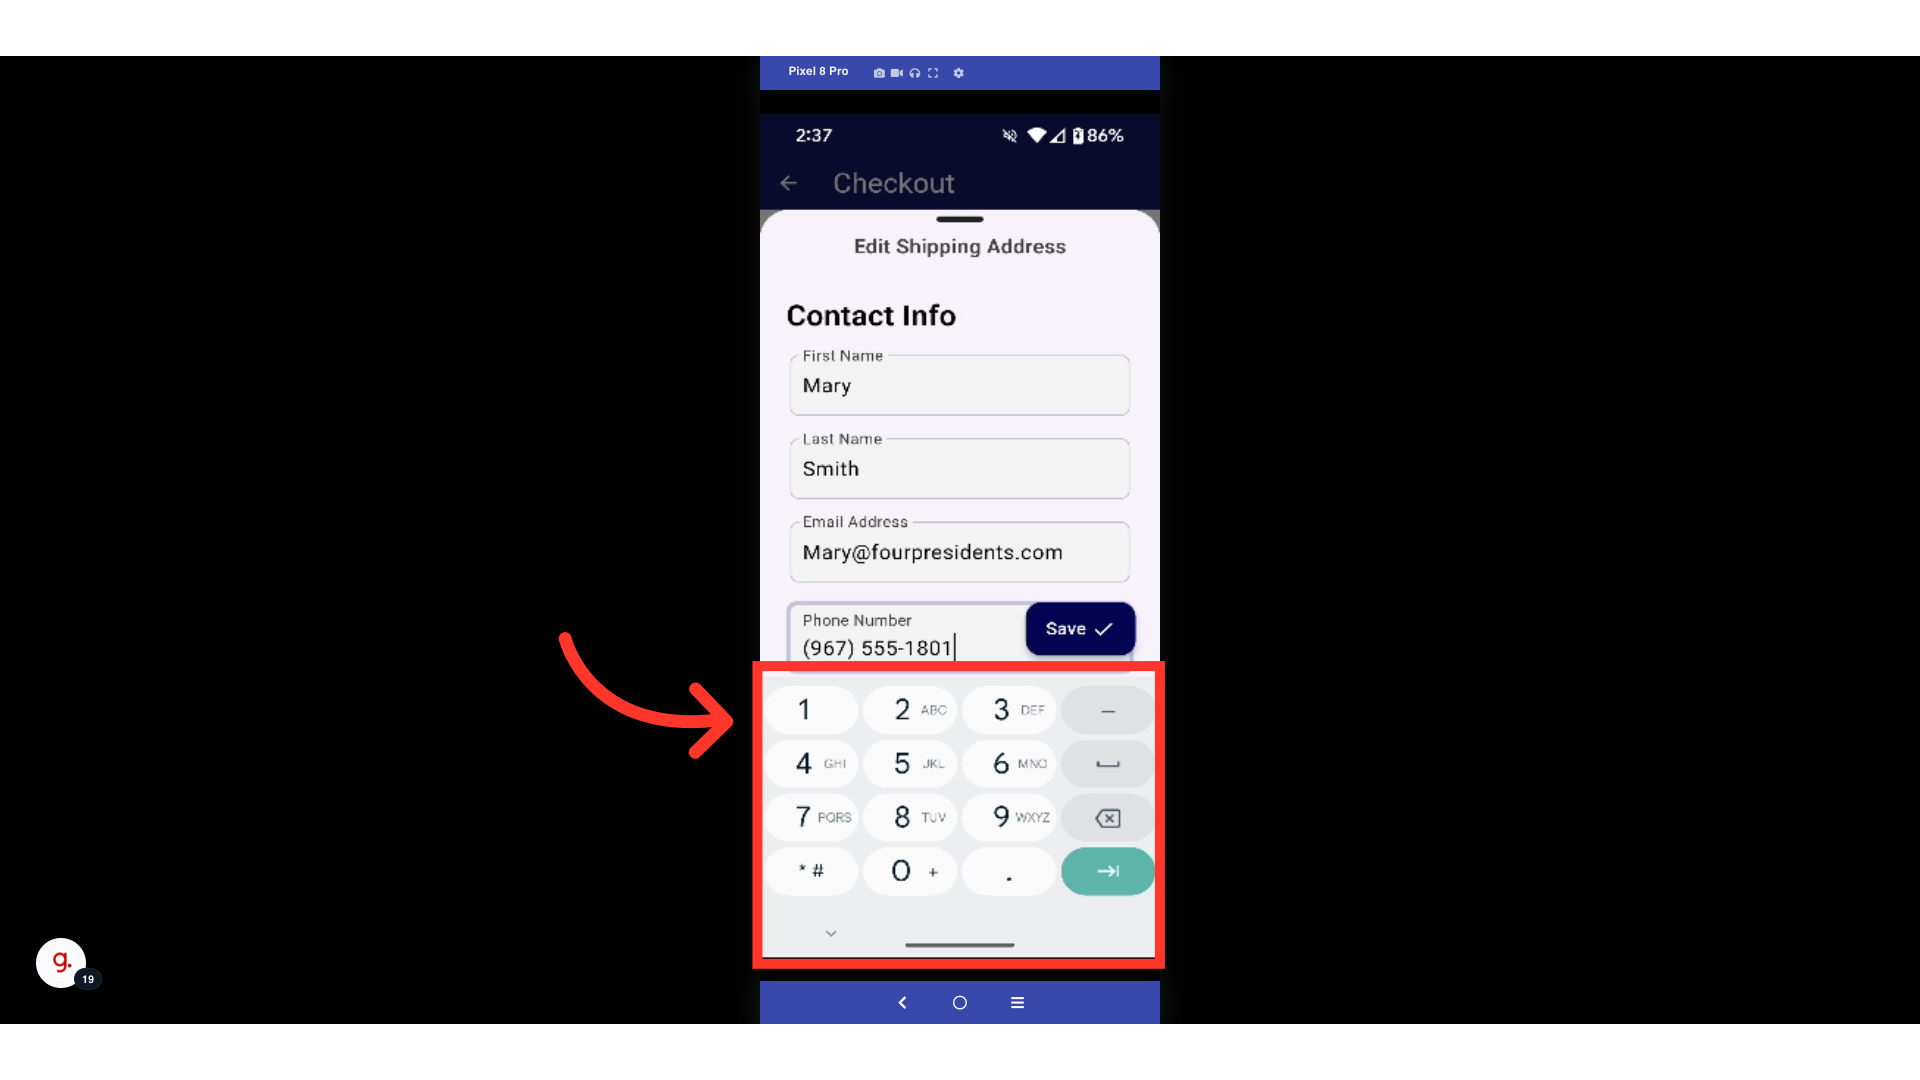
On this screen, you can also update the saved contact information if needed. To do so, select any of the fields. In this example, we will edit the phone number.

Use your device's keyboard to type any updates.
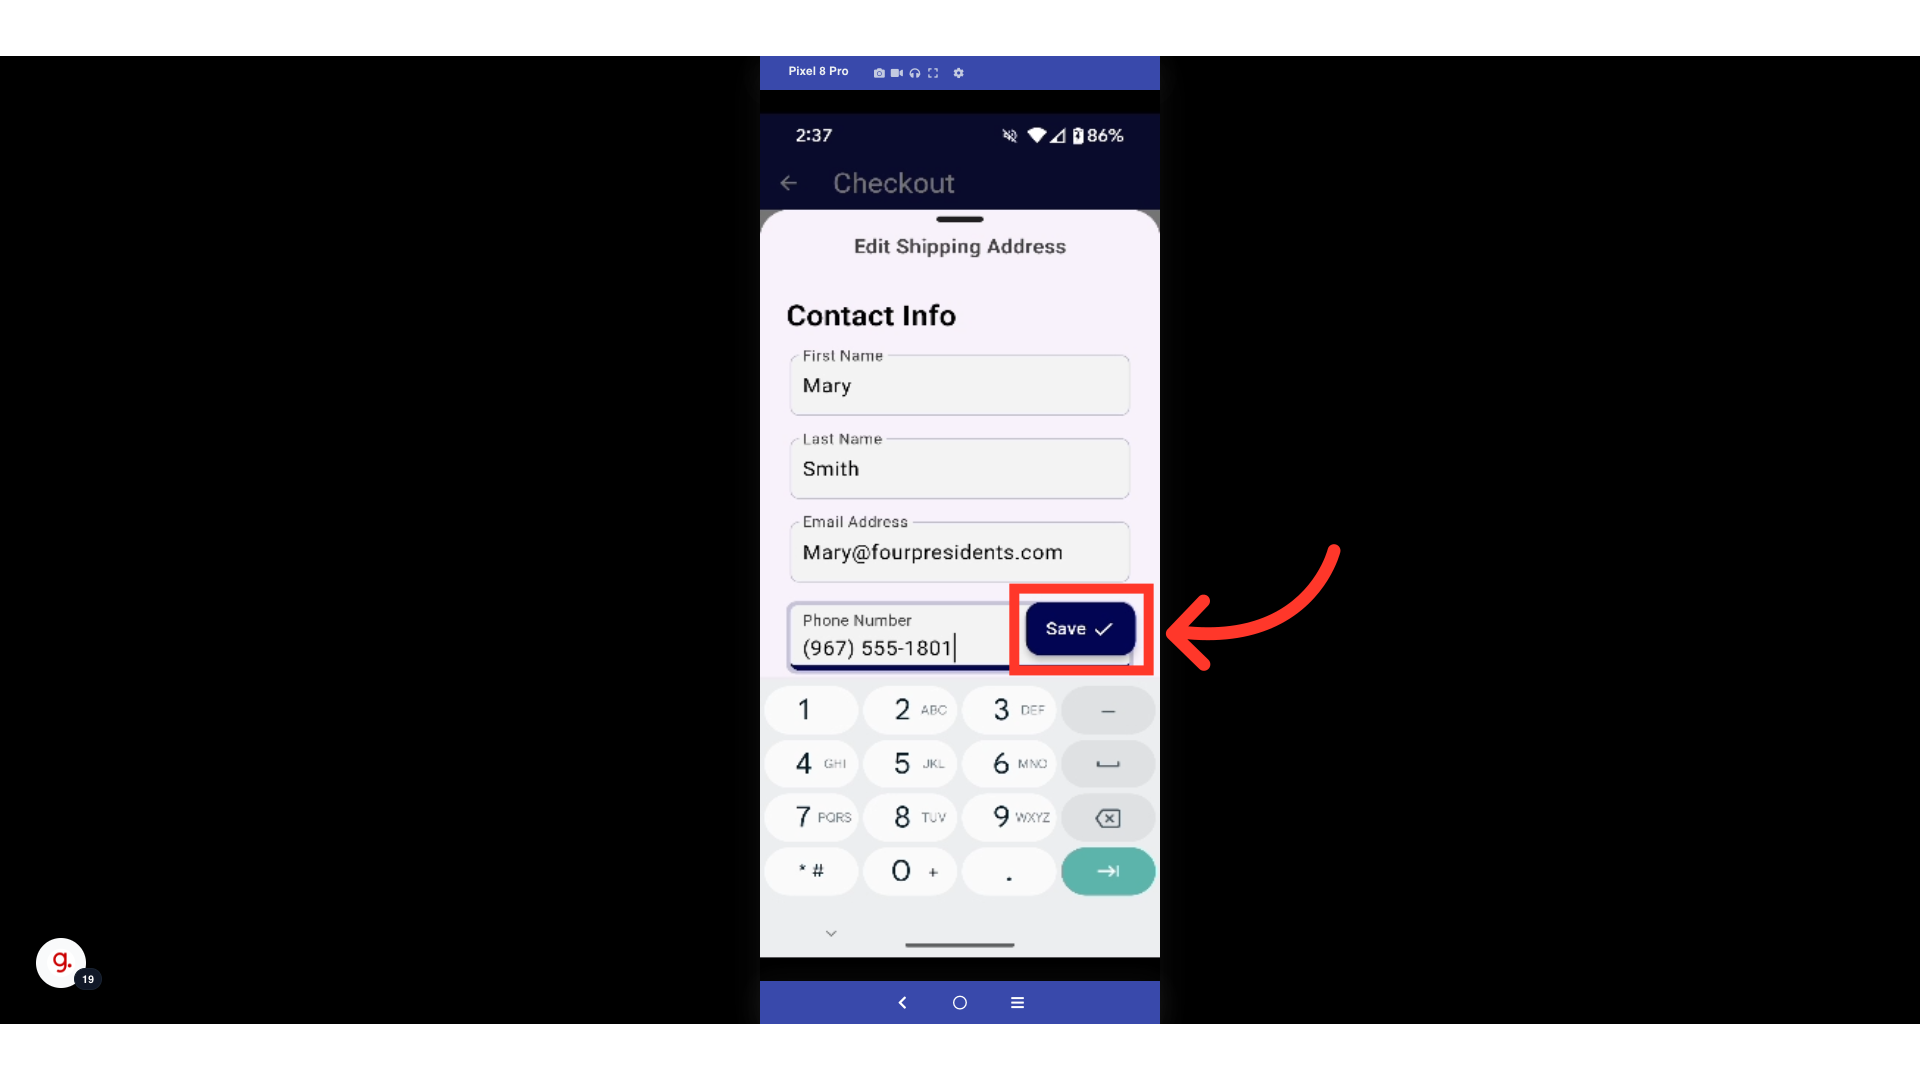
Once you are finished making edits to the page, select the "Save" button.
The saved changes to the contact information and location will reflect under the "Shipping Address" section.

You can follow that same process for the billing address information. To do this, select "Change" under the "Billing Address" tile.

The billing address information will appear. Select "Change" on the address tile.

A list of your existing locations will appear. Tap on one of the location tiles to select it.

Once you select a new location, it will appear under the "Billing Address" section.

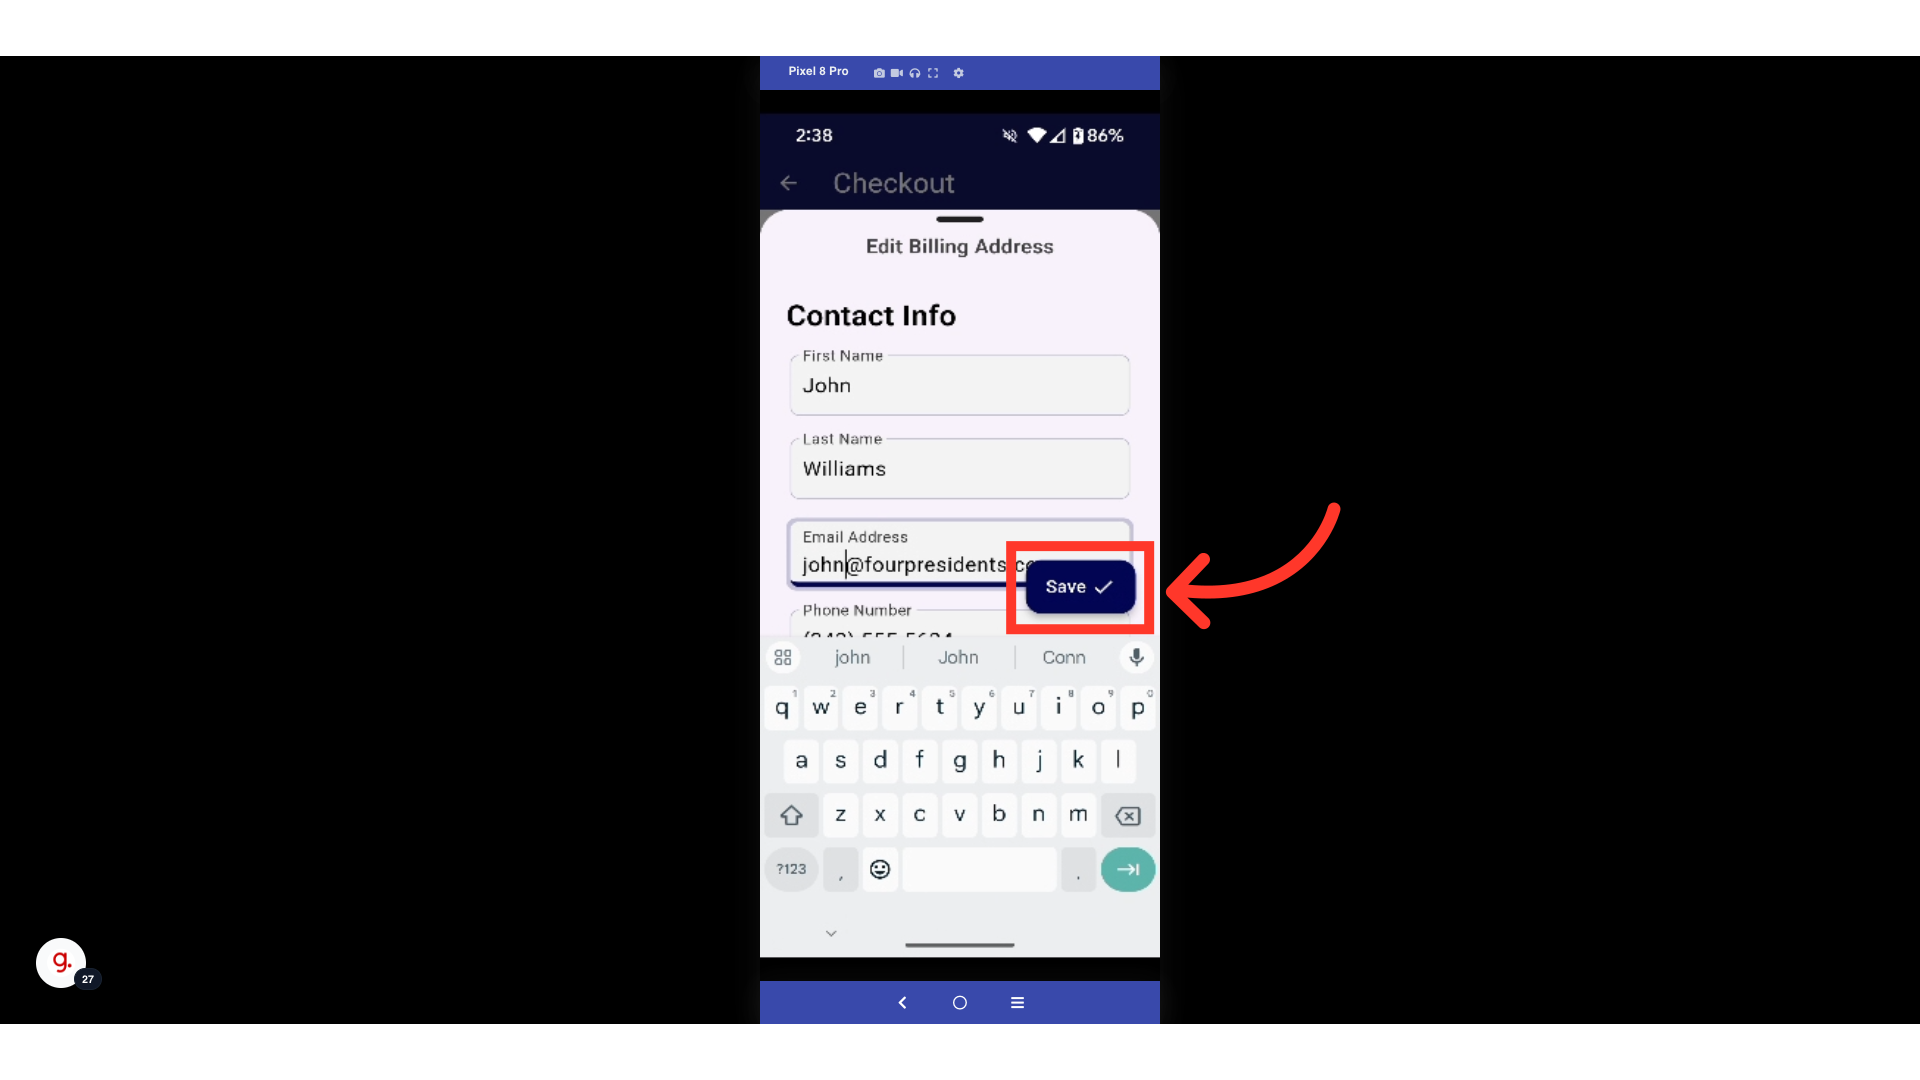
On this screen, you can also update the saved contact information if needed. To do so, select any of the fields. In this example, we will edit the email address.

Use your device's keyboard to type any updates.

Once you are finished making edits to the page, select the "Save" button.
The saved changes to the contact information and location will reflect under the "Billing Address" section.
