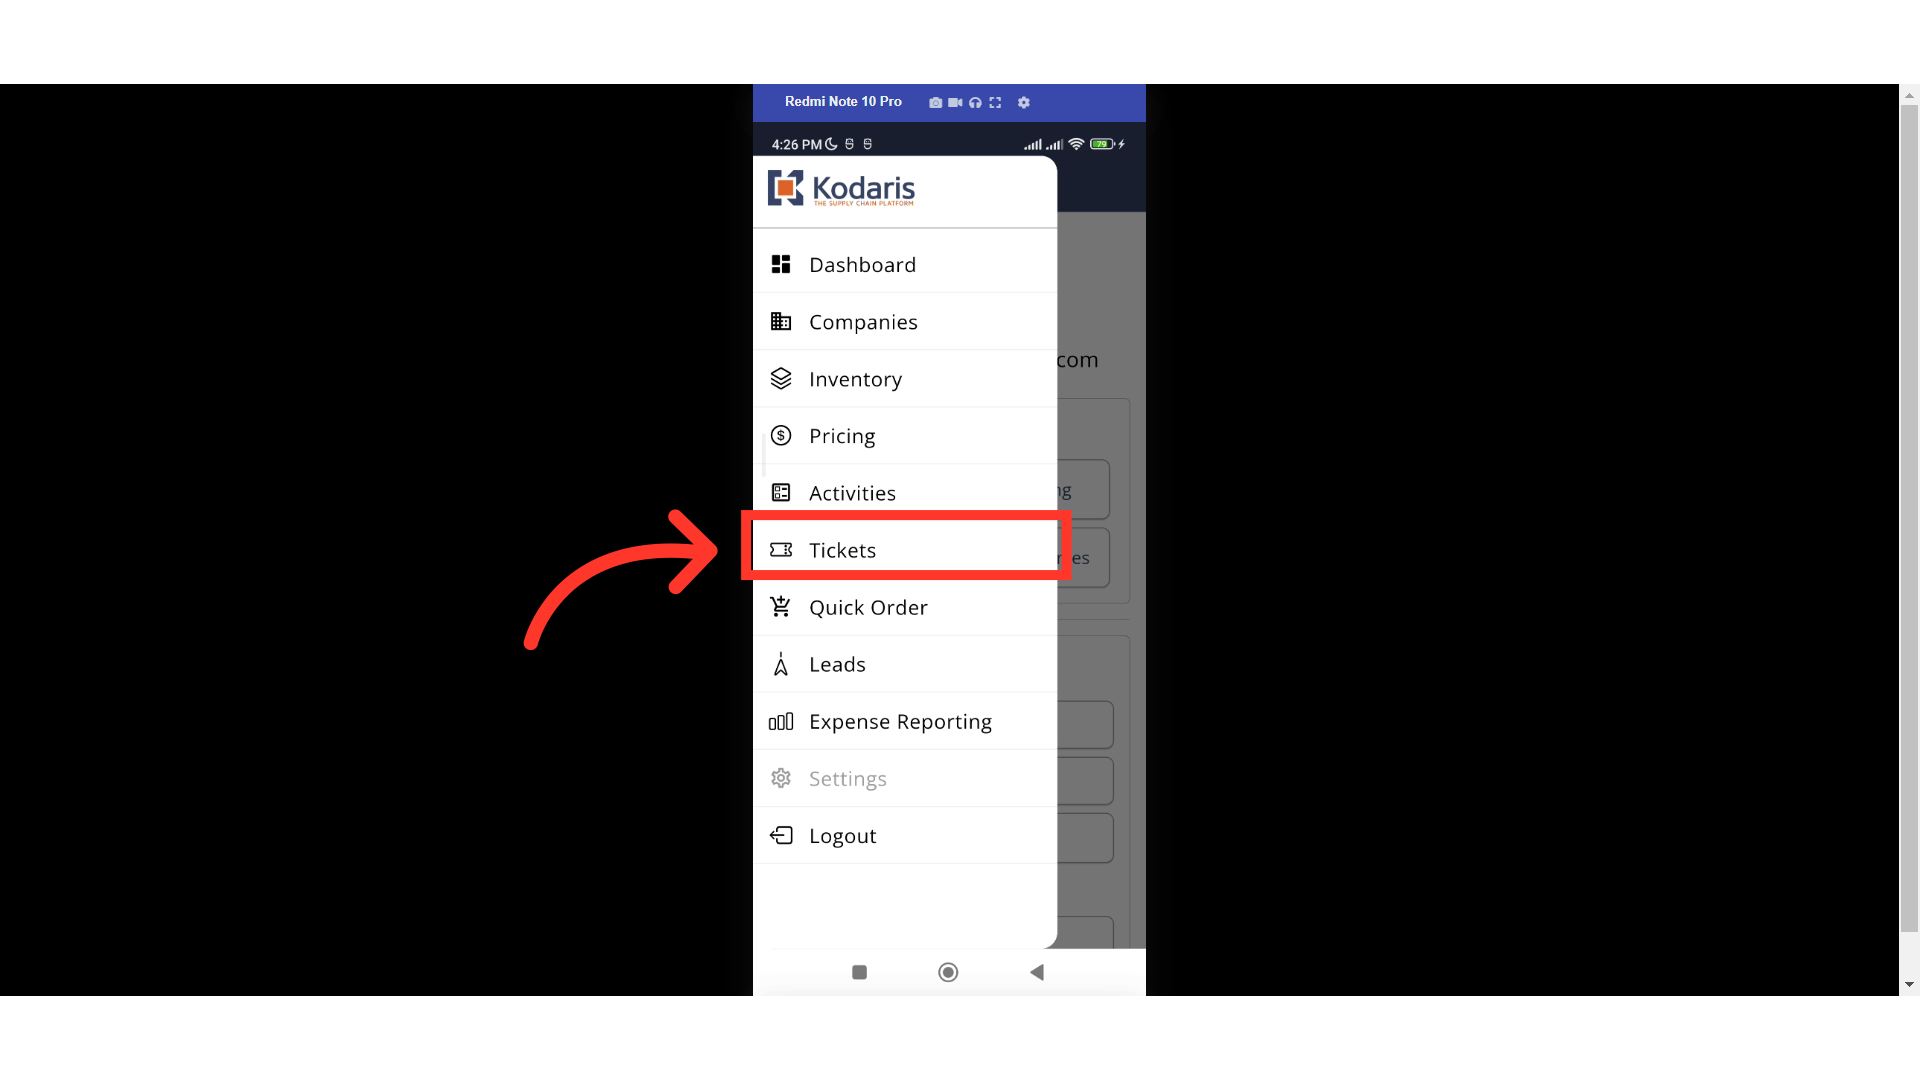
You can edit the information in a Ticket, such as the title, description, a project the Ticket is related to, the priority level of the Ticket, the current status of the Ticket, a desired due date, and more. Here’s how you can edit an existing Ticket. Tap the "Menu" icon in the employee mobile app.

Then, select "Tickets". In order to access and update "Tickets" you will need to be set up either as an "administrator" or a "superuser", or have the roles of: "ticketView" and "ticketEdit".
Tap the "Show/Hide Columns" icon.
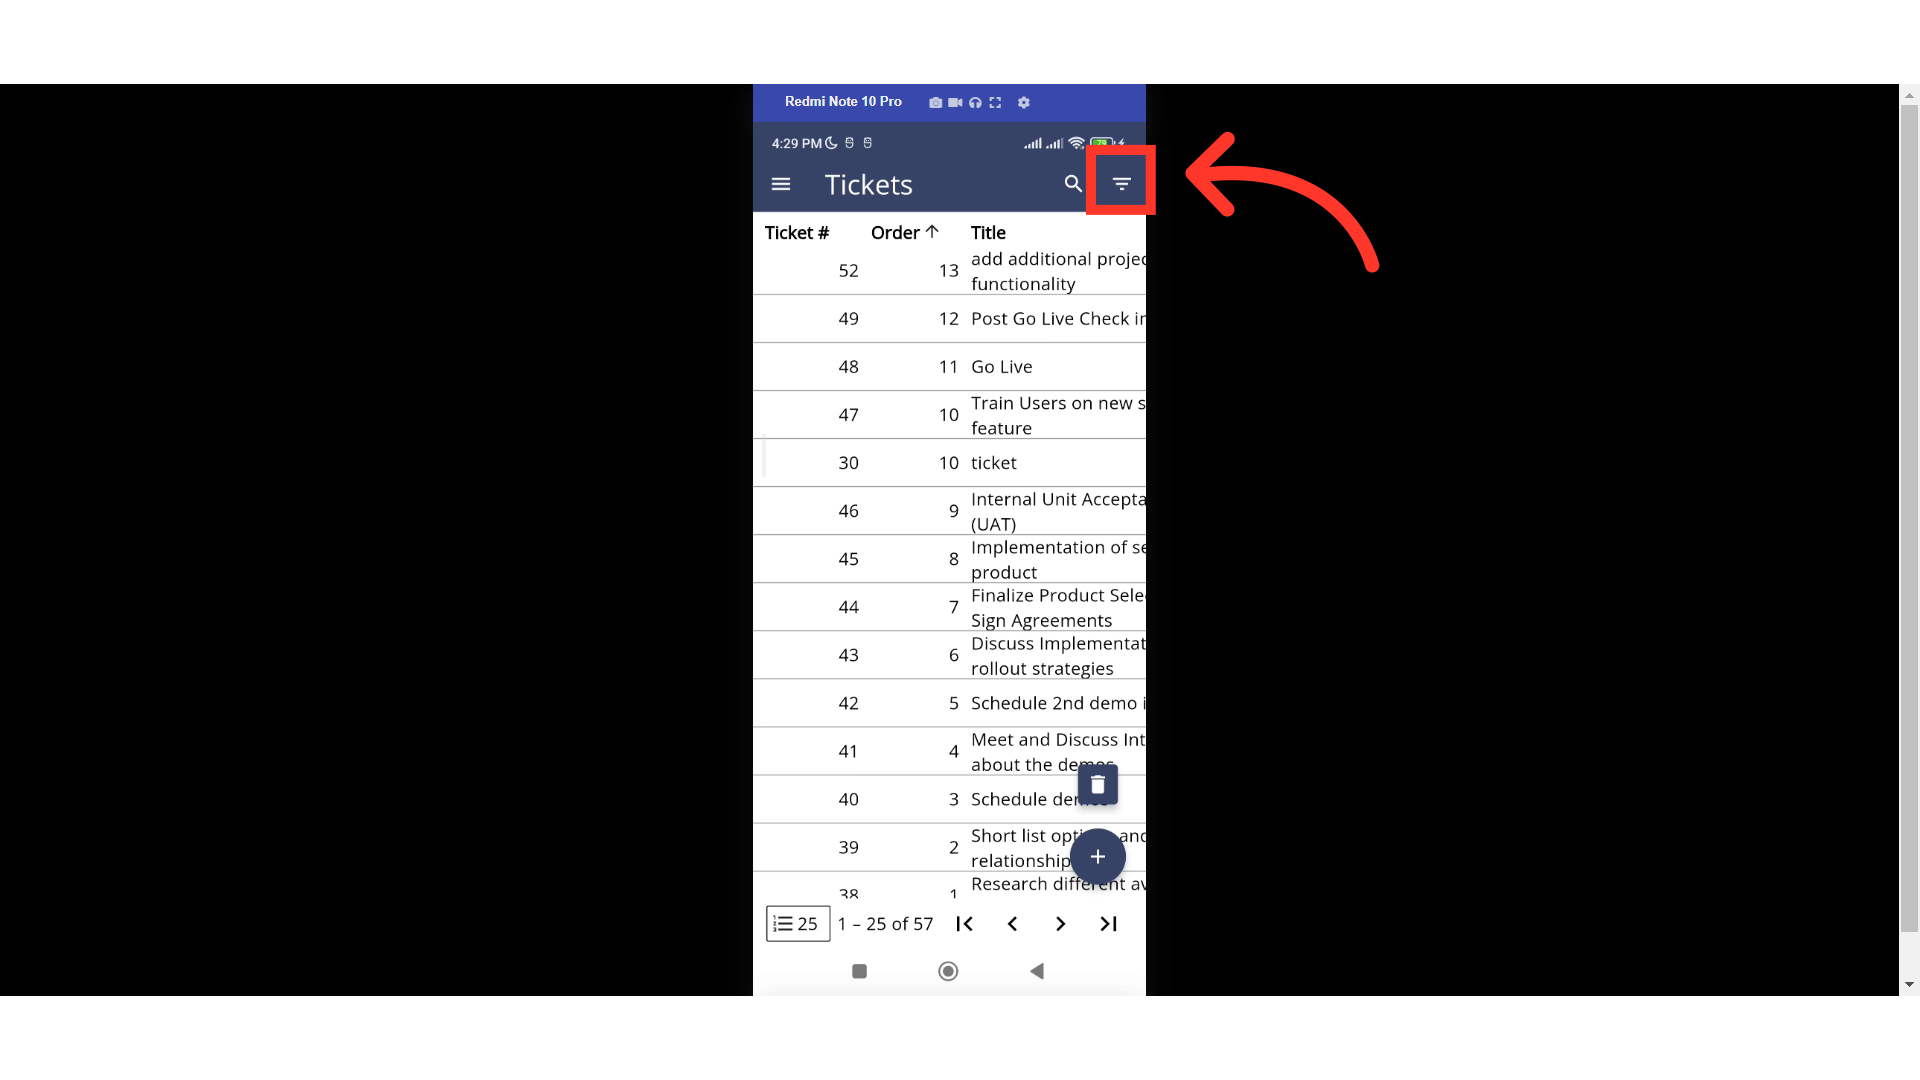
Tap on the column filter you would like to use to help find a ticket. You can use multiple filters.

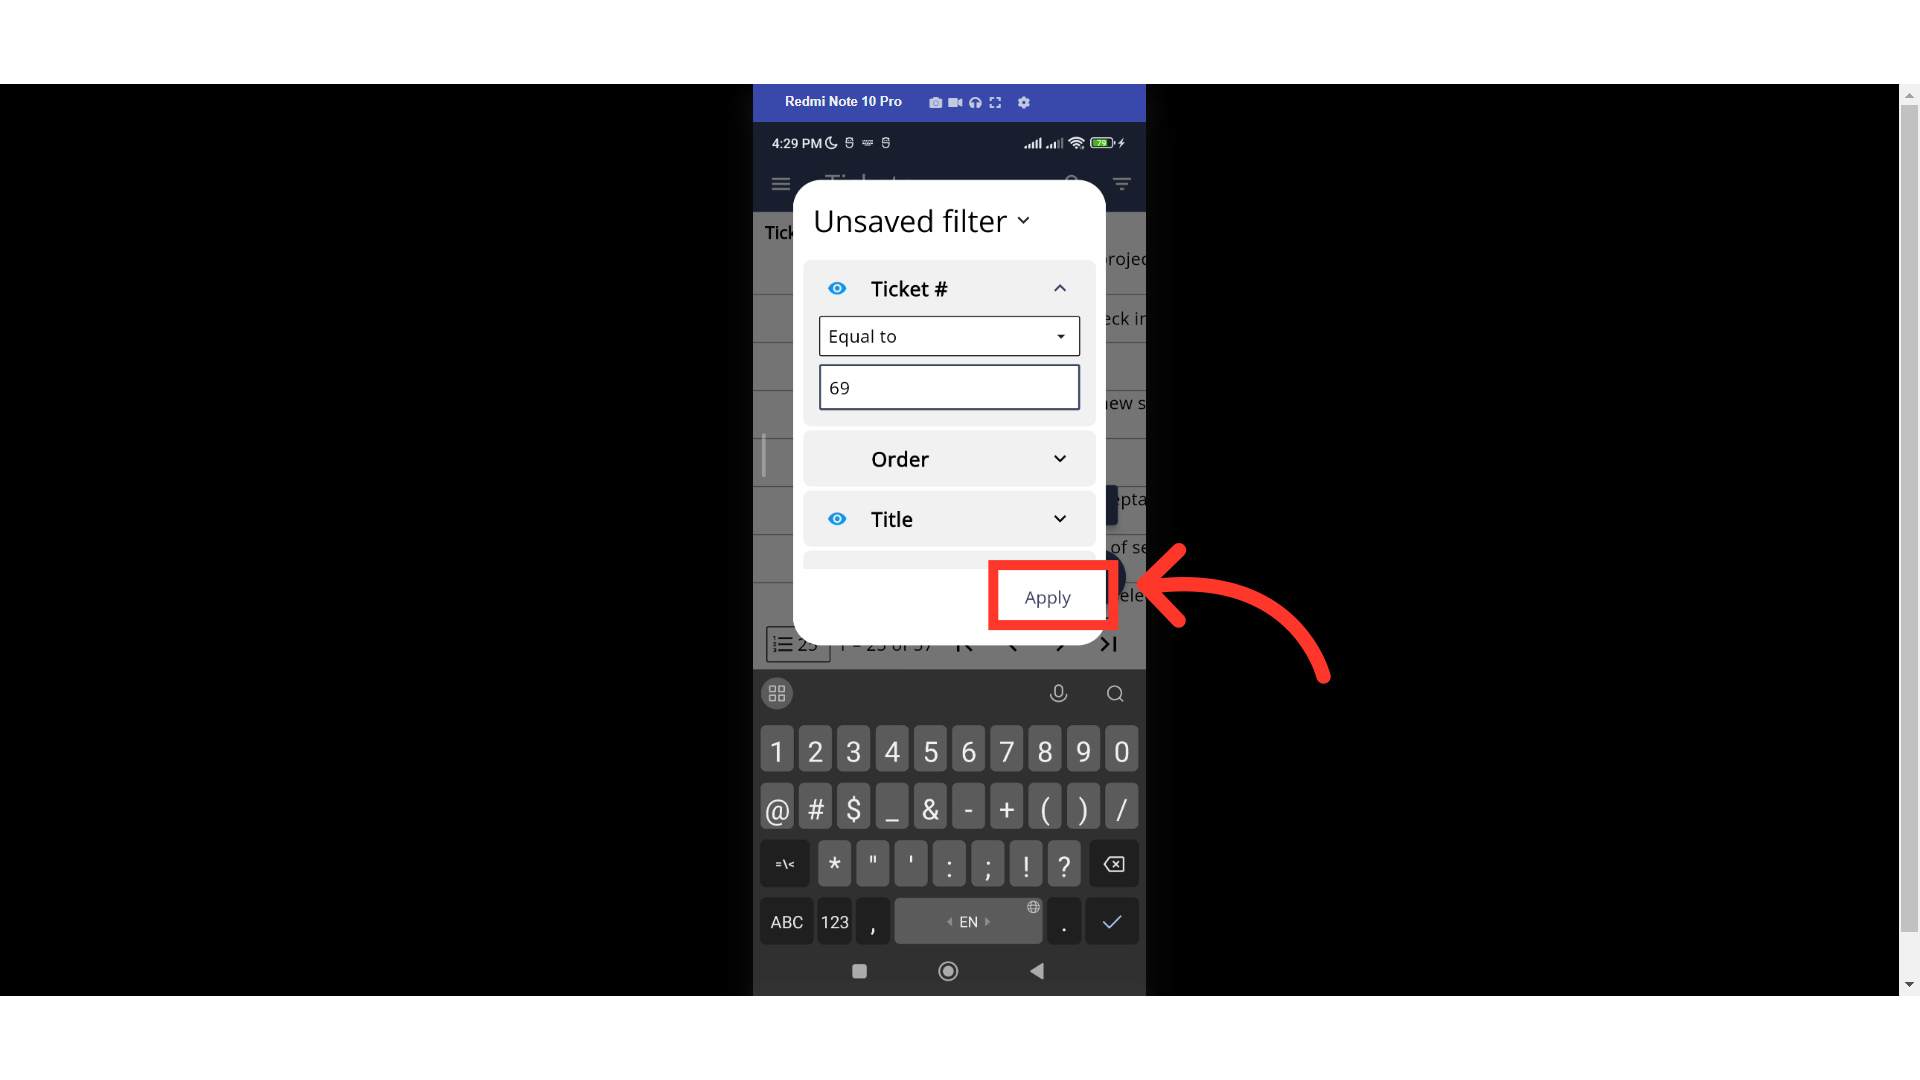
For example, if you would like to filter by Ticket number, tap the dropdown icon next to it.

Then, tap on the dropdown again to see the options on how you want to filter data.

Select from the options.

Enter the needed data. In this case, the ticket # you're trying to search.

Tap "Apply".
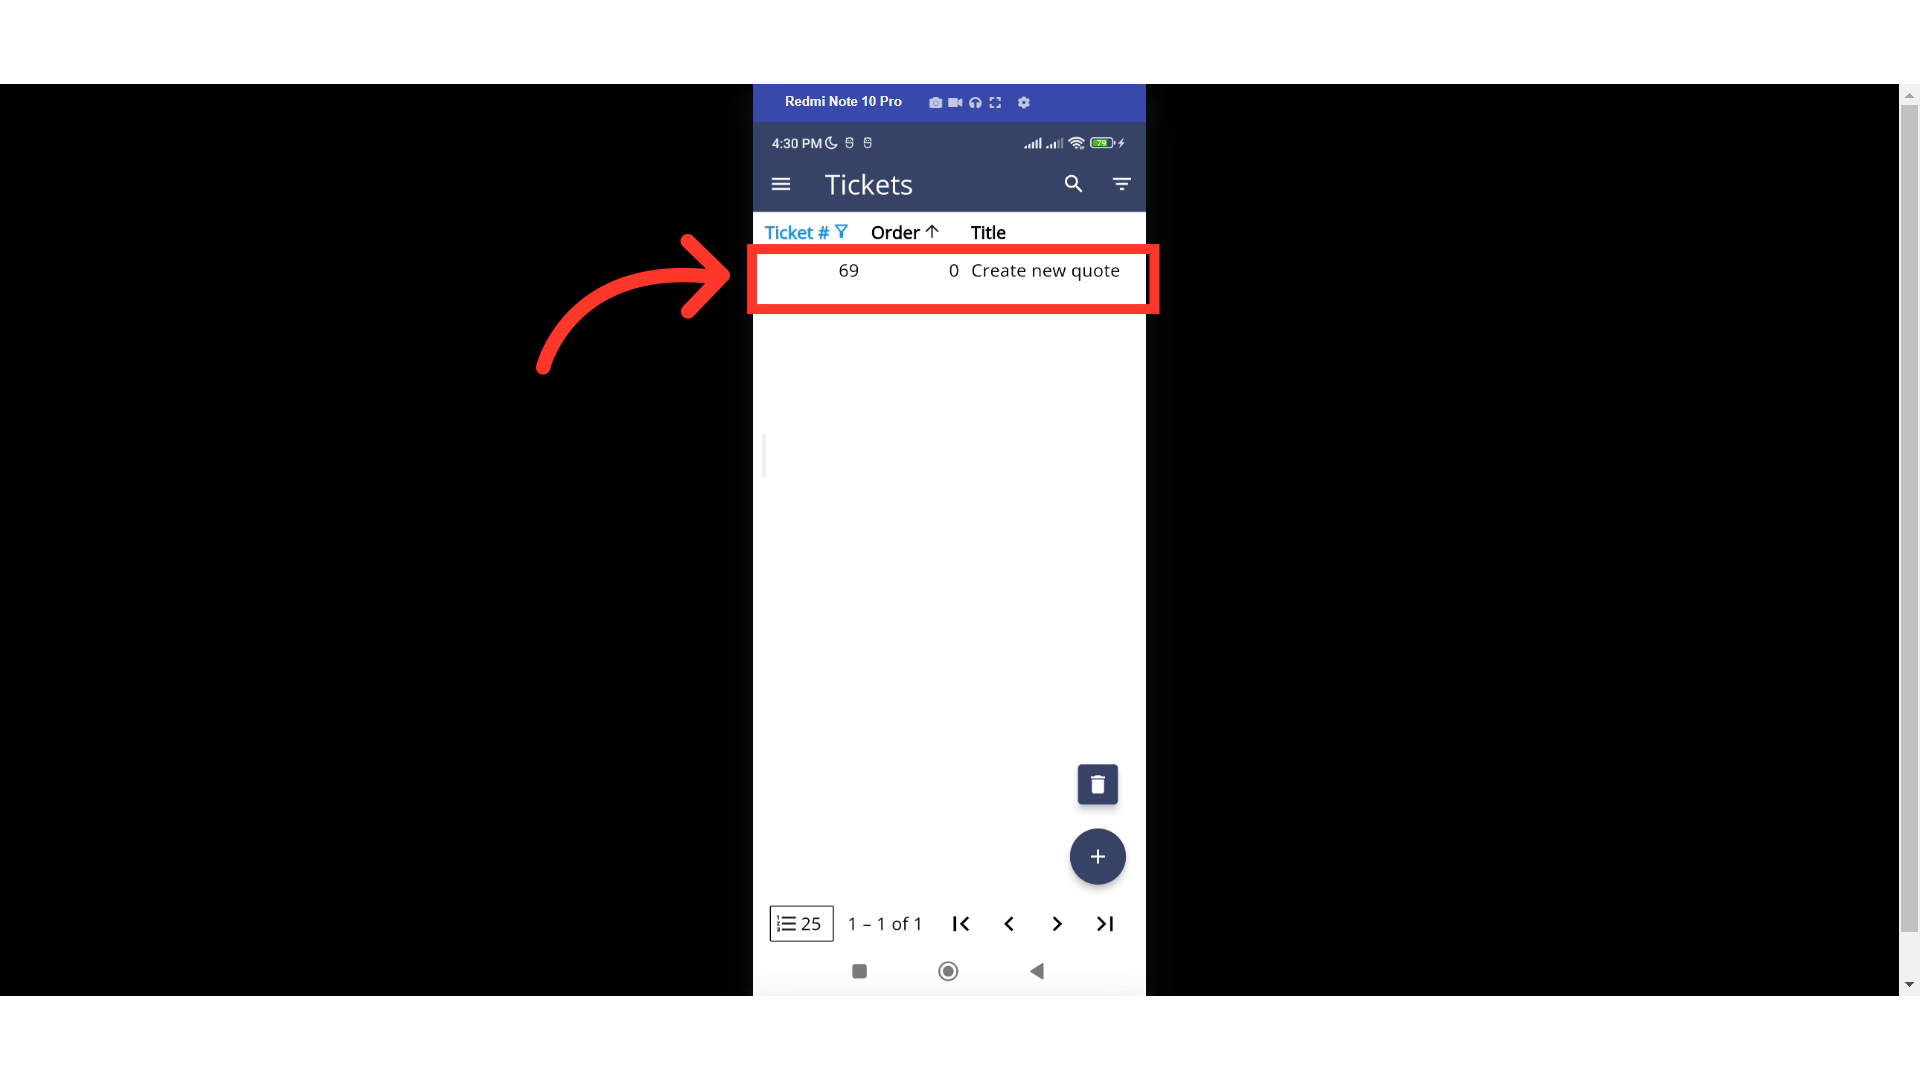
Double-tap the ticket to view the details screen.
On the "Details" tab, tap on the "Title" field to enter edit mode.

Enter your preferred title.
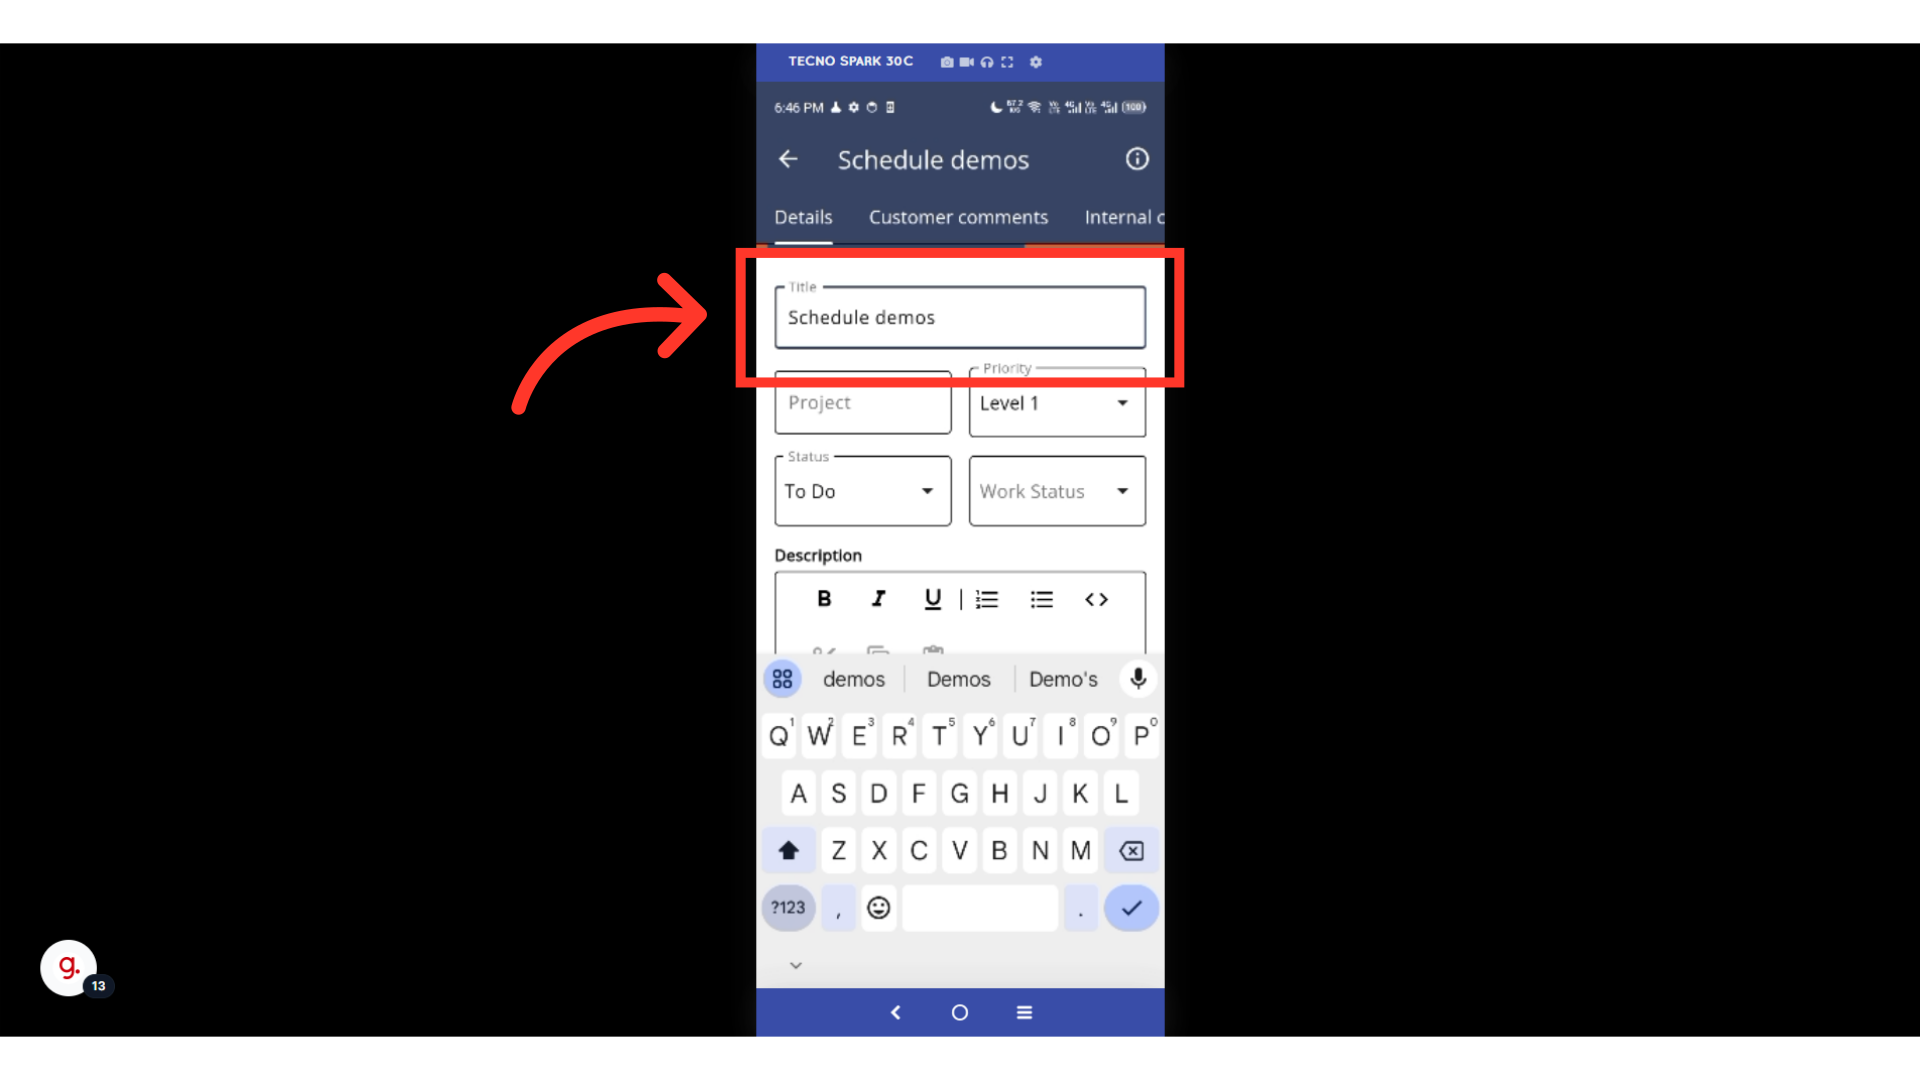
Once finished editing, tap the check icon on the keyboard. This will save your update.

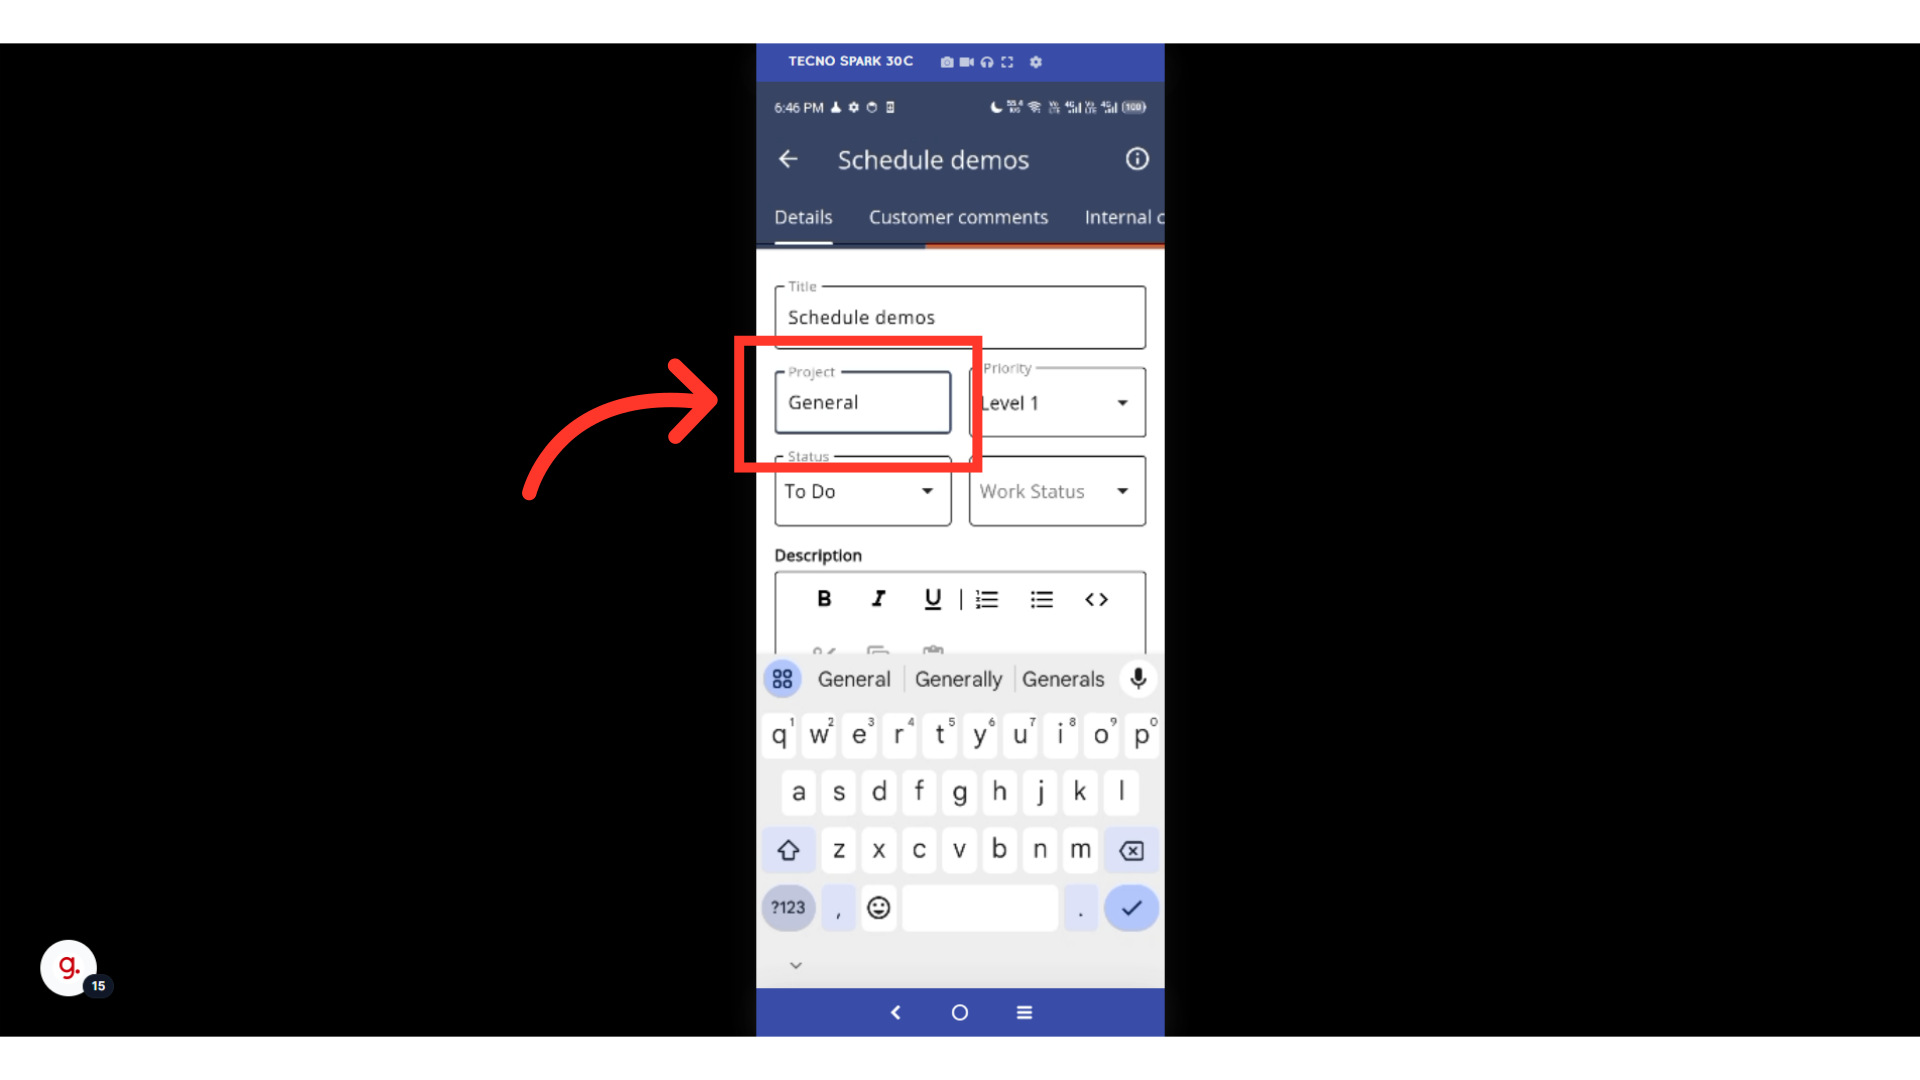
You can also update the ticket's project. Tap the "Project" field.

Then, type in the name of the project the Ticket is related to.
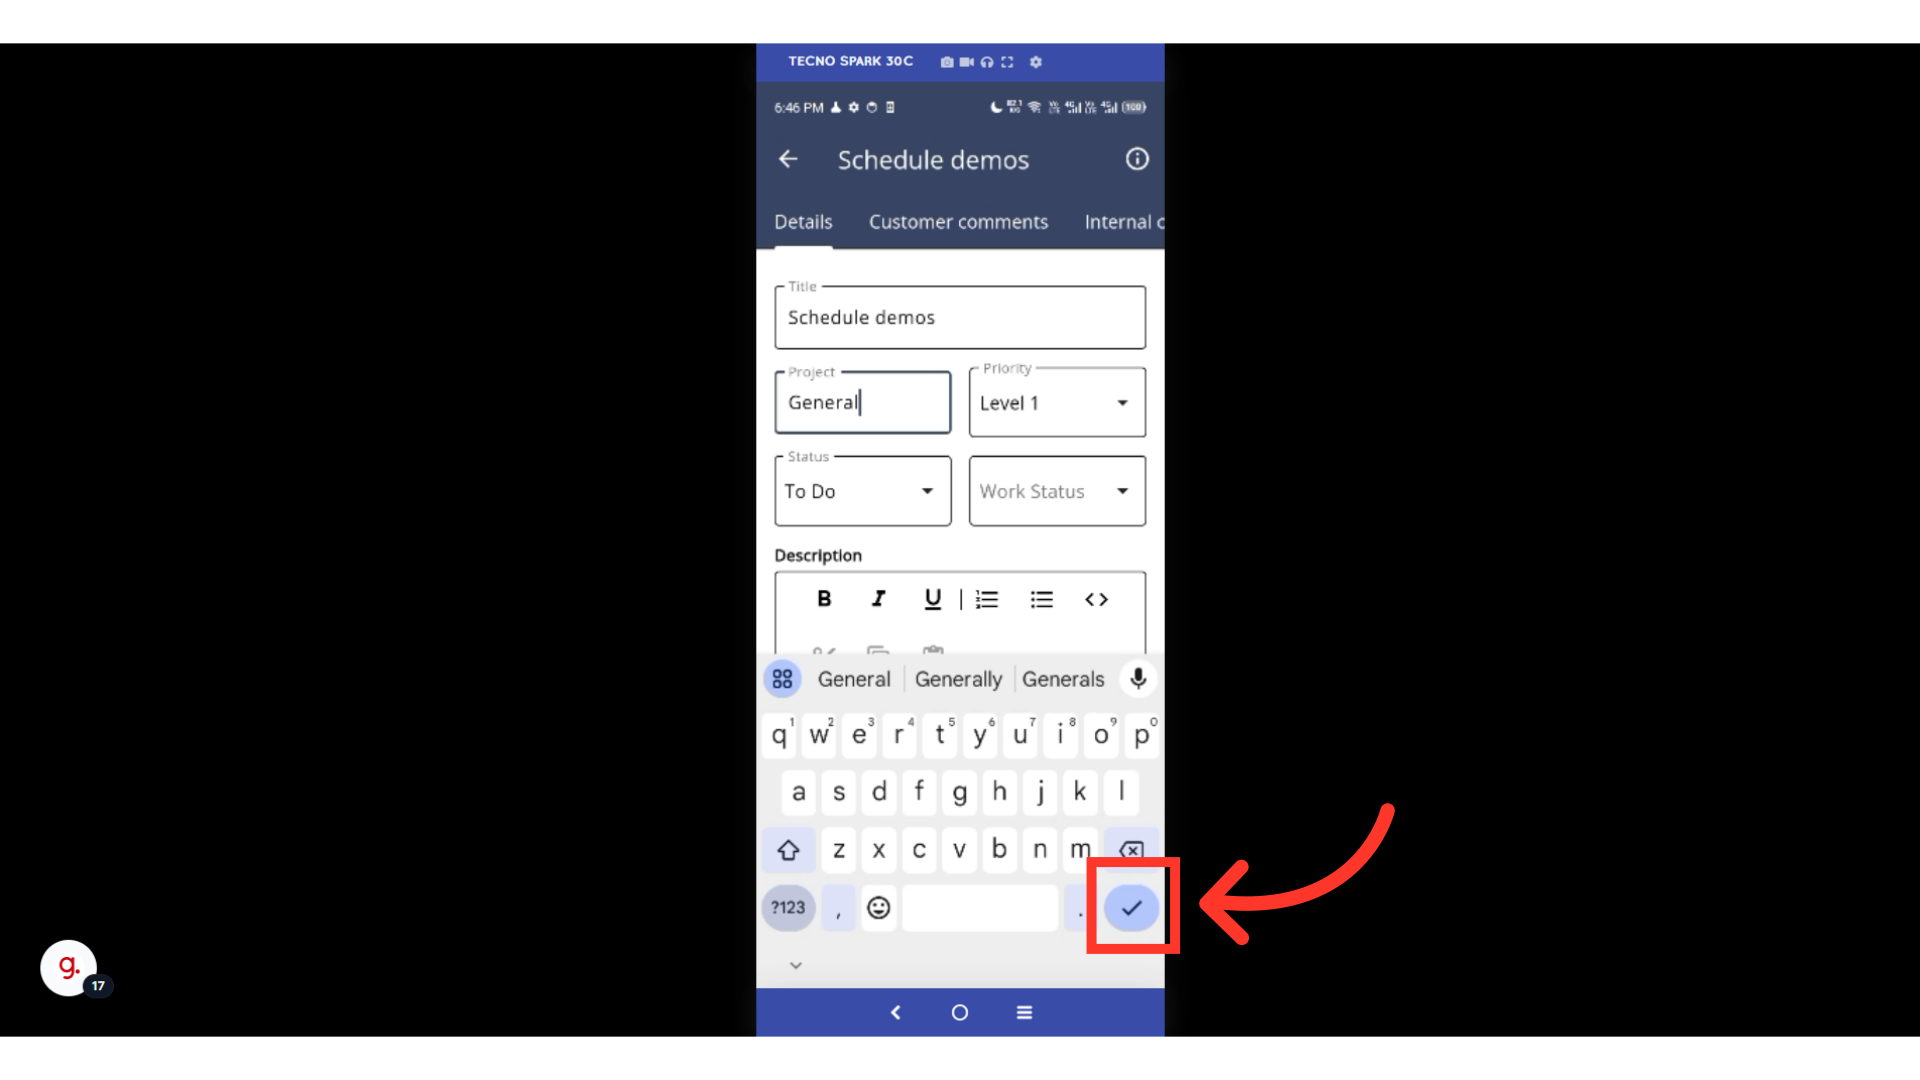
Save your update by tapping the check icon.
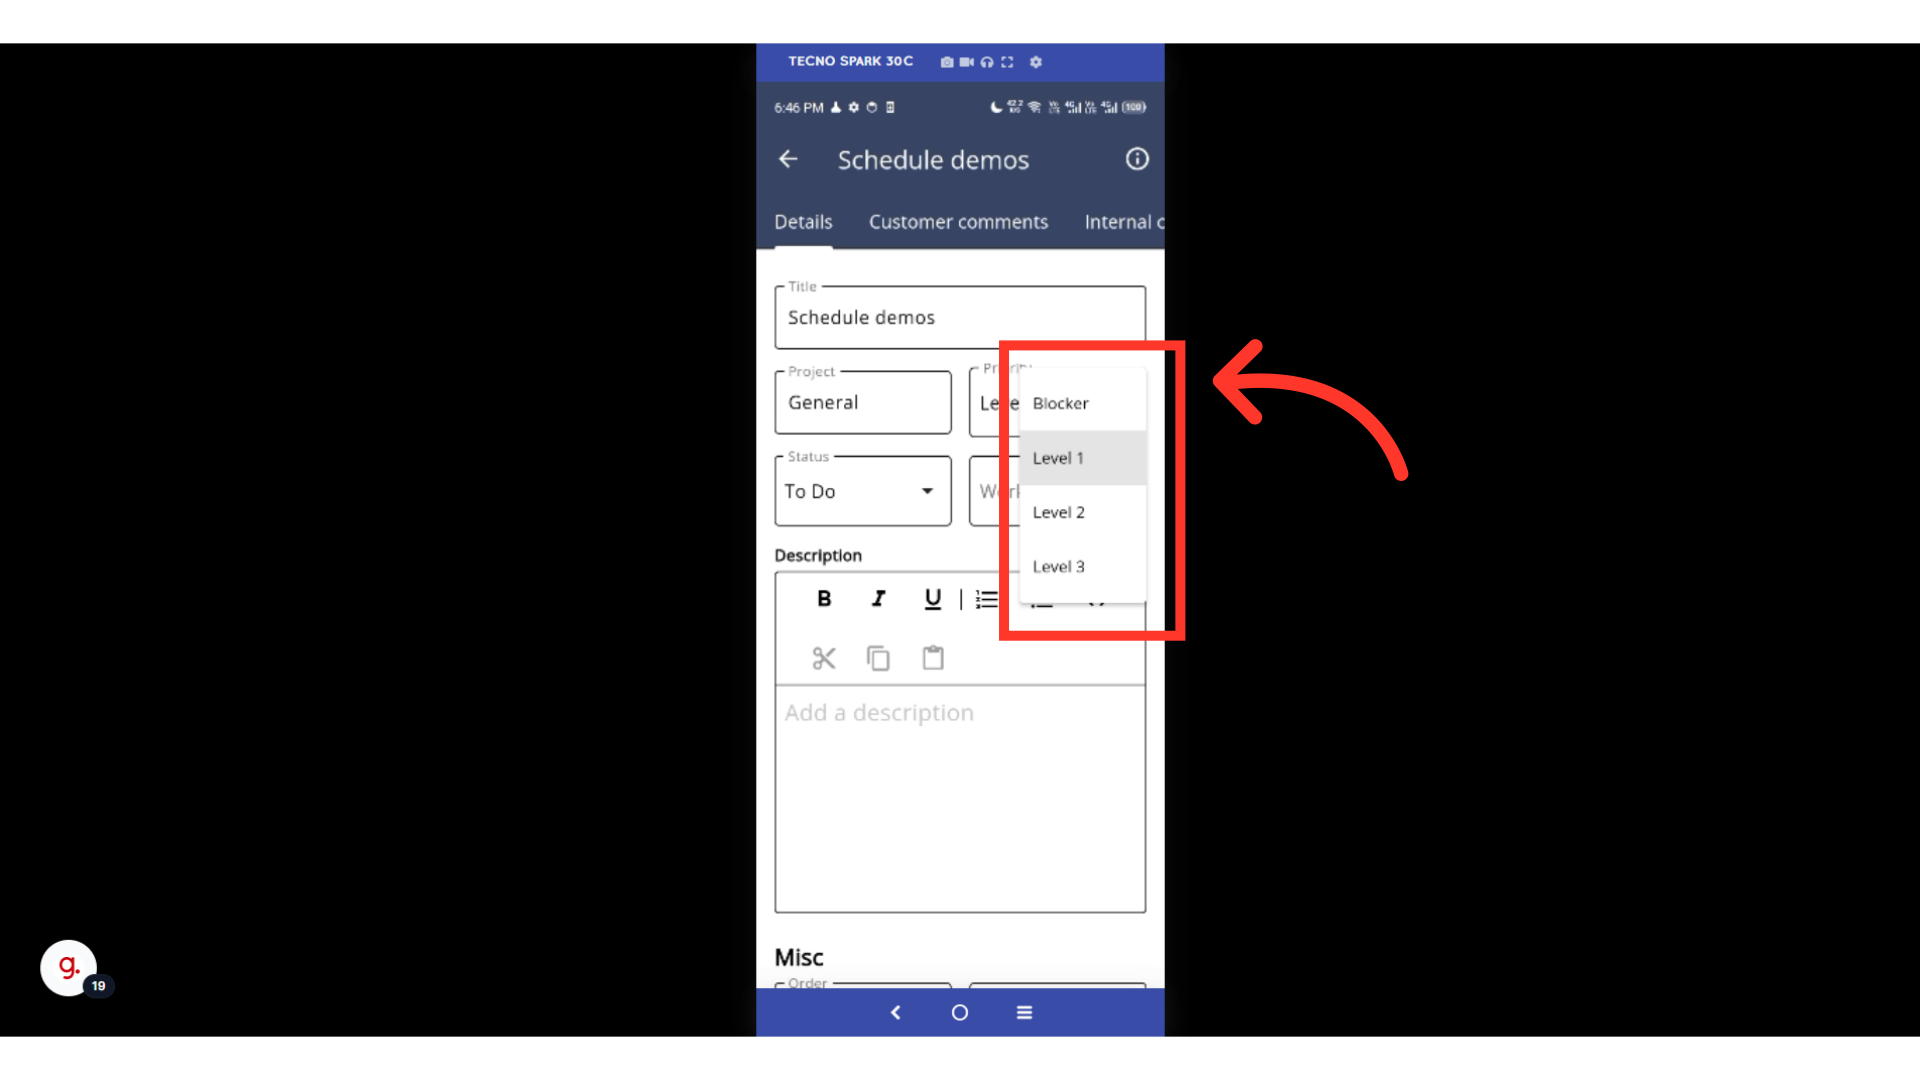
If you want your team members to know which ticket to complete first, you can also update the ticket's priority. Tap the "Priority" dropdown.

Select the priority level you would like to assign to the Ticket.
If you need to update the "Status" of a ticket, tap on the field.
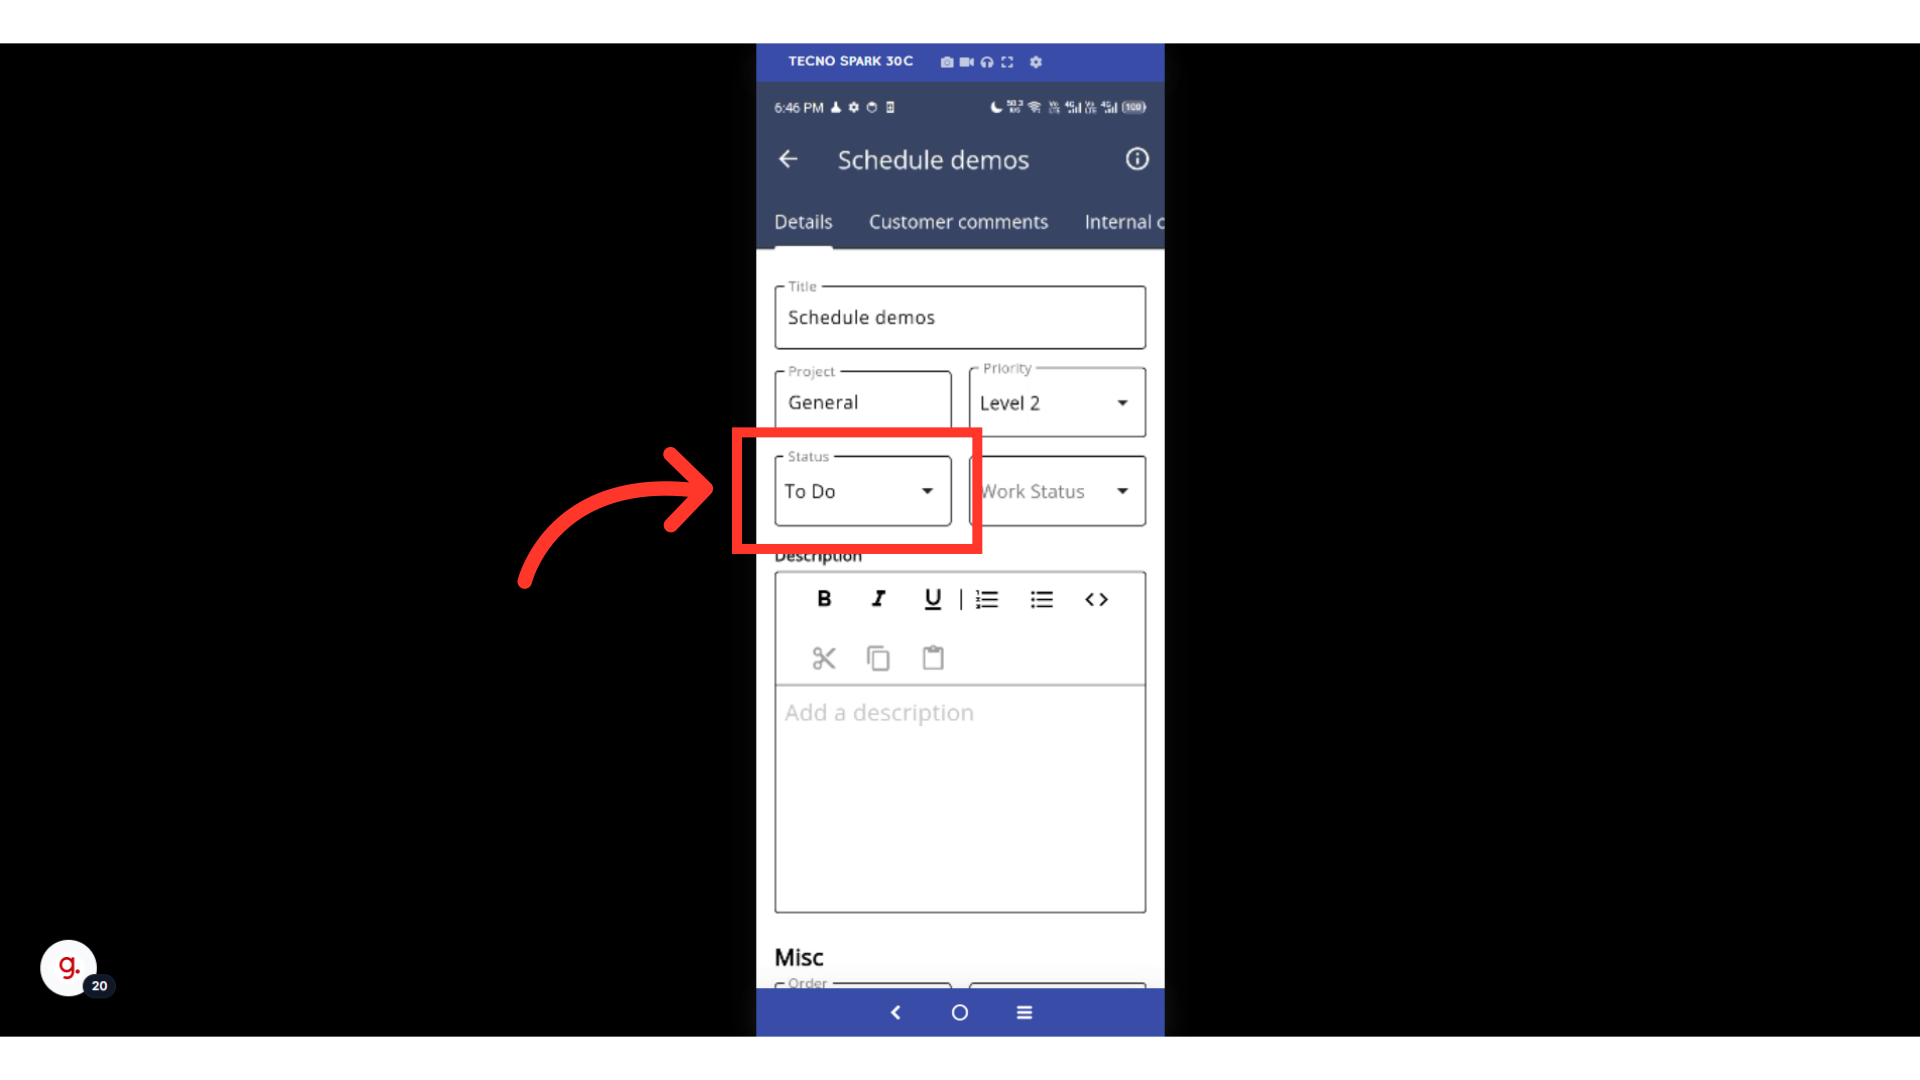
Options will be available for selection. Tap the one that applies.

Tap the "Work Status" dropdown to see the options.

Options will be available for selection. Tap the one that applies.

Tap on the "Description" field to enter edit mode.

Start updating the description of the ticket by typing in the field.

Additional ticket fields are available for use if you swipe up.
