In this guide, we are going to take you through how you can create custom blocks to use on your CMS pages.
Video overview:
https://youtu.be/JCG3X2K29jA?si=EZYWbVaAmtEgMqmW
Create a Custom Block
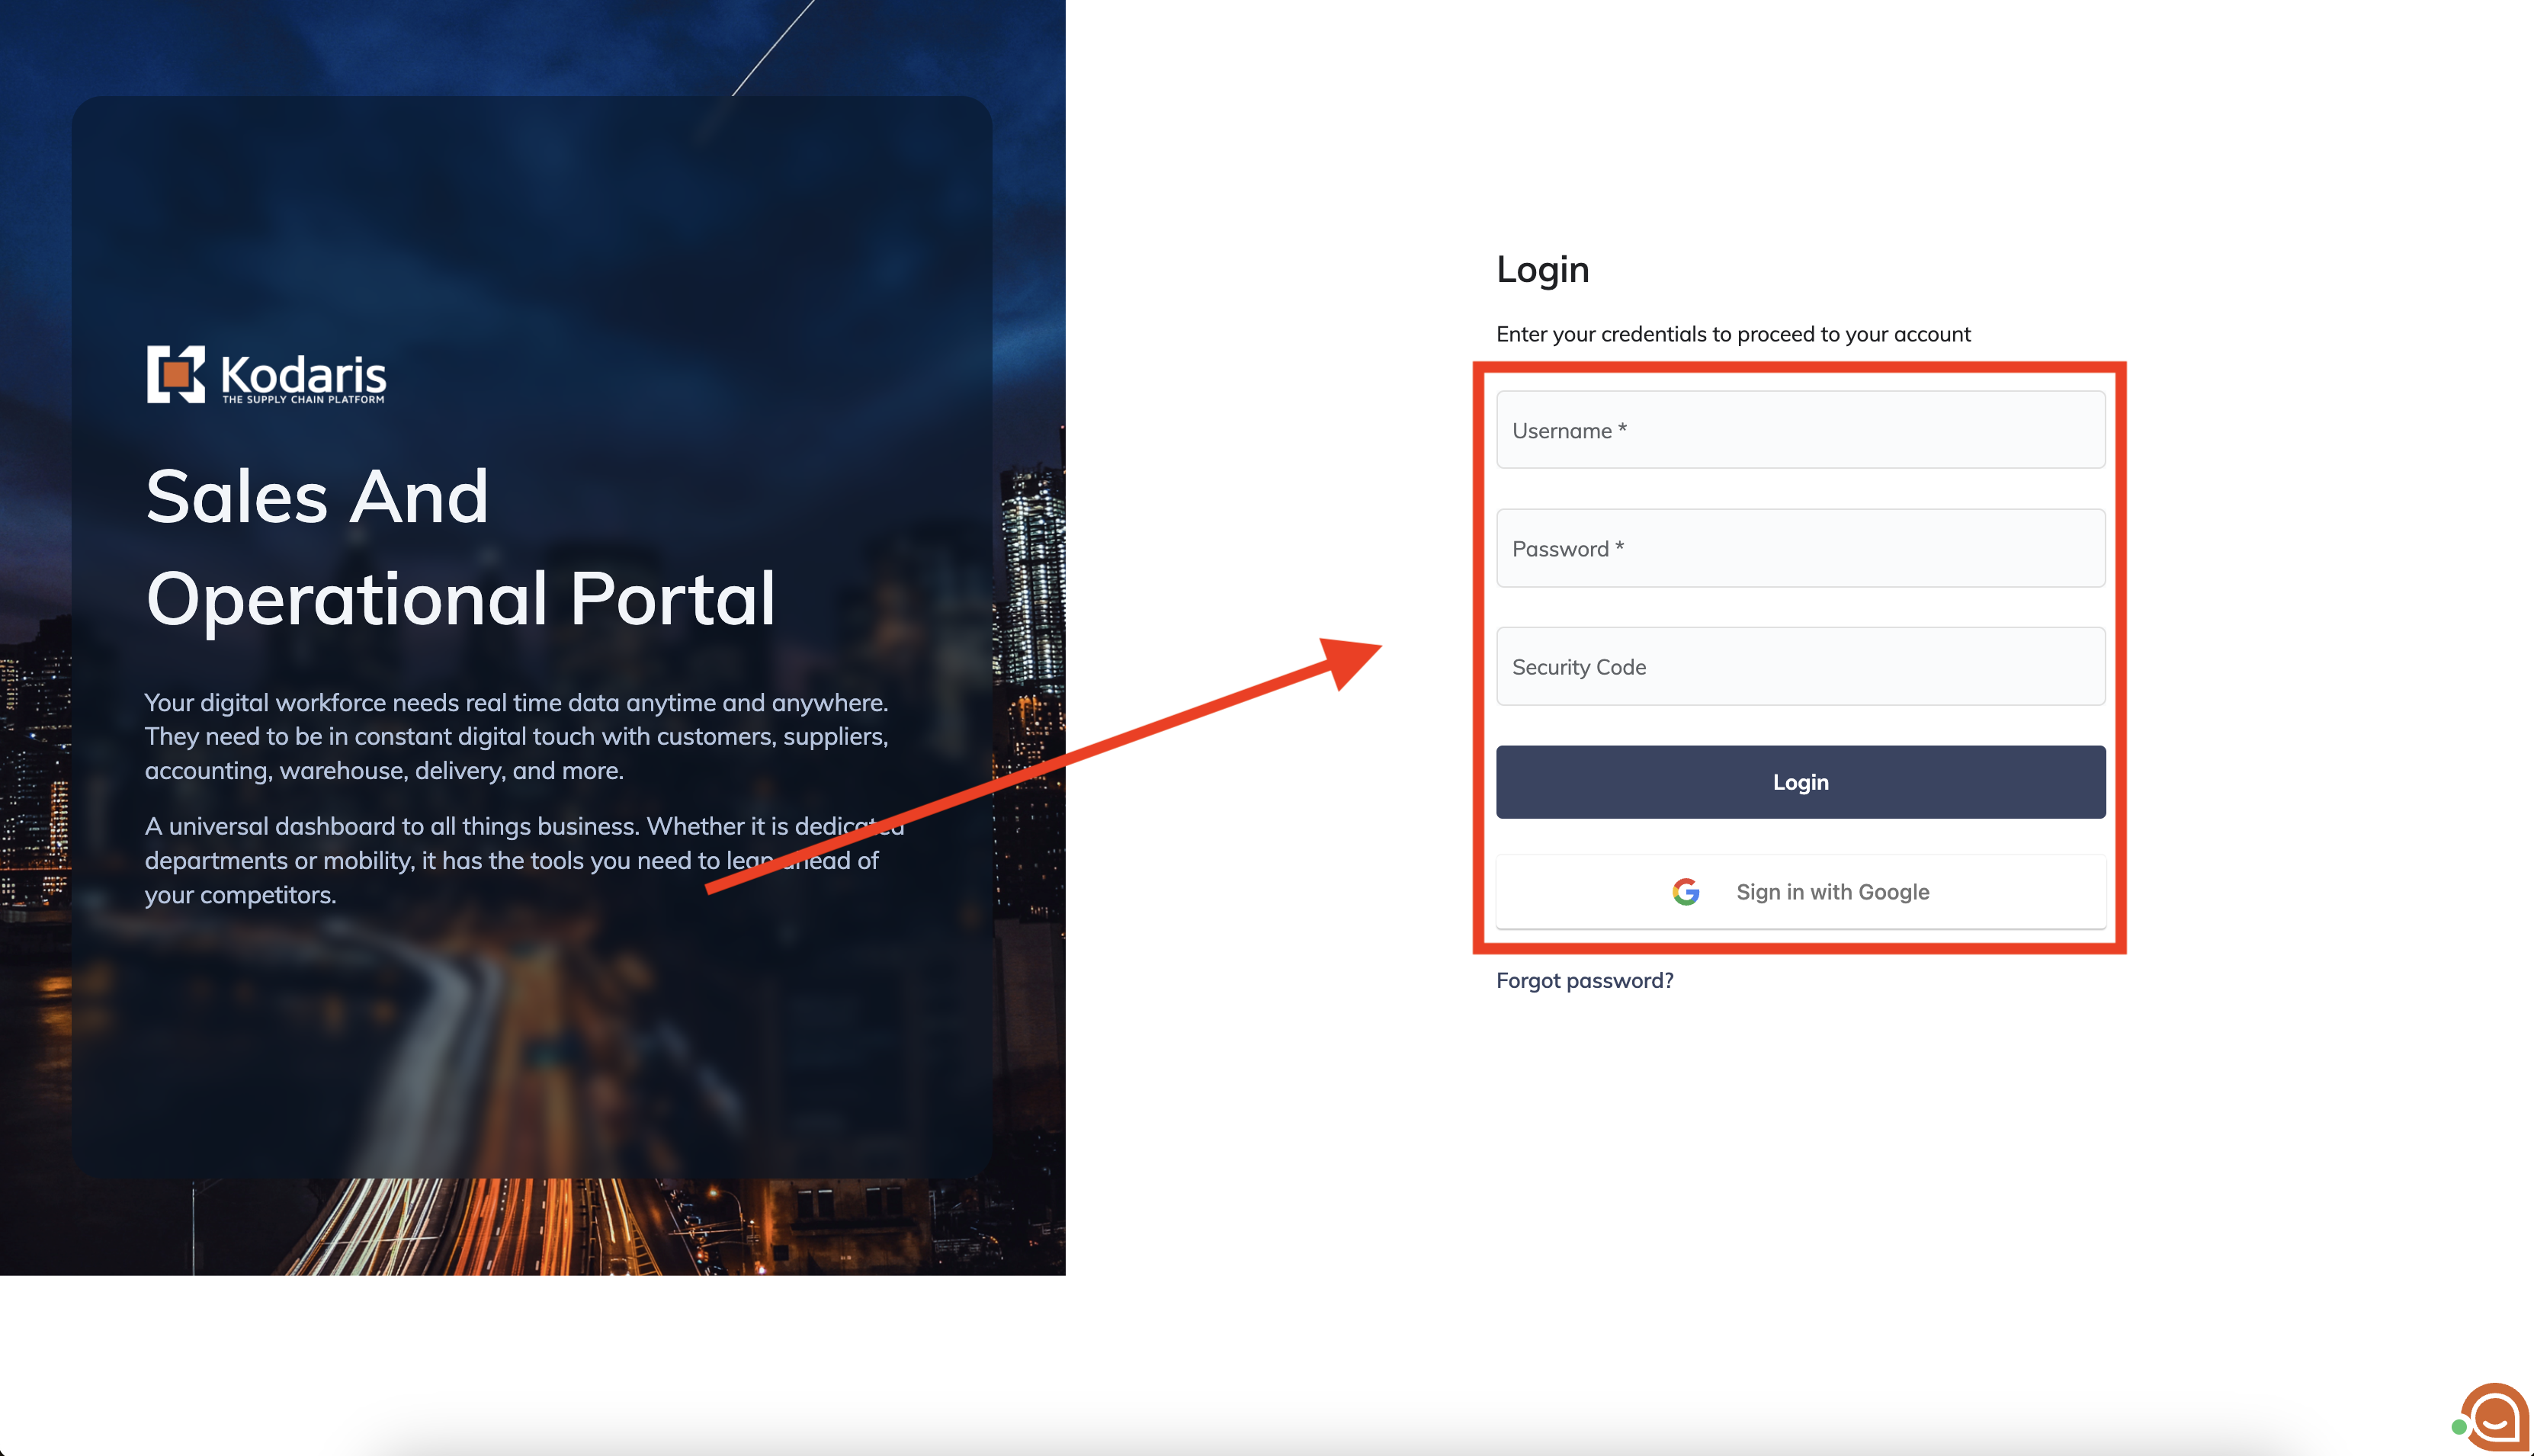
Go to the Operations Portal and login
Navigate to the Gutenberg Files screen. This is where all your custom Gutenberg files related to the Gutenberg editor are stored. To view, update, or create custom blocks, you will need superuser, administrator, or gutenbergFileEdit permissions.
Add a new JS file for your custom block. All the blocks should reside in the 'blocks' folder, so when you enter your file name, enter it in the following format, blocks/your-block-name.js.
After creating the file, we can see that its in the 'blocks' folder from the value in the 'Path' column, which is what we want.
Next, navigate to the file details.
In the file details, you can start coding your custom Gutenberg block. When you're done, click 'Save' to save your changes.
Add Styles For Your Custom Block
After the above steps, you'll now be able to use your new custom block when you add/edit a CMS page. However, it might not look how you want it to without any styles associated with it. So let's add some styles.
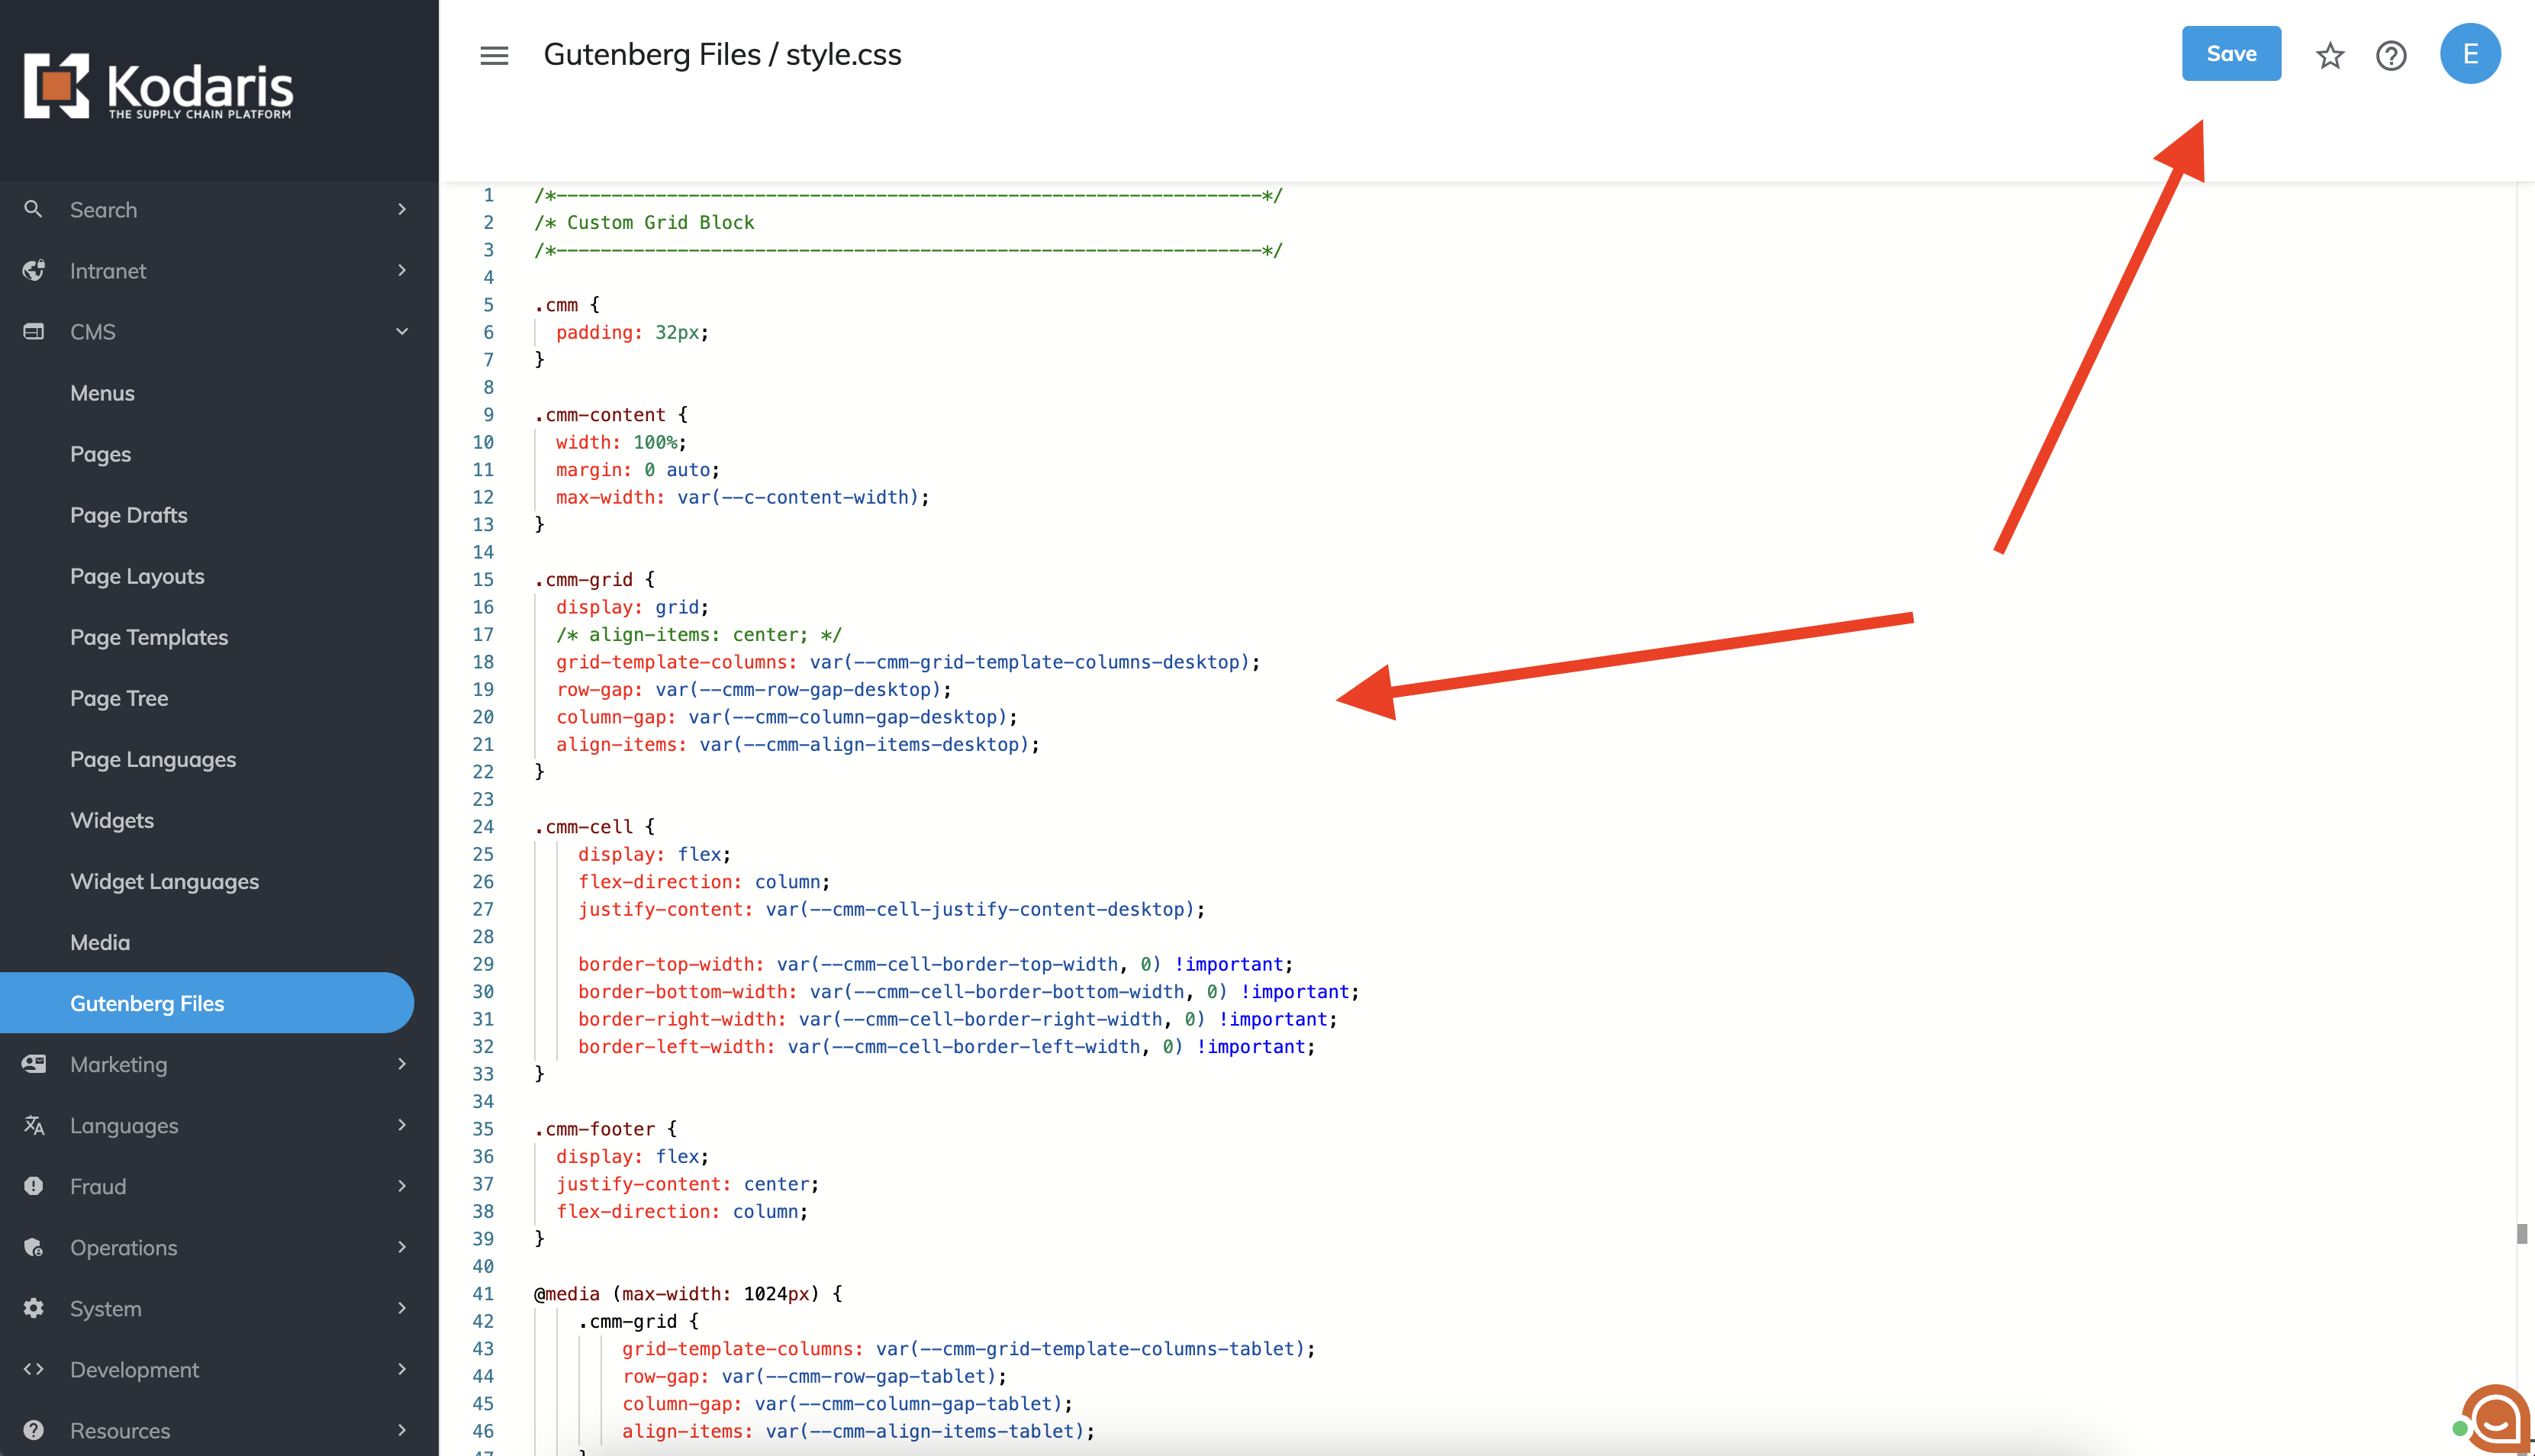
Go to the Gutenberg Files page in the Operations Portal and add two stylesheets, 'editor-style.css' and 'style.css'.
The 'style.css' stylesheet will be loaded on both the website itself when your CMS page loads and in the Gutenberg editor when you are editing a page. This allows you to style your custom block in both views.
The 'editor-style.css' stylesheet will only be loaded in the Gutenberg editor when you're editing a page, not on the website itself. This allows you to add any editor specific styles that the user might need as they are editing a page.
For example, if you added the following style to the 'editor-style.css' stylesheet, it would only add a background color of red to the page editor, not the page on the website.
.editor-styles-wrapper {
       background-color: red;
}
Next, go to the details of the two stylesheets.
Then, add some styles for your custom block and click 'Save'.
View Your Custom Block
Now that you've built out your custom block and added some styles, you can add it to a page and view it.
Go to the Operations Portal, navigate to the Pages screen, and either add a new page or edit an existing one.
Once in the Gutenberg page editor, you can search for your new block by its title, and add it to the page.
You can then fill out your new custom block with some information. You can also select your new custom block, navigate to the 'Block' section in the sidebar, and view/edit any options you've built in. For example, in the image below we've added some 'Color', 'Border', 'Grid', and 'Dimensions' options to the custom block.
Then, if you click the 'Preview' button in the page editor header, you can view your new custom block on the website.