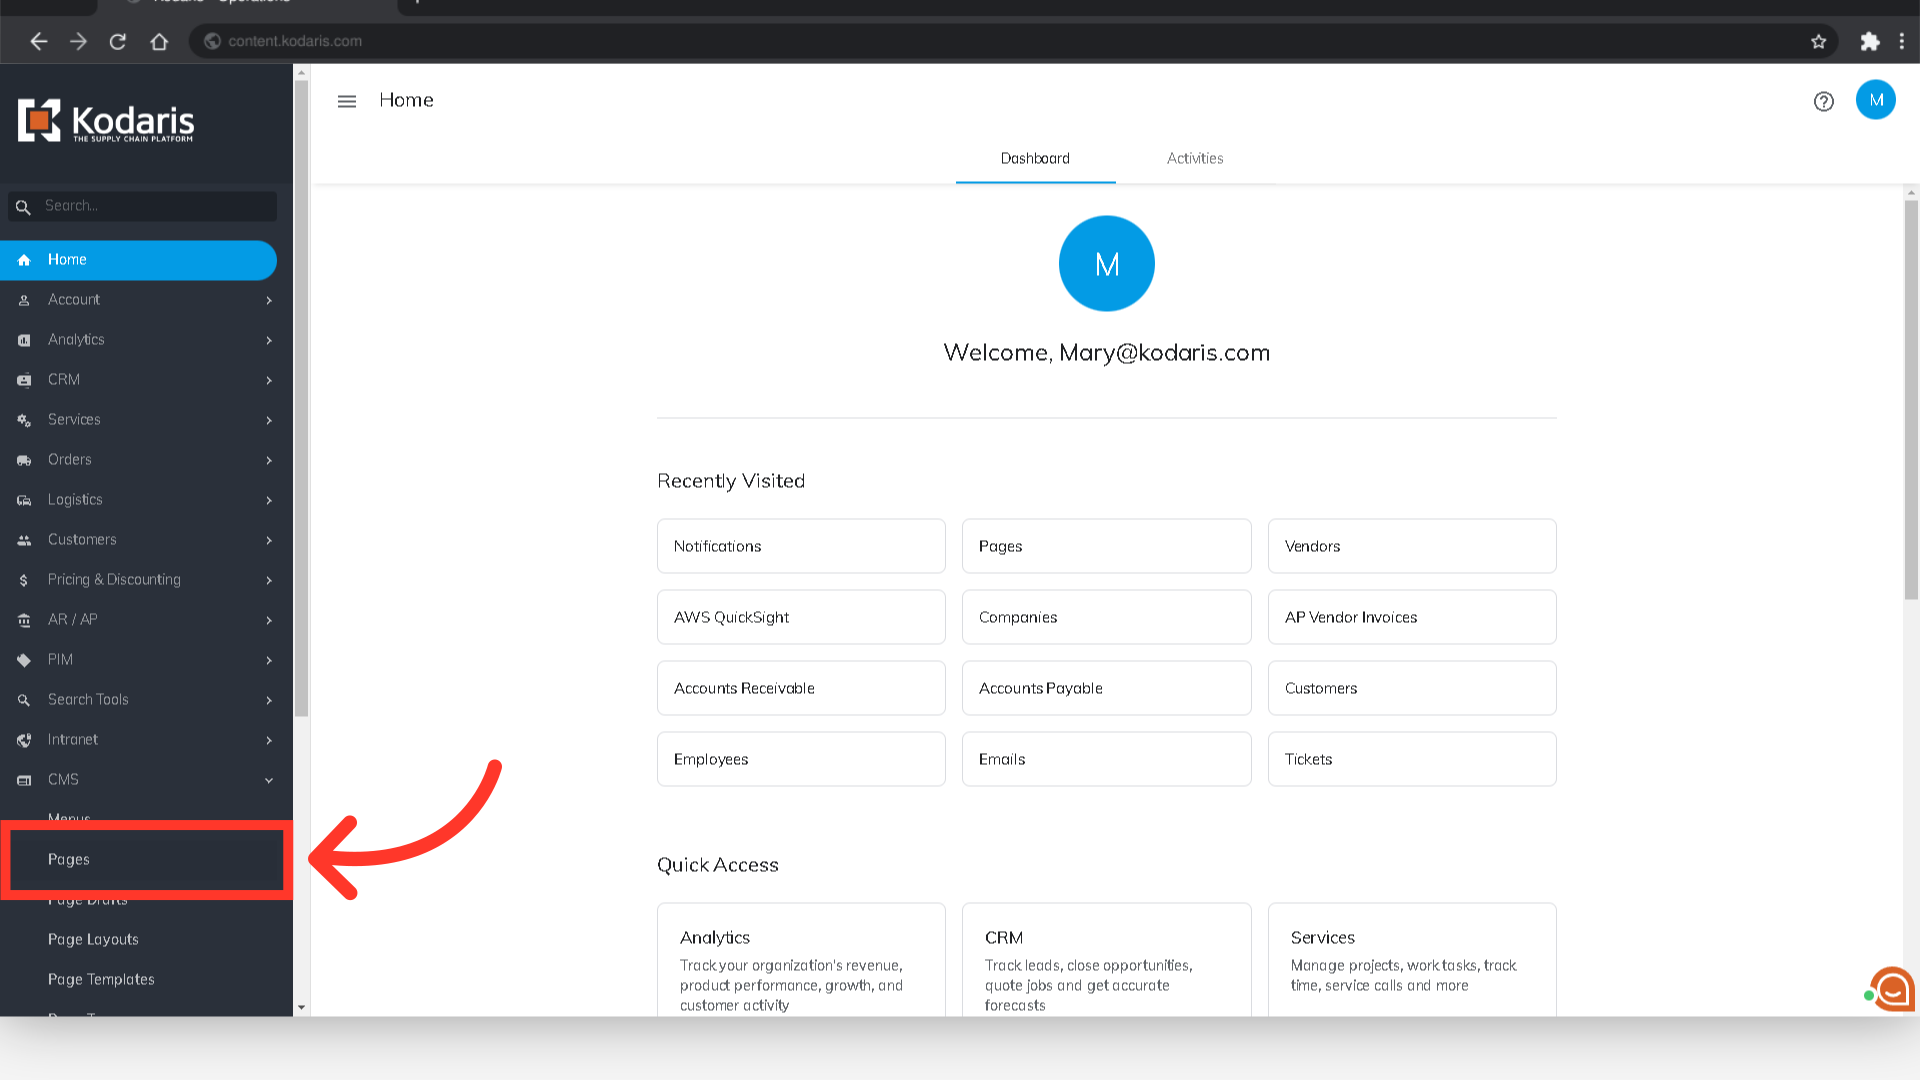
To set up career pages on your website, you will need to have the roles of "administrator" or "superuser", or have the roles of: "contentView" and "contentEdit" and “cmsView”. Navigate to the CMS section in the Operations Portal.

Then, click "Pages".
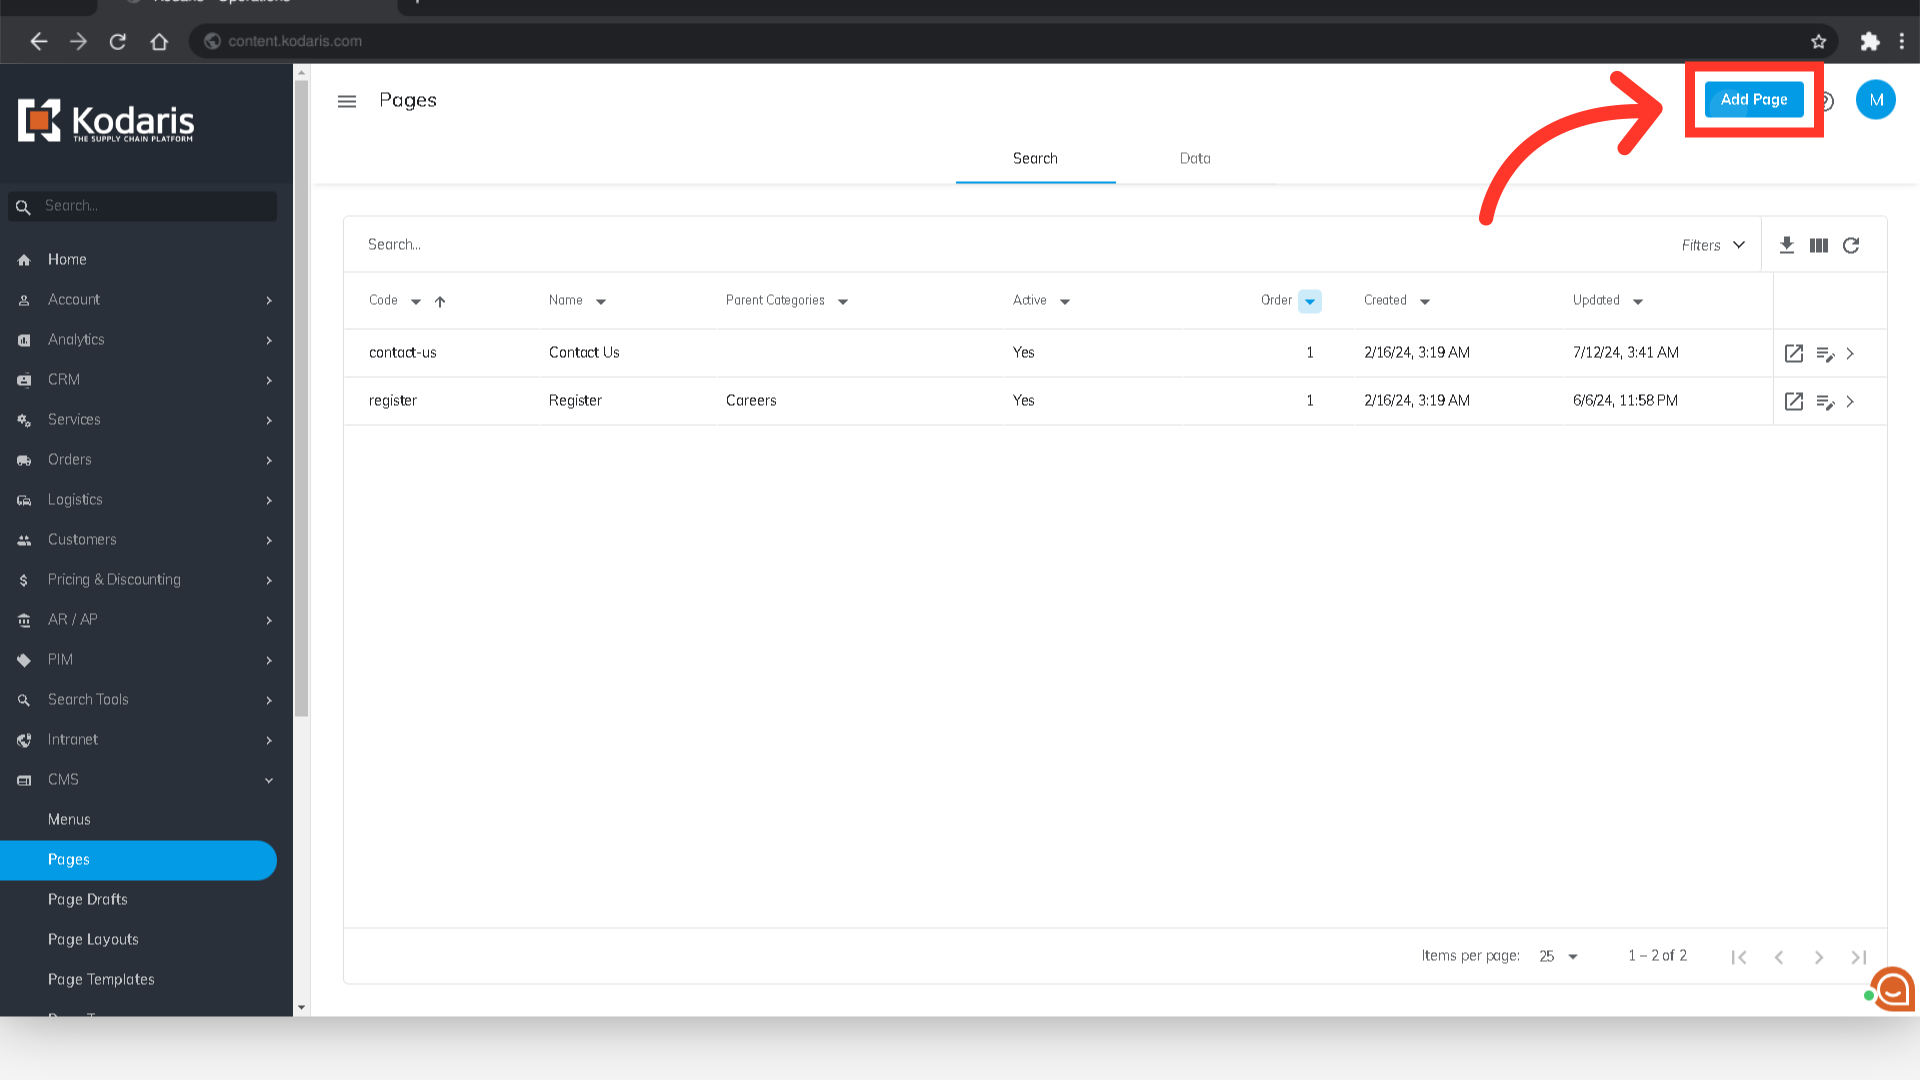
First, we will need to add the "Careers" parent page. Click the "Add Page" button.

Then, select the "Gutenberg" editor.

Click "x" to close the predefined layouts.

Add the page title. In this example, we are using "CAREERS".

Enter the text that you would like to use on the parent page. It can be a short company introduction.

Enter the page subtitle, for this example we are using "All Opportunities".

Go to the page editor side bar and enter the page name in the "Name" field.

Select "Careers" from the "Templates" field options.

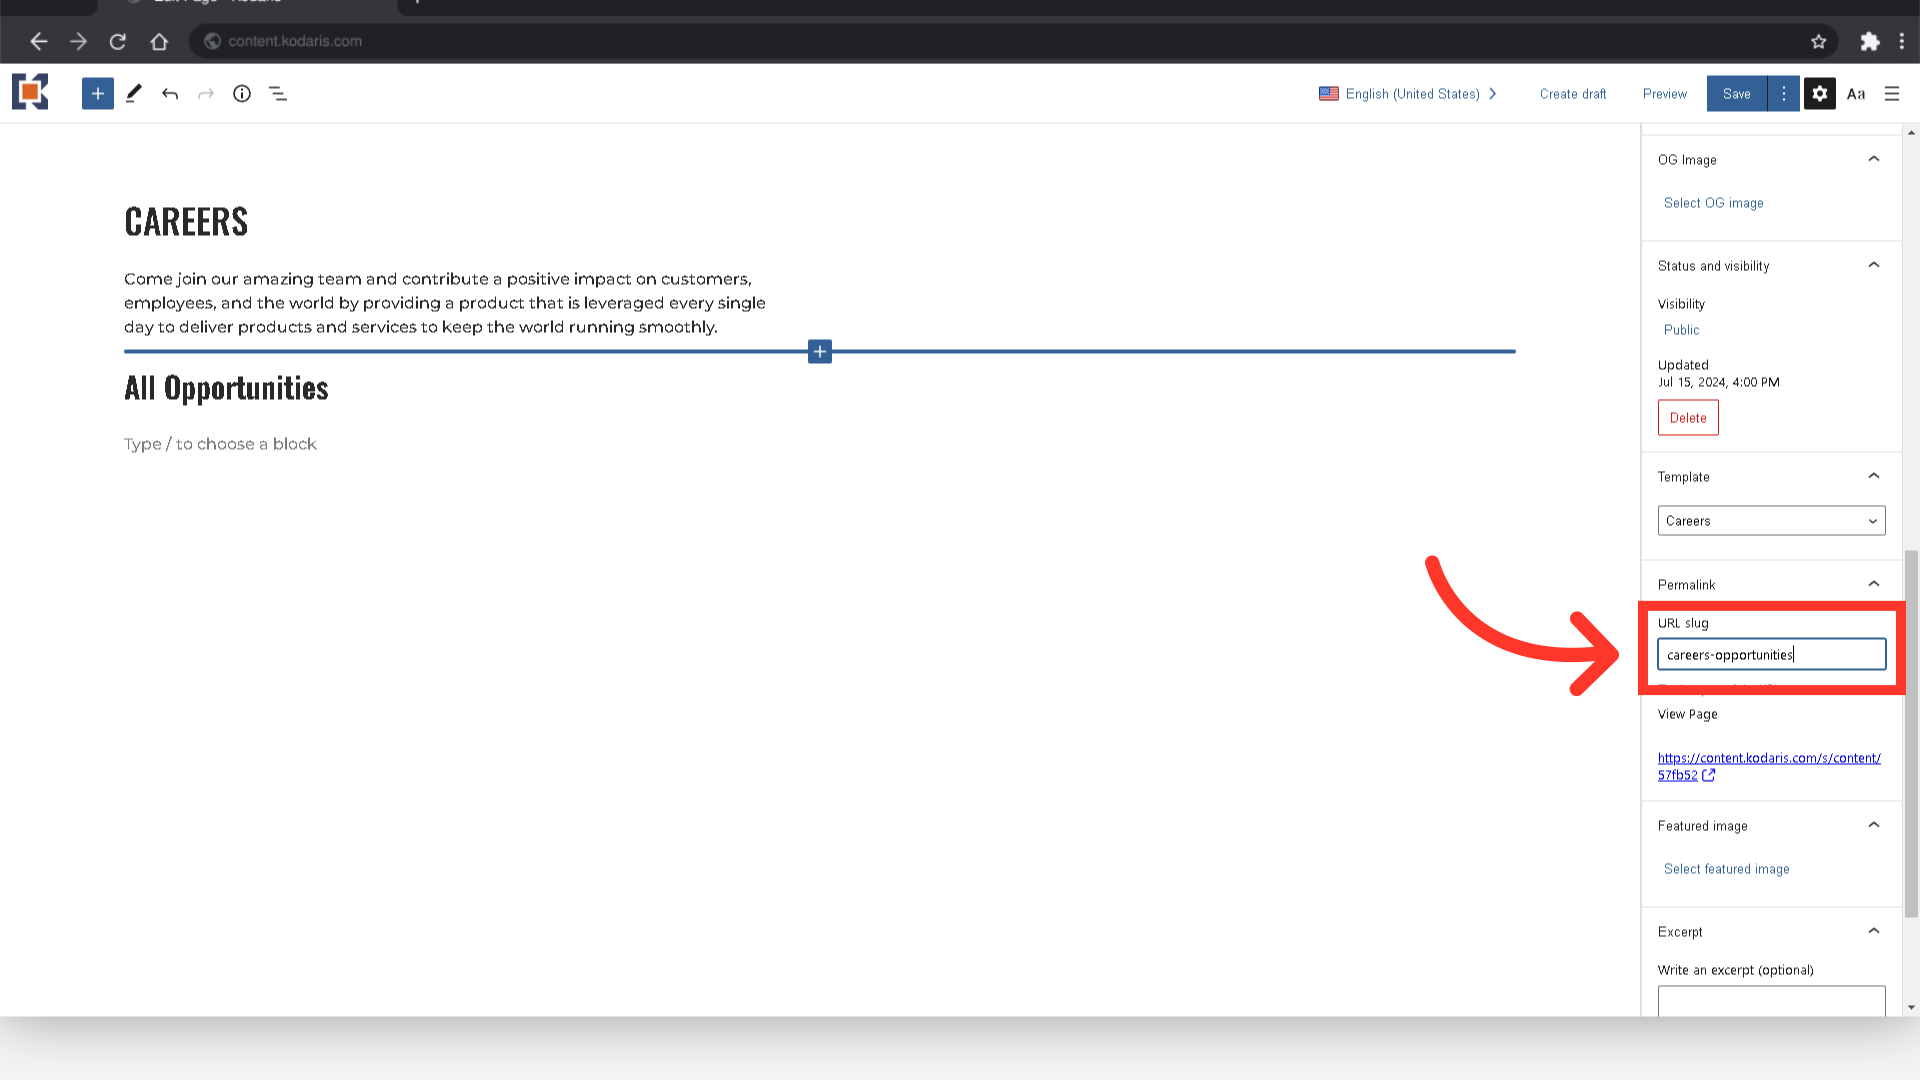
Enter a URL slug or page code in the "URL Slug" field. This should be unique from all your pages.
Save the changes made by clicking on the "Save" button.

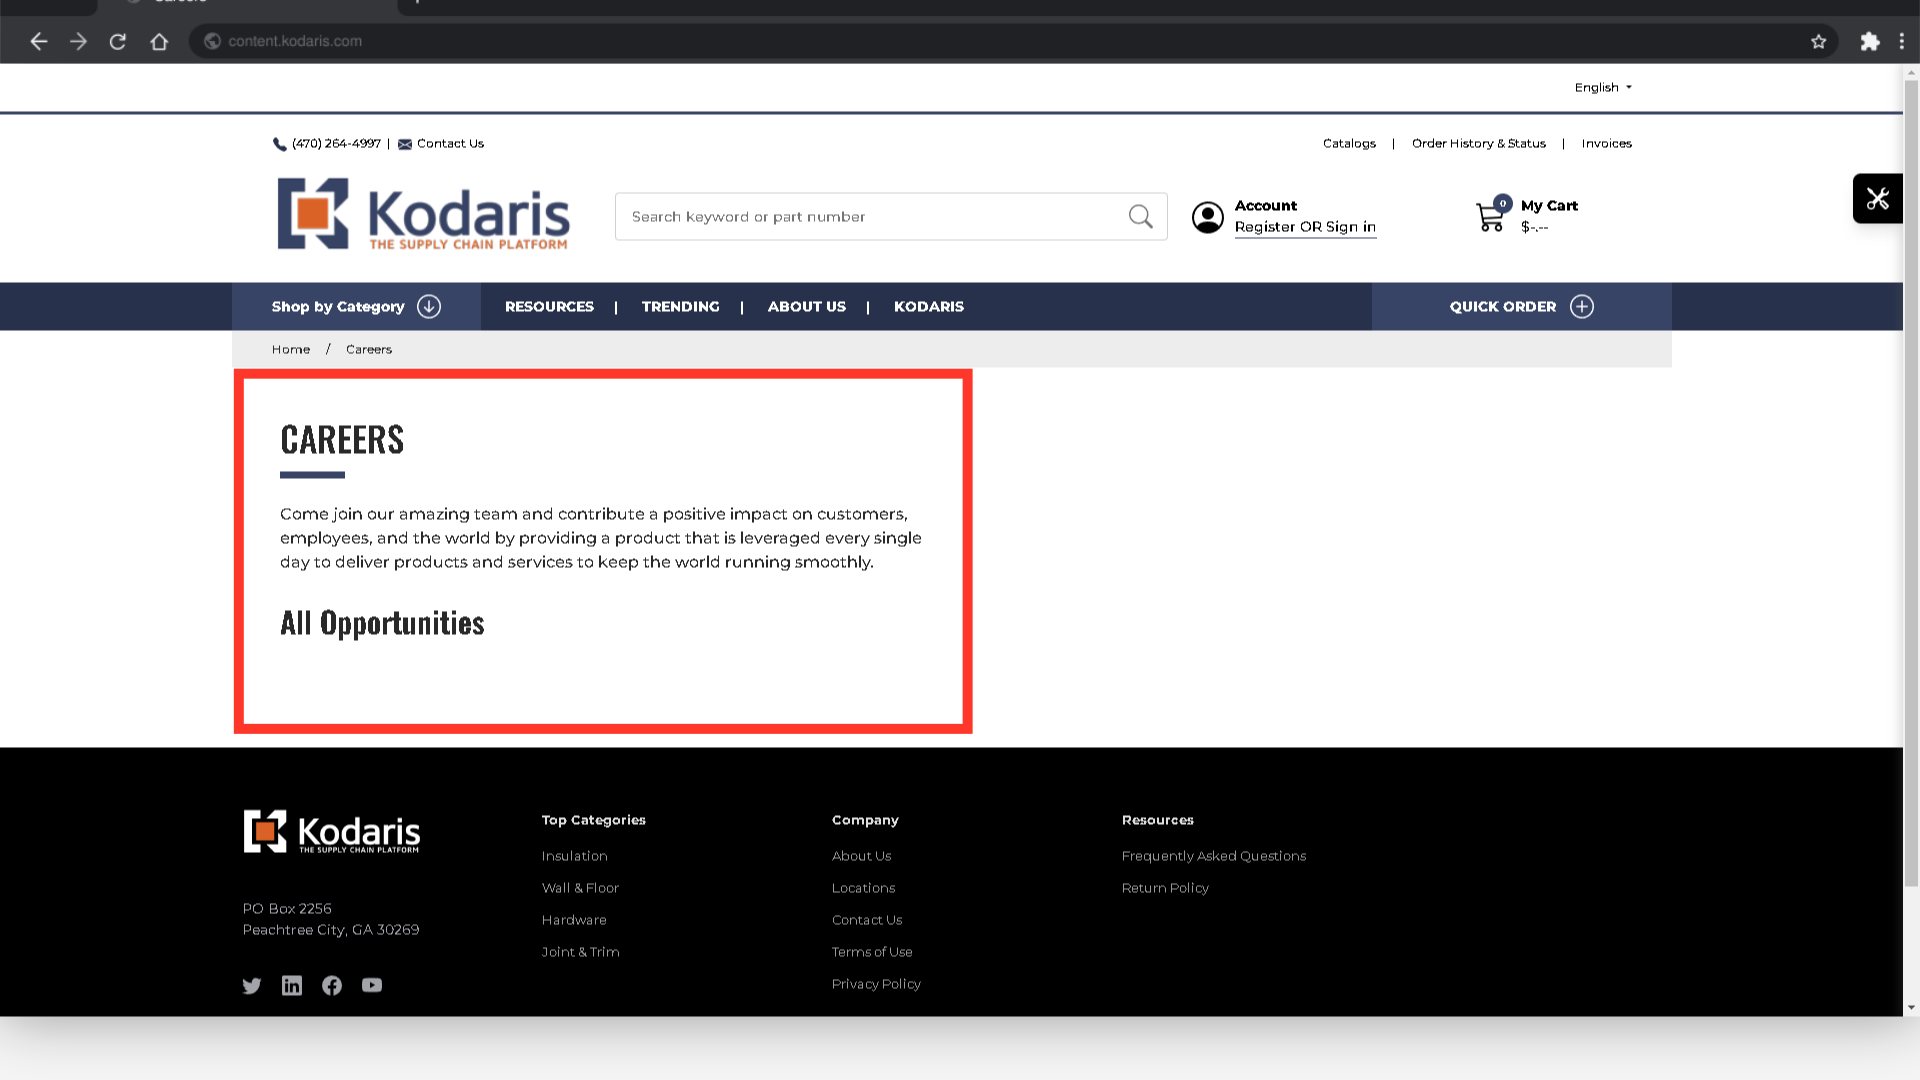
Click "Preview" to see how the Career Page will look on your website.

You should see the page title, subtitle, and the text you added.
For the individual career pages, you will need to create child pages under the career page. Each child page will show up as individual tiles on the parent career page. Navigate back to "Pages", then click the "Add Page" button to start.
Click "Gutenberg".

Click the "x" button to close the predefined layout options.

Enter the job description that you would like to use. For this example, we entered "Responsibilities" and "Qualifications".

Go to the sidebar and enter the name of the page. In this example, we are using "Product Marketer".

Then, select "Career" from the "Templates" dropdown options.

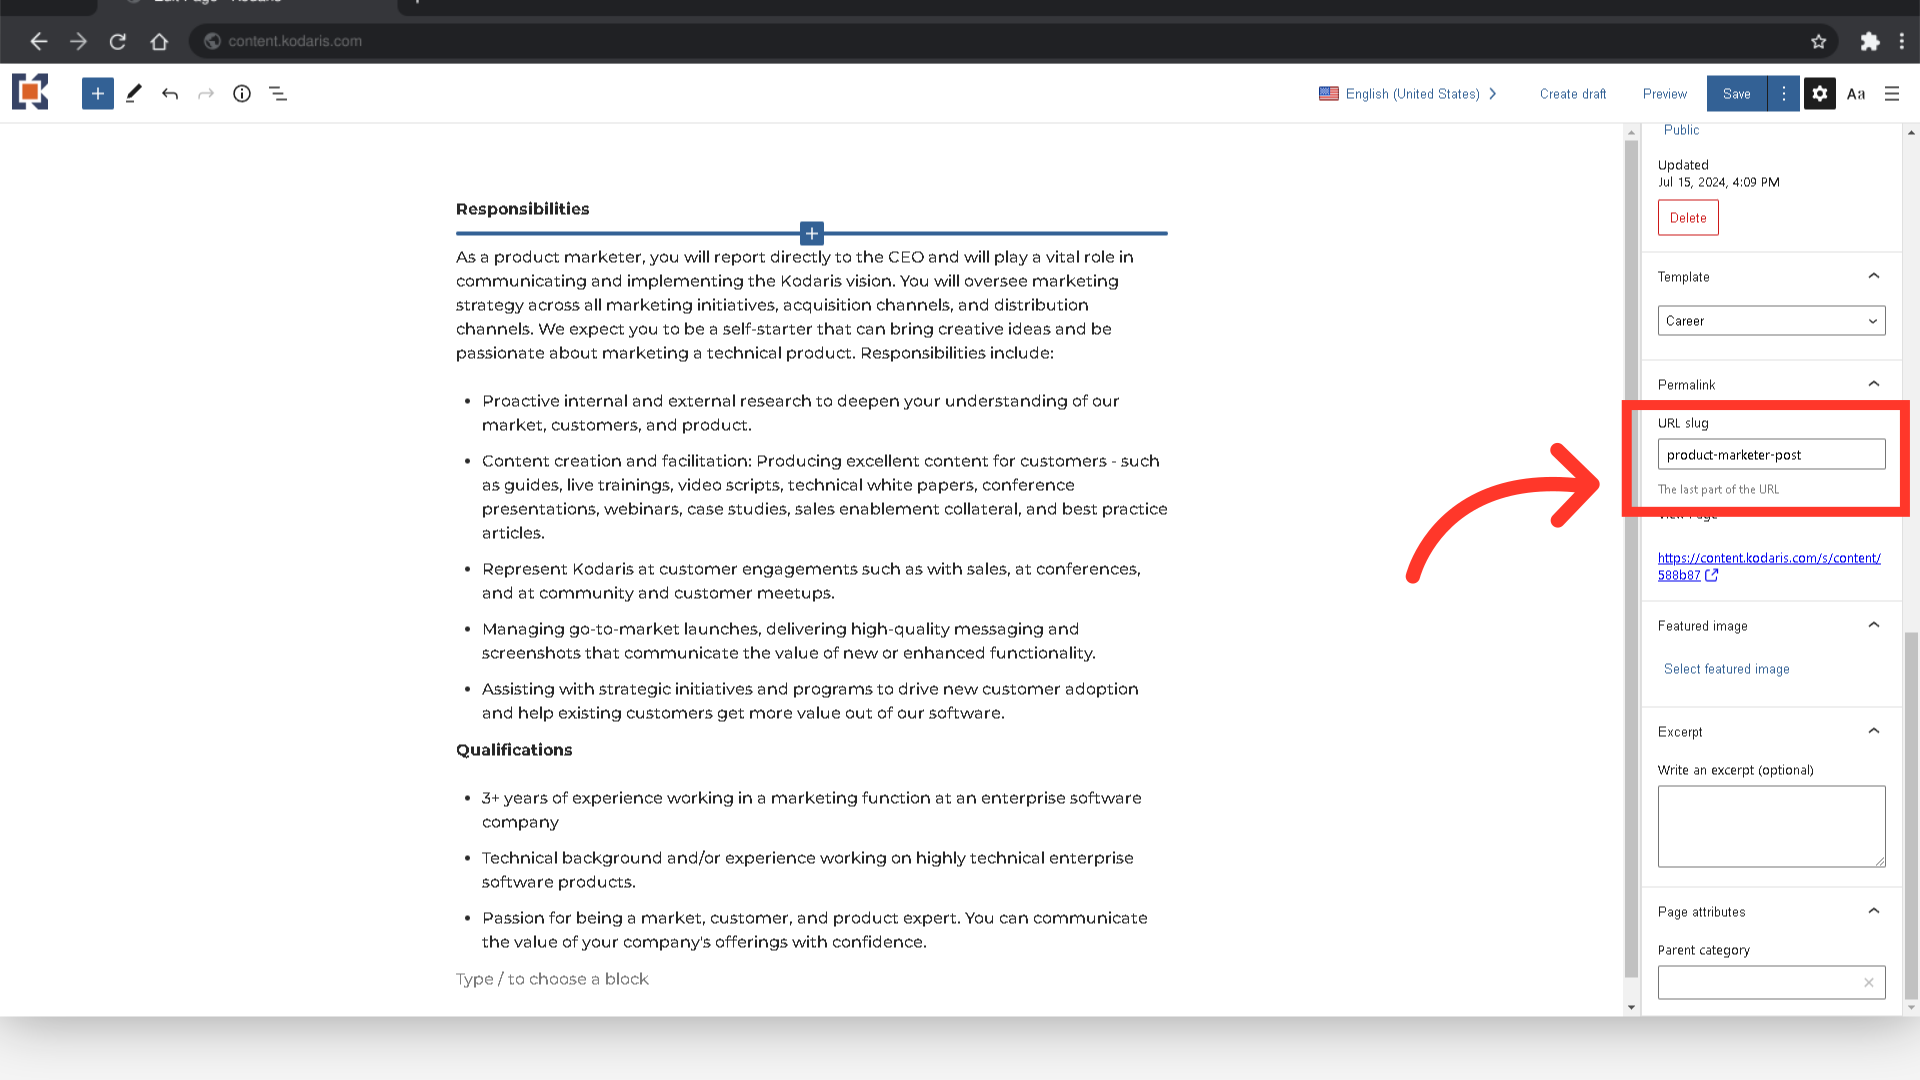
Enter a unique code in the URL Slug field.
Select the Parent Page you created previously from the "Parent Category" options. For this example, we are choosing "Career".

Save the changes made by clicking the "Save" button.

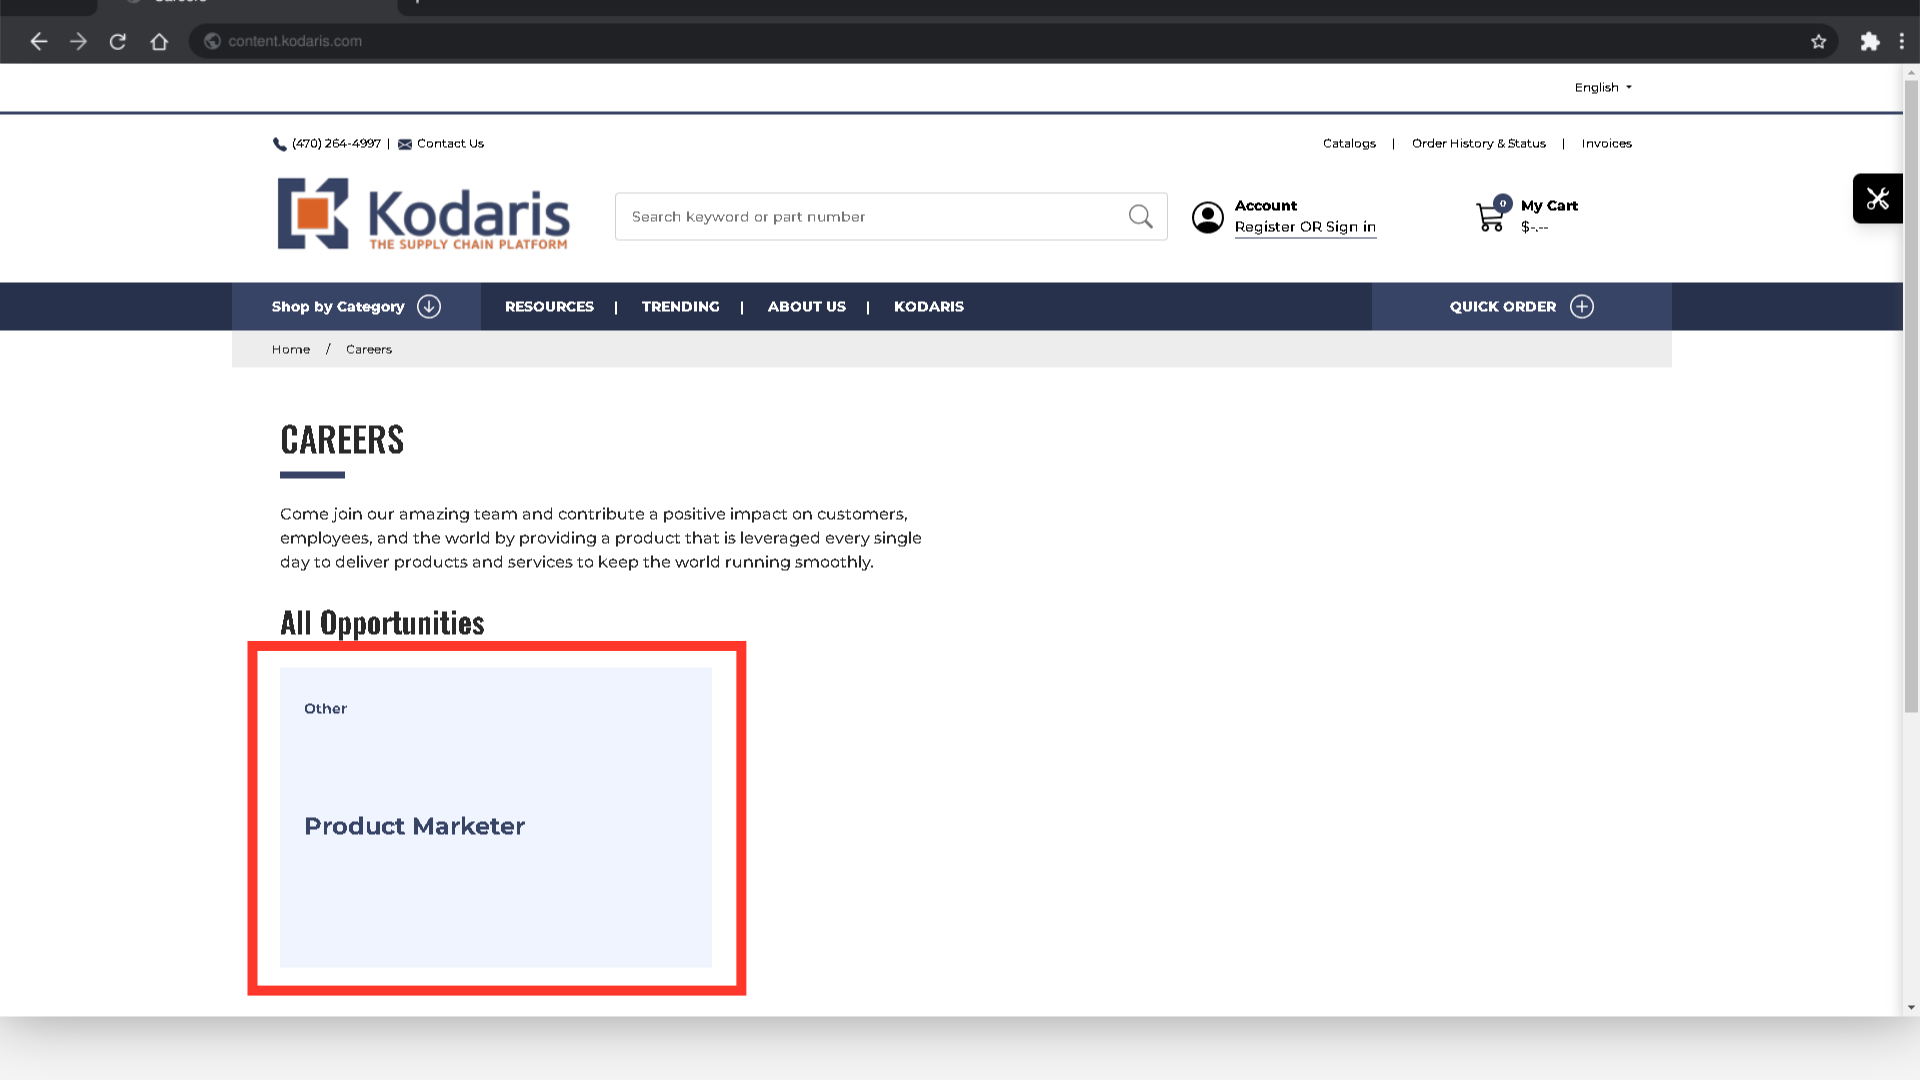
Go back to the website and refresh your page. The added careers tile should appear. You can add as many child pages as you would like.
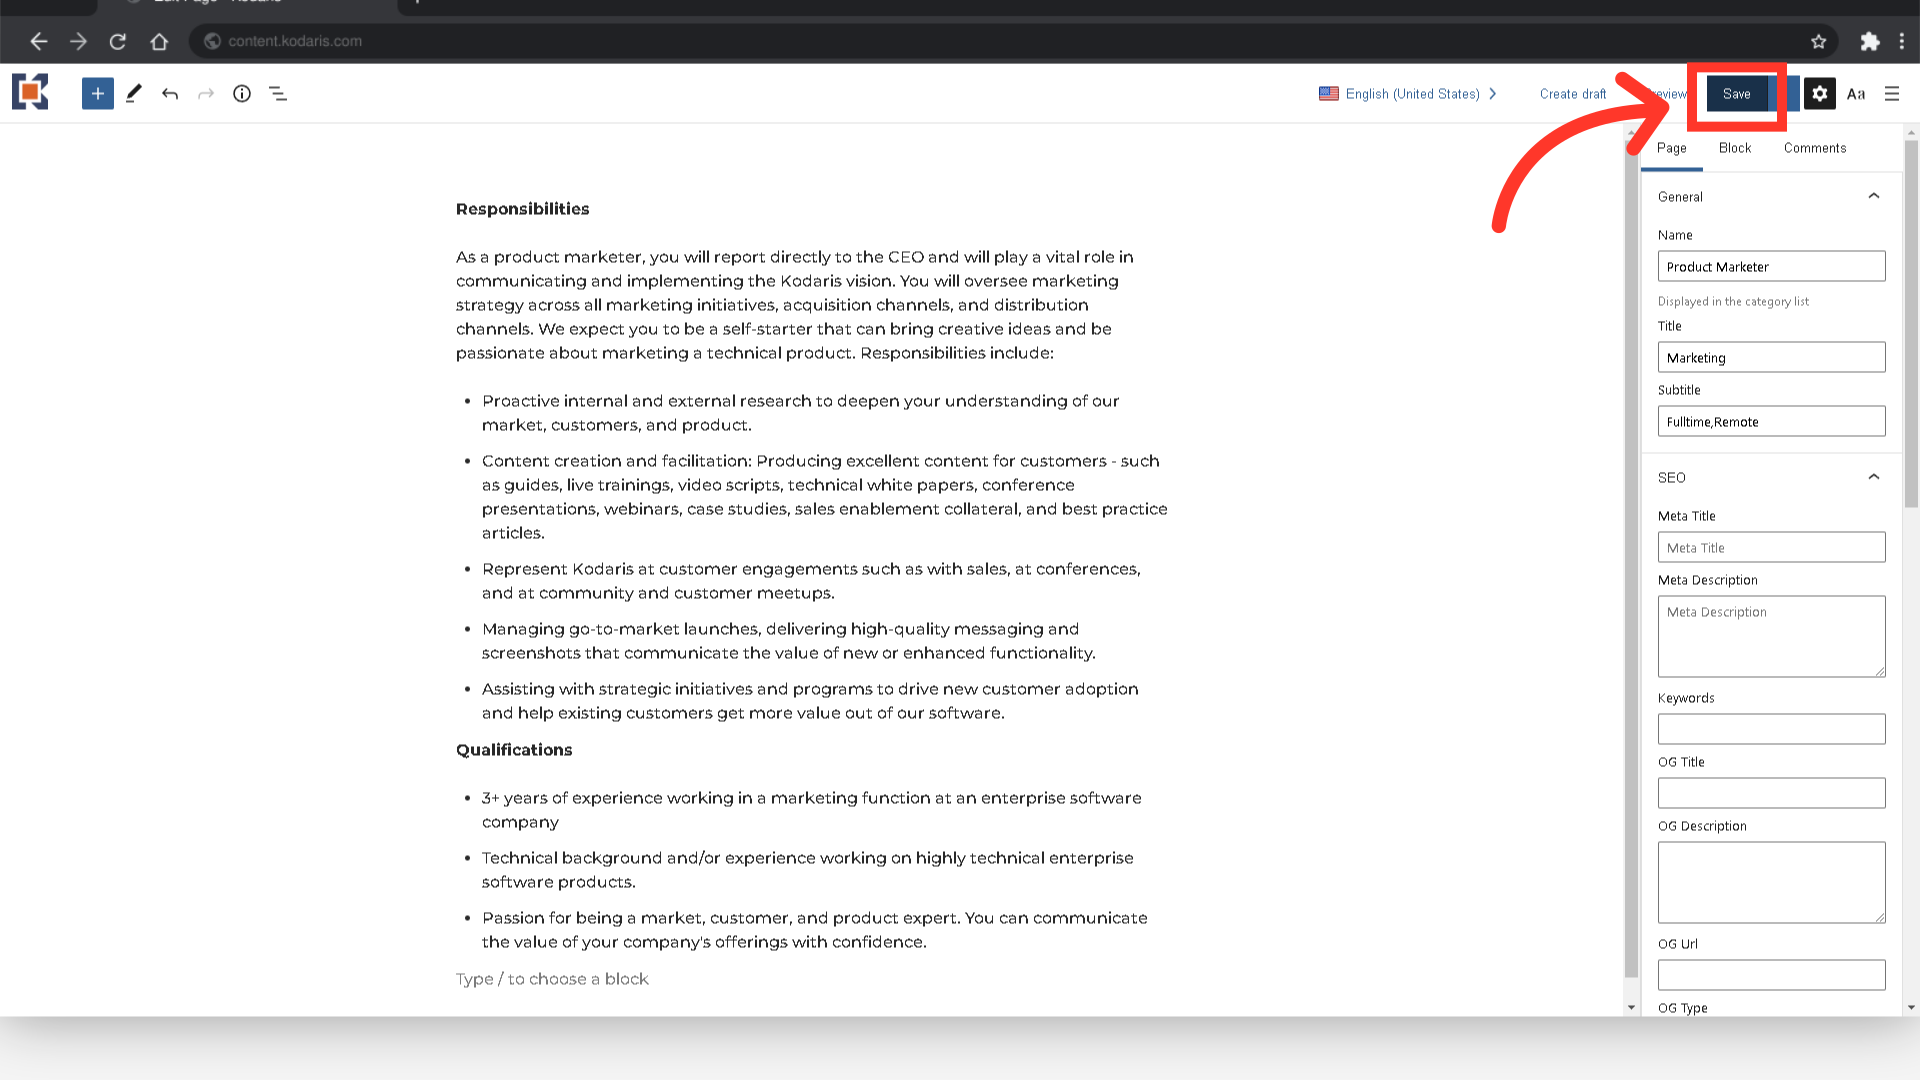
To add a job category to the career page, enter text in the "Title" field. For this example we are adding "Marketing".

To add subtitles to the job description, enter the desired text in the "Subtitle" field. For this example, we are adding "Fulltime" and "Remote" separated by a comma and no spaces.

Save the changes made by clicking the "Save" button.
On the website, the added title and subtitles should show after refreshing the page. Click the tile to open the page showing the job post details.

The page will open and you will see the job role, job category, and job post details. There is also a form where users can enter their information and apply for the position.
