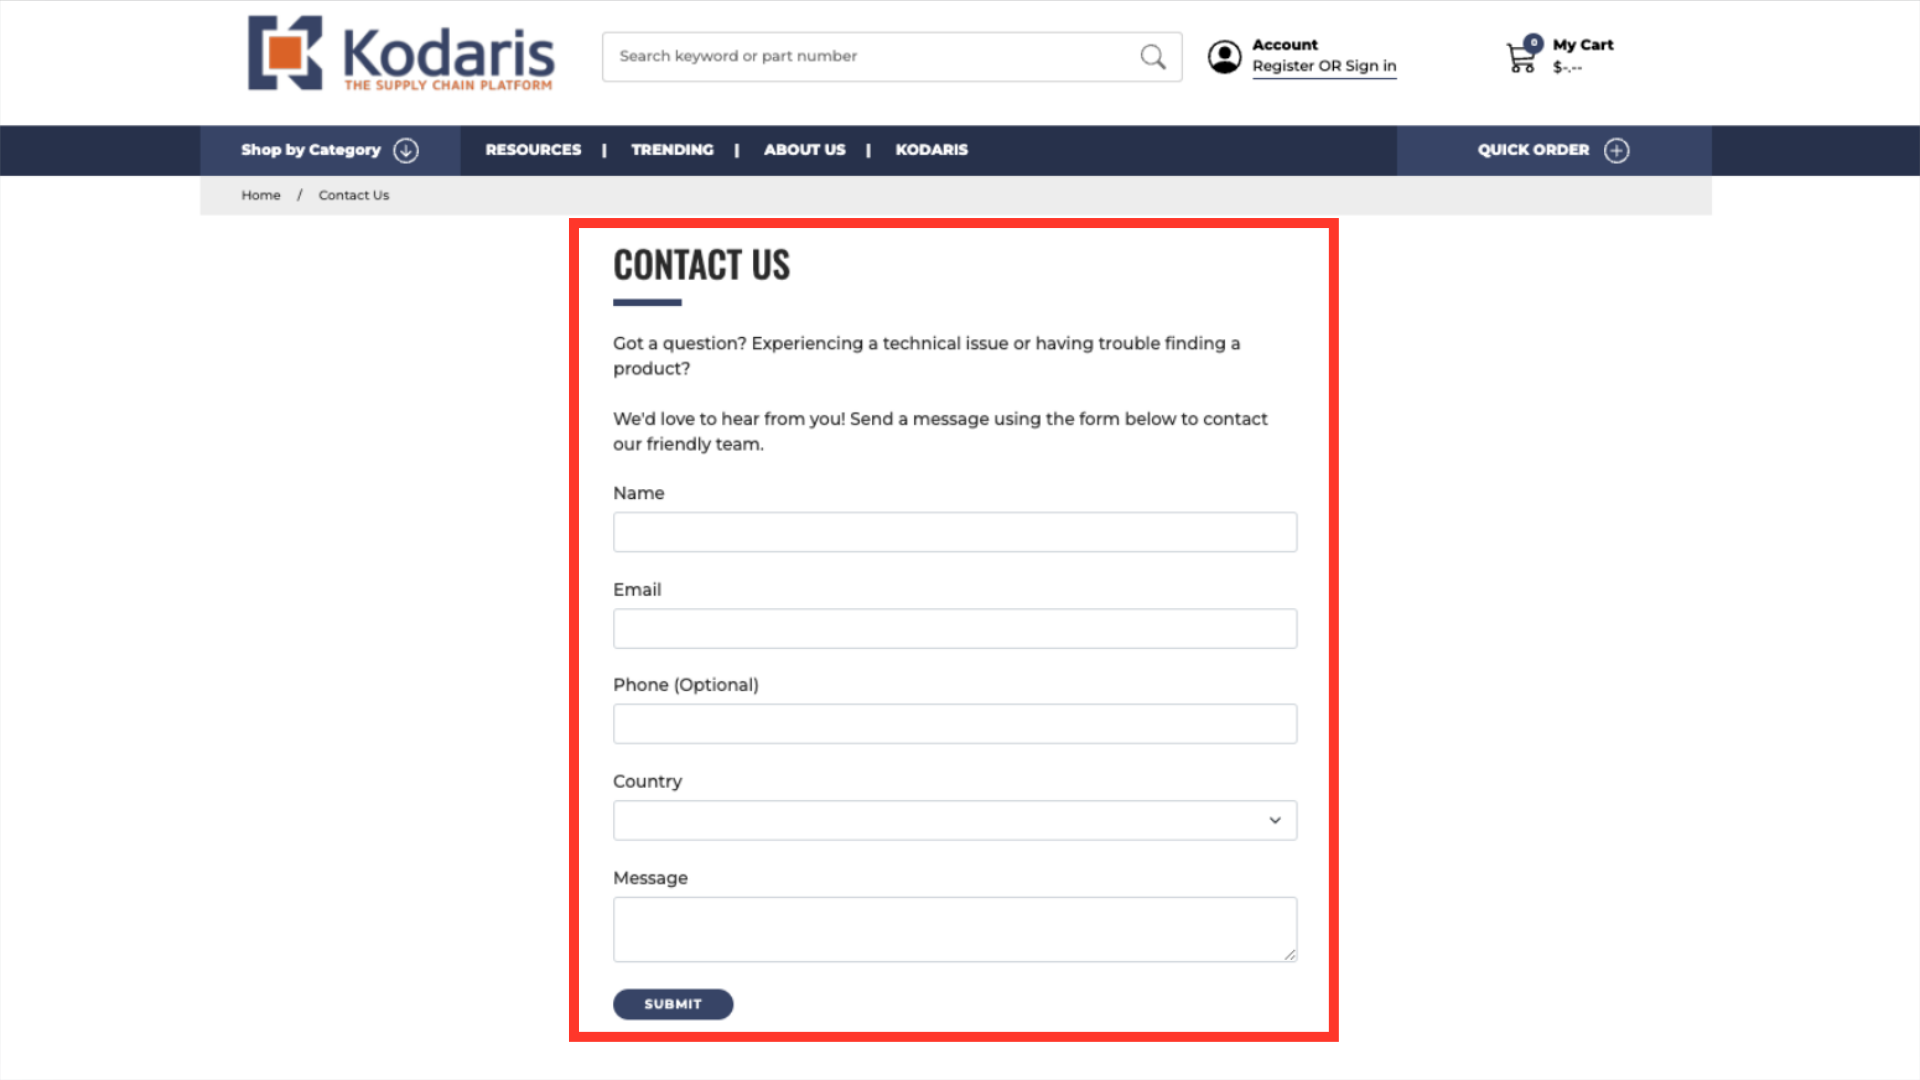
Many websites have forms on their website, this is an example of a "Contact Us" form.
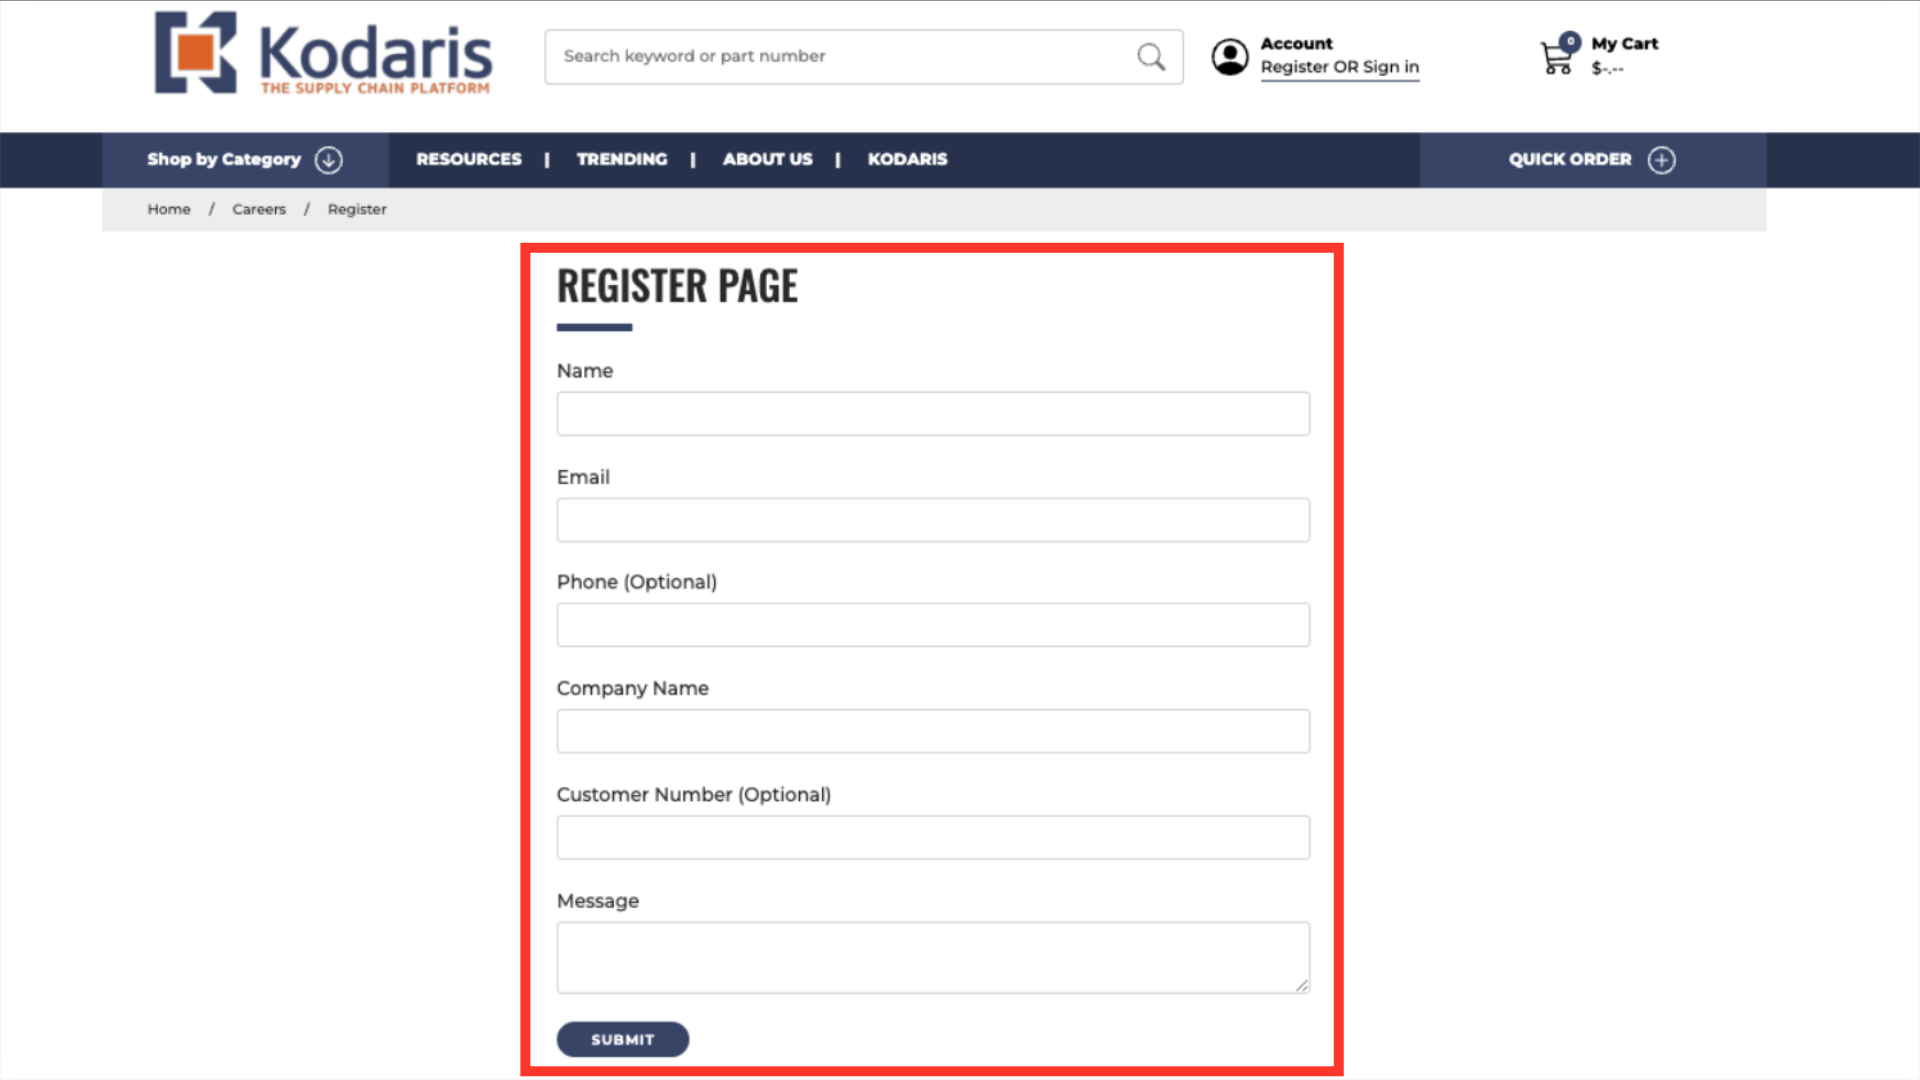
It's also common to have more than one form on a website, such as this "Register" form. Using the "Custom Form Processing" functionality, each form on your website can be associated with a different email address, which will receive the submissions. For example, all submitted "Contact Us" forms can be delivered to one email address, and all "Register" forms can be sent to another email address.
To configure this functionality, you will need to assign names to all of the forms on your website. In this example, we will use the "Contact Us" and "Register" forms. To begin, navigate to "CMS" in the Operations Portal.

Click on "Pages" to access a list of all your website pages.

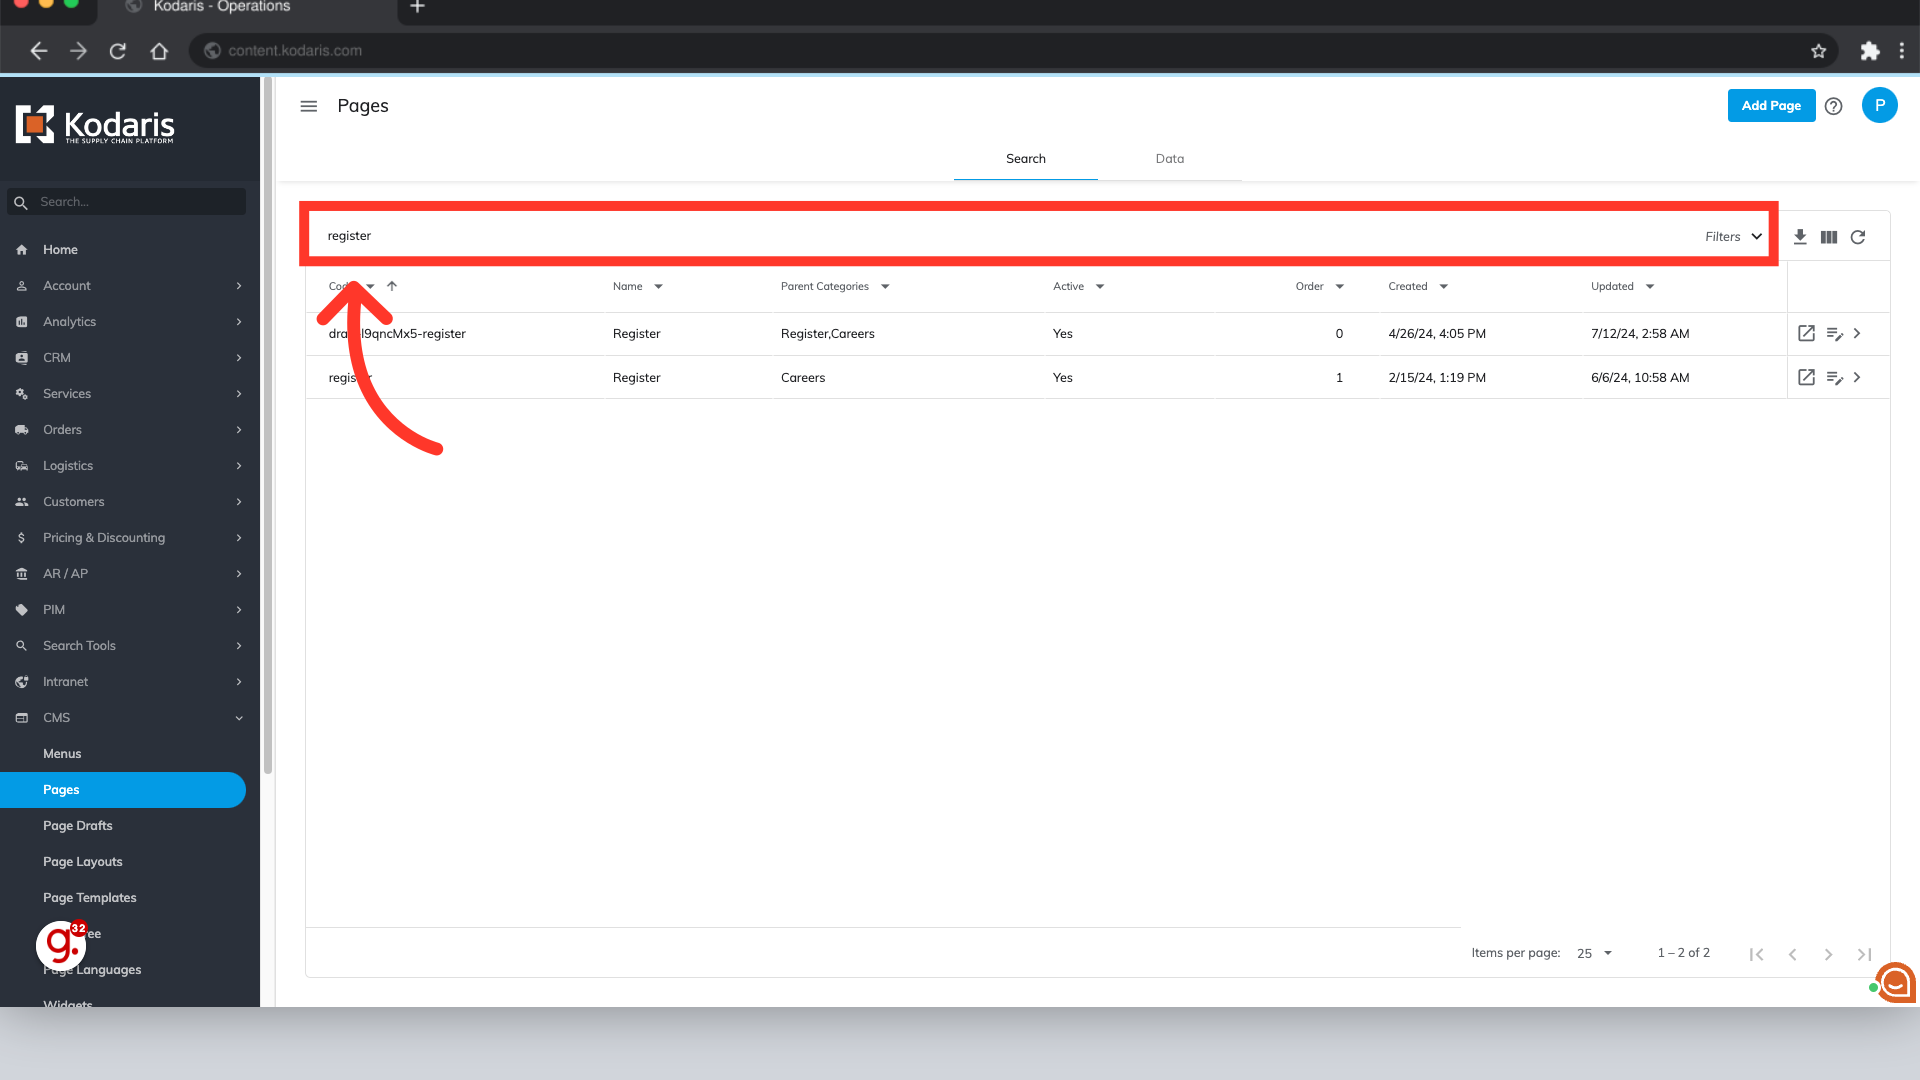
In the search bar at the top of the "Pages" screen, type the name of the page where the form is located. In this case, we will search "contact" to locate the "Contact Us" page.

Click the "Edit" icon to open the page editor.

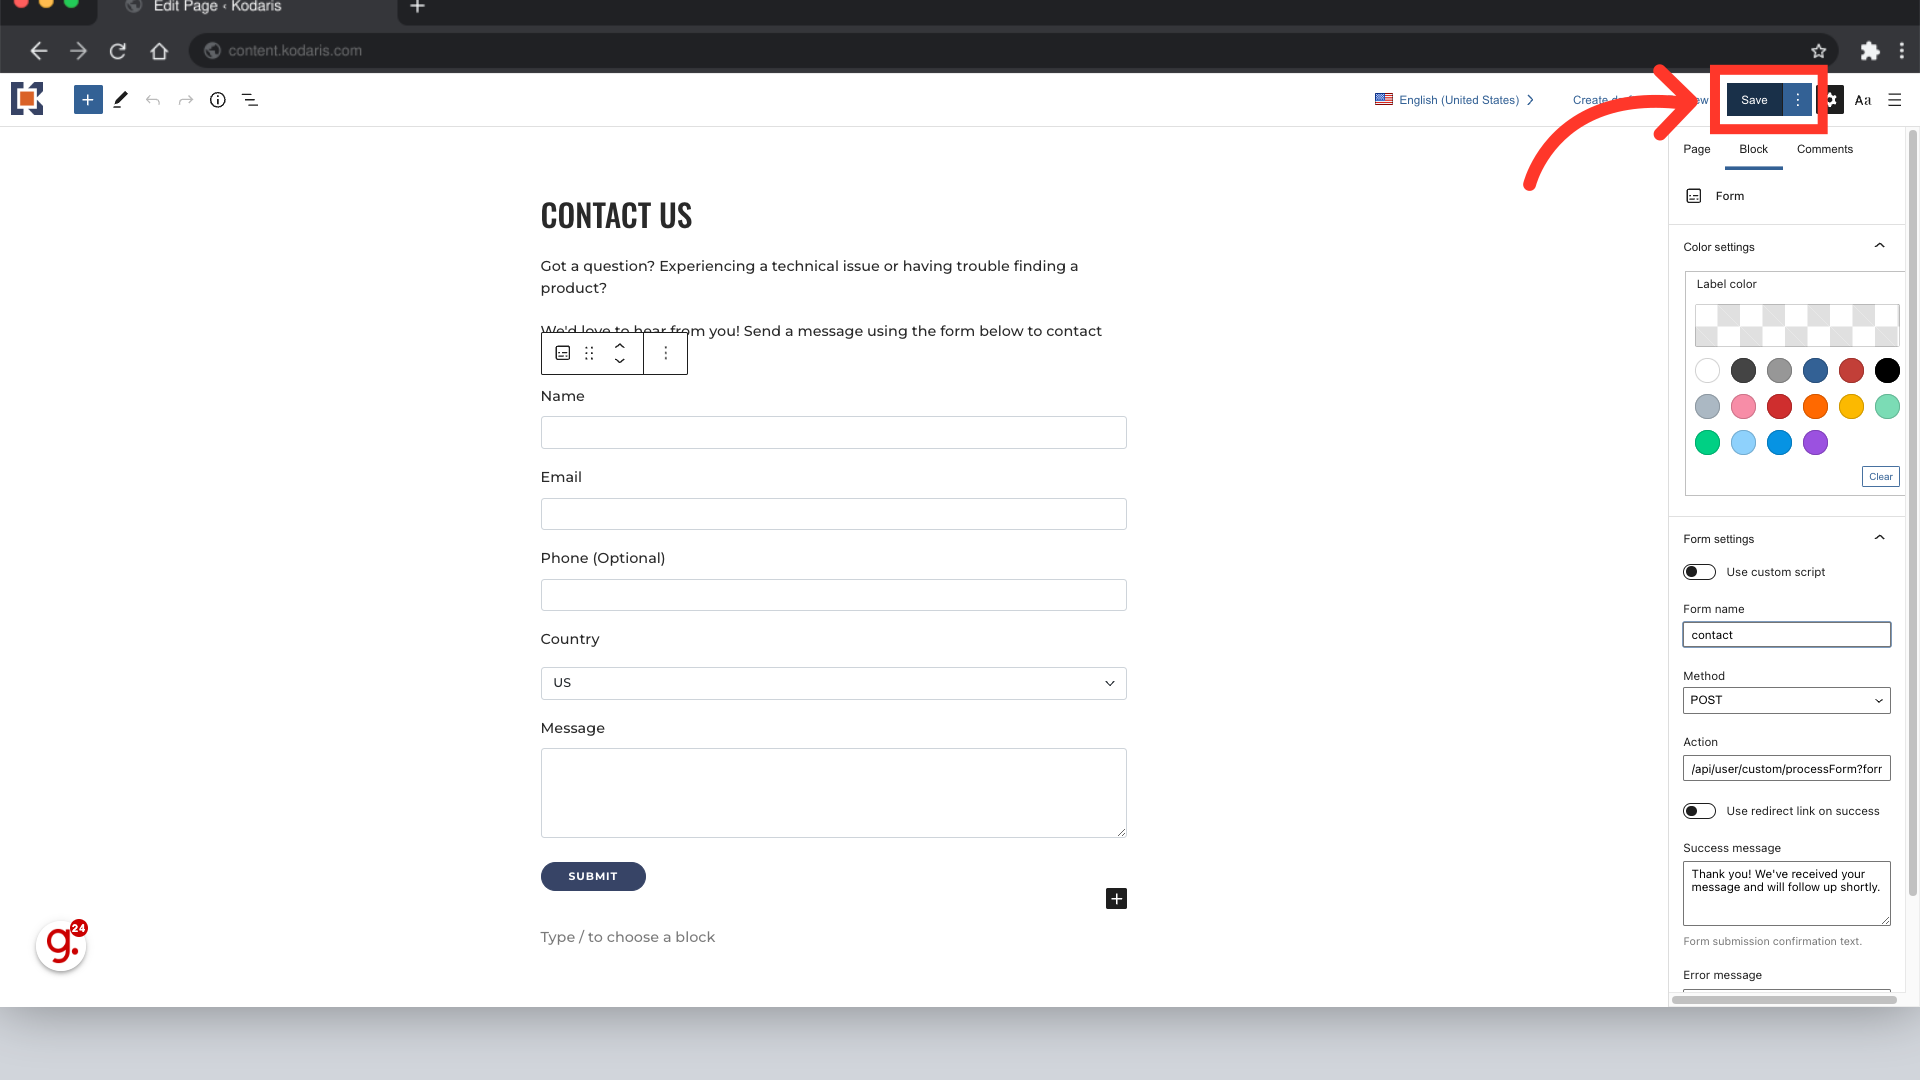
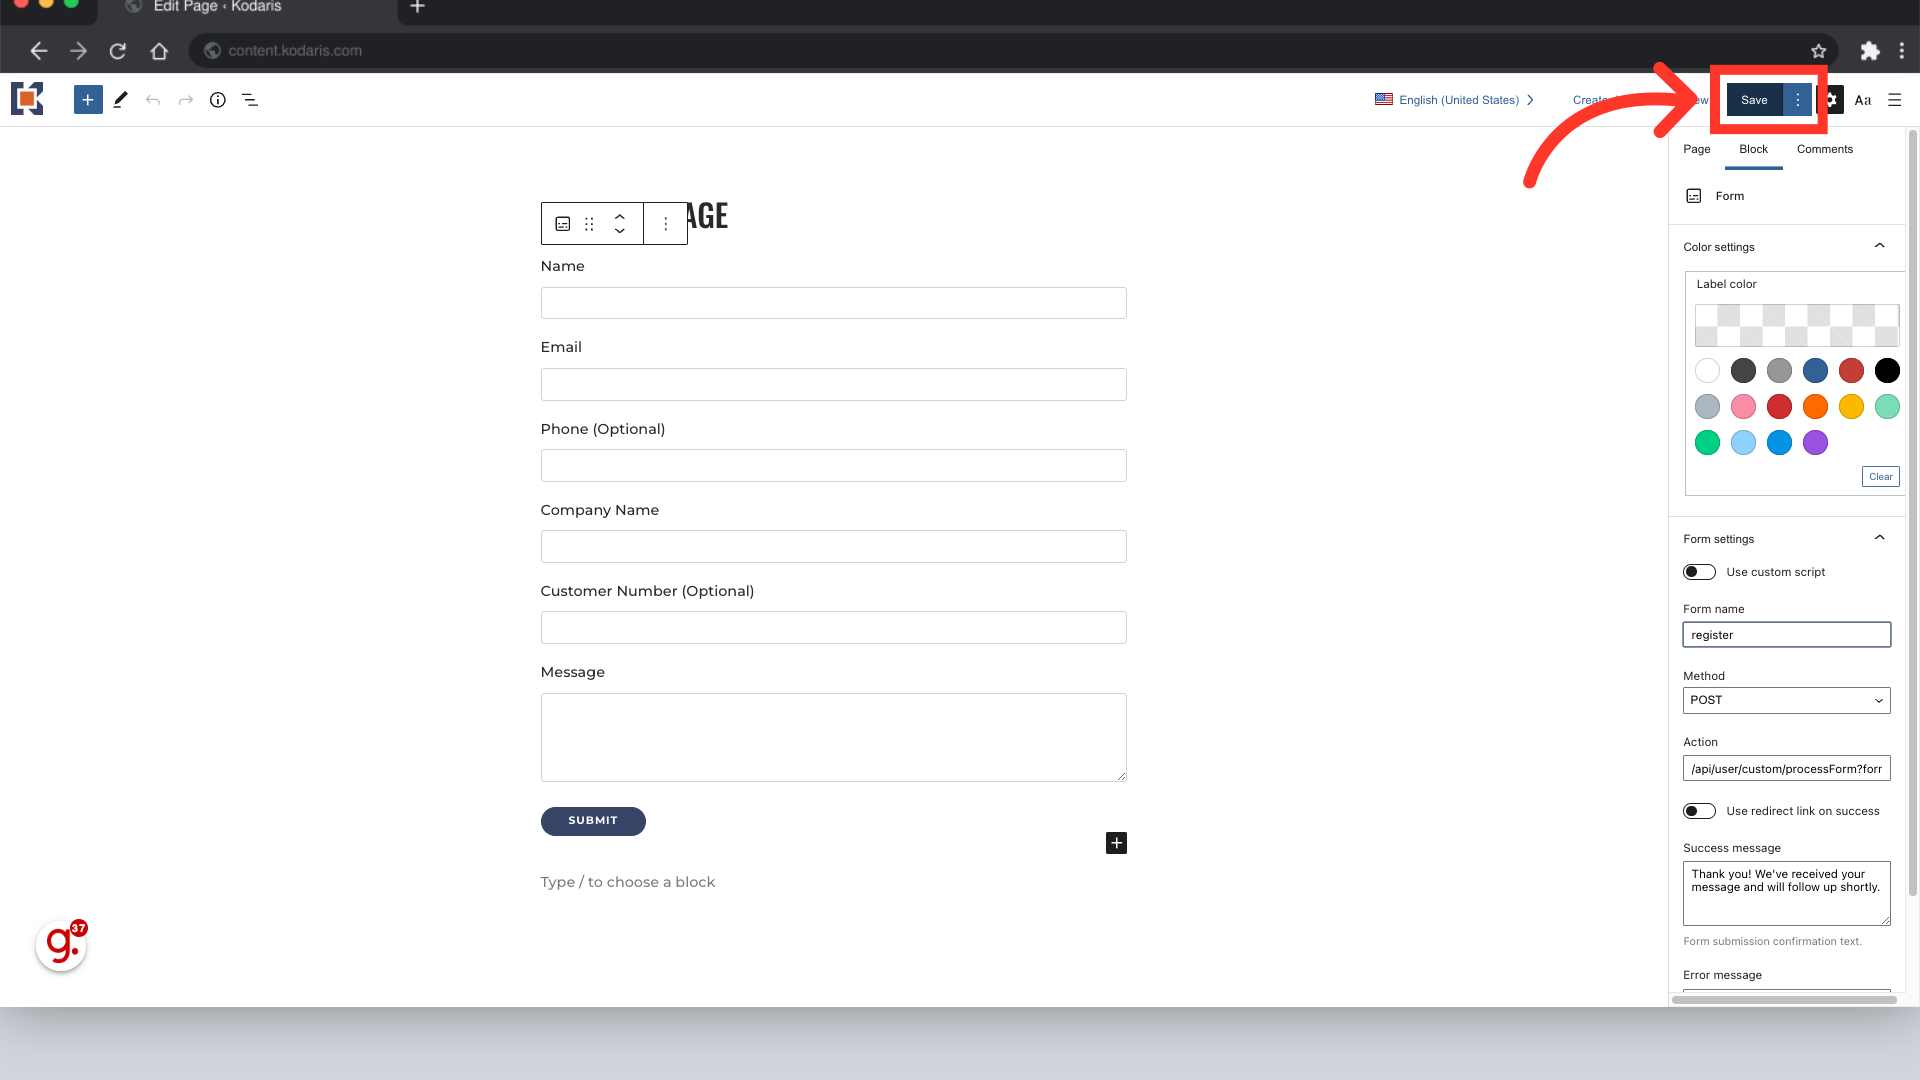
Use your mouse to select the form fill's block.
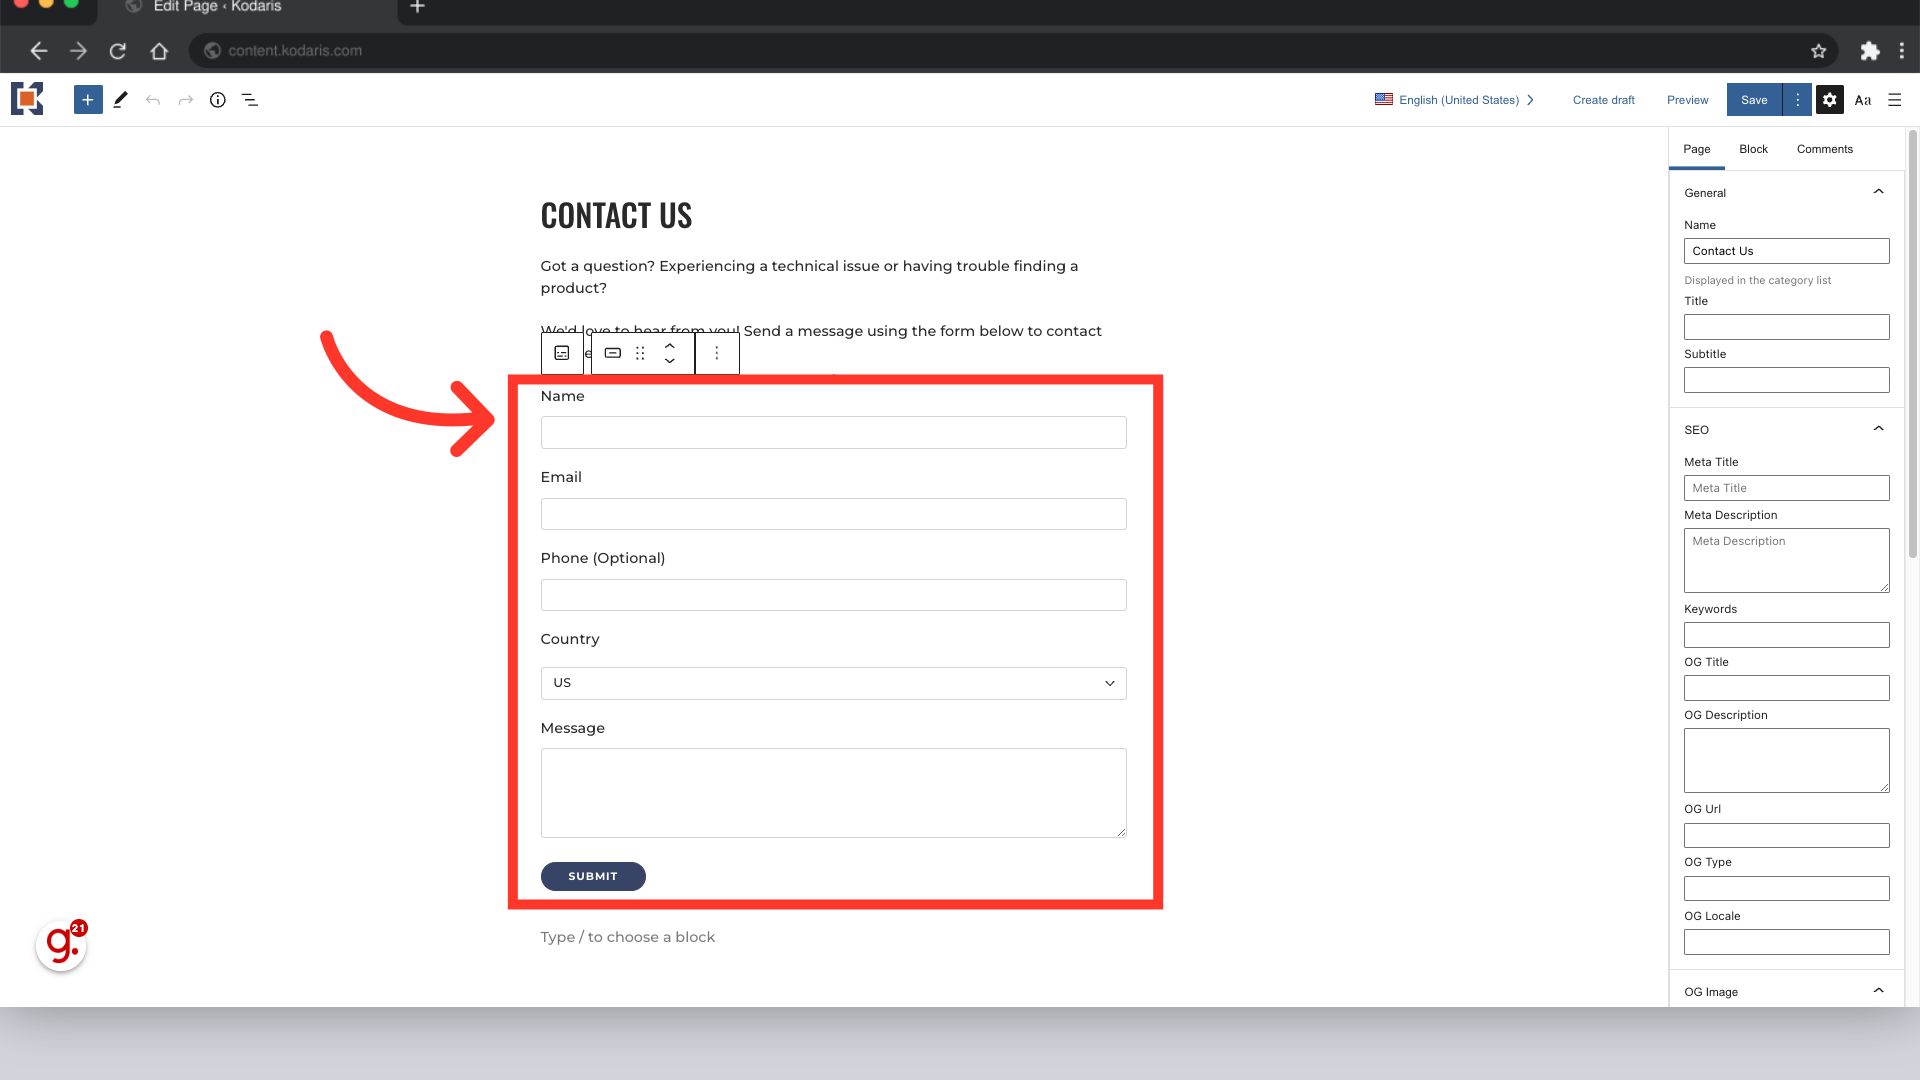
Click the "Block" tab at the top of the settings panel.

Give the form block a name by adding a keyword to the "Select name" text box. In this case, we will type "contact".
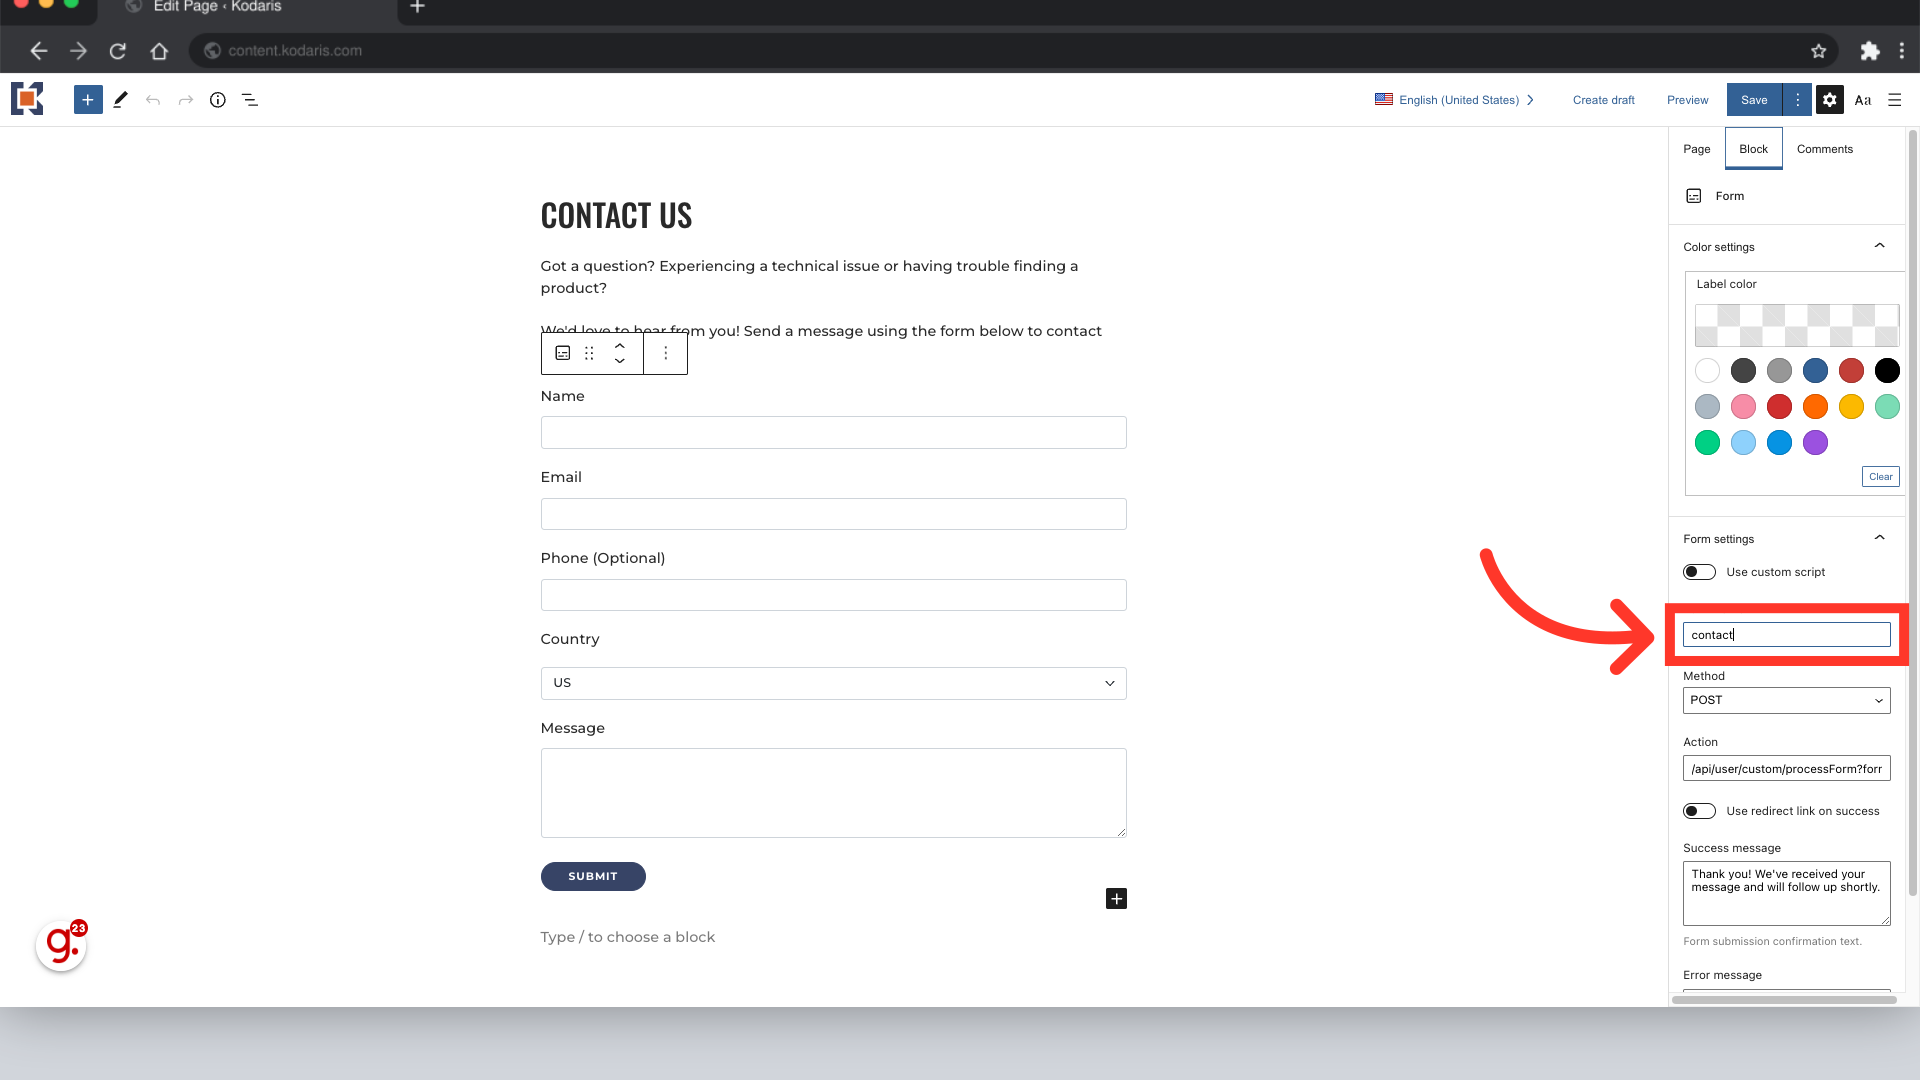
Save the changes to the page by clicking the "Save" button.
Head back to the "Pages" screen in the Operations Portal. You will now follow the same process for any other forms on your website. Use the search bar at the top of the screen to type in the name of the page where the form is located. In this case, we will use our second form for registrations.
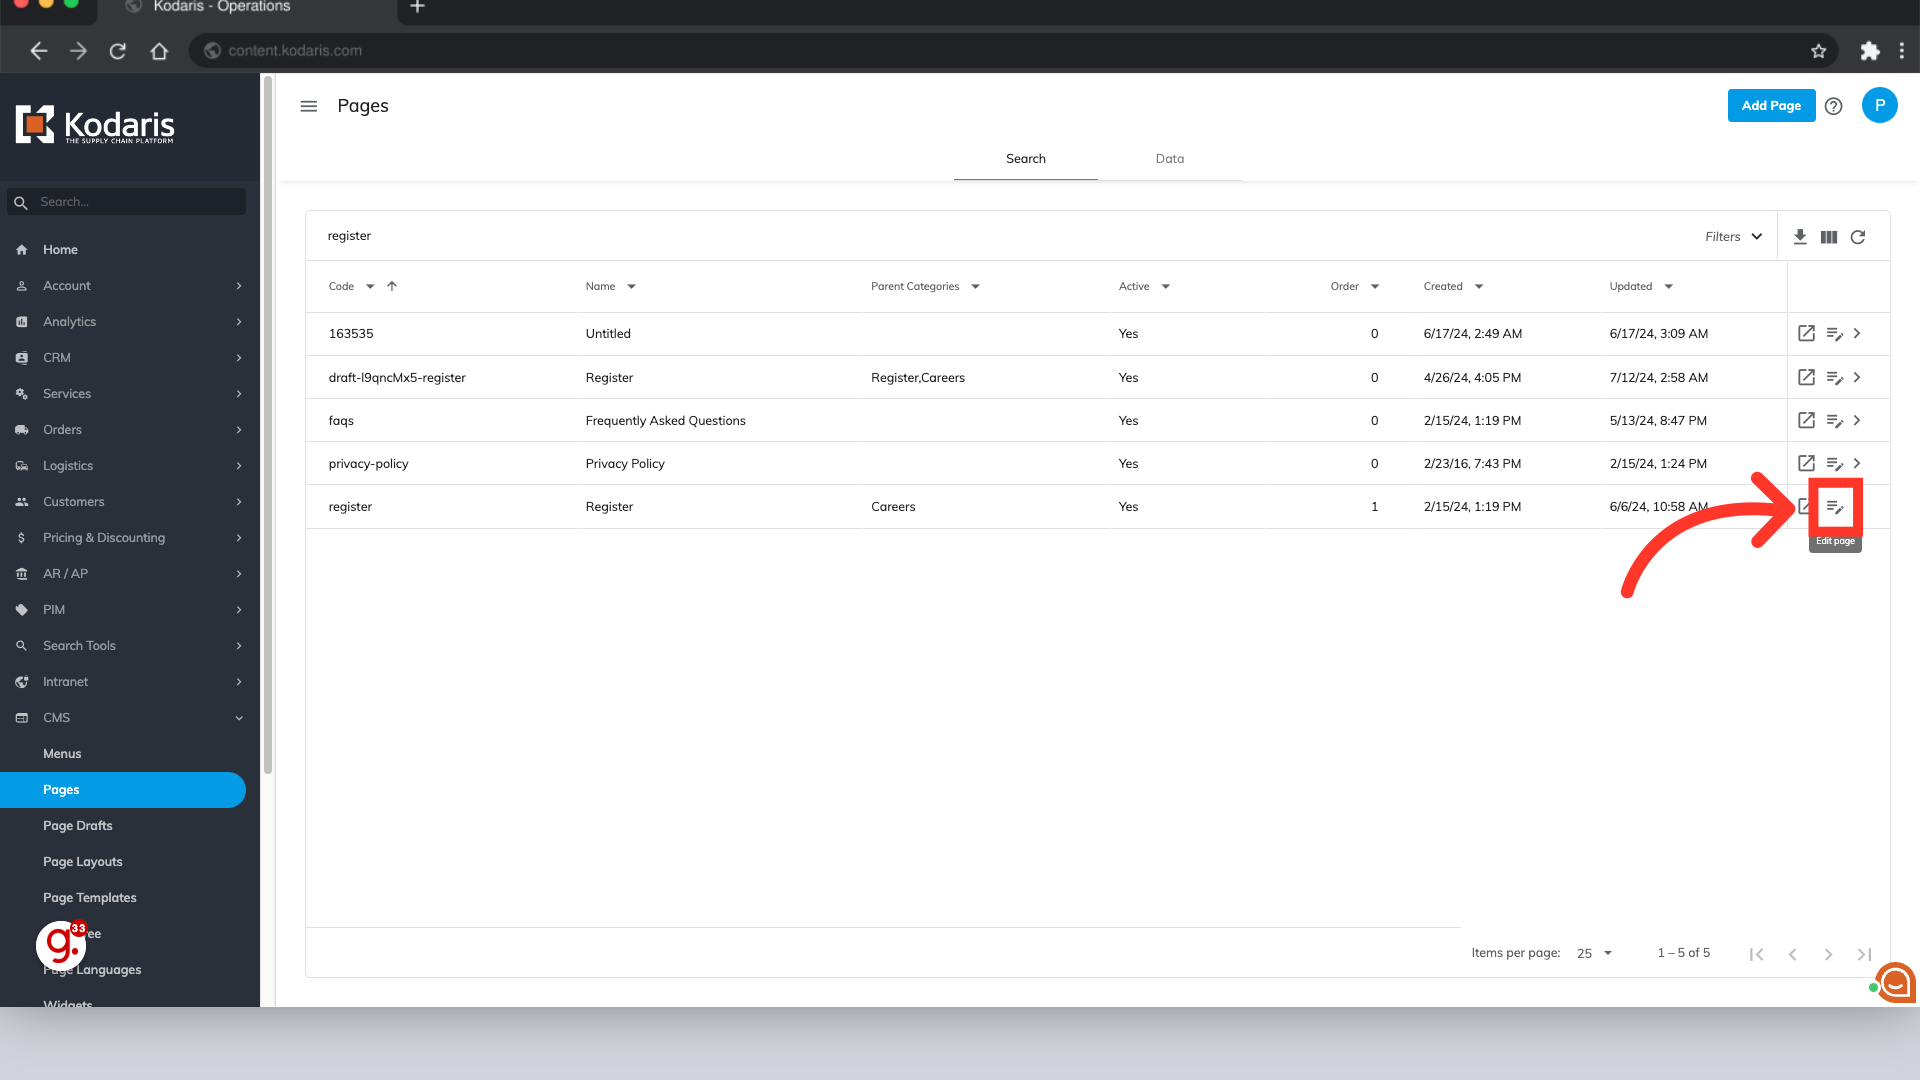
Click the "Edit" icon to open the page editor.
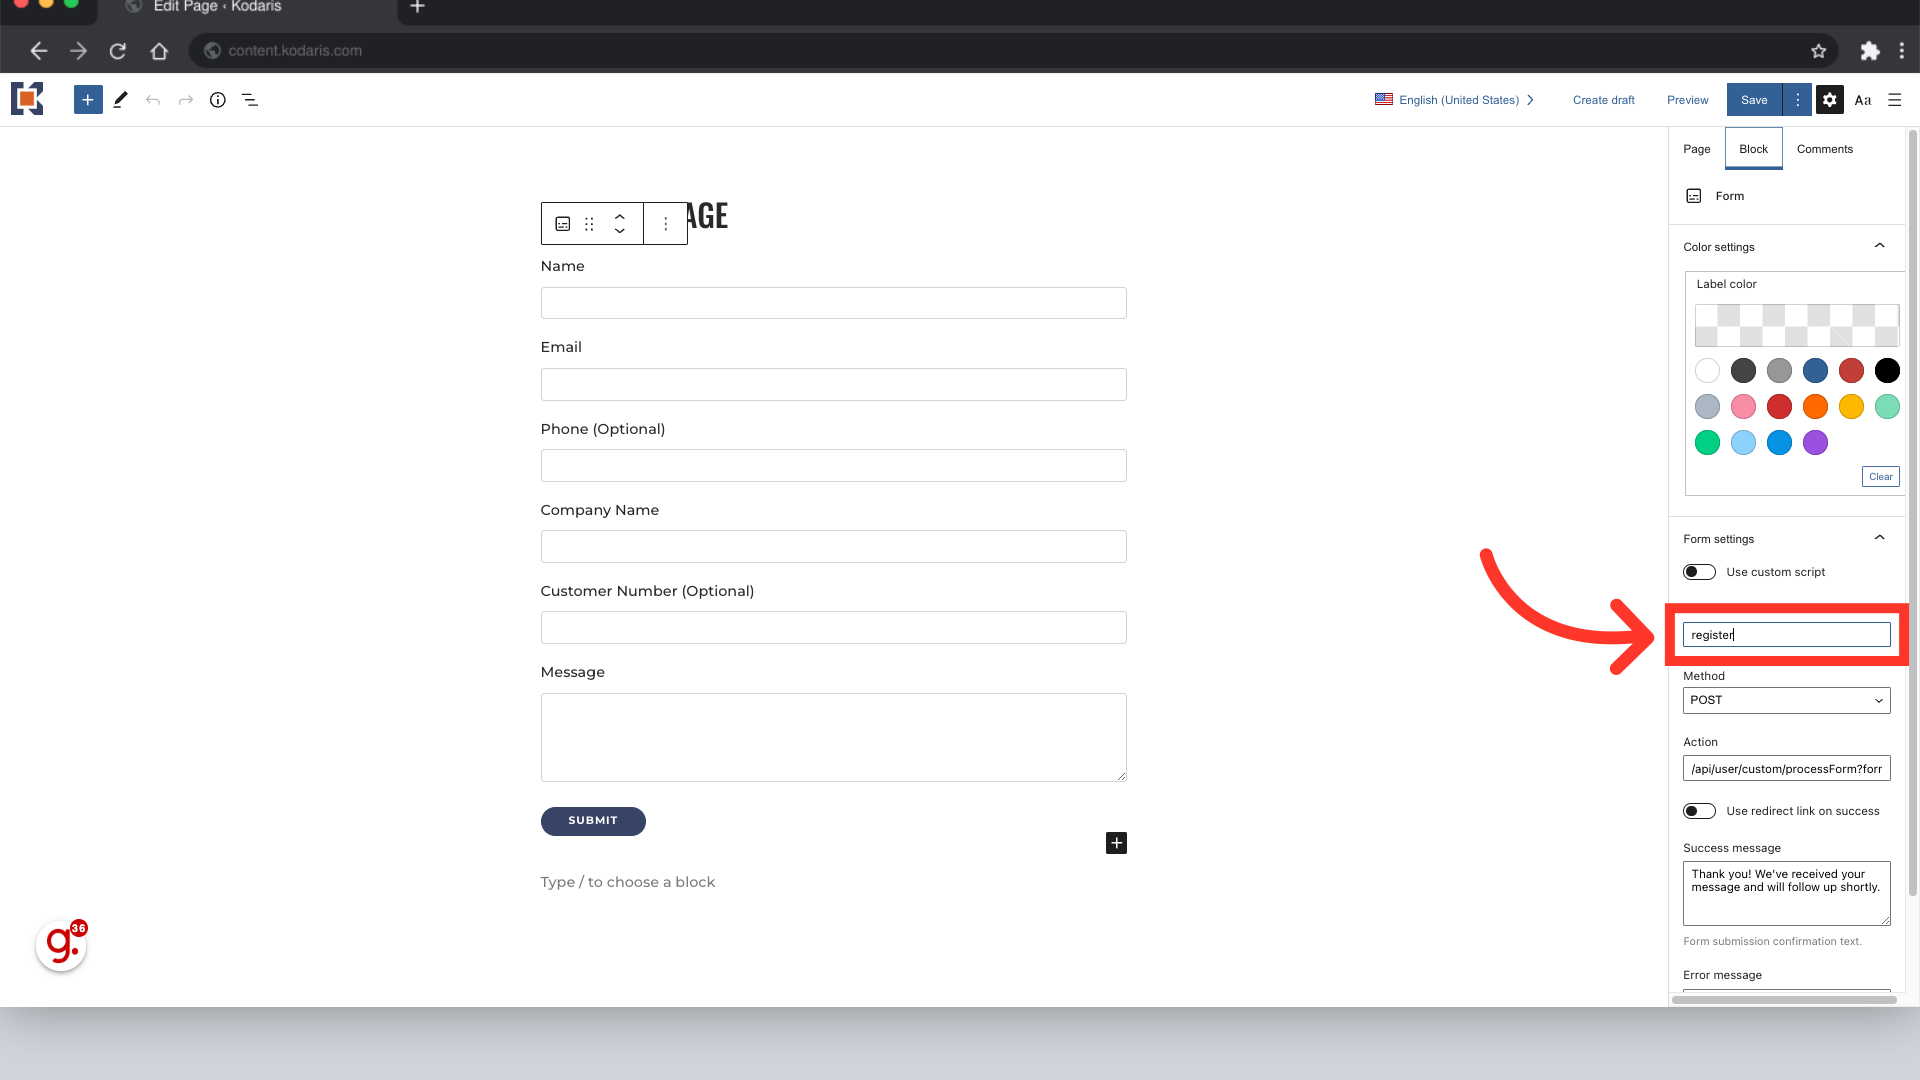
Use your mouse to select the form fill's block.

Click the "Block" tab at the top of the settings panel.

Give the form block a name by adding a keyword to the "Select name" text box. In this case, we will type "register".
Save the changes to the page by clicking the "Save" button.
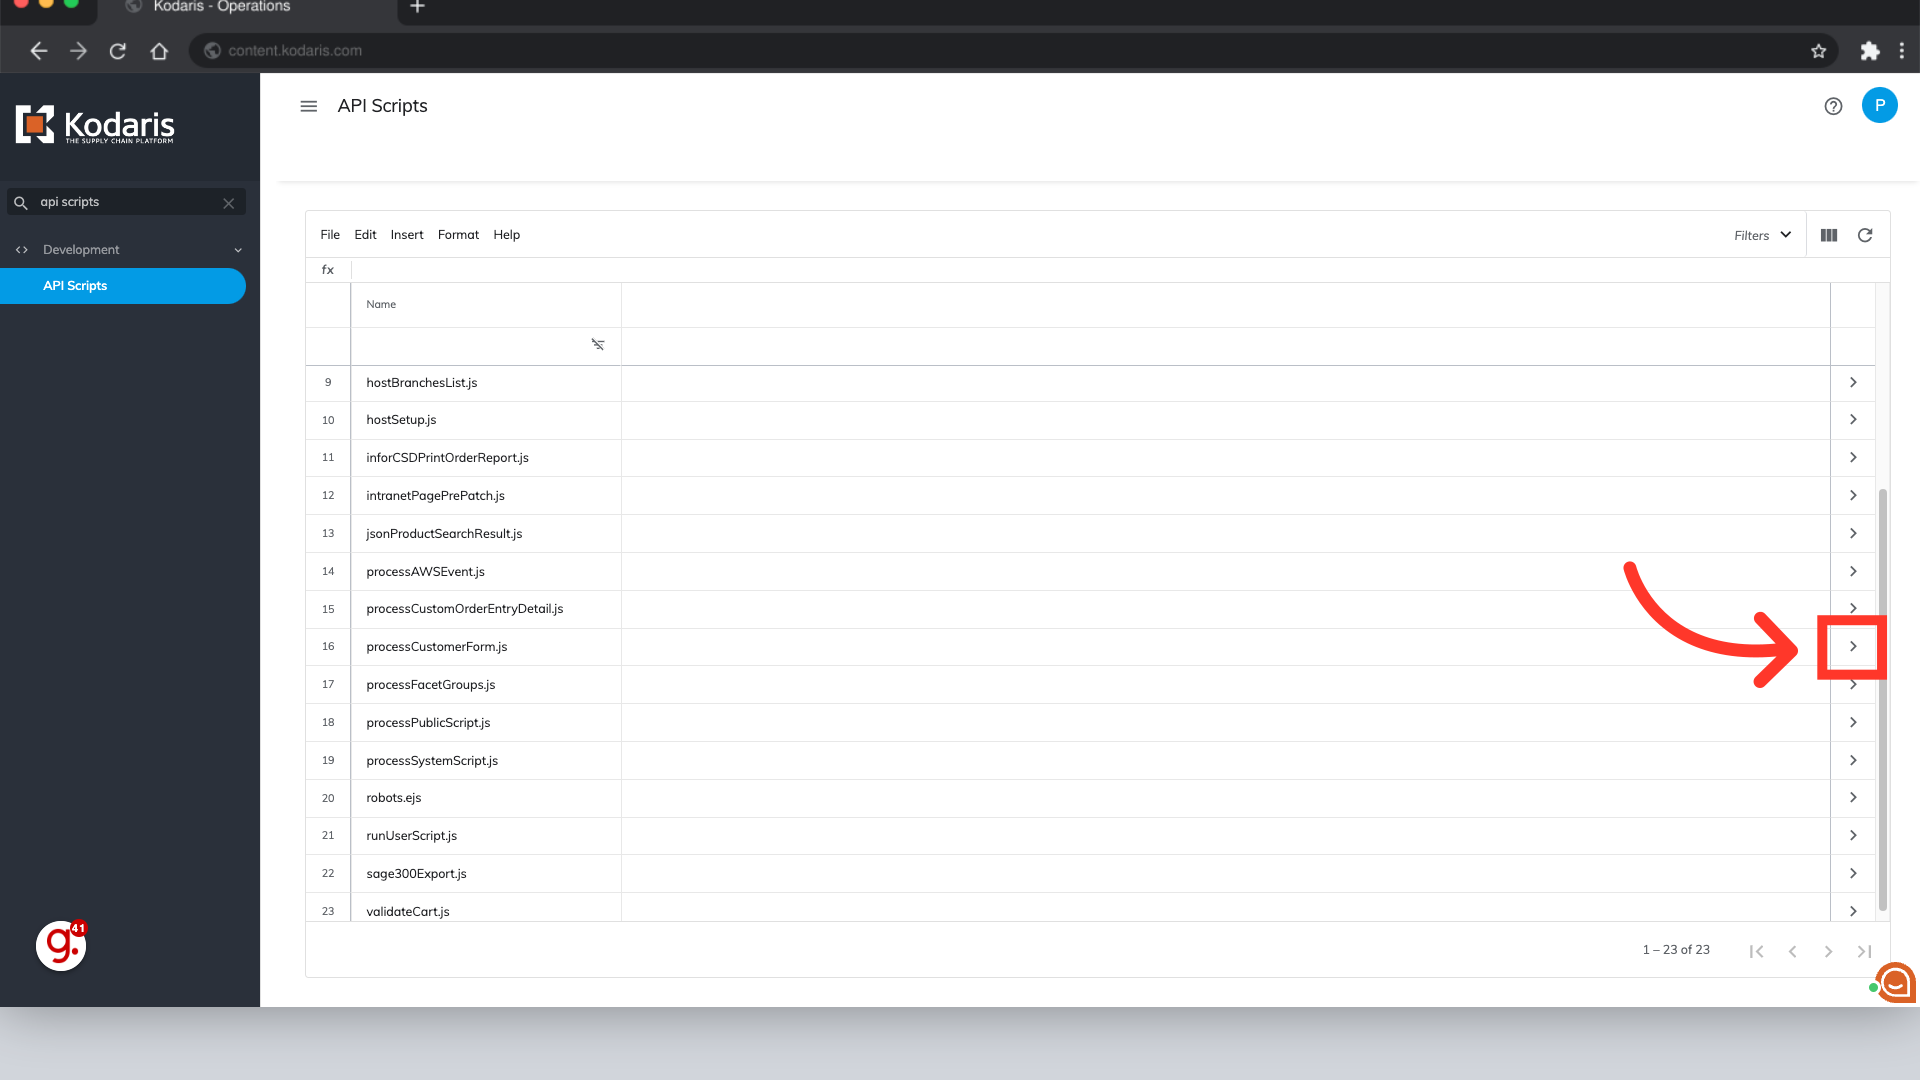
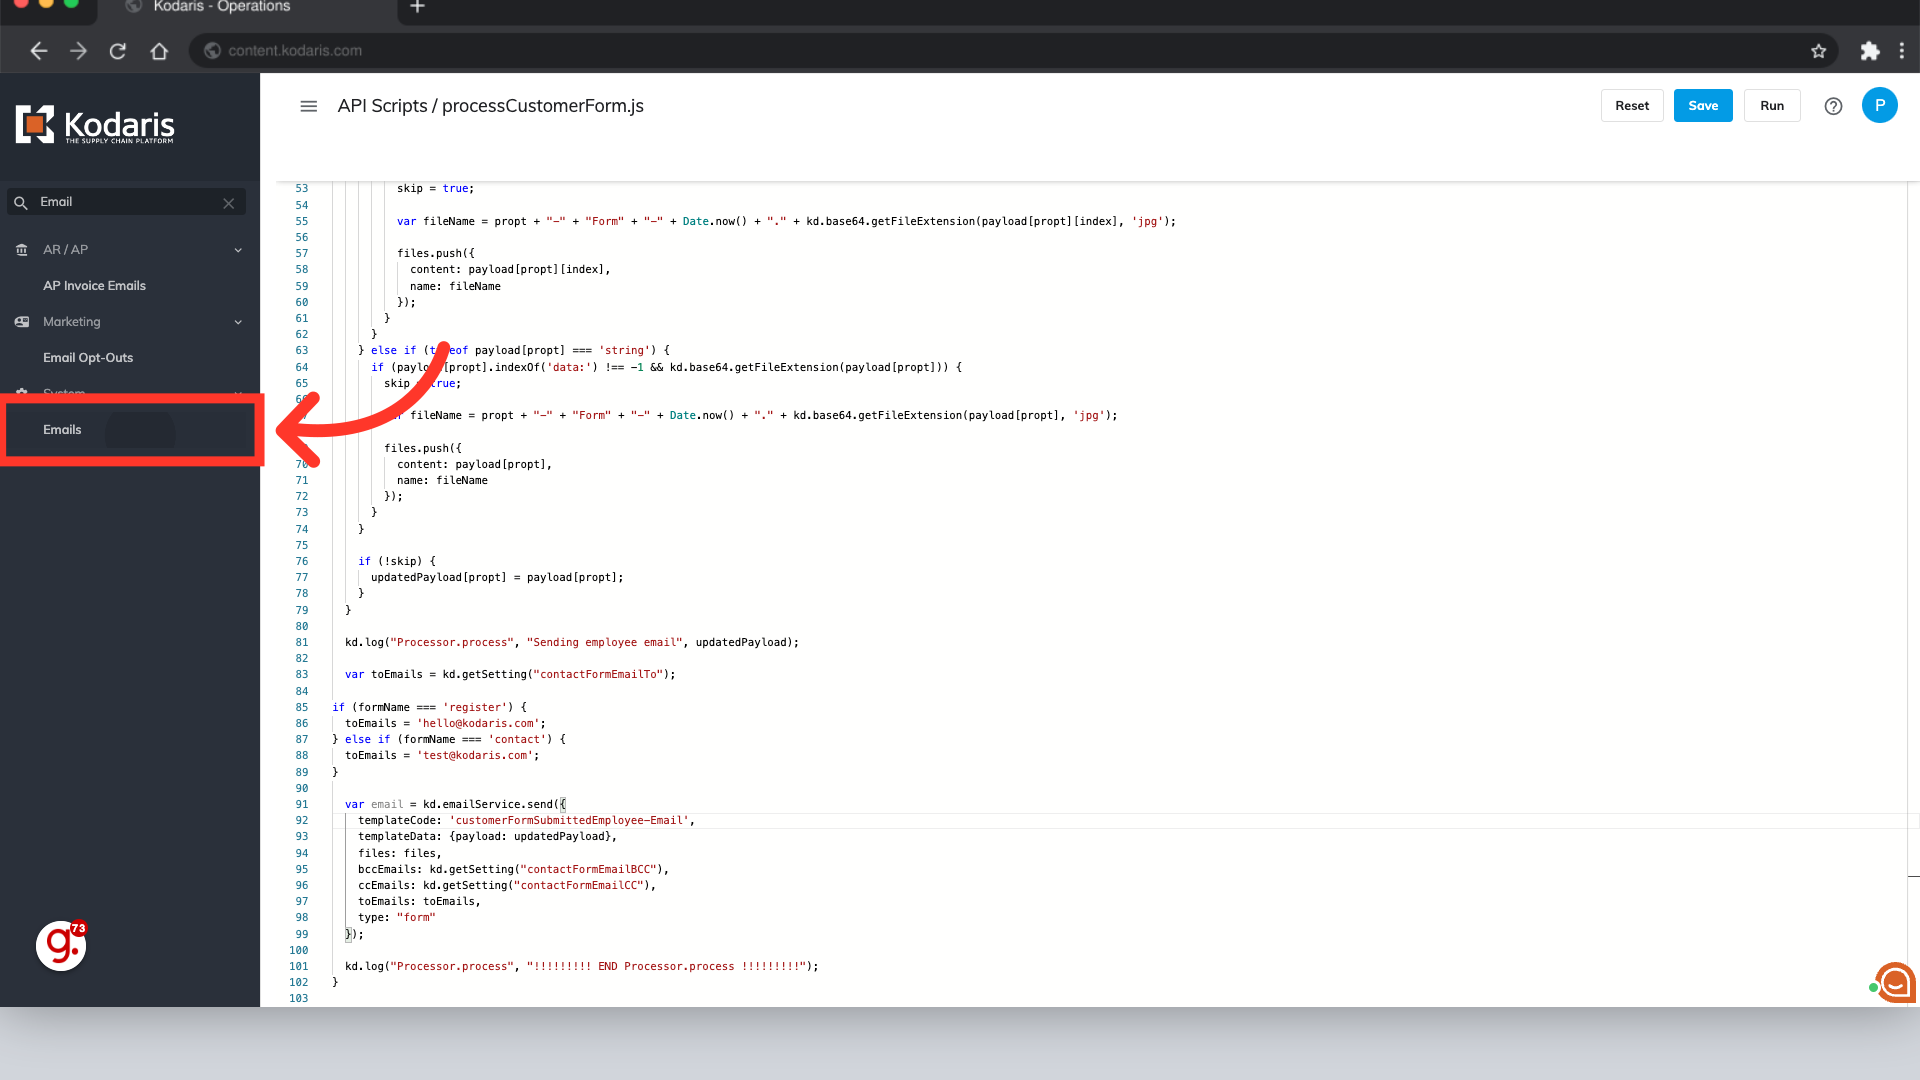
Head back to the Operations Portal and type "API Scripts" into the search bar at the top of the the navigation menu.

Click "API Scripts" to access the screen with all of your system's API scripts.

Locate the script titled "processCustomerForm.js".

Click the script's "Details" icon to access the script page.
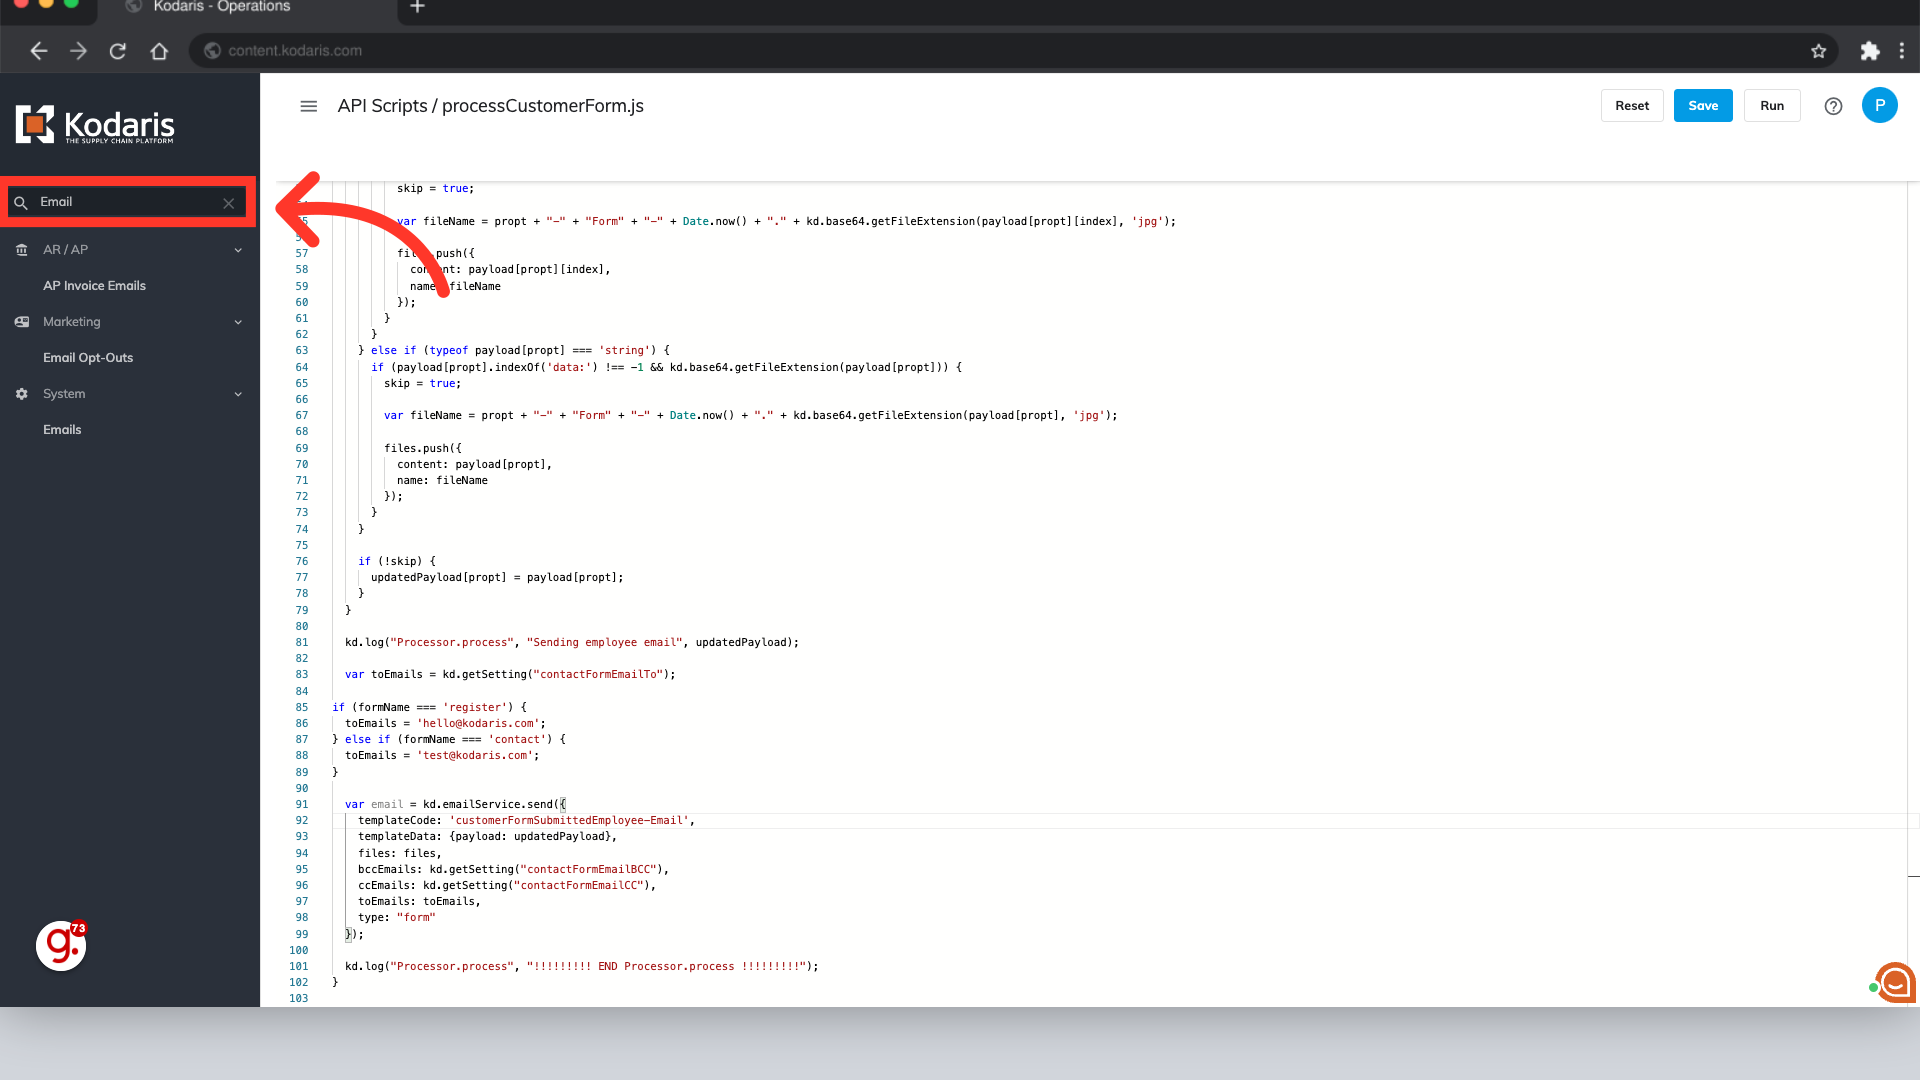
Find the "toEmails" variable in the script.
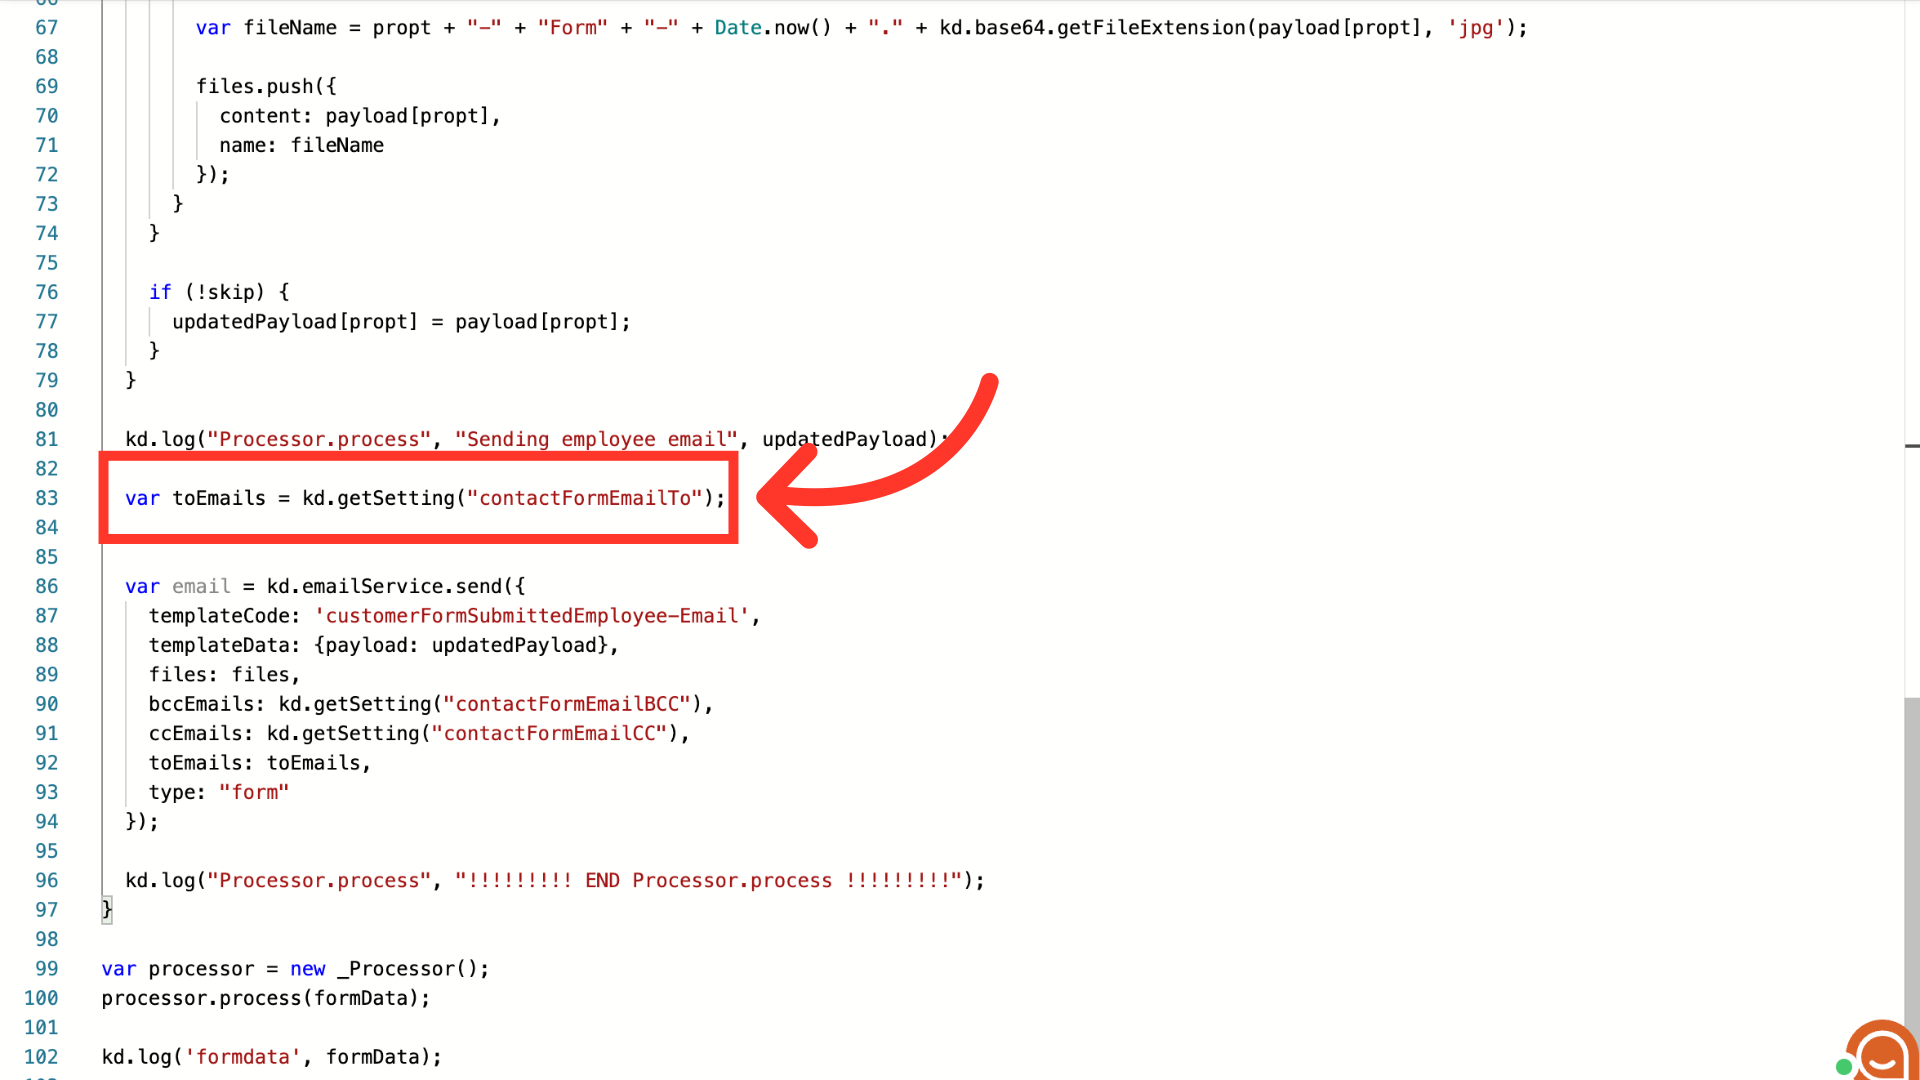
To signal to your system what form responses should be delivered to what email address, you will need to add the code displayed on the screen. Add this code directly after the "toEmails" variable.
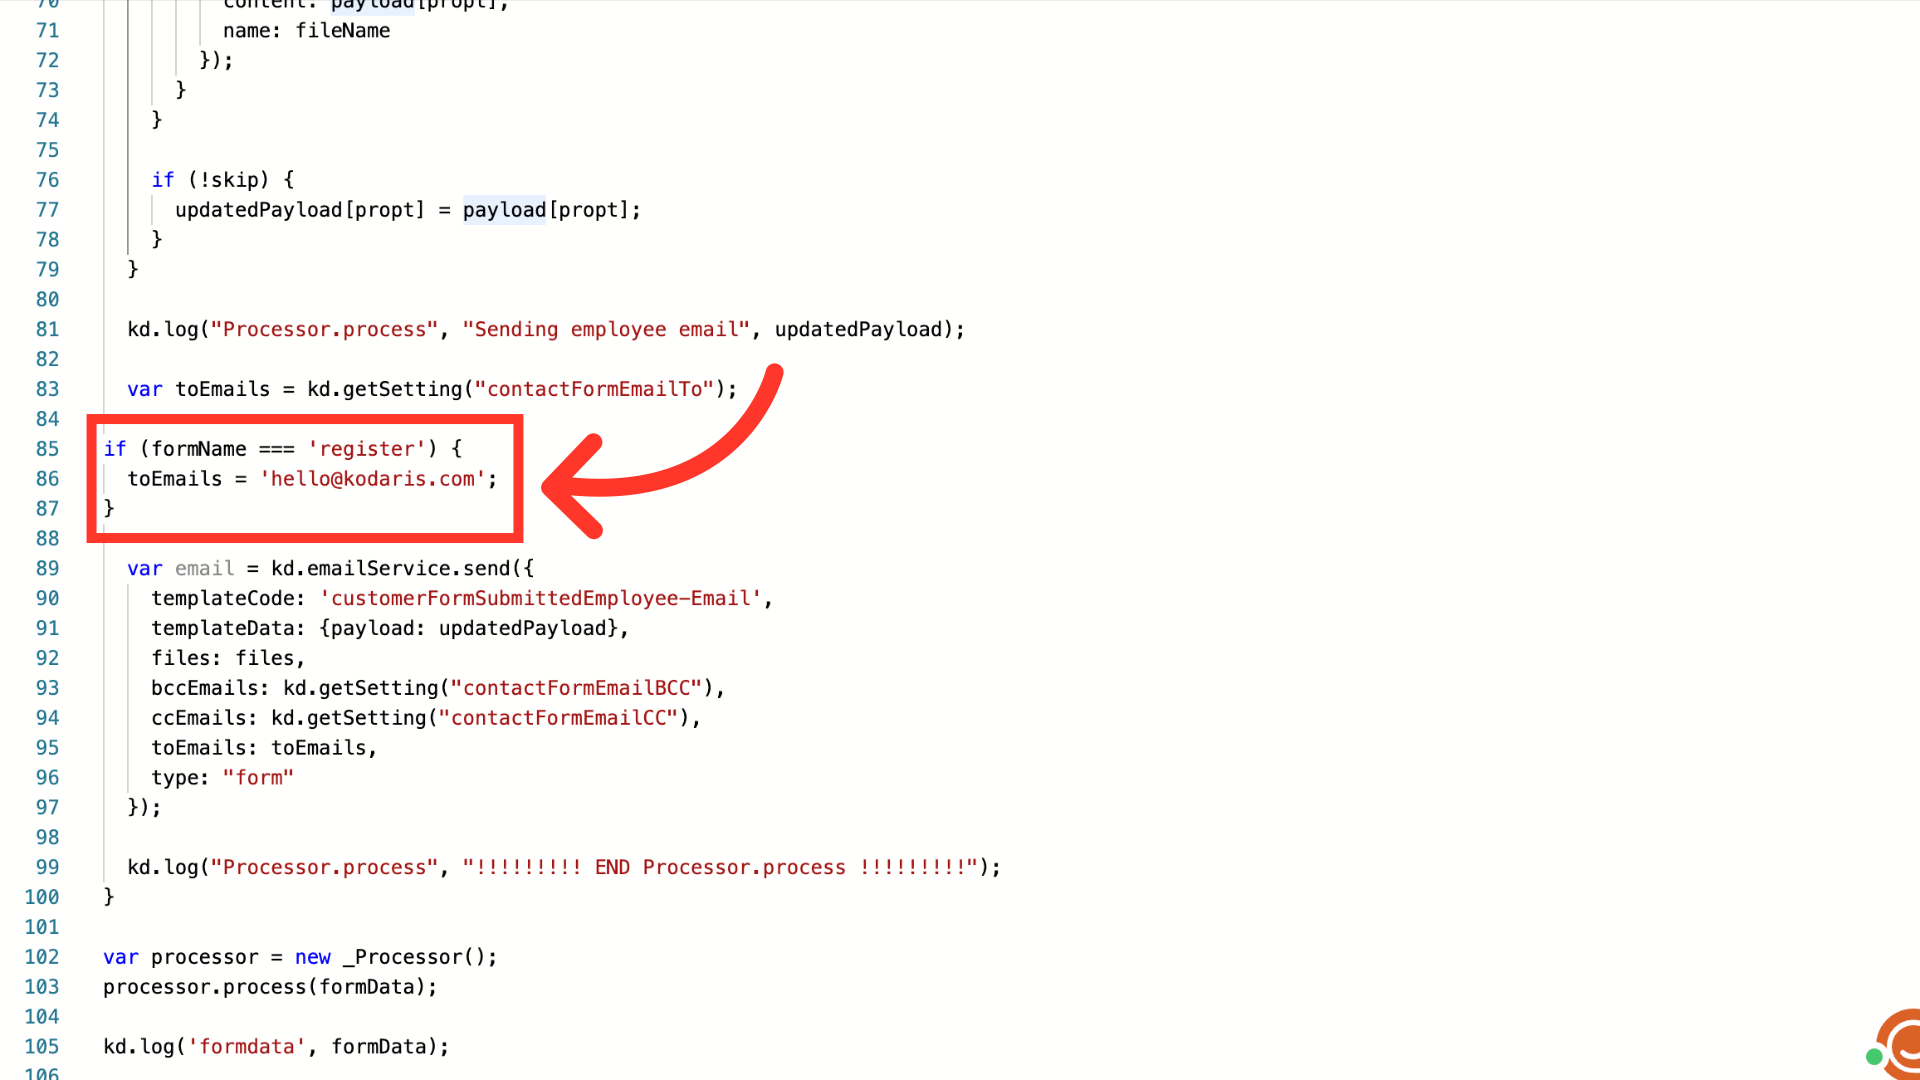
Add the name you gave your CMS block earlier. In this example, we named one of our form blocks, "register".
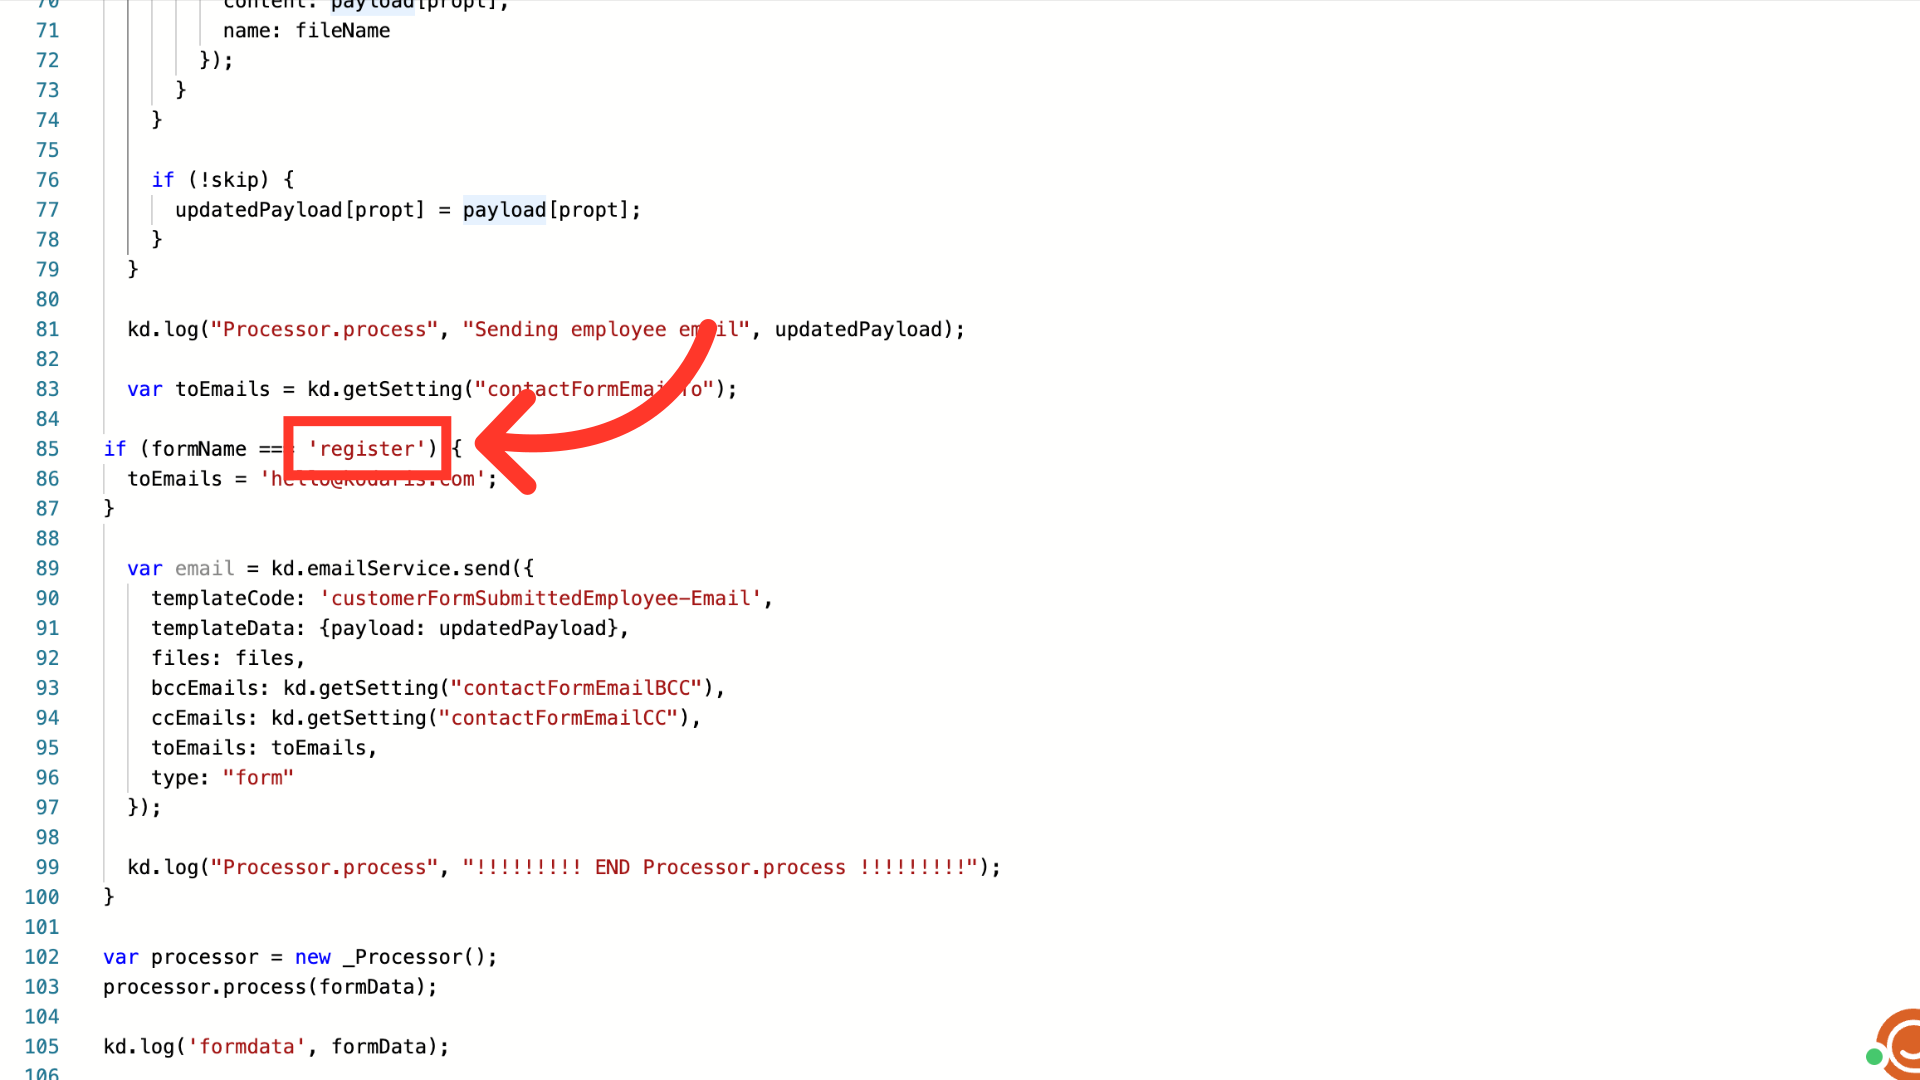
Replace this email address with the one you want to receive the submissions based on the form name you added in the last step.

To tie another form to a different email address, add the "else if" code to your script immediately below the code you previously added.

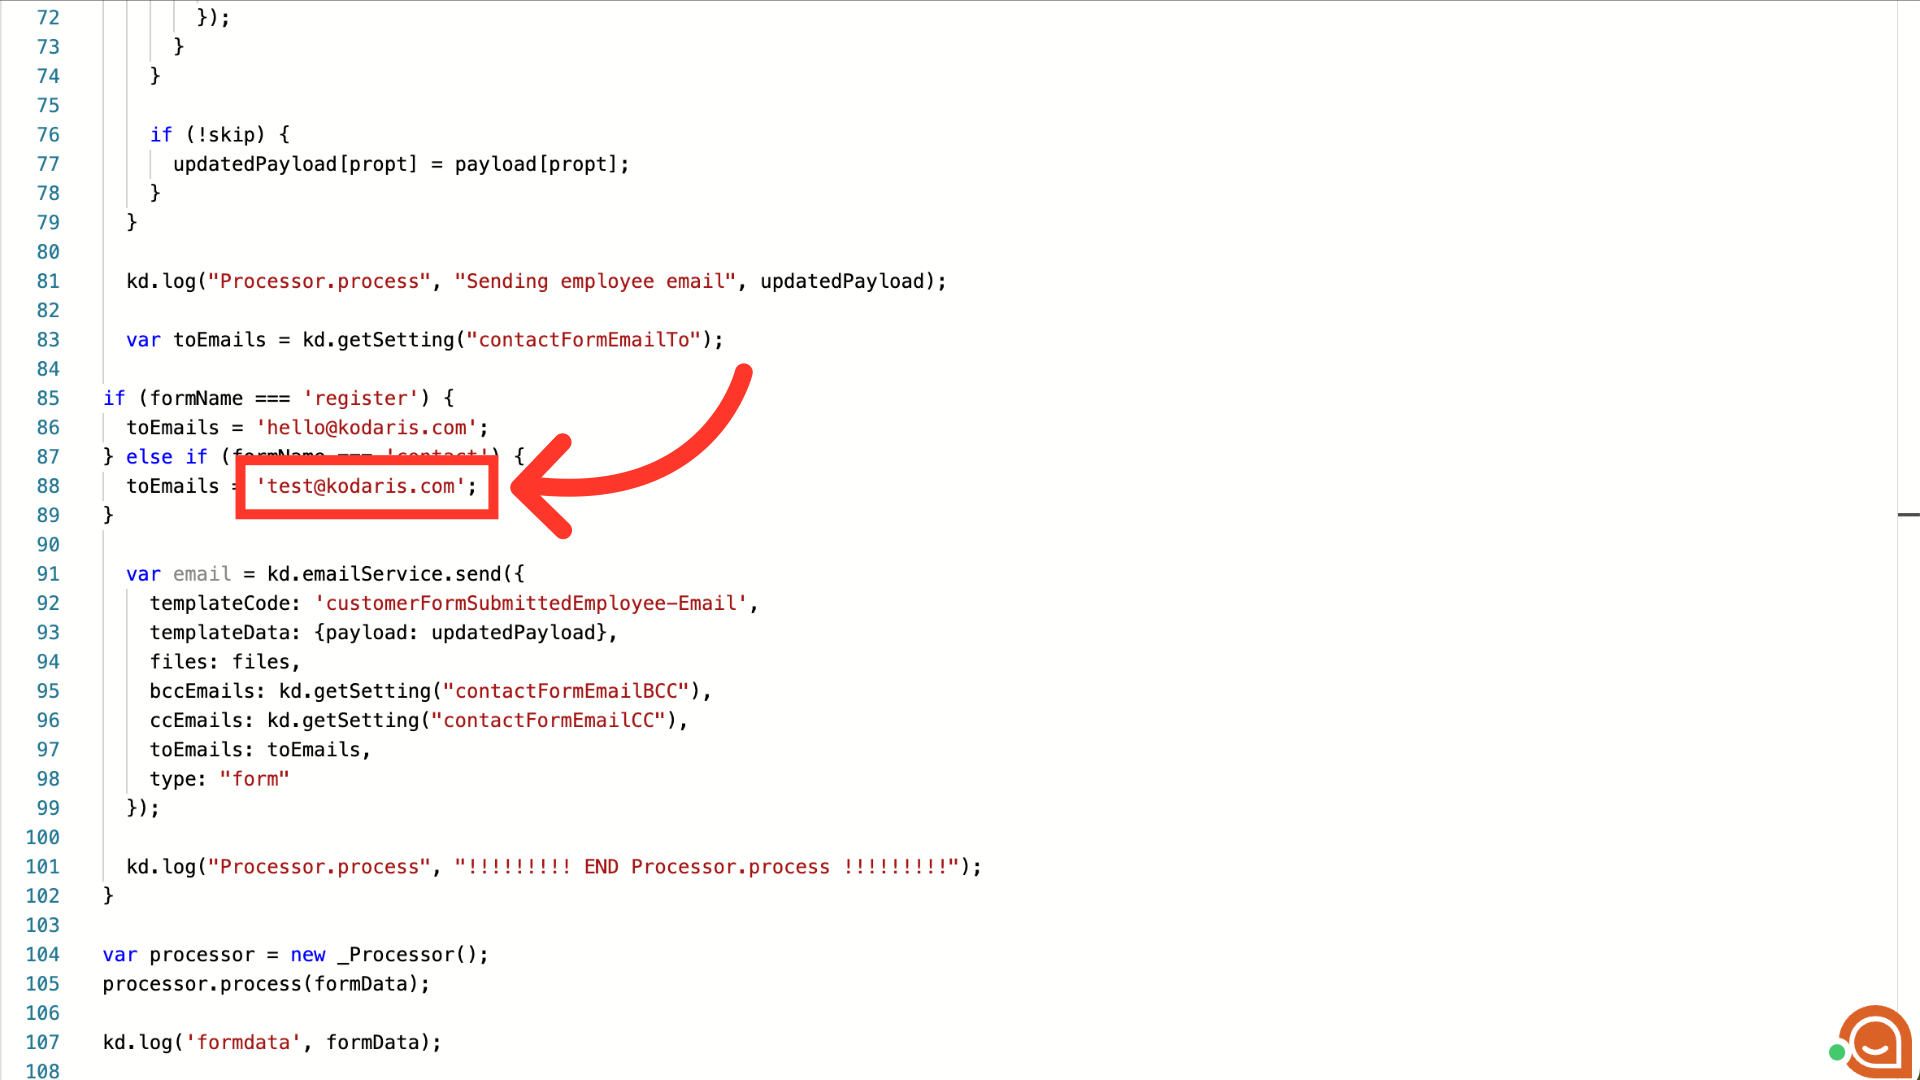
Add the name you gave your CMS block earlier. In this example, we named our other form, "contact".
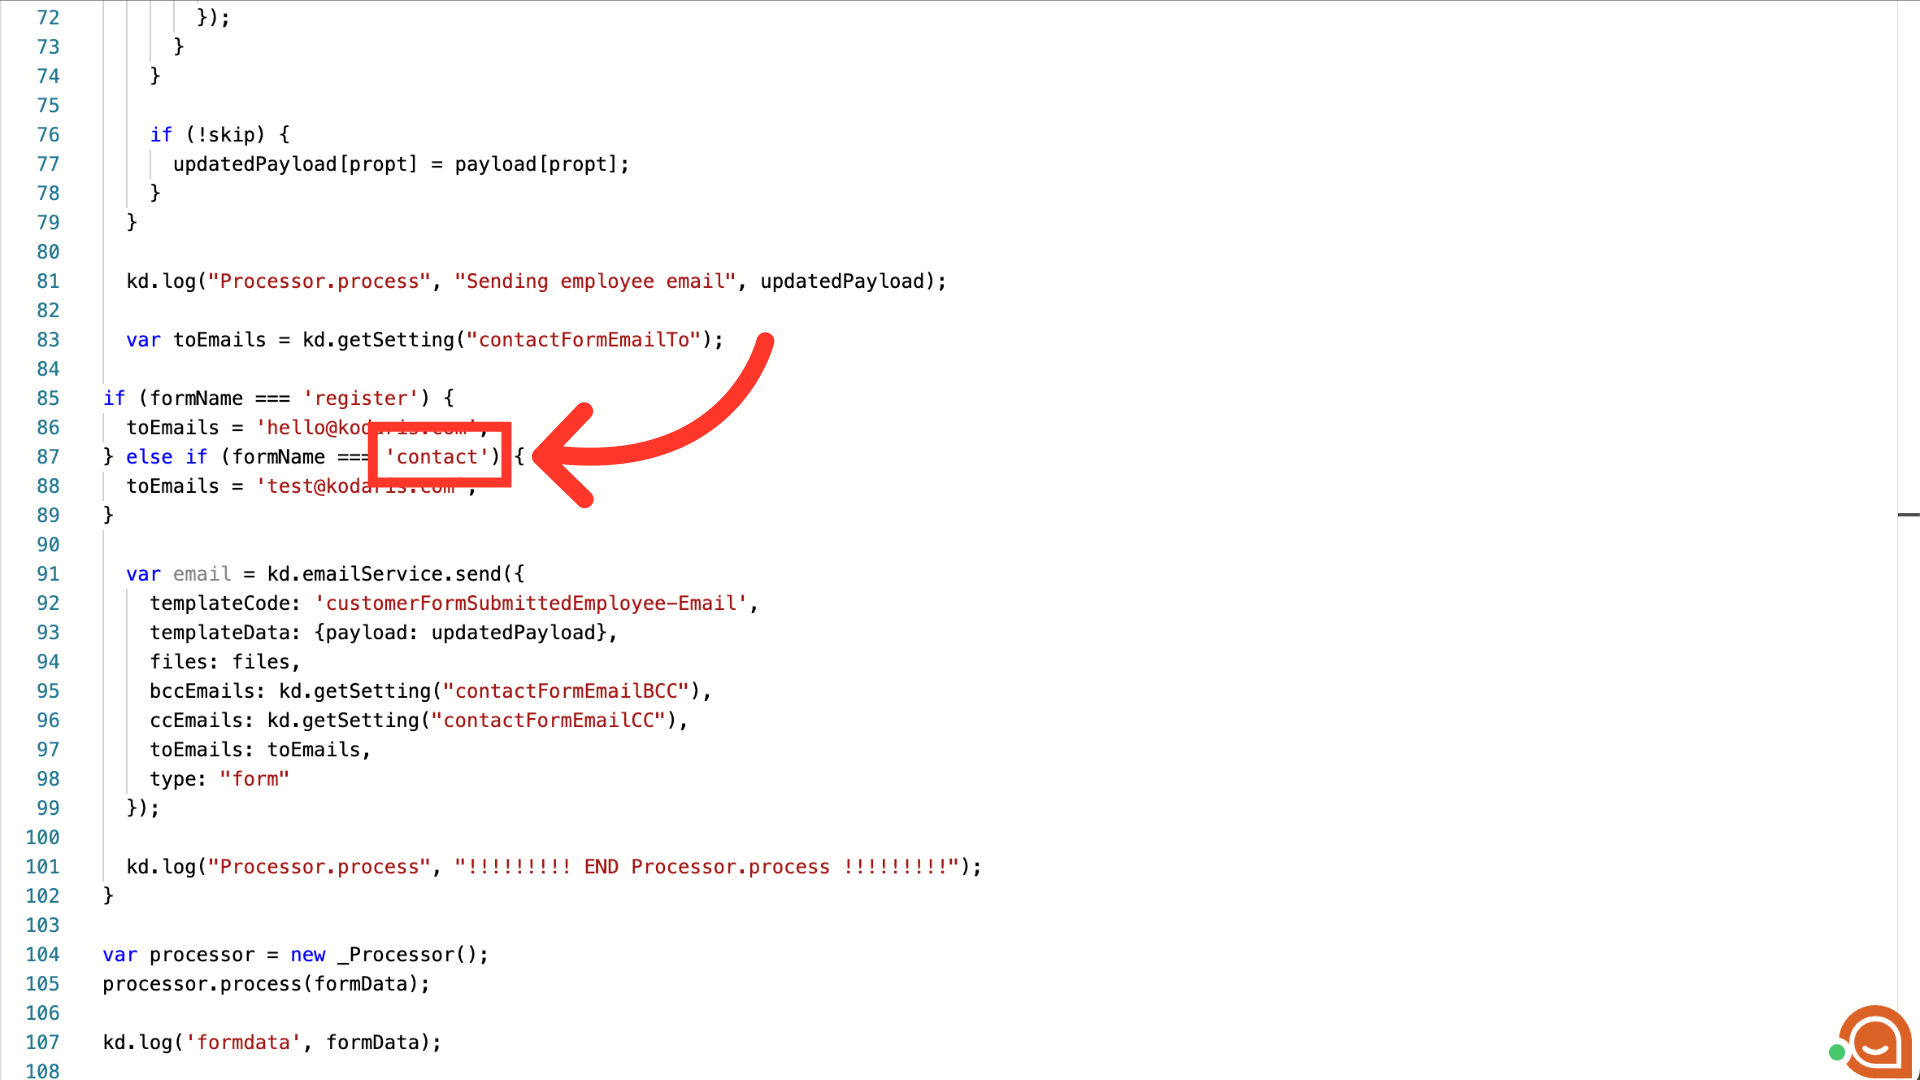
Replace this email address with an email address different from the one that was previously entered in the other line of code.
You can repeat the "else if" code for as many forms as you have on your website.

Save the changes to your script by clicking the "Save" button.

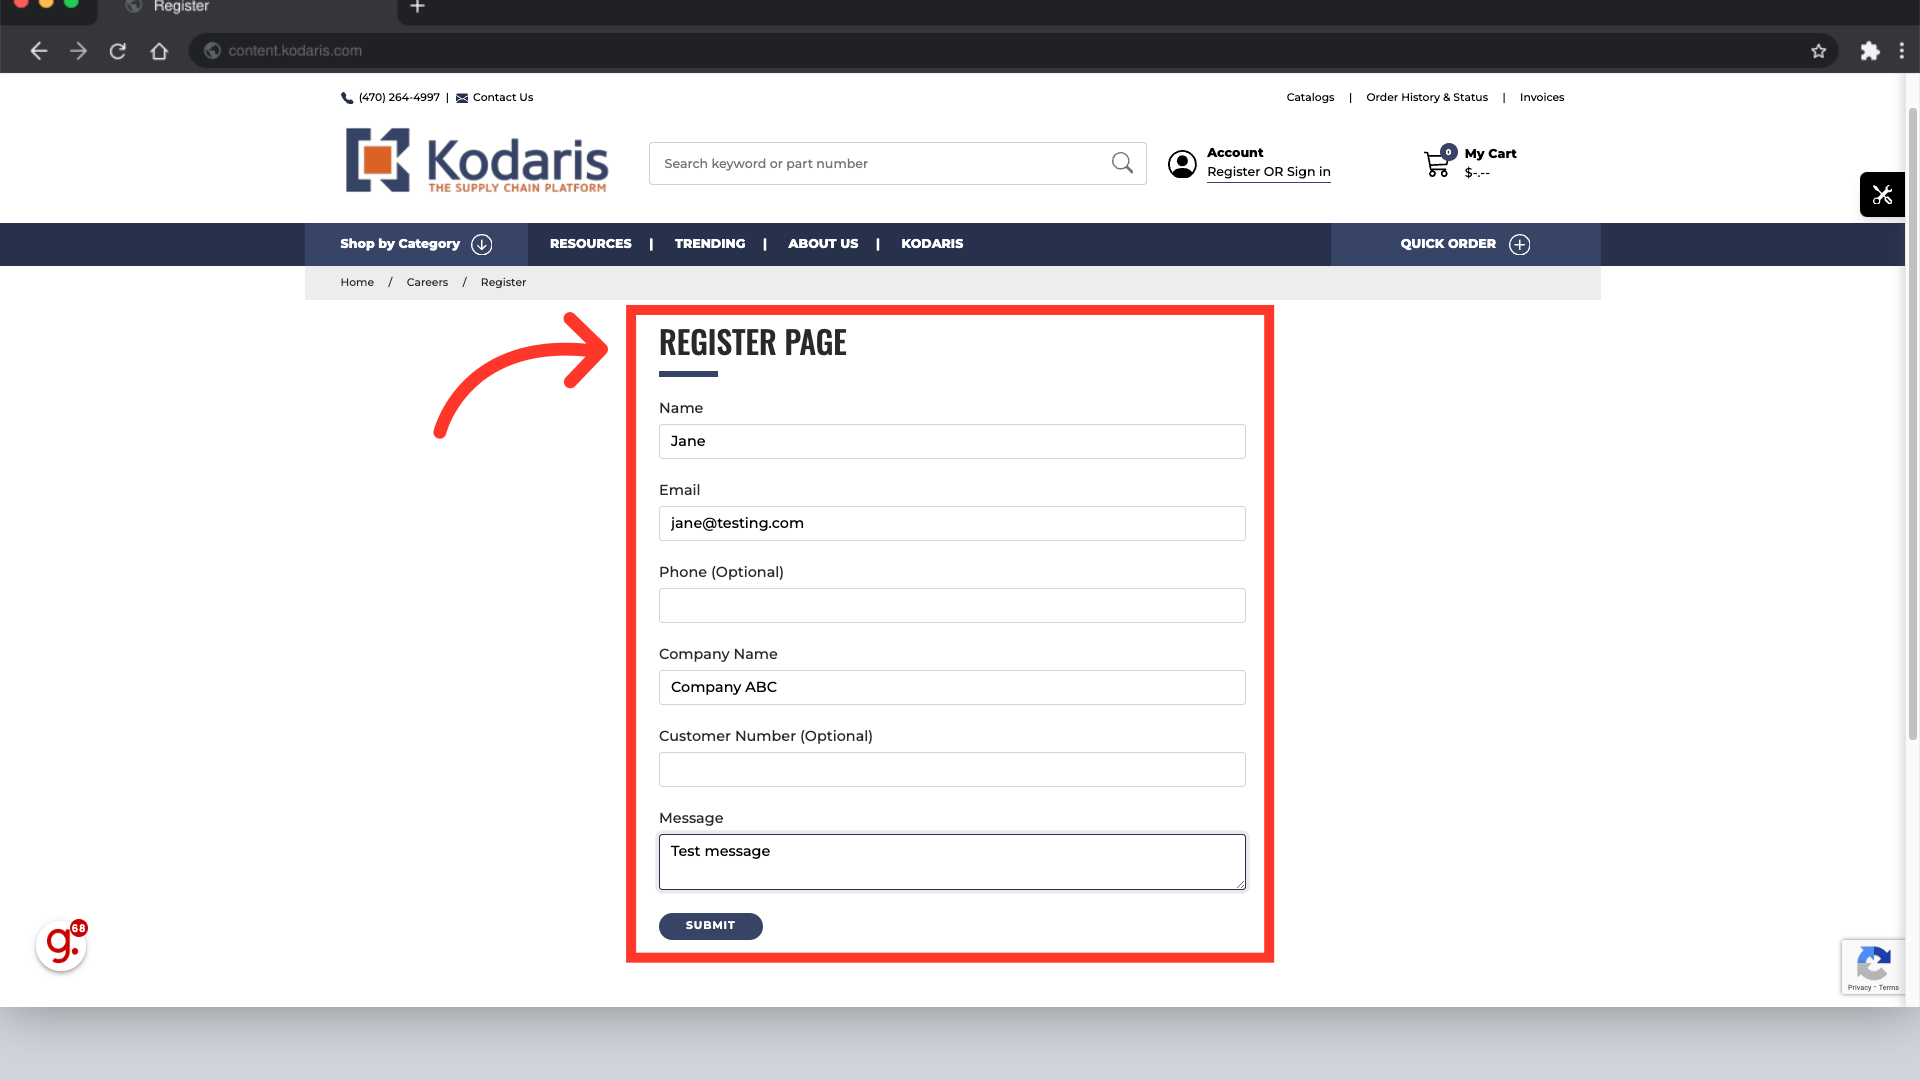
To test the new form processing that you just enabled, head to the page where one of your forms is located on your company's website. Fill out the form in its entirety using a test persona. In this example we used a hypothetical user named John.

Send the test form by clicking the "Submit" button.

Navigate to the other form on your website. Fill out a second form using a different test persona to submit two tests for good measure. In this example, our hypothetical user is Jane.
Send the test form by clicking the "Submit" button.

Once your two test forms are sent, head back to the Operations Portal and search "Emails" in the main navigation search bar.
Click "Emails" to access a page with all your system's emails.
To ensure your spreadsheet displays the most recently sent emails at the top, sort the "Sent" column by clicking on the "Arrow" icon next to the word "Sent".
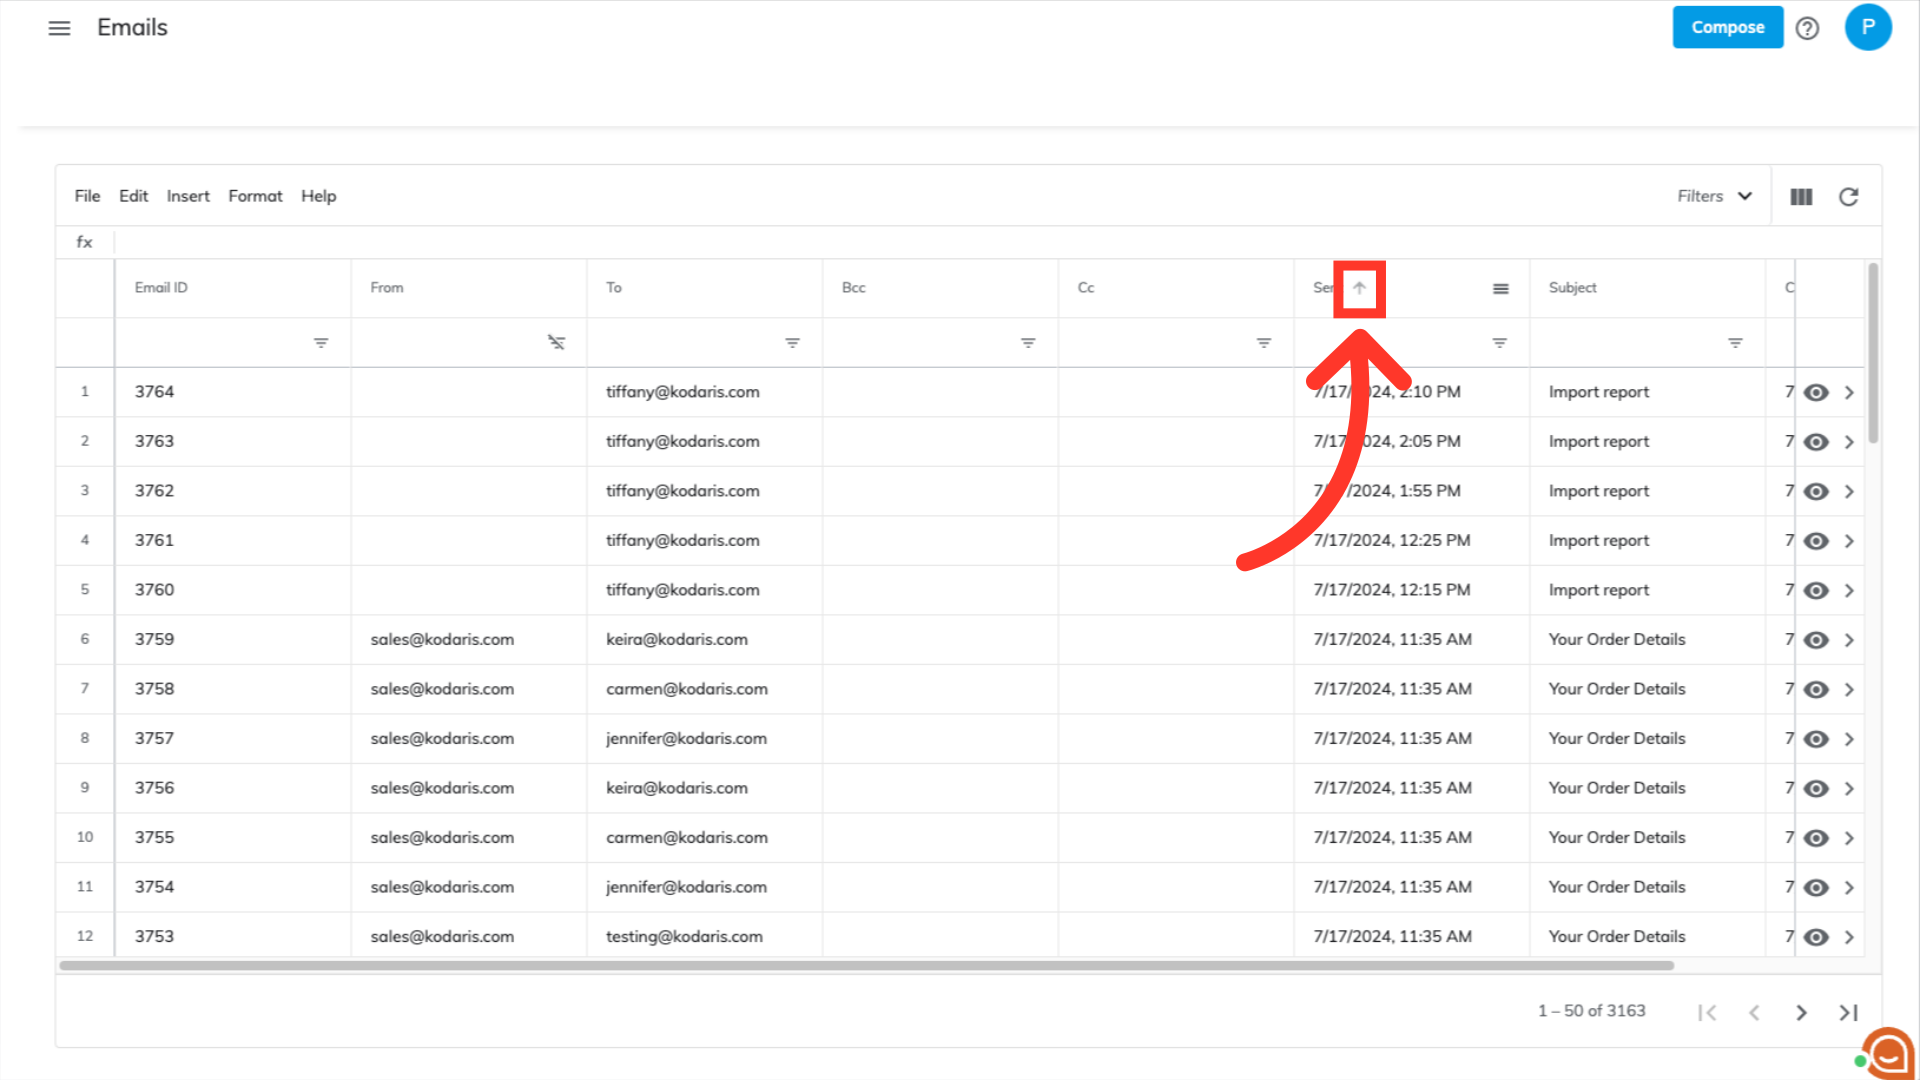
Now that the grid has been sorted, find your test emails. They may be located at the top if you just sent them, or you may have to scroll down the sheet if your system sends many emails.
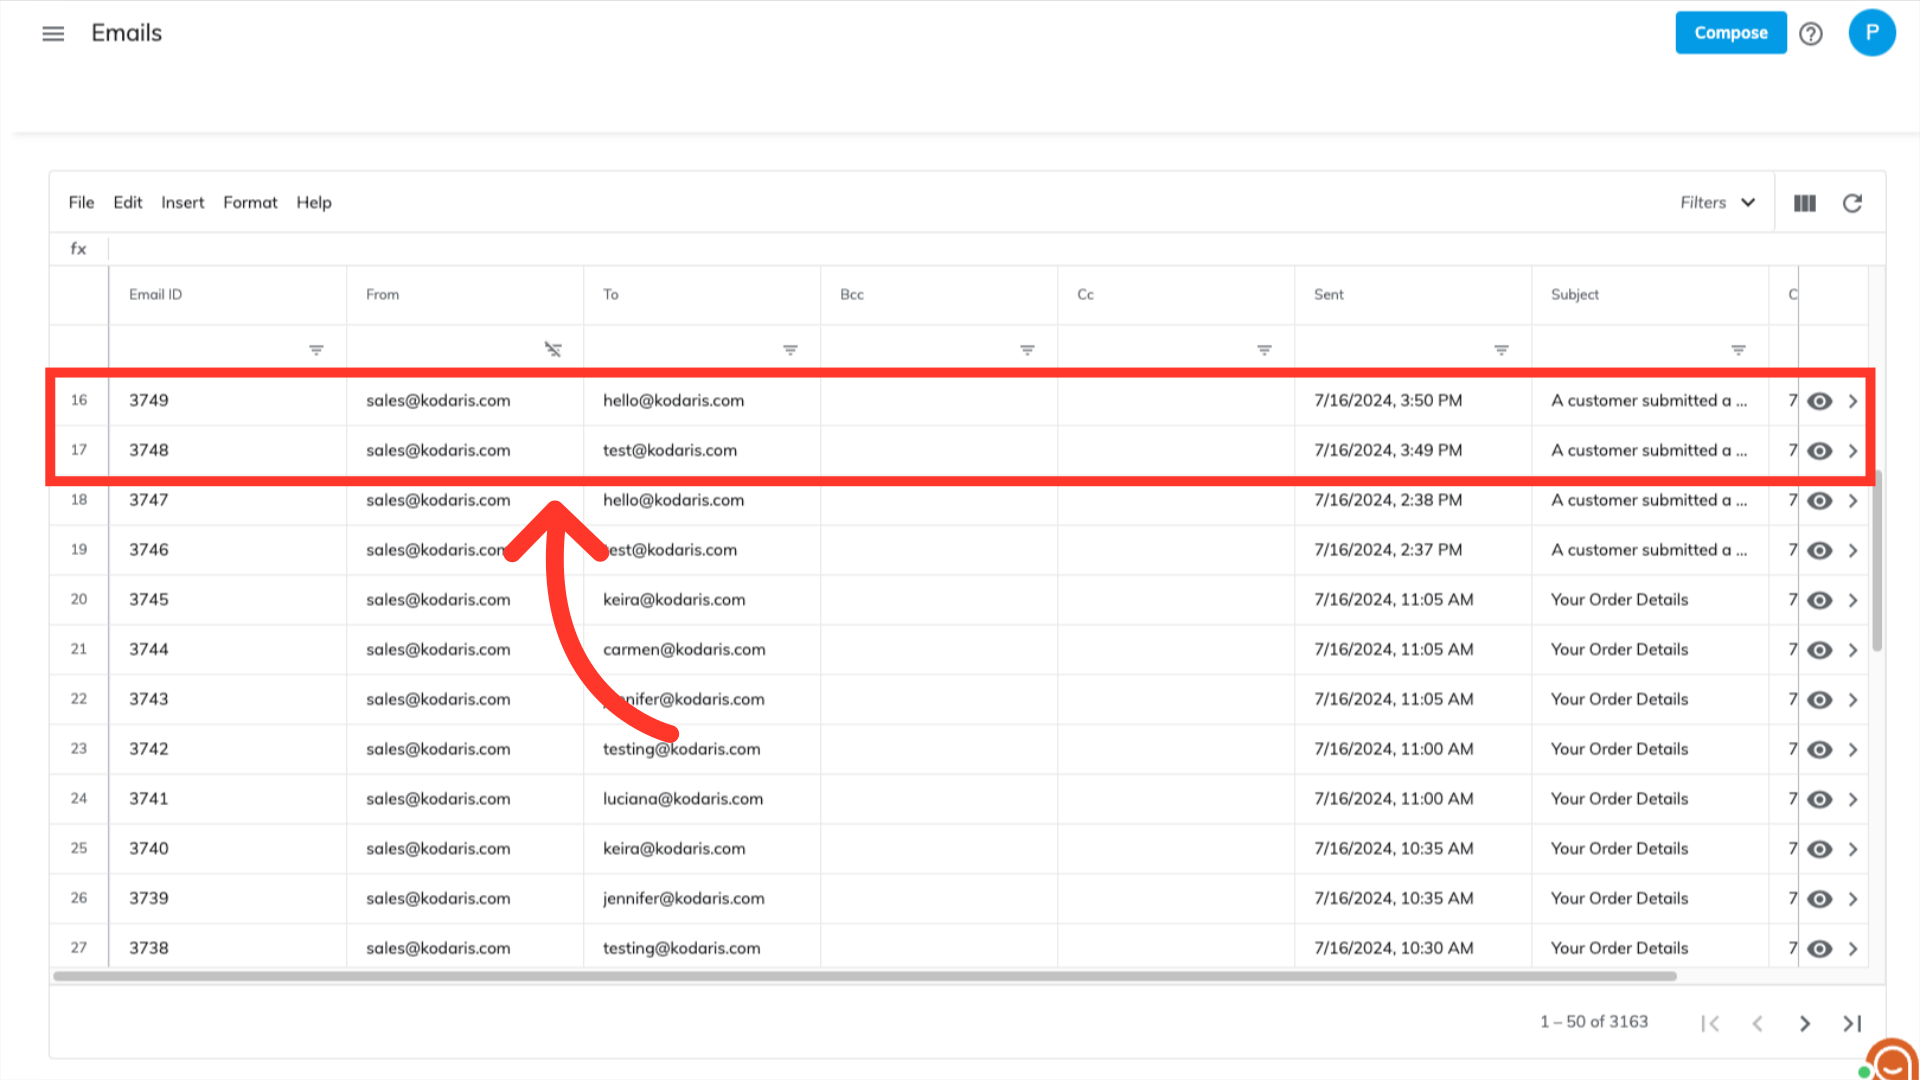
To view a copy of the email that was sent, click on the "Preview" icon in its row.

A preview of the email that contains the contents of the form will appear. You can compare this email with the information you used to fill out the test form to ensure your test was successful. You can do this for all the test forms you filled out.
