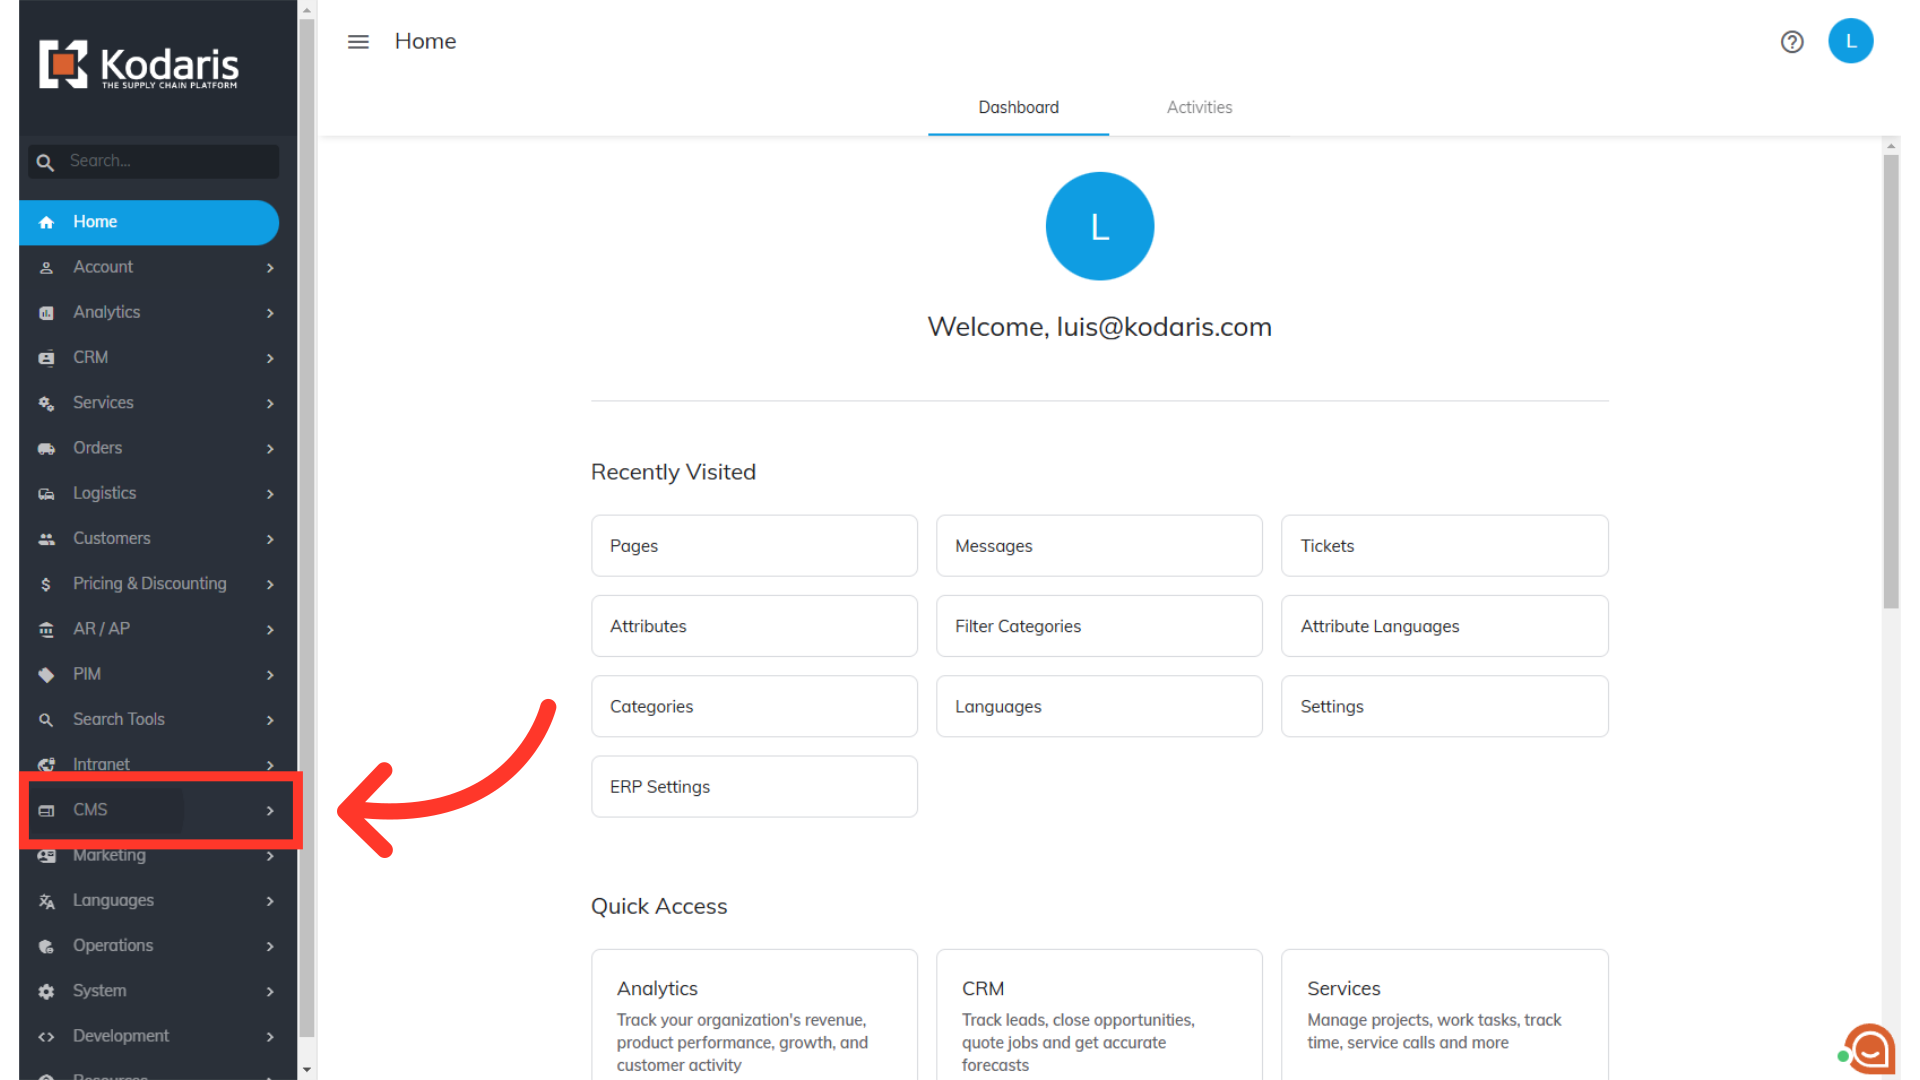
To create a contact form, navigate to the “CMS” section in the operations portal.
Then, click “Pages”. In order to access and update “Pages” you will need to be set up either as an “administrator” or a “superuser”, or have the roles of: “contentView” and “contentEdit”.

Click the "Add Page" button.

And select "Gutenberg" from the options.

If you already have a predefined layout, you can select from here. If you're starting from scratch, simply click the “x” icon to exit the predefined layout selection.

You are now in the page editor. Click the "Add block" icon.

Some blocks will appear from the default options but you can enter "Form" to search for the Form block.

Now, select the “Form” block to add it to the page.

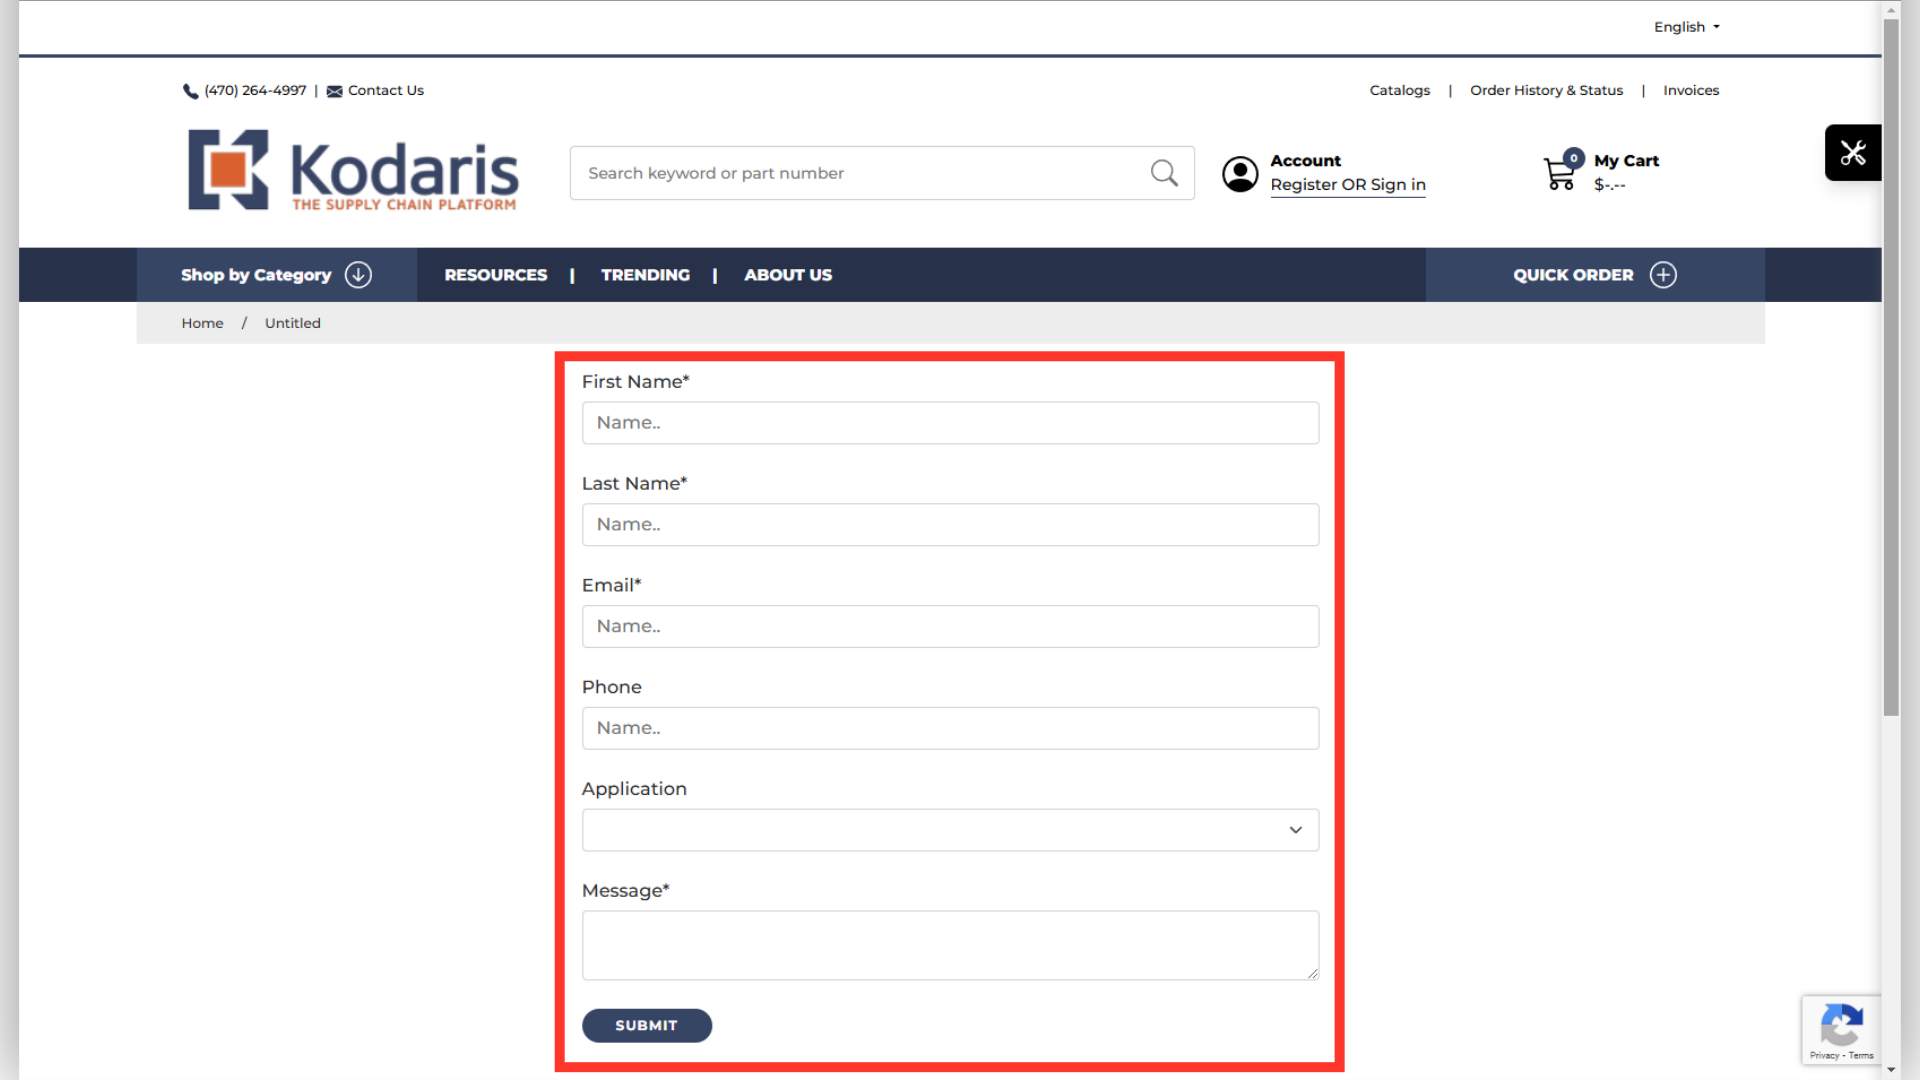
Click "Contact Us" to work on a basic contact form and adjust based on your preference.

Now you have the contact us form template to work with. Select an input field to start customizing your form.
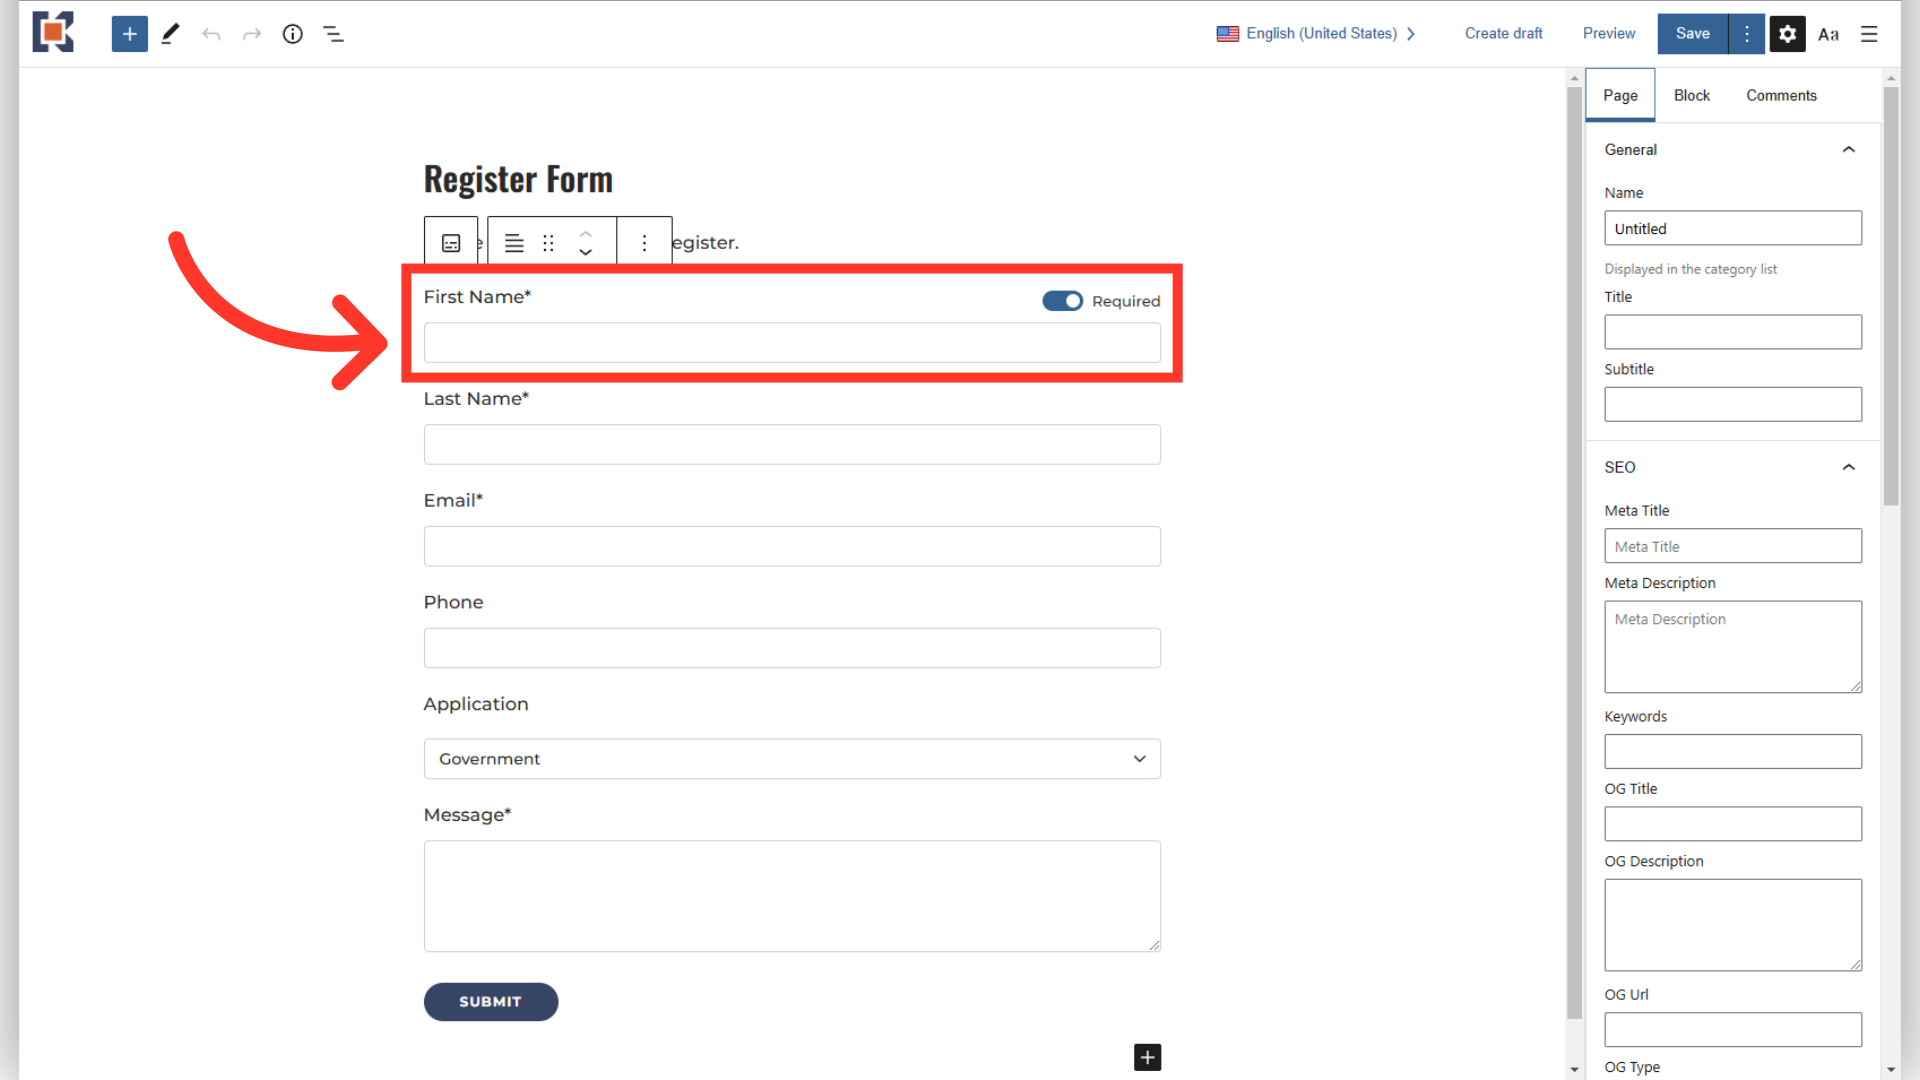
Then, click the "Block" tab on the right pane to see and update the input field settings.

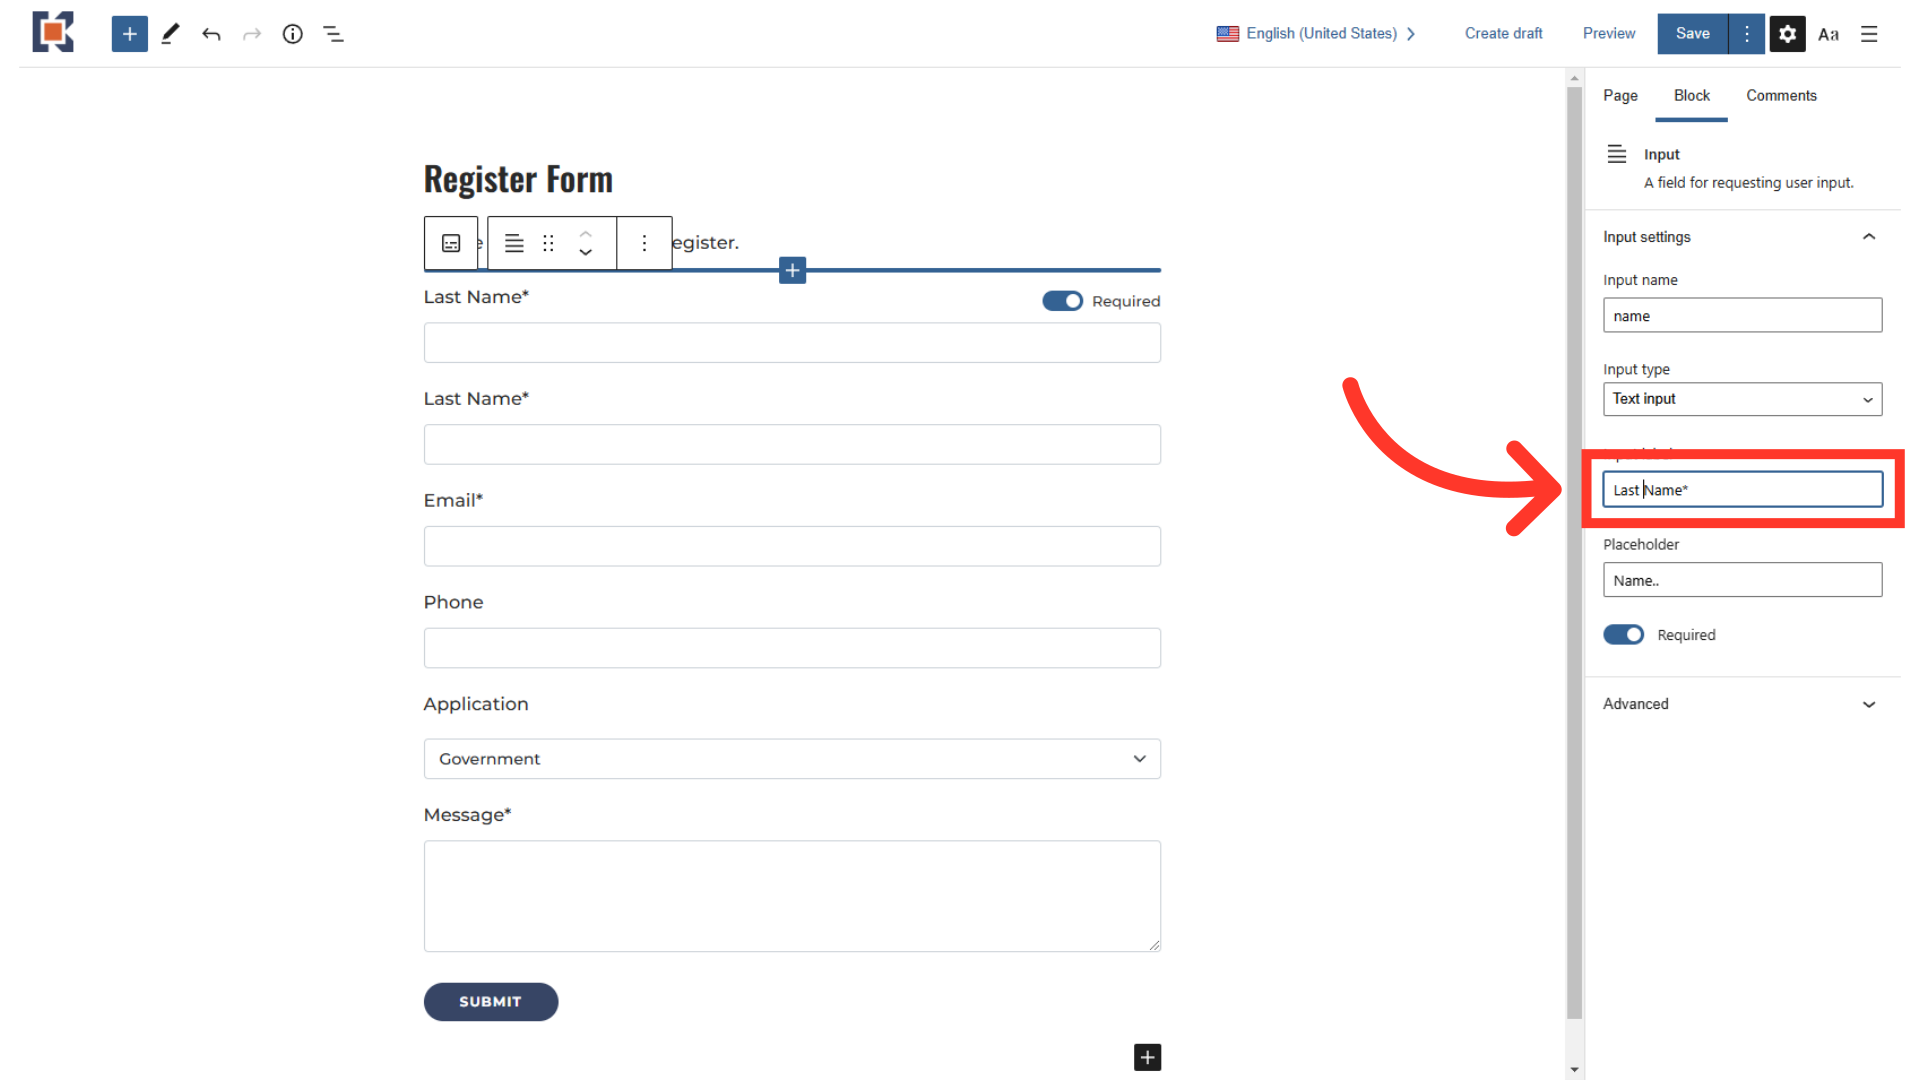
"Input name" field is what reference the field when a form is submitted. This is what the admin will see in the backend when he receives the form.

The "Input type" field will define what type of characters the input field will accept.

The “Input label” is the title of the field, and what the user will see above the field.
"Placeholder" is a short, descriptive text displayed inside an empty input field (like a text box) to guide users on what they should enter.
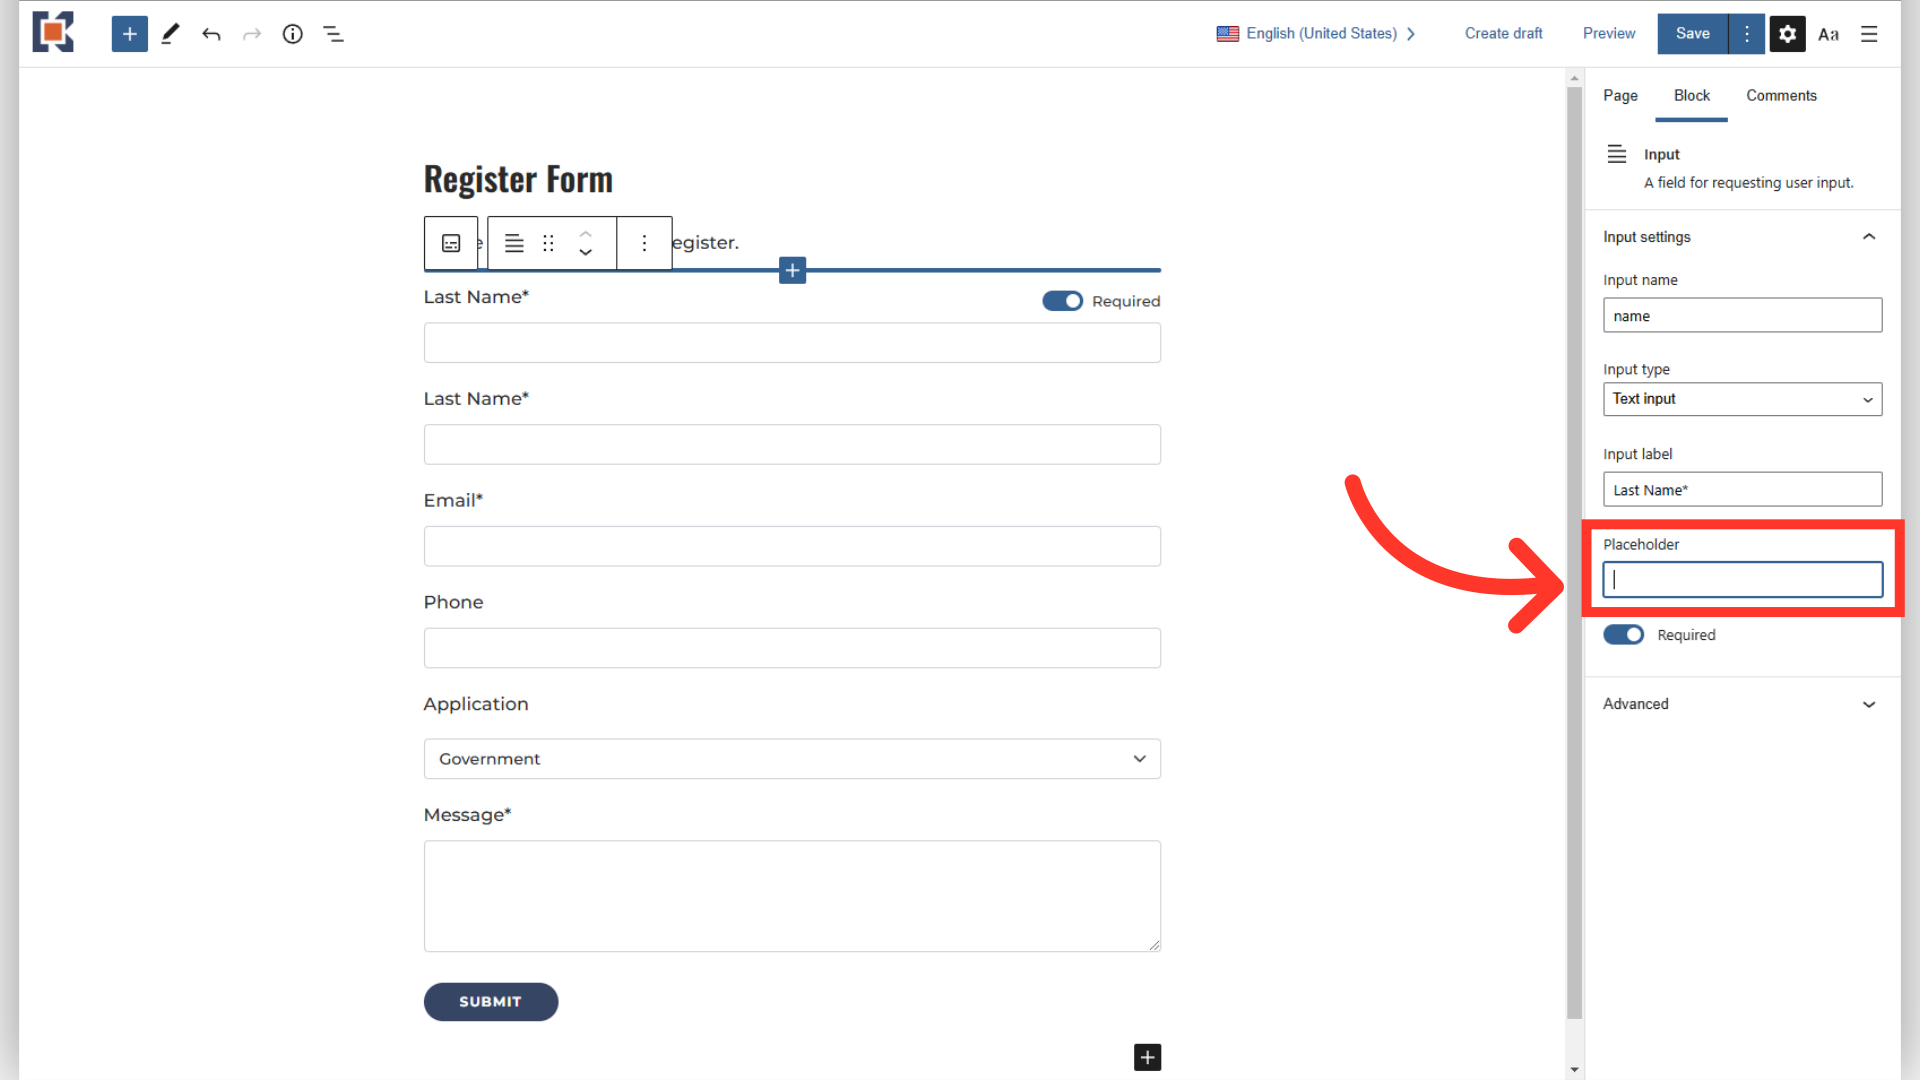
You can make the input field required to be filled out by users when you turn on the "Required" slider button.

Click the “Preview” button to check your updates before saving.

You will be redirected to the page to preview the form.
Once everything looks good, click the “Save” button to save the changes you’ve made.
