Editing pages on your website is intuitive and does not require coding experience.
The Kodaris CMS uses the WordPress Gutenberg page editor. The page editor has point-and-click and drag-and-drop functionality, making it simple to create stand-out, custom content for your website.
The Gutenberg page editor allows you to independently build your web pages using default blocks. The blocks enable you to add elements to your pages, like headings, images, videos, paragraph text, bulleted lists, numbered lists, and more.
The page editor is completely self-serve; however, if you need to make development changes or additions to your pages, your IT team can do so via the code editor. Kodaris is also available to assist with development needs.
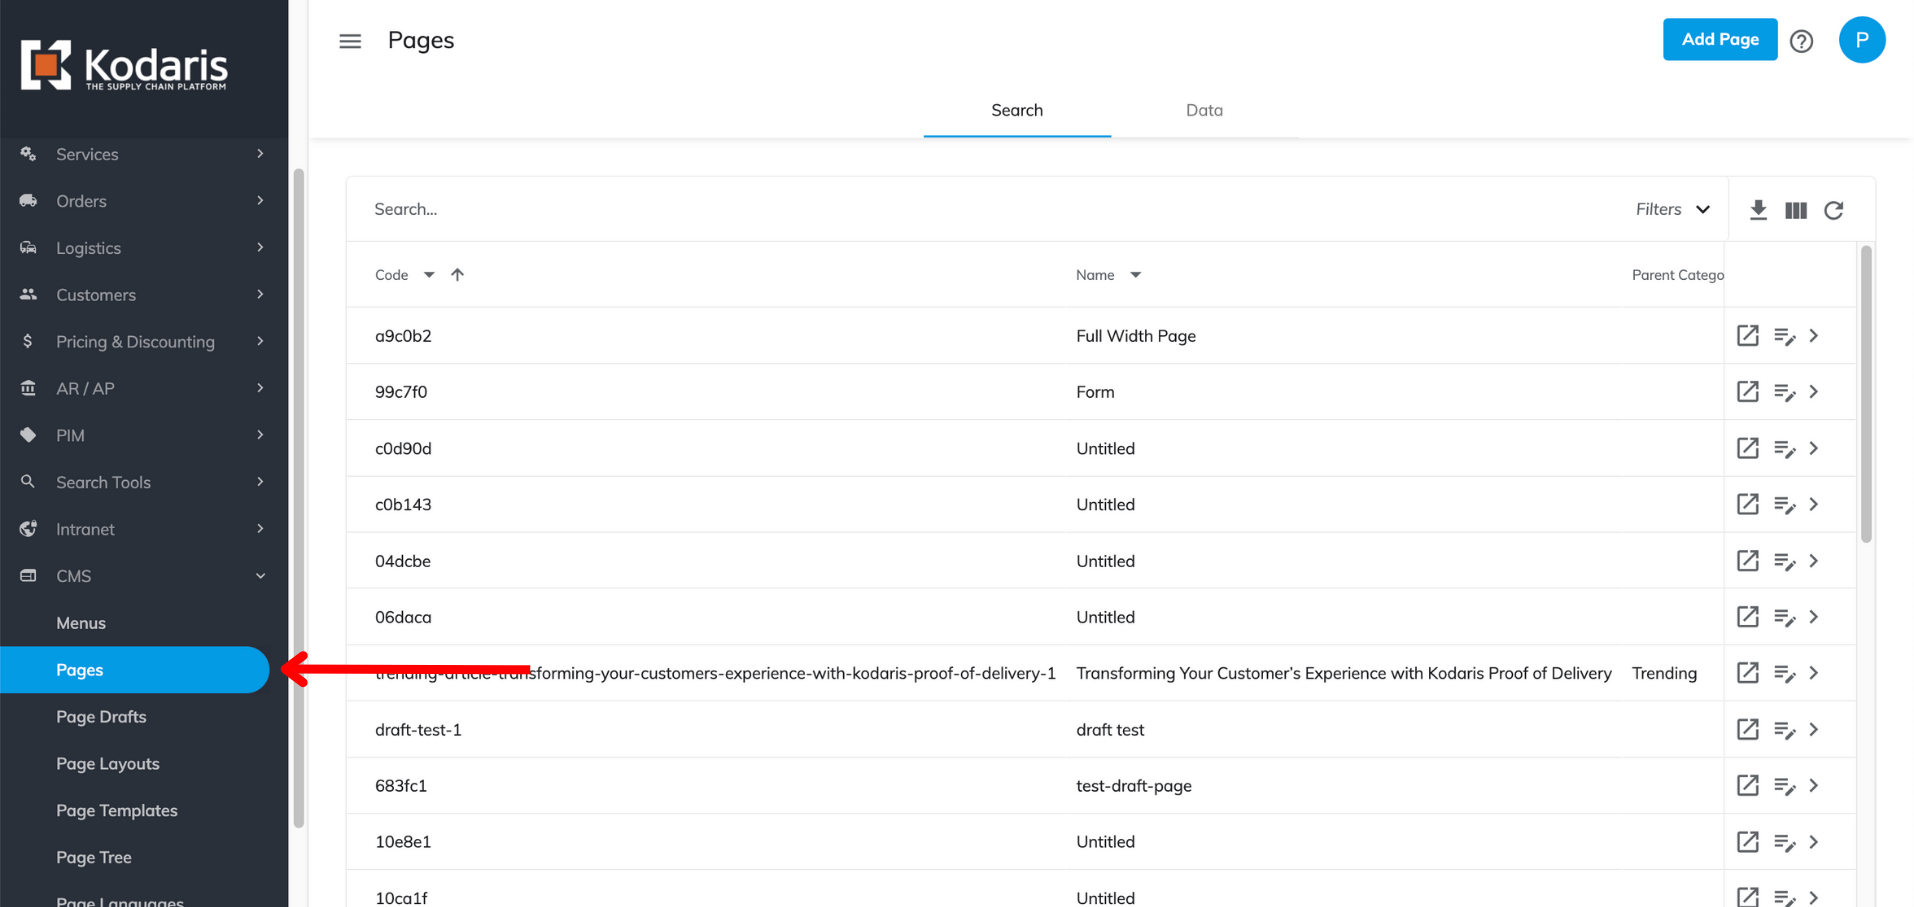
Creating a new webpage is simple and can be done in a few, easy steps. To add a new page to your website, start by navigating to the Pages section in the left-hand navigation.
In the upper right corner, select “Add Page”, then choose “Gutenberg”.

This will bring up a list of page layout options. Select which layout you wish to use. In this example, we will choose the layout titled “Career”. Kodaris provides default page layout options, but you can also create your own. More information on page layouts is available in another documentation section.

Once you select a layout, it will bring up the Gutenberg page editor, which has four key components:

The content editor is where the content of the webpage is built. It’s where you will insert blocks to add paragraph text, headings, images, videos, and more.
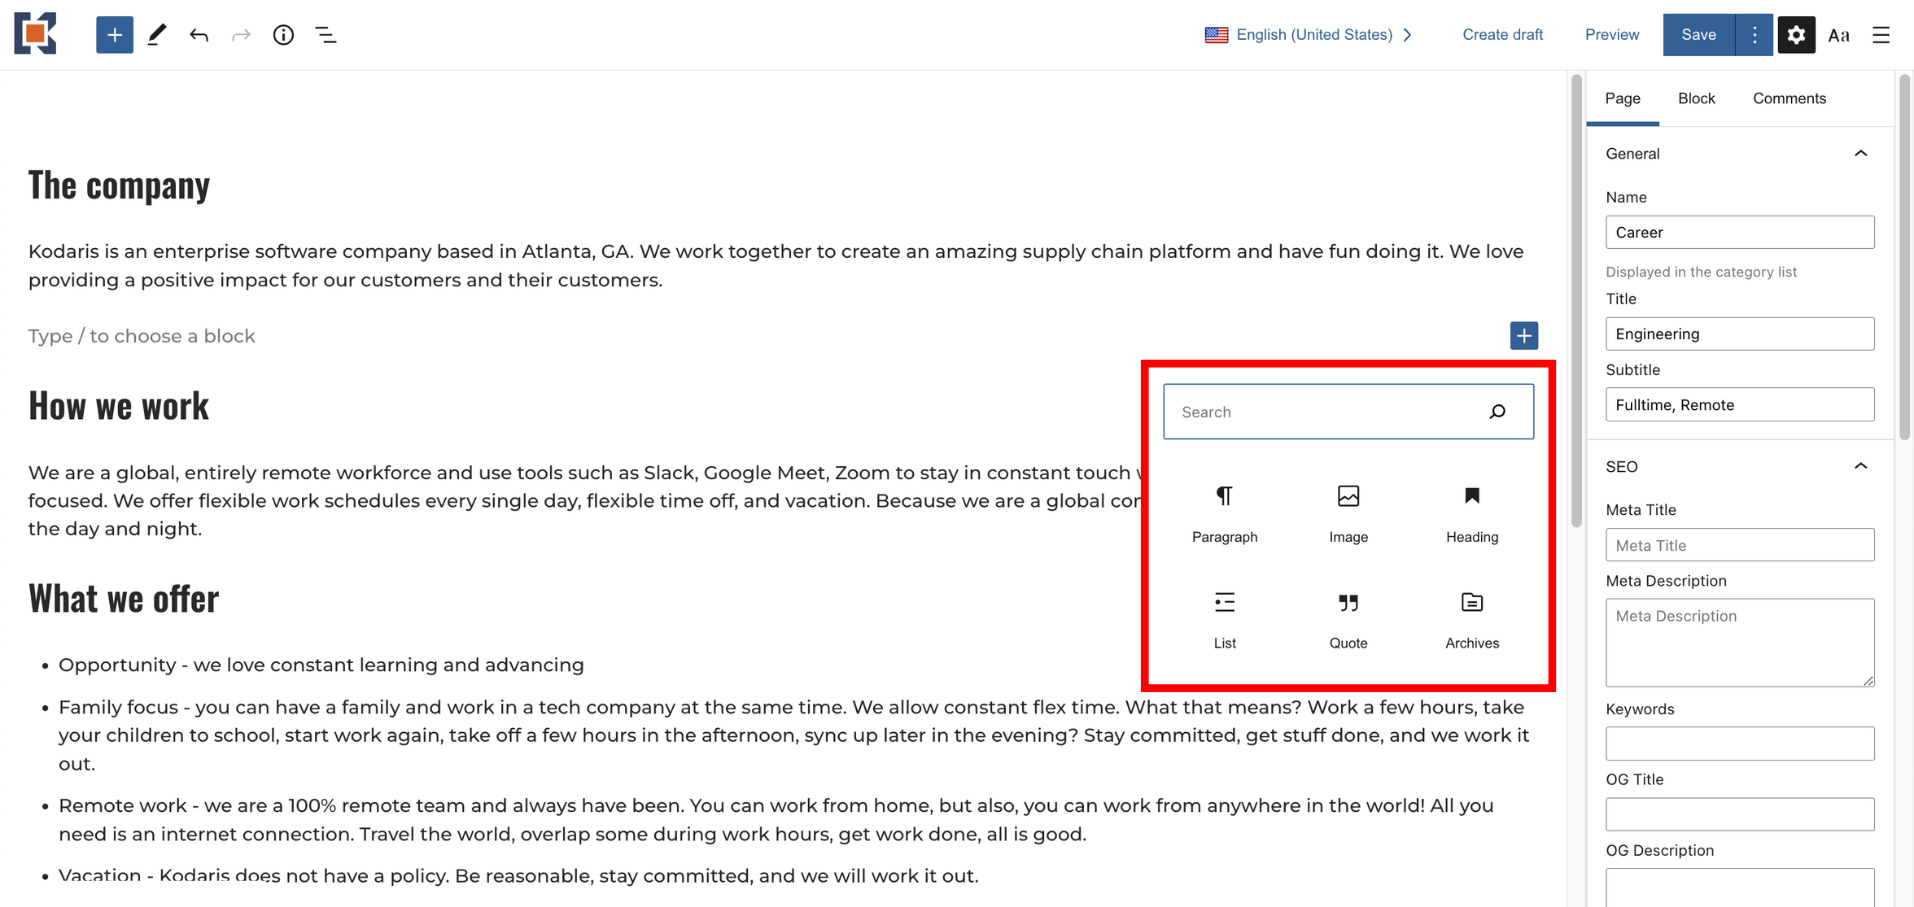
To pull up the block inserter and add a block, click “Enter/Return” to start a new paragraph, then choose the + icon that appears to the right. You can also hover between sections and/or paragraphs and then select the + icon. Doing so will bring up the block inserter.

From here, you can select the block options shown or use the search bar to find the block you desire.
Once you add blocks, you can also rearrange them by selecting the up and down arrows within the toolbar. This function will allow you to adjust the vertical position of each block.

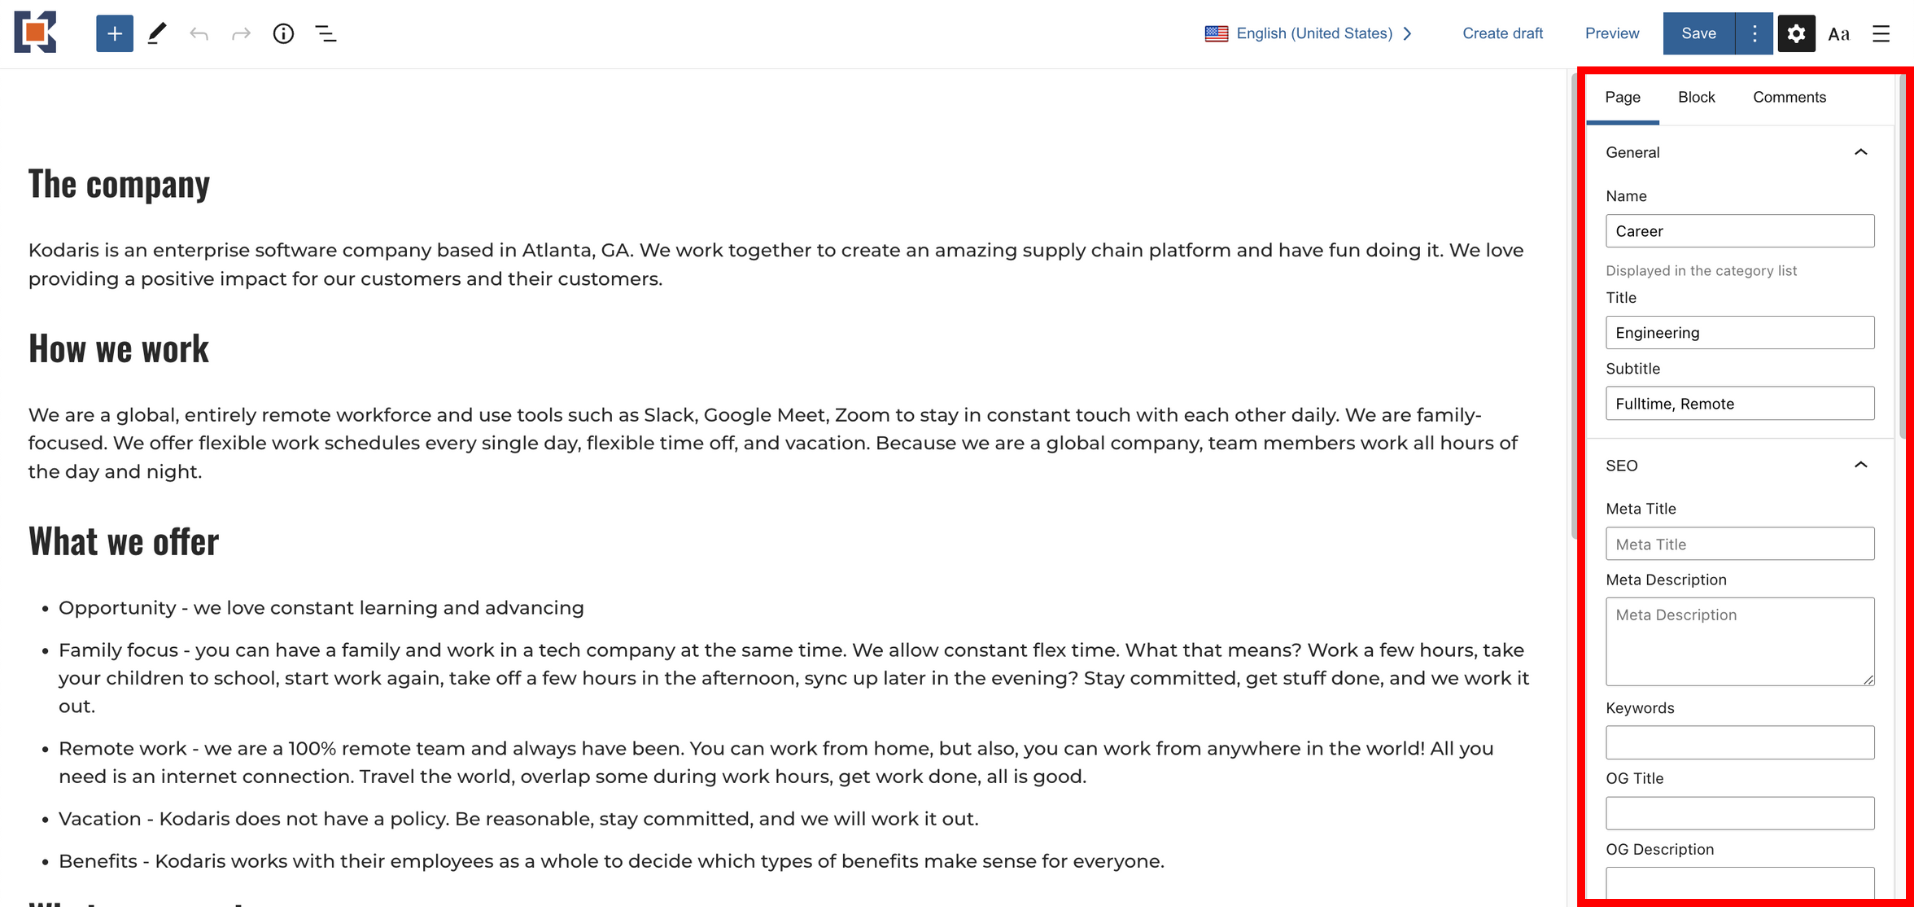
To further customize your page, like adding a page title, subtitle, and URL slug or editing the page’s SEO fields, you will leverage the settings panel on the right-hand side of the screen.
The panel allows you to manage the following settings:
A useful tool found within all pages that leverage the Gutenberg editor is the commenting capabilities.
Your users have the ability to communicate with each other directly in the Operations Portal through a comment feed. Each page contains its own Comments section, which is unique to that page alone. Many users use this feature to discuss a page’s status, give feedback, share ideas, etc.
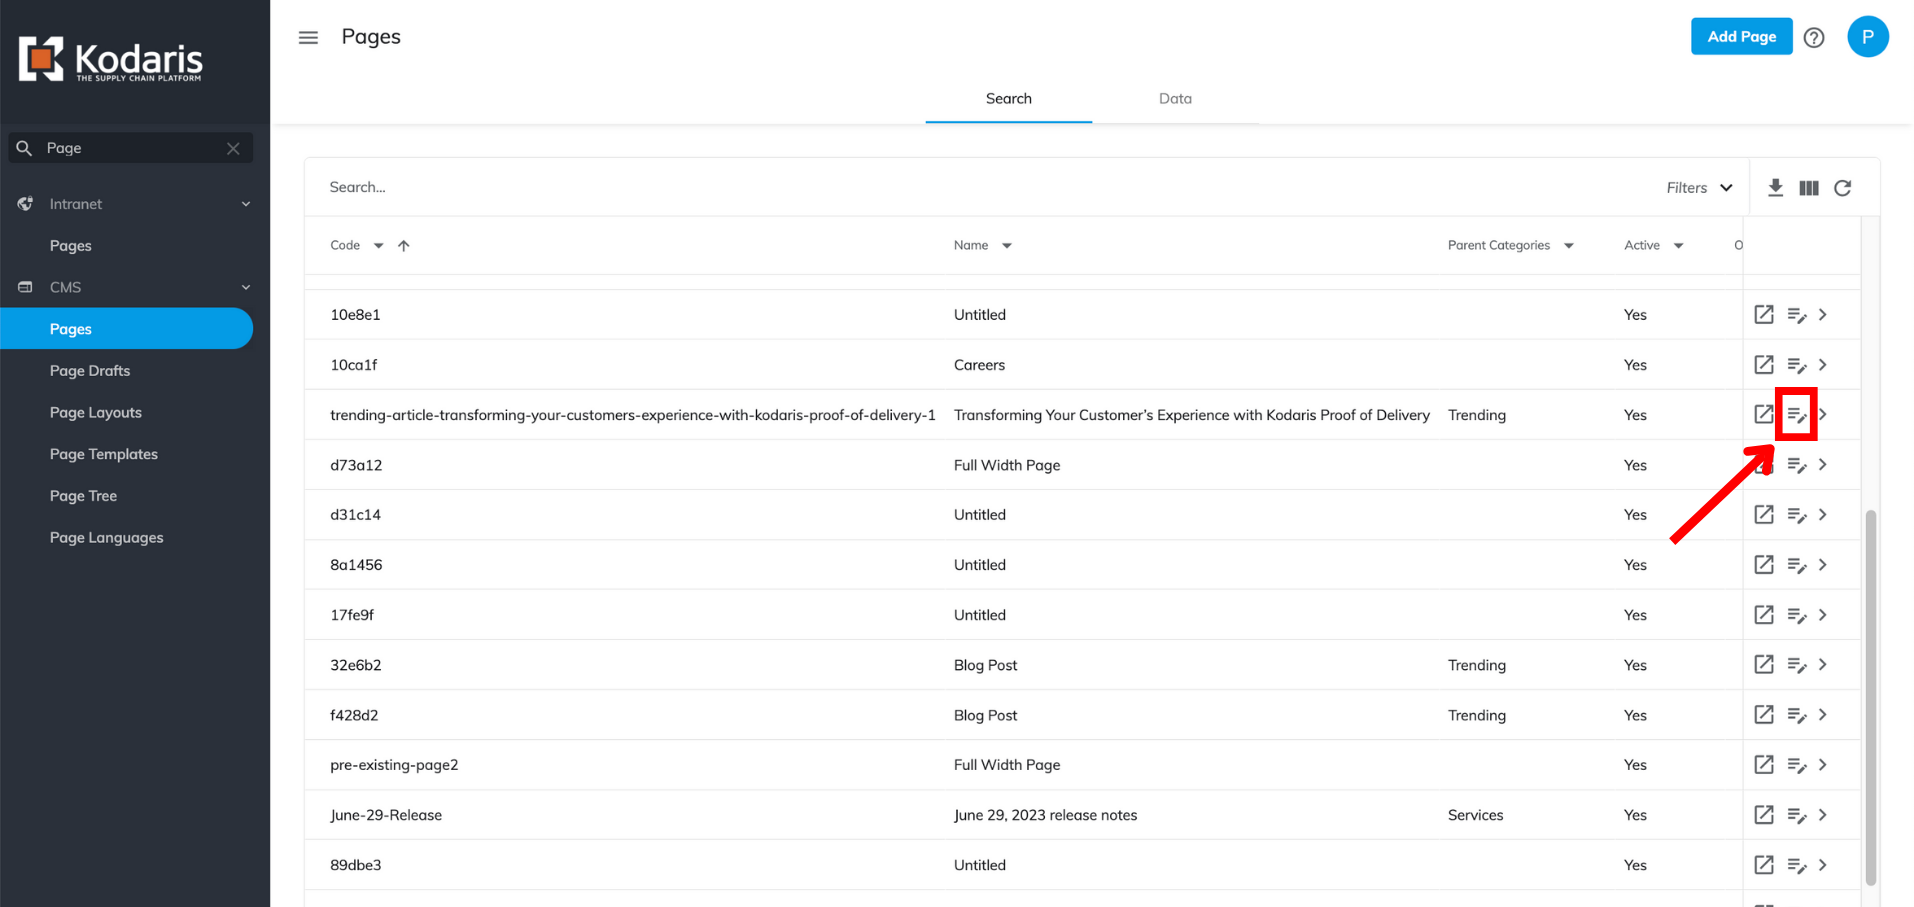
To locate the Comments section on a page, search for the page you wish to add a comment and click on the page editor.
Select the Comments tab on the settings panel. Here, you will find a feed of previous comments, as well as a text box to add more comments. Each comment will show the author and contain a timestamp with the date and time it was added.

Once you’ve completed your page, it’s best to preview it before publishing. This allows you to see what the page will look like on your site before it goes live to the public. The publishing feature also comes in handy when you want to test what certain features or blocks will look like on your live site while you’re in the process of creating it.
To preview a page, select the “Preview” button in the upper right-hand corner of the editing screen.

This will open a new tab with a preview of the page. You can review, scroll through, and interact with the page on your test site just as a customer would. This allows you to understand what your customer would experience, providing you the opportunity to make any necessary adjustments.

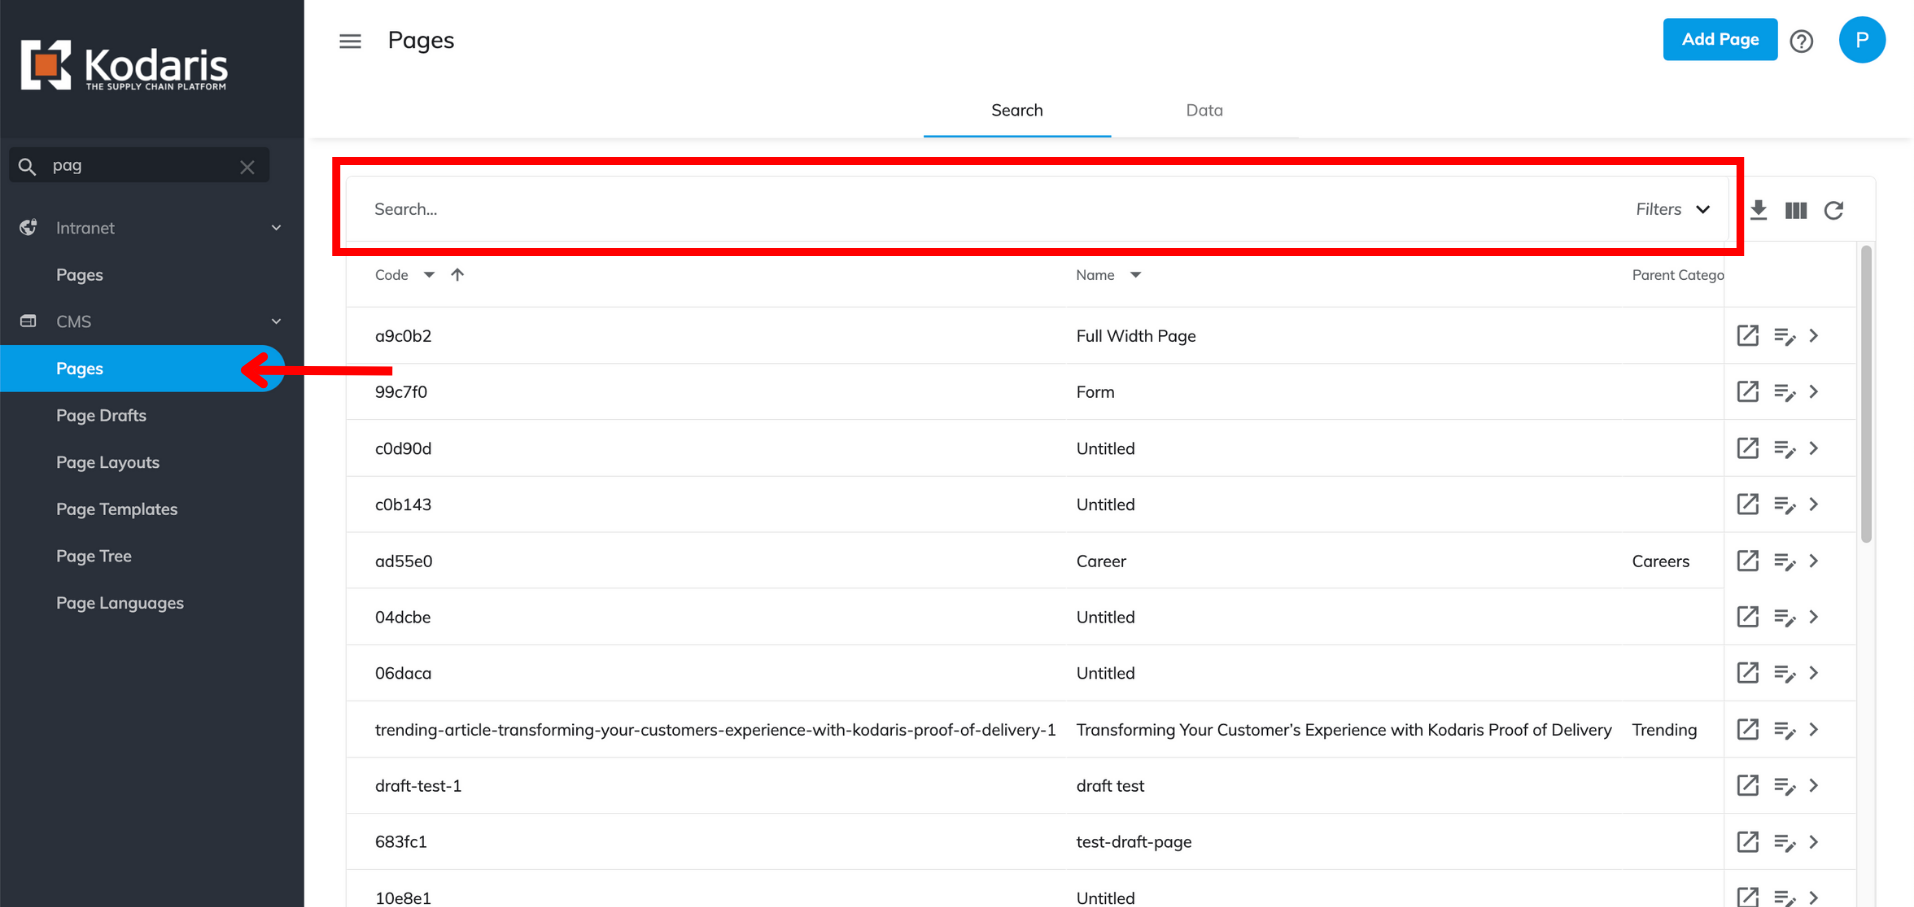
Once you’ve created pages using the Kodaris CMS, you can easily search your content library. To do so, head to the Pages screen. At the top of the grid, you’ll notice a general search bar. This is where you can search for the page you’re looking to find. You can search by page title, keyword, or another attribute, and the system will pull what relates.
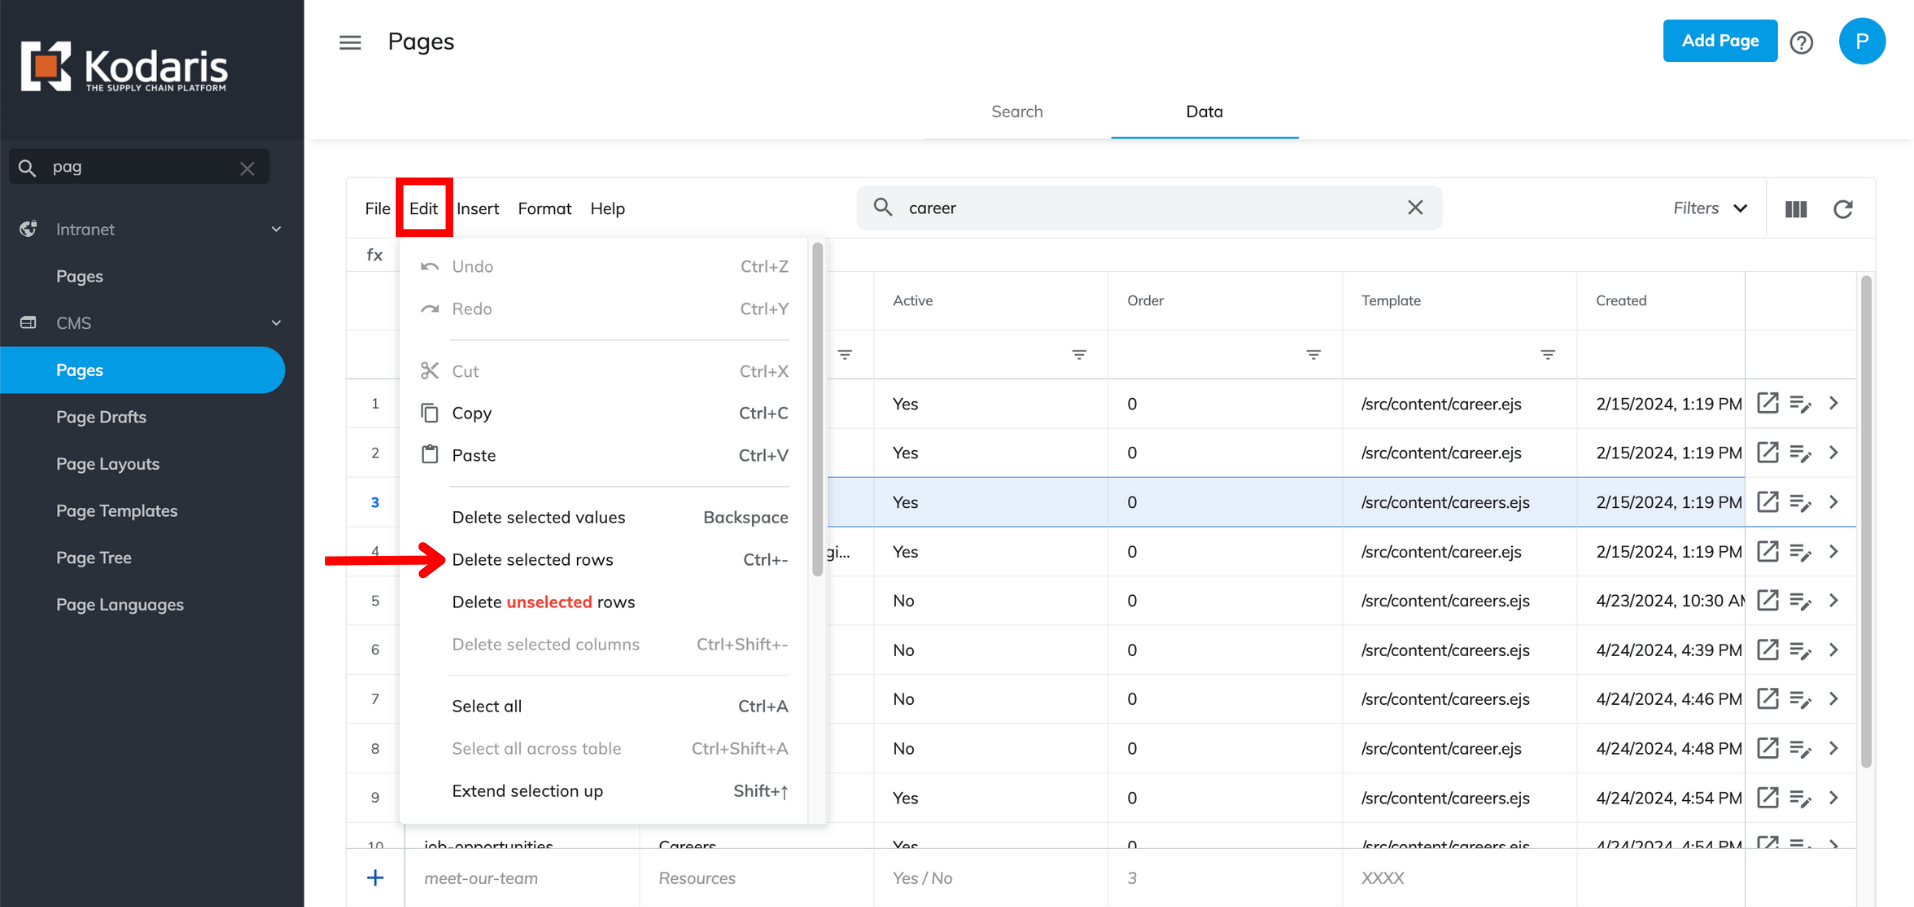
Deleting a page using the Kodaris CMS is simple. First, you will navigate to the Pages screen and click on the “Data” tab. Search for the page you wish to delete, and then select the entire row for that page.

From here, click “Edit” and then “Delete selected rows” to delete your desired page.
If you want to unpublish a live page but not delete it entirely, you can mark it as inactive. This will hide the page from being visible on your live site but retain it within your CMS for editing.
This can be useful if you need to make changes to a live page but do not want it to be visible to the public until after the changes are made.
To do this, locate the page you want to make inactive. Head to the page’s details.

Under “General Info”, find the “Active” dropdown. “No” will deactivate the page, thus making it inactive. “Yes” will activate it, ensuring it’s viewable on your website.
