Activities is part of the CRM feature and can be used to help track and organize your sales conversations, projects, initiatives, and more. /pause/ To create an Activity using the Employee Mobile App, open the app.

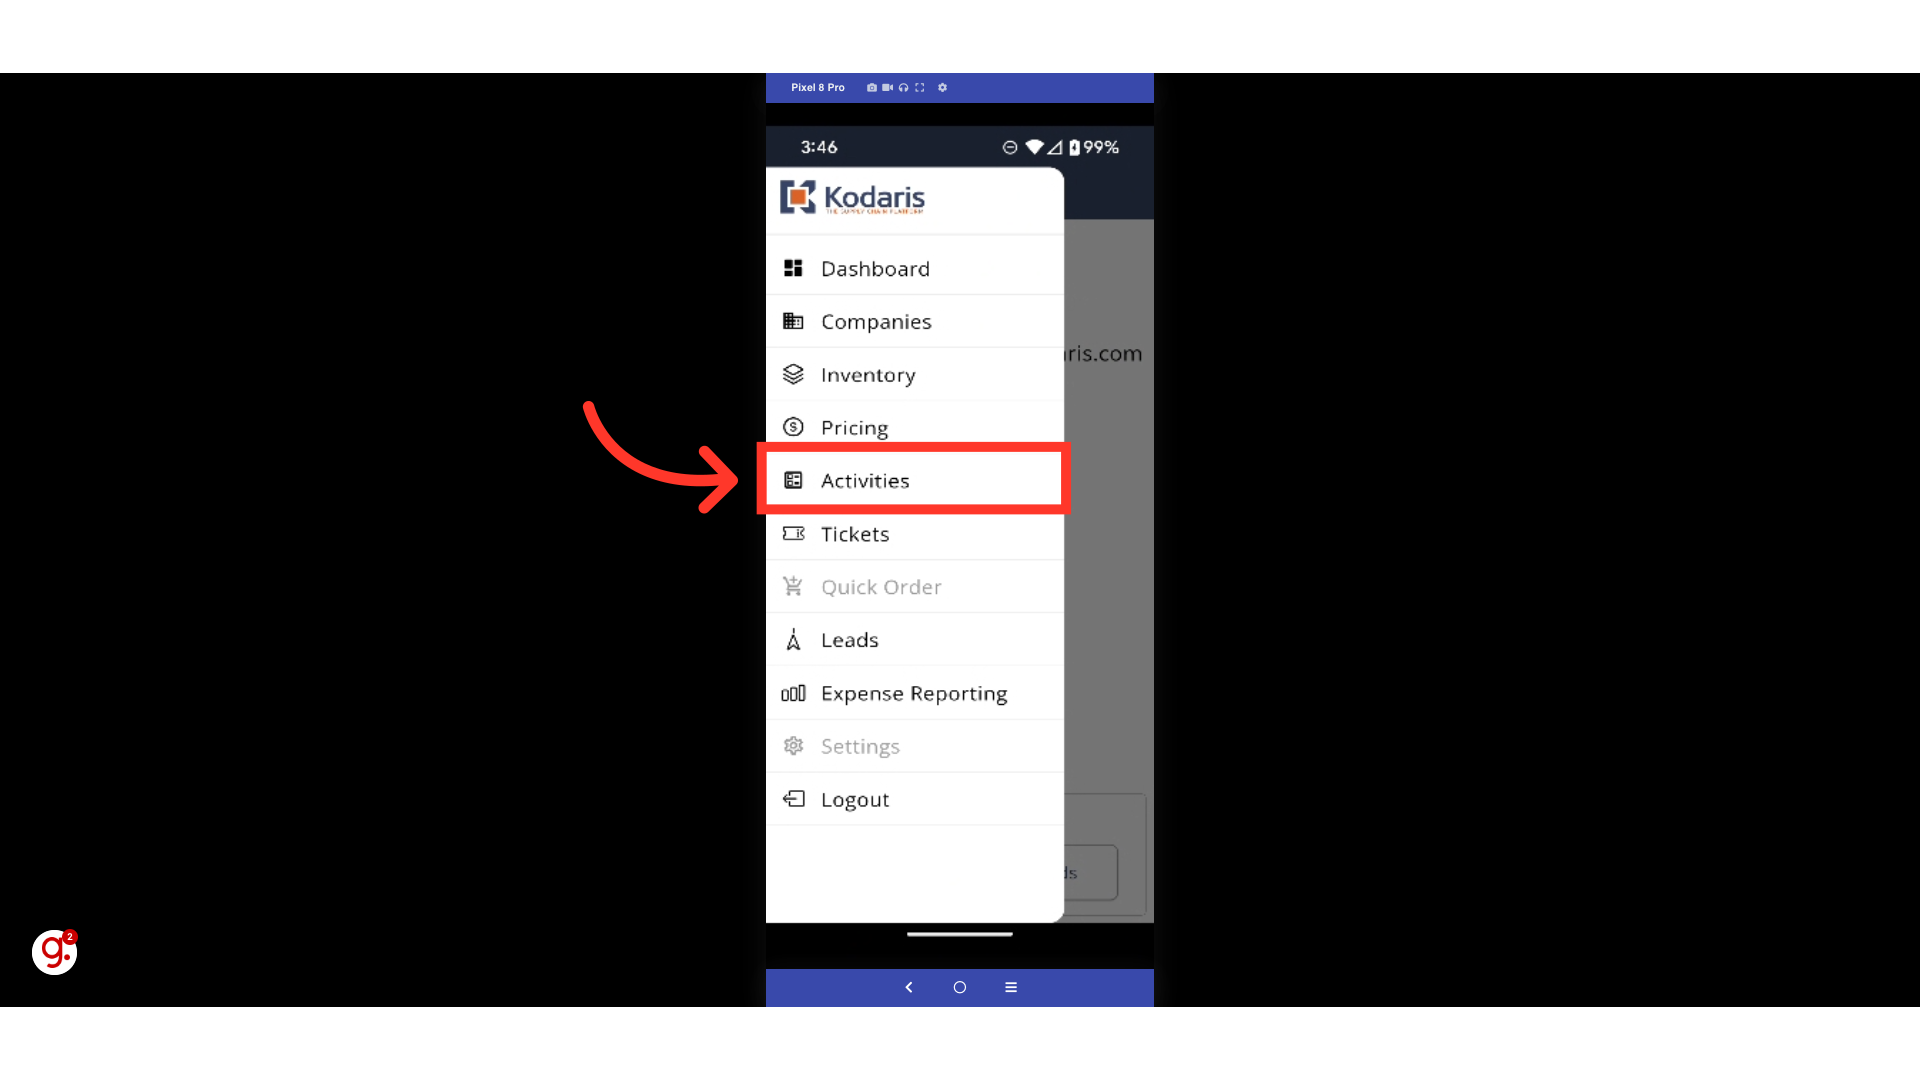
Tap the menu icon.

Select "Activities".
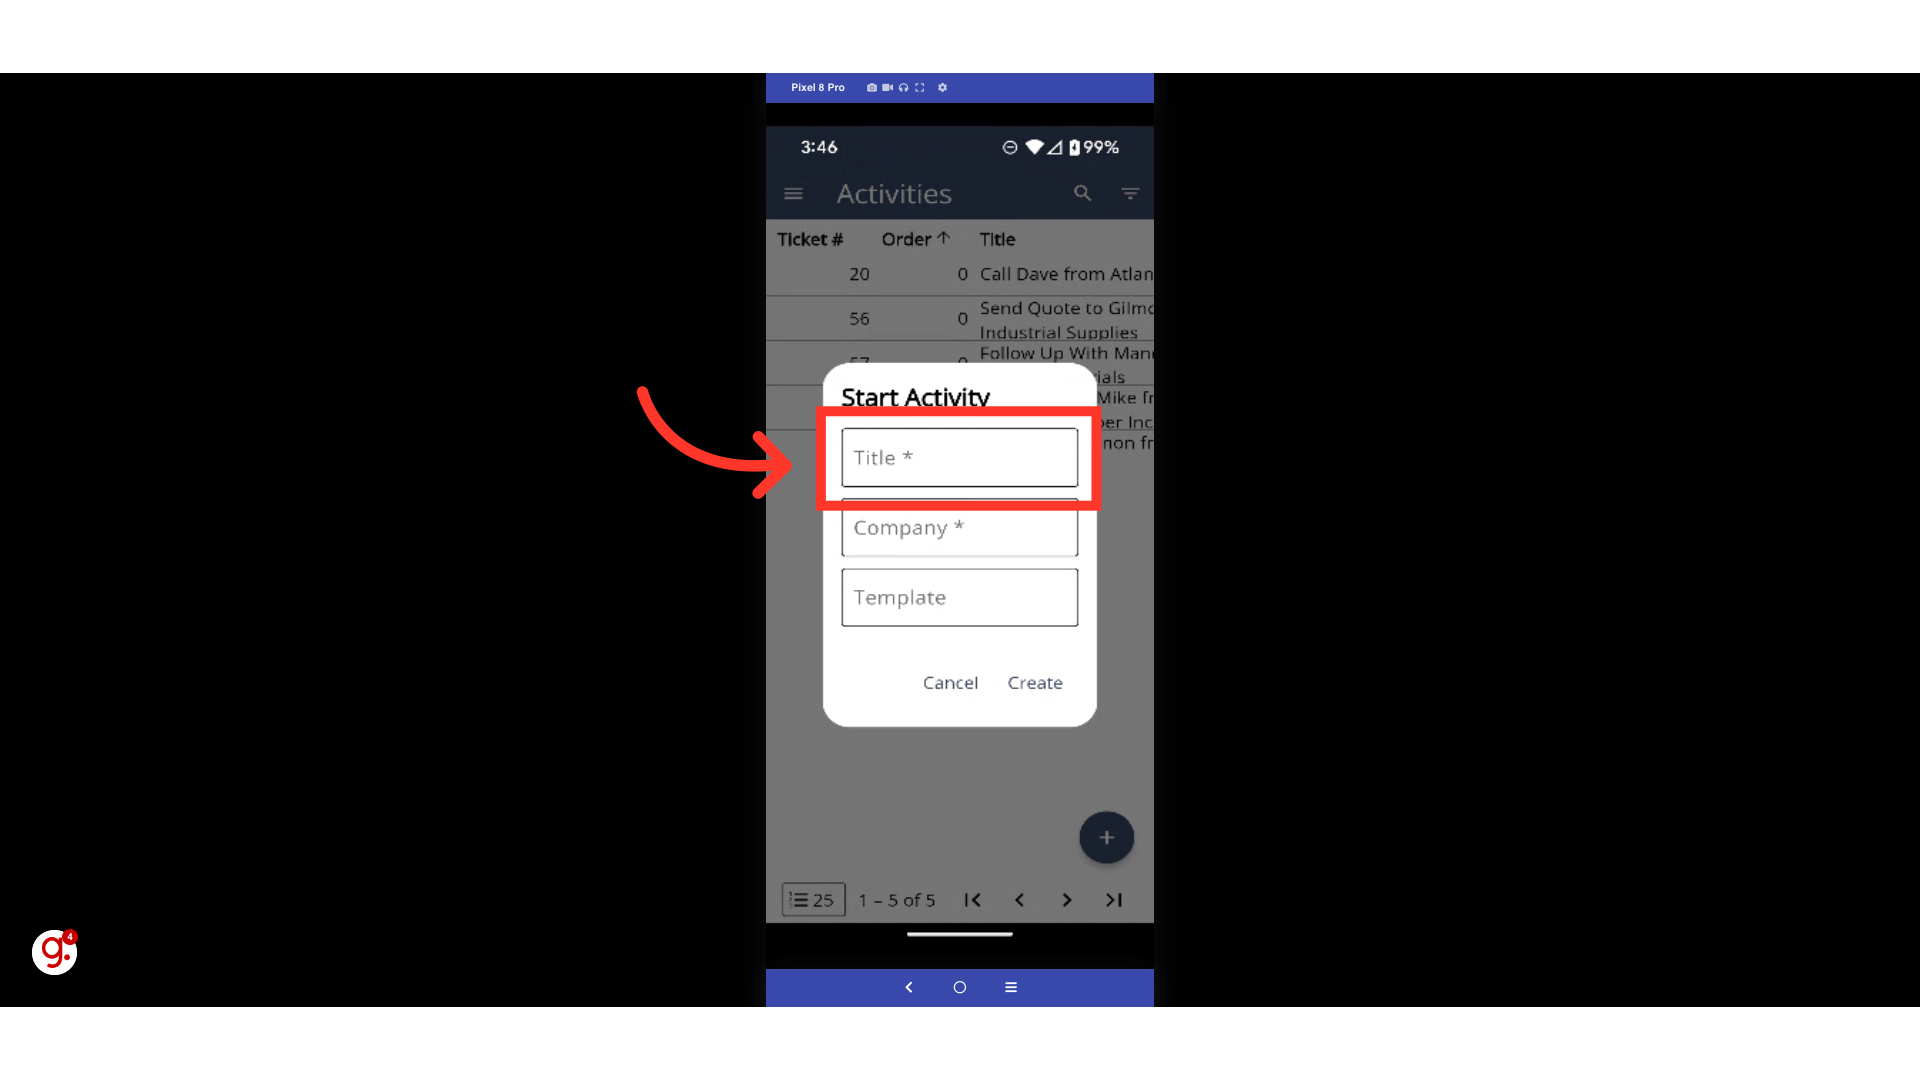
To create a new Activity, select the "Add" icon.

A pop-up box will appear. Fill out the applicable fields. First, begin by adding a title to your new Activity.
Select a company that the Activity applies to from the dropdown.
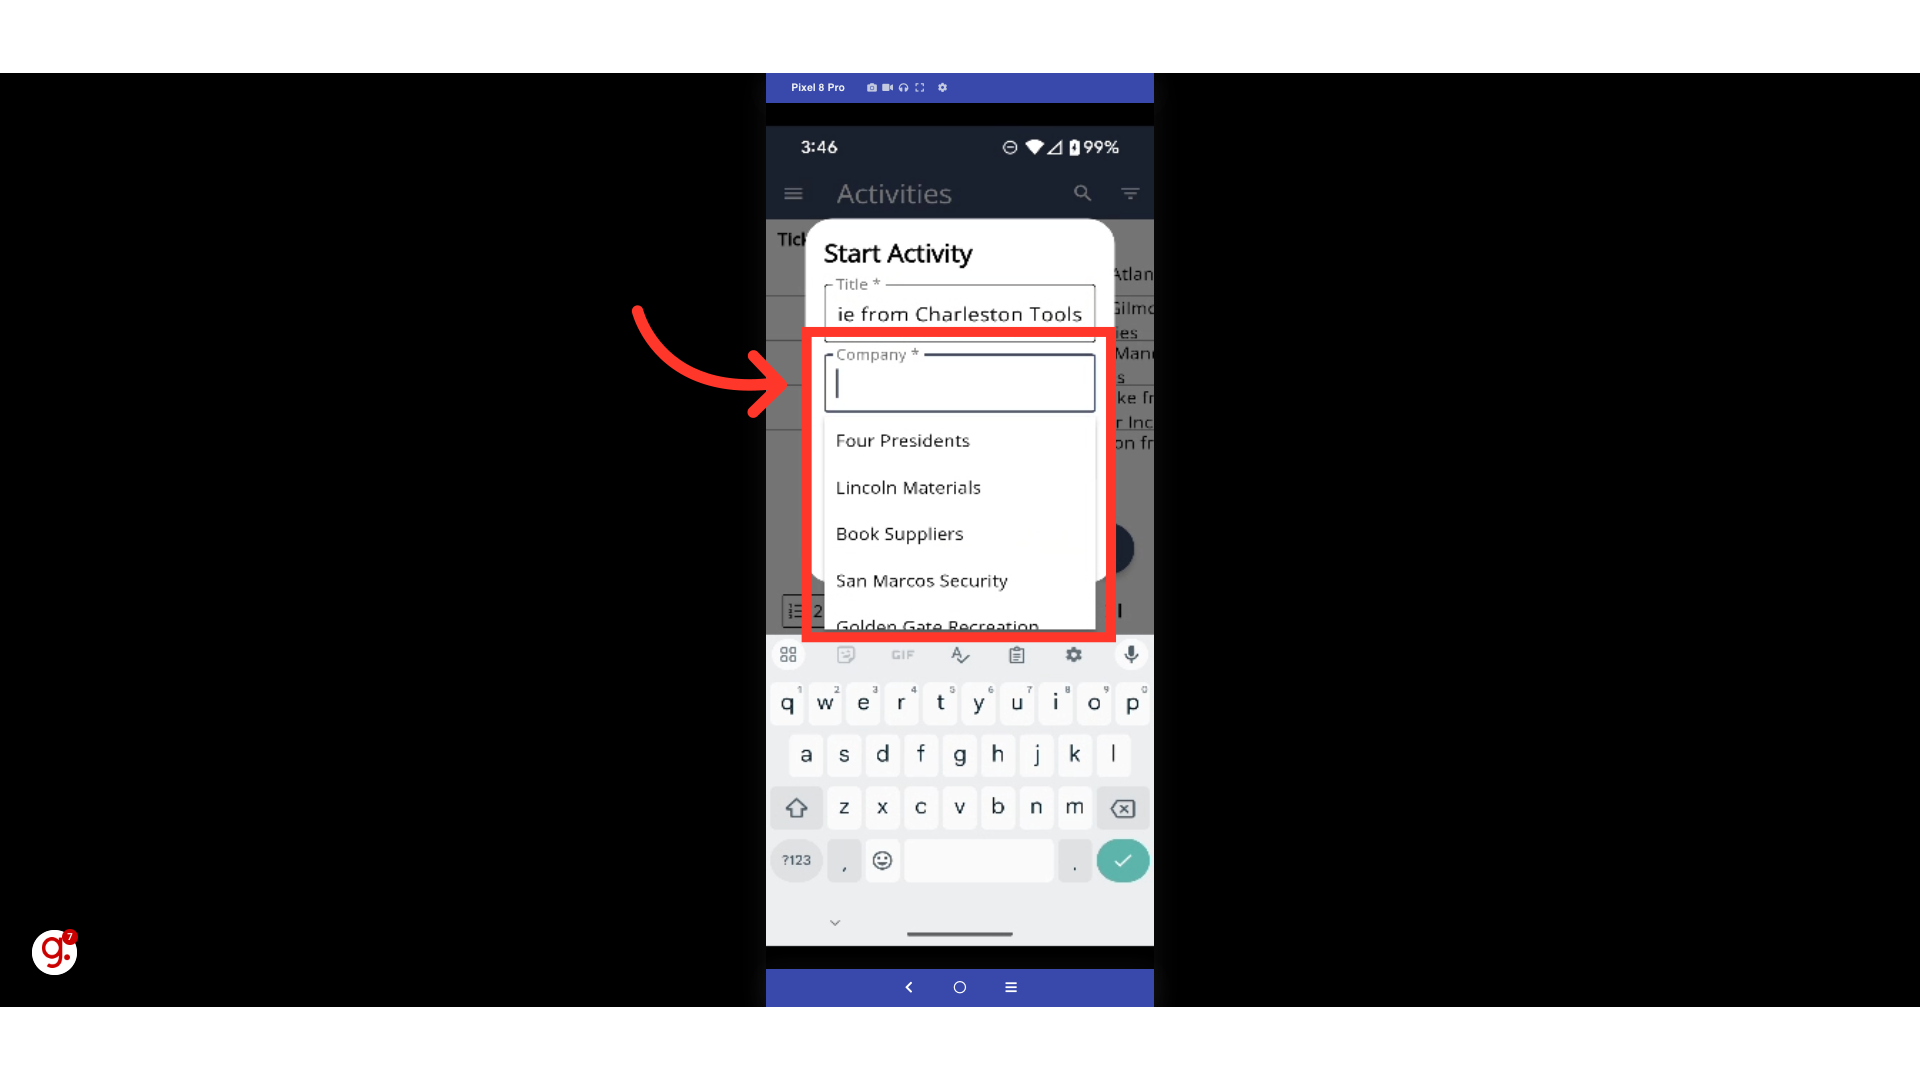
Select the "Create" button to create the new Activity.

Fill in all the applicable information on the Details tab. The only field that is required is the Title, which will already be populated with the text you added when you created the Activity.
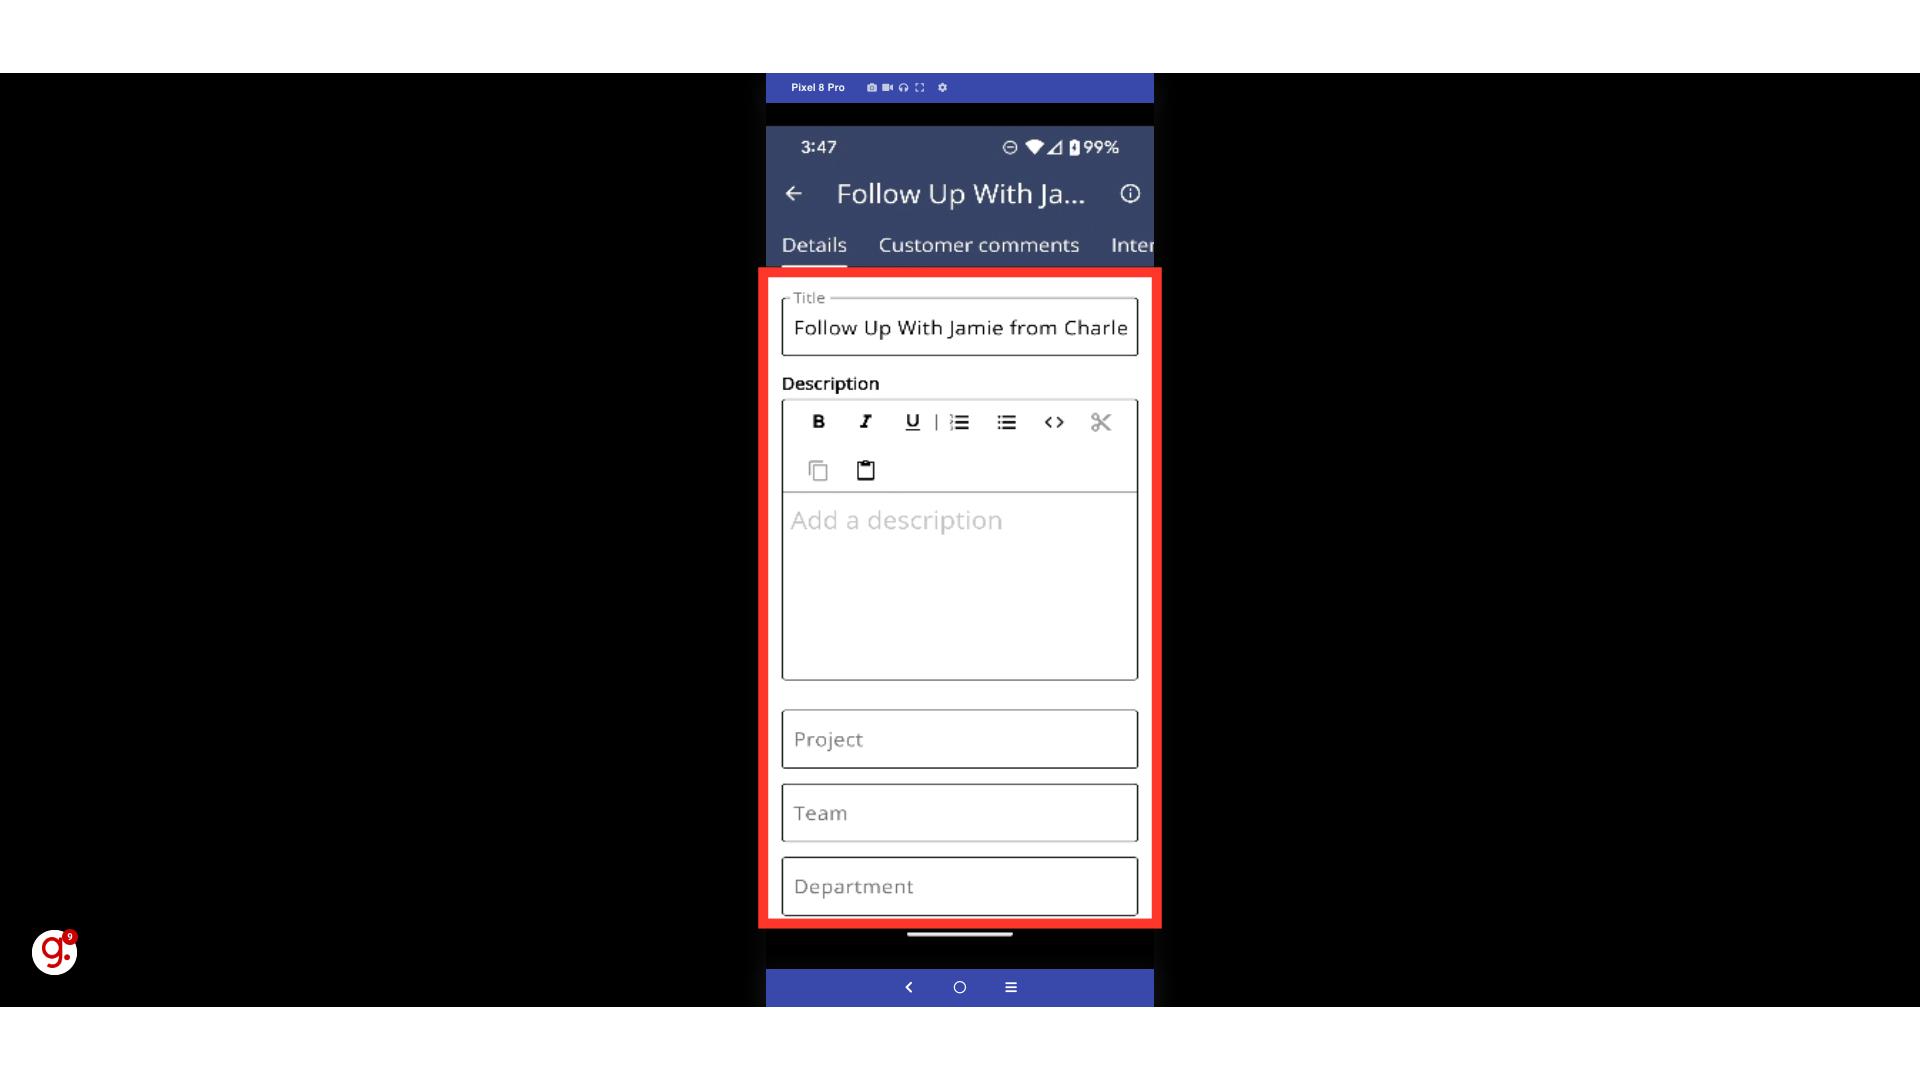
To include a description about the Activity, select the text box and begin typing.

If you want to assign the Activity to a project, select the "Project" field and type in a project name.

To add an internal team that might be responsible for the Activity, select the "Team" field and type in a team name.

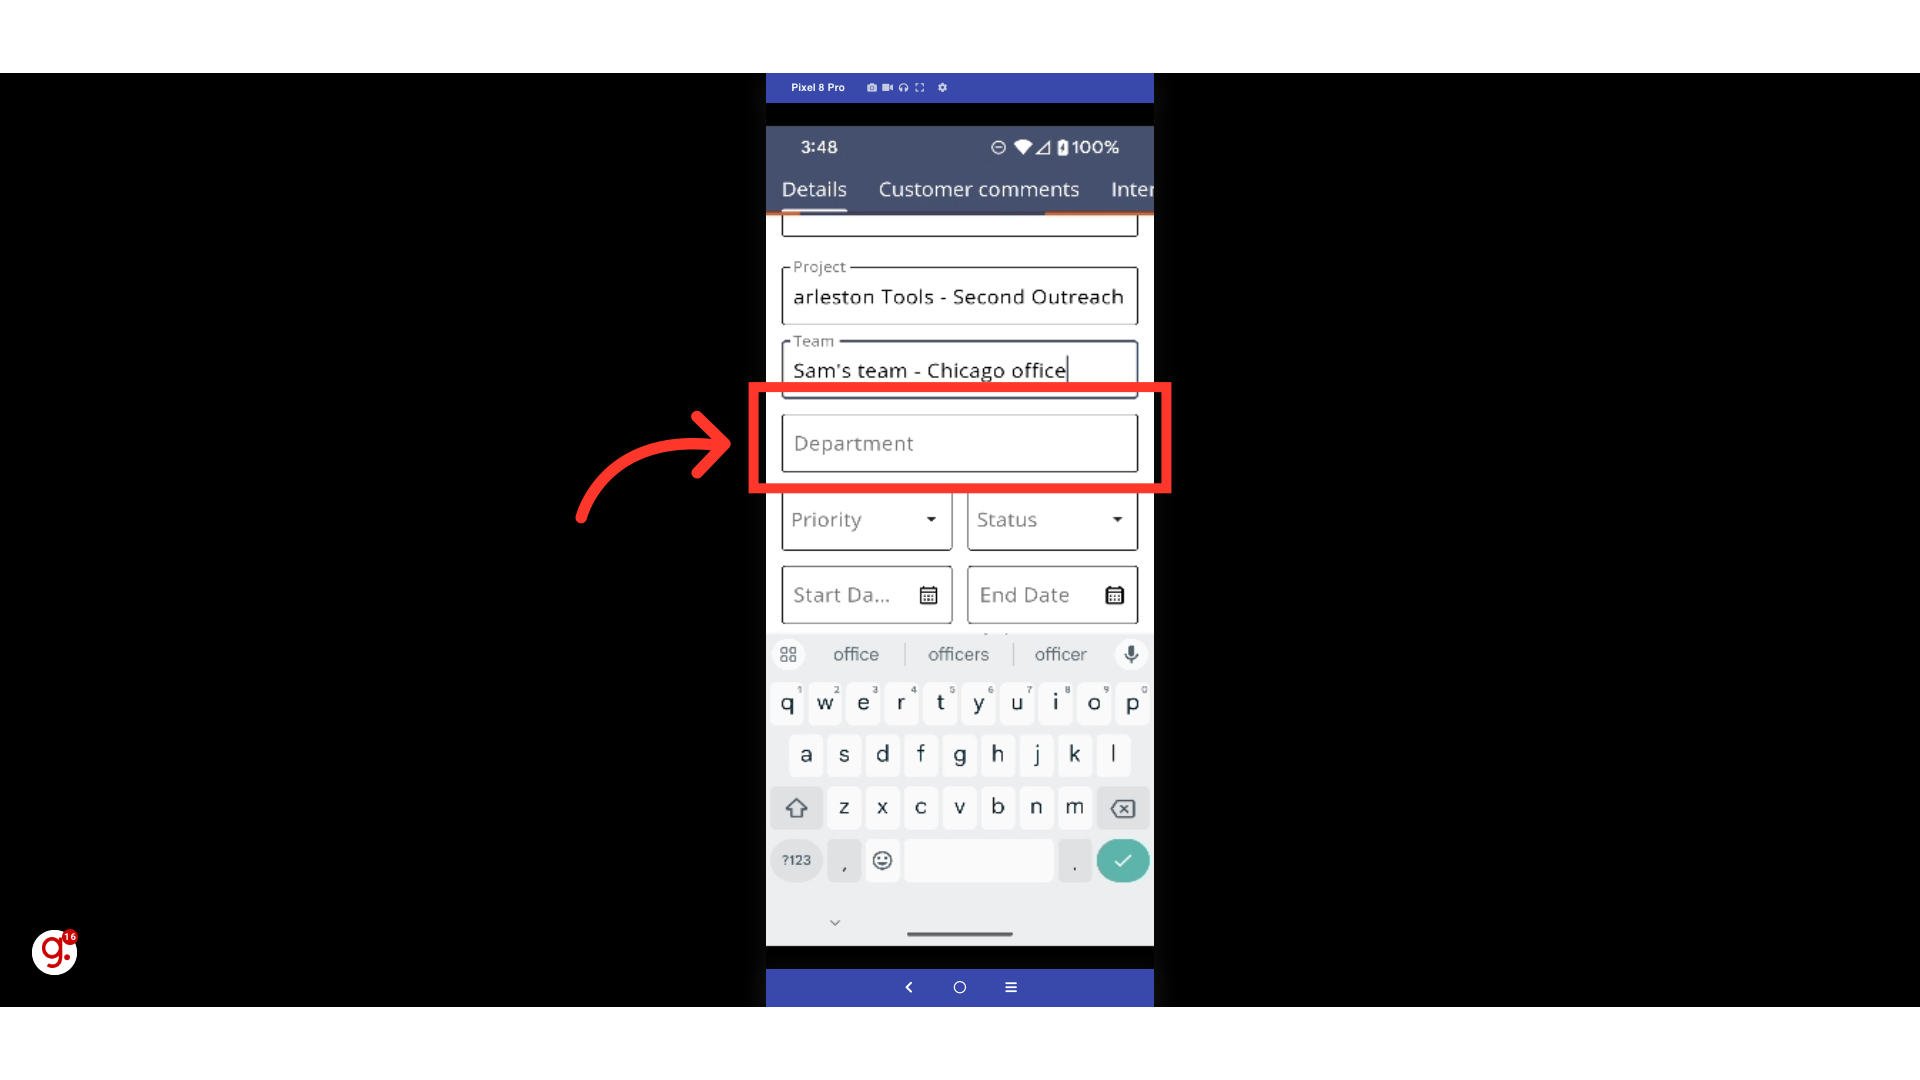
To add an internal department that might be responsible for the Activity, select the "Department" field and type in a department name.
If you'd like, you can assign a priority level to the Activity. Click the "Priority" field and select a level from the dropdown.

You can also assign a status to the Activity. To do so, select the "Status" field and select an option from the dropdown.

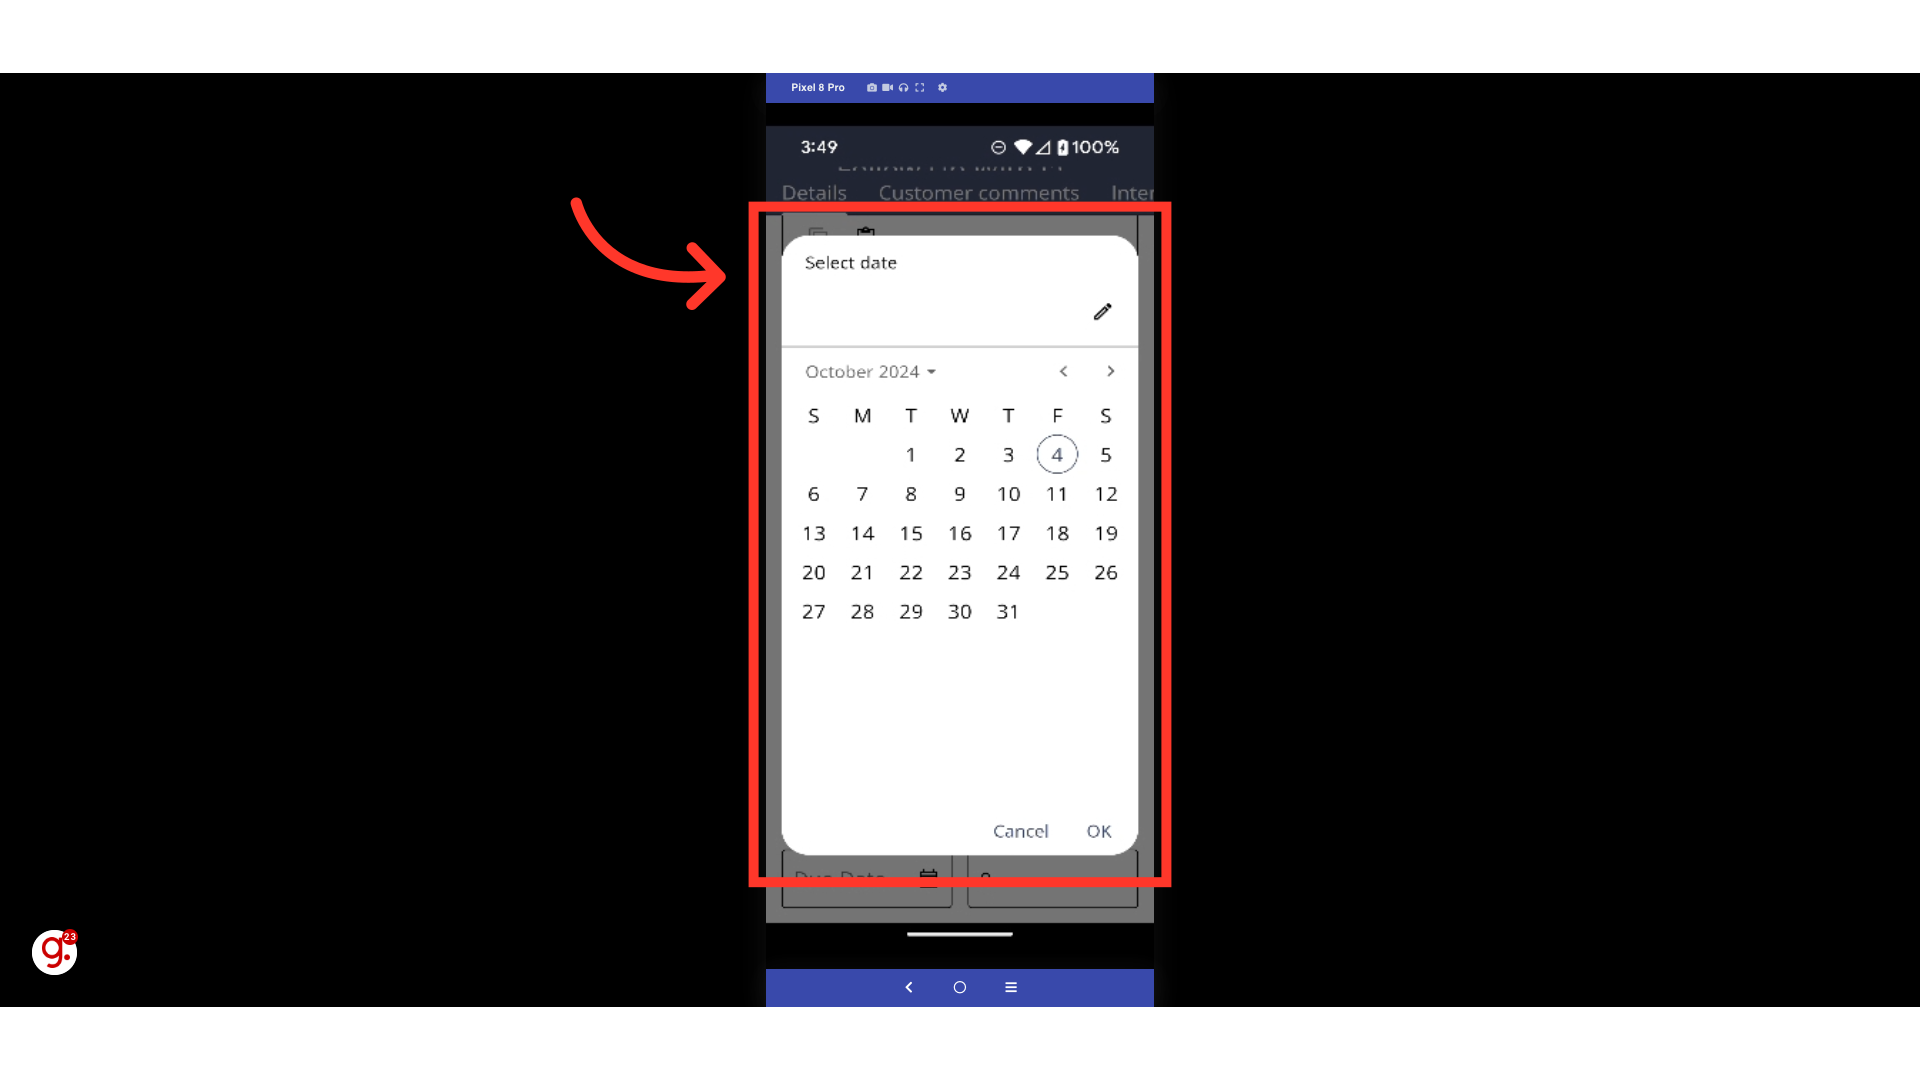
If a start date applies to the Activity, you can add a date by tapping on the "Start Date" field.

Select a date from the calendar that appears.
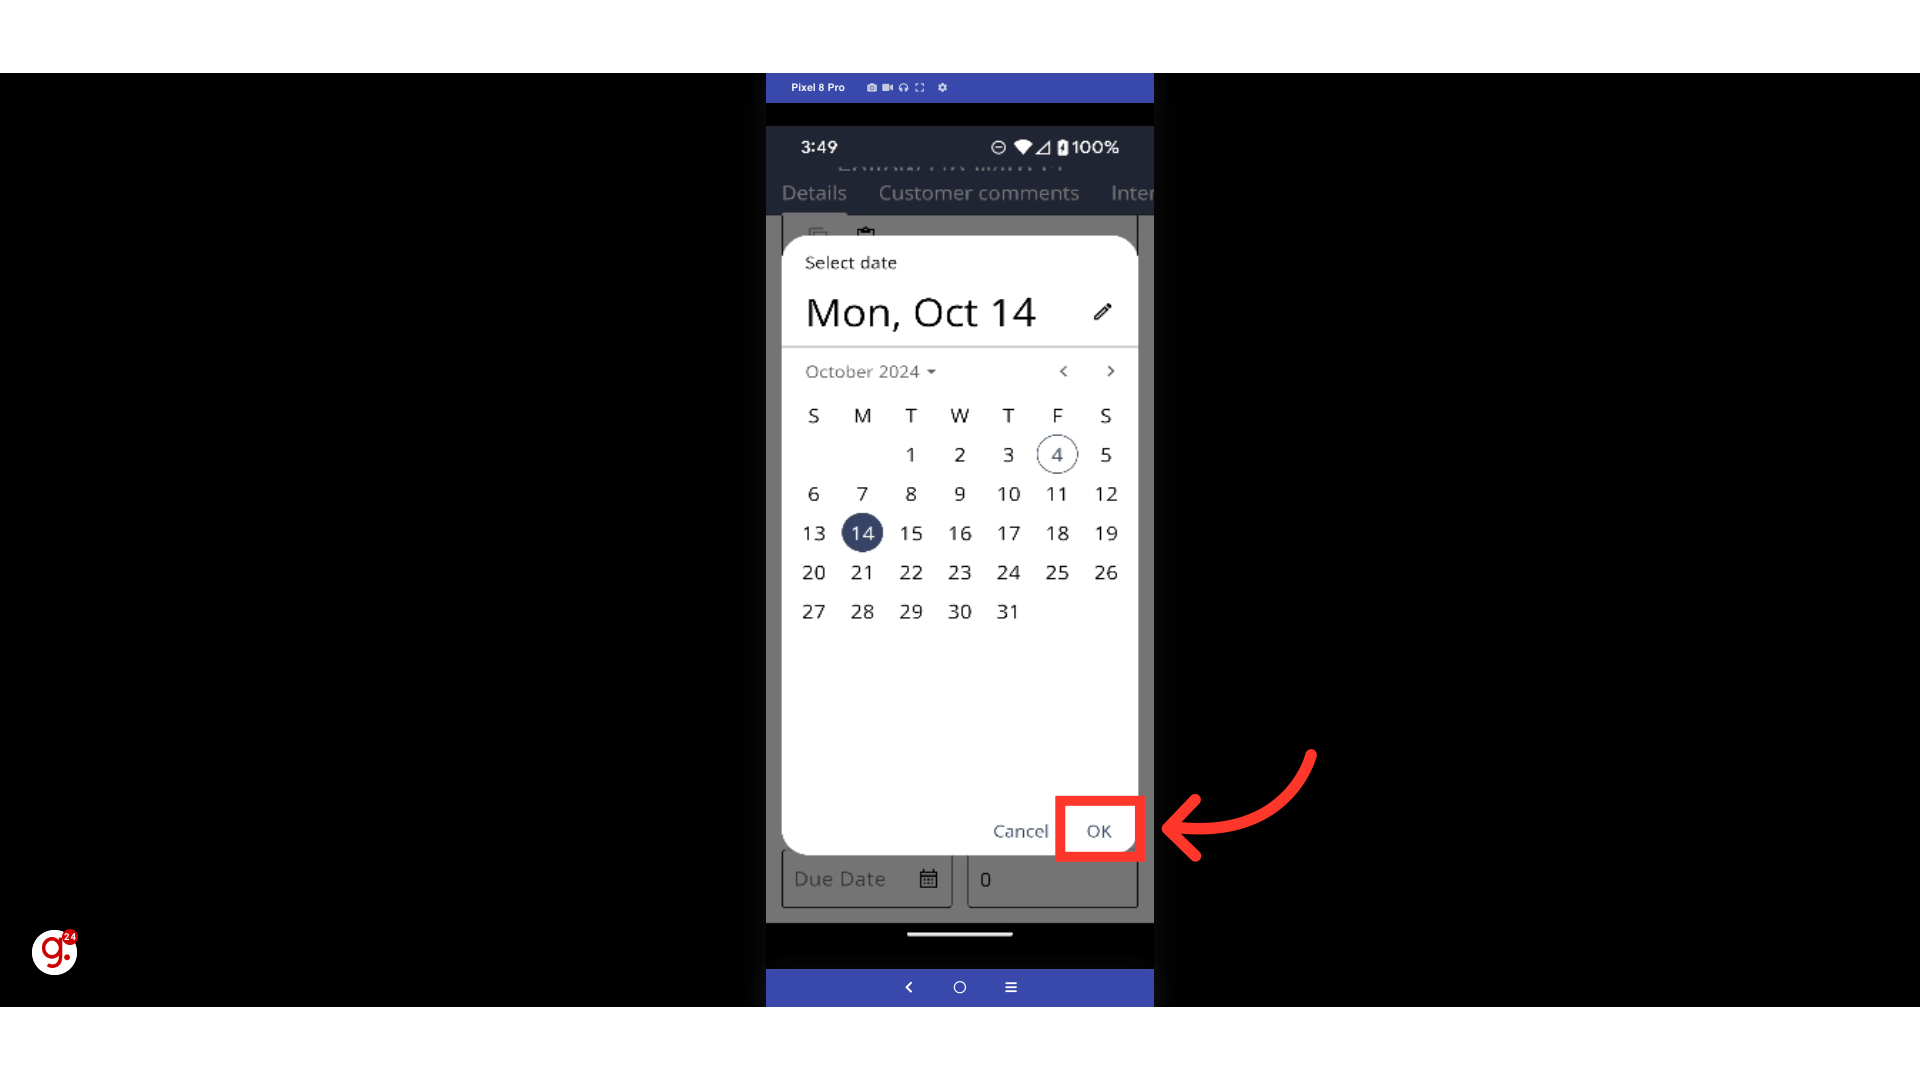
Tap the "OK" button to add the date to your Activity.
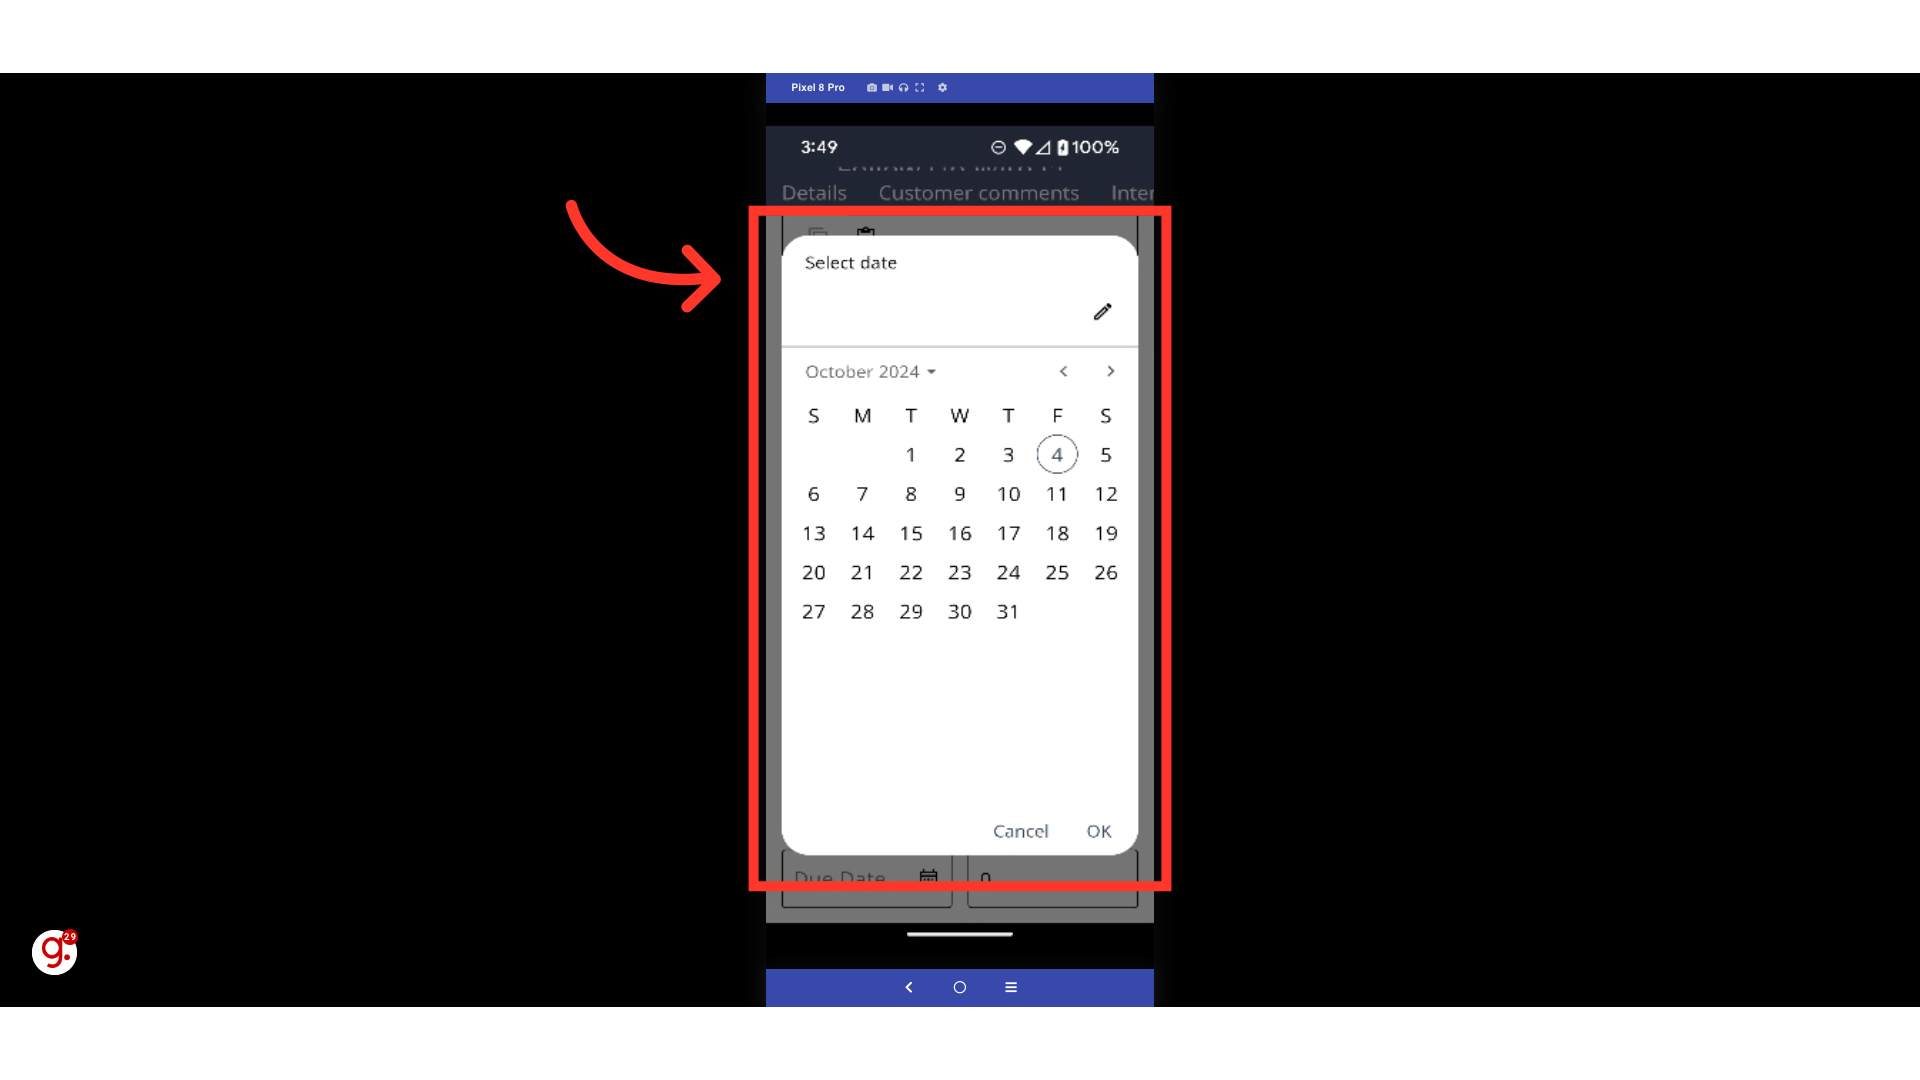
If an end date applies to the Activity, you can add a date by tapping on the "End Date" field.
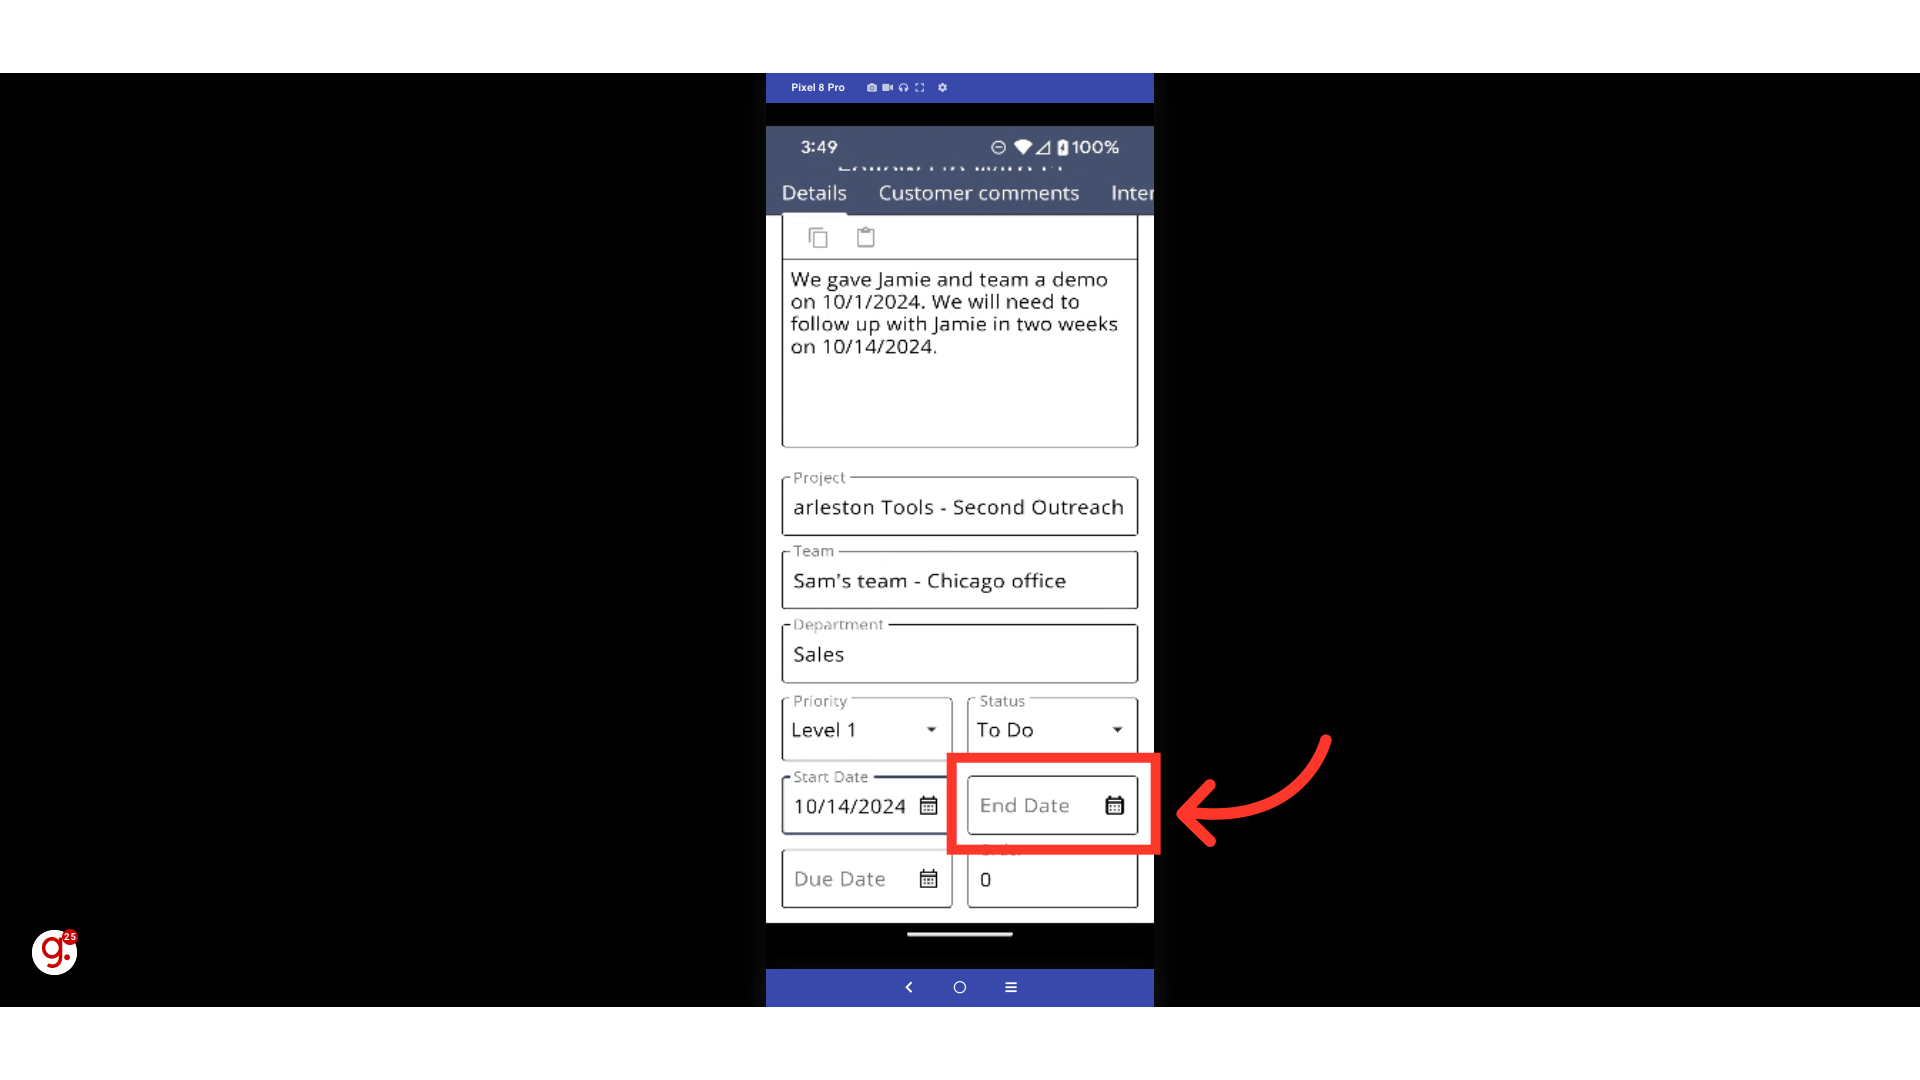
Select a date from the calendar that appears.

Once you've chosen a date, tap the "OK" button to save it.

If a due date applies to the Activity, select the "Due Date" field.

Select a date from the calendar that appears.
Once you've chosen a date, tap the "OK" button to save it.

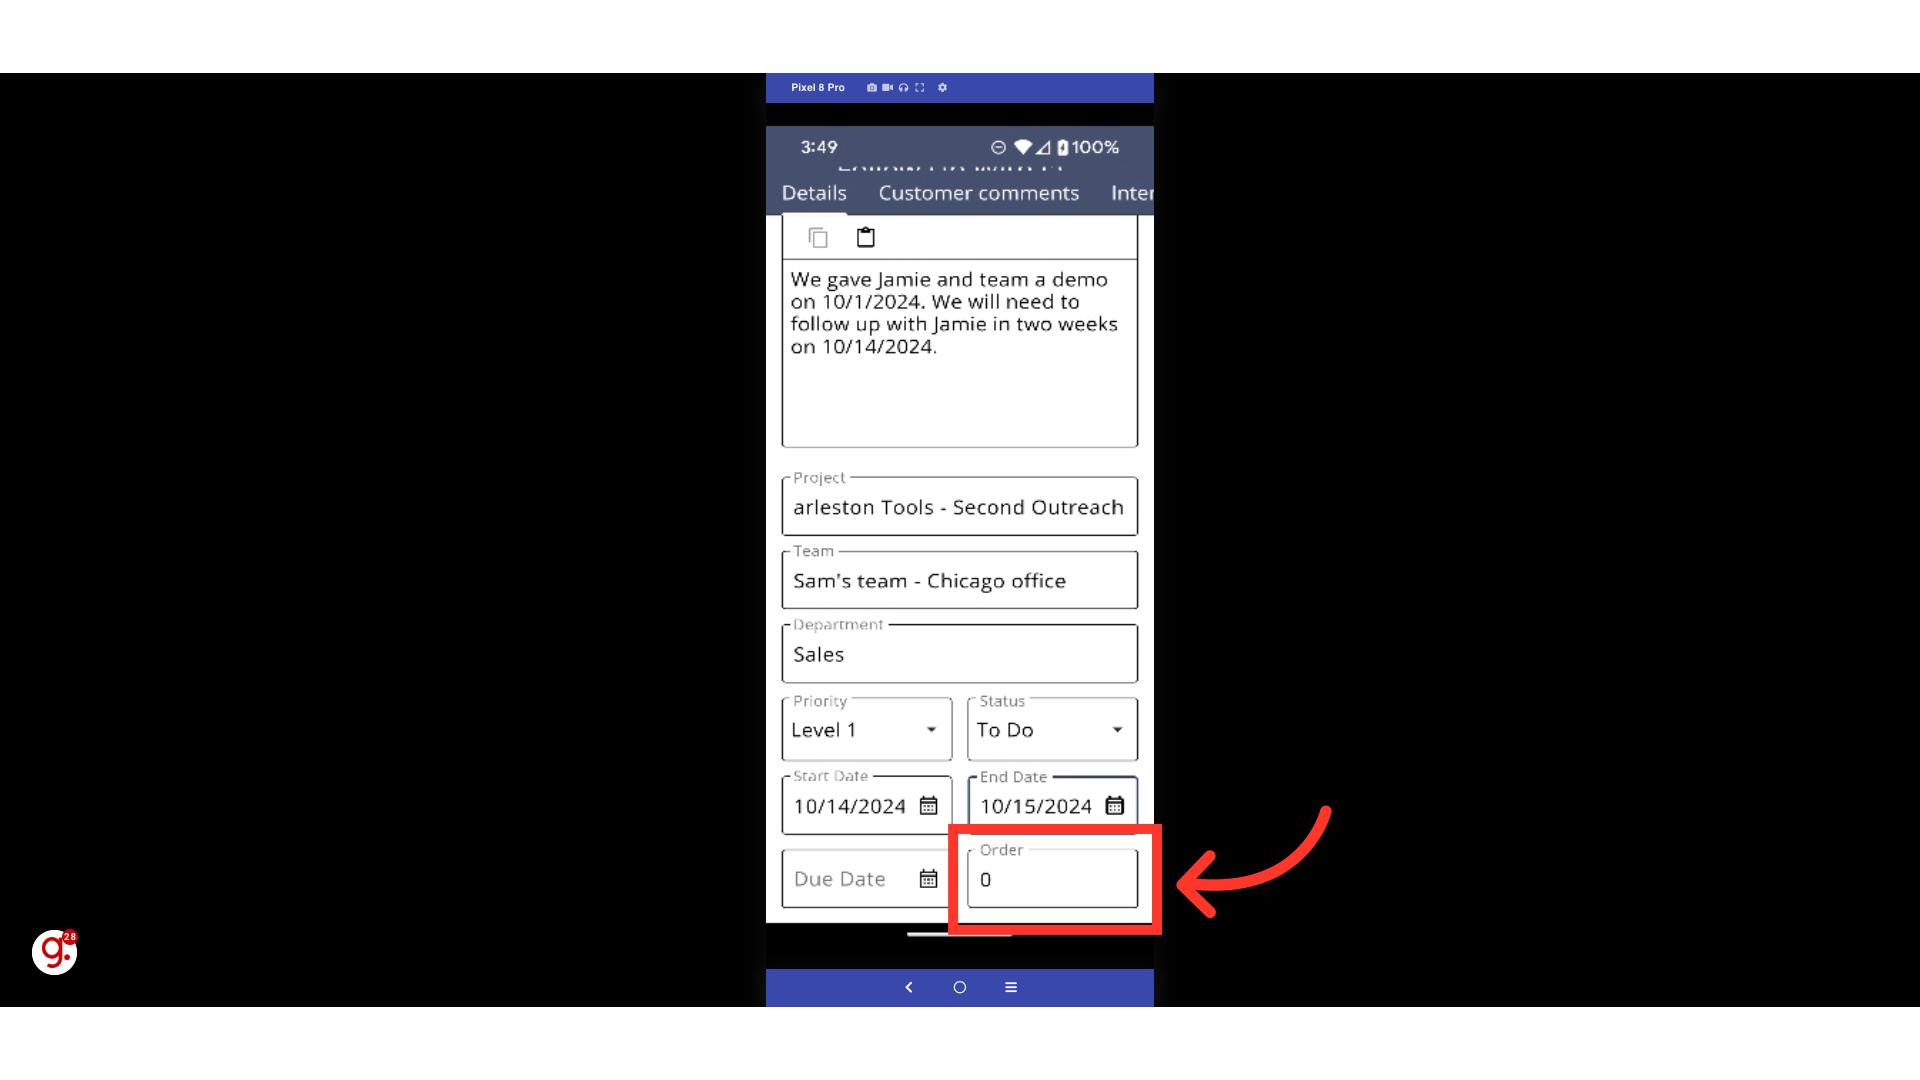
If you would like to control the order of an Activity, you can enter a numerical value in the "Order" field and it will order your activities based on the numerical value entered. Lower values will place the activity higher on your screen.