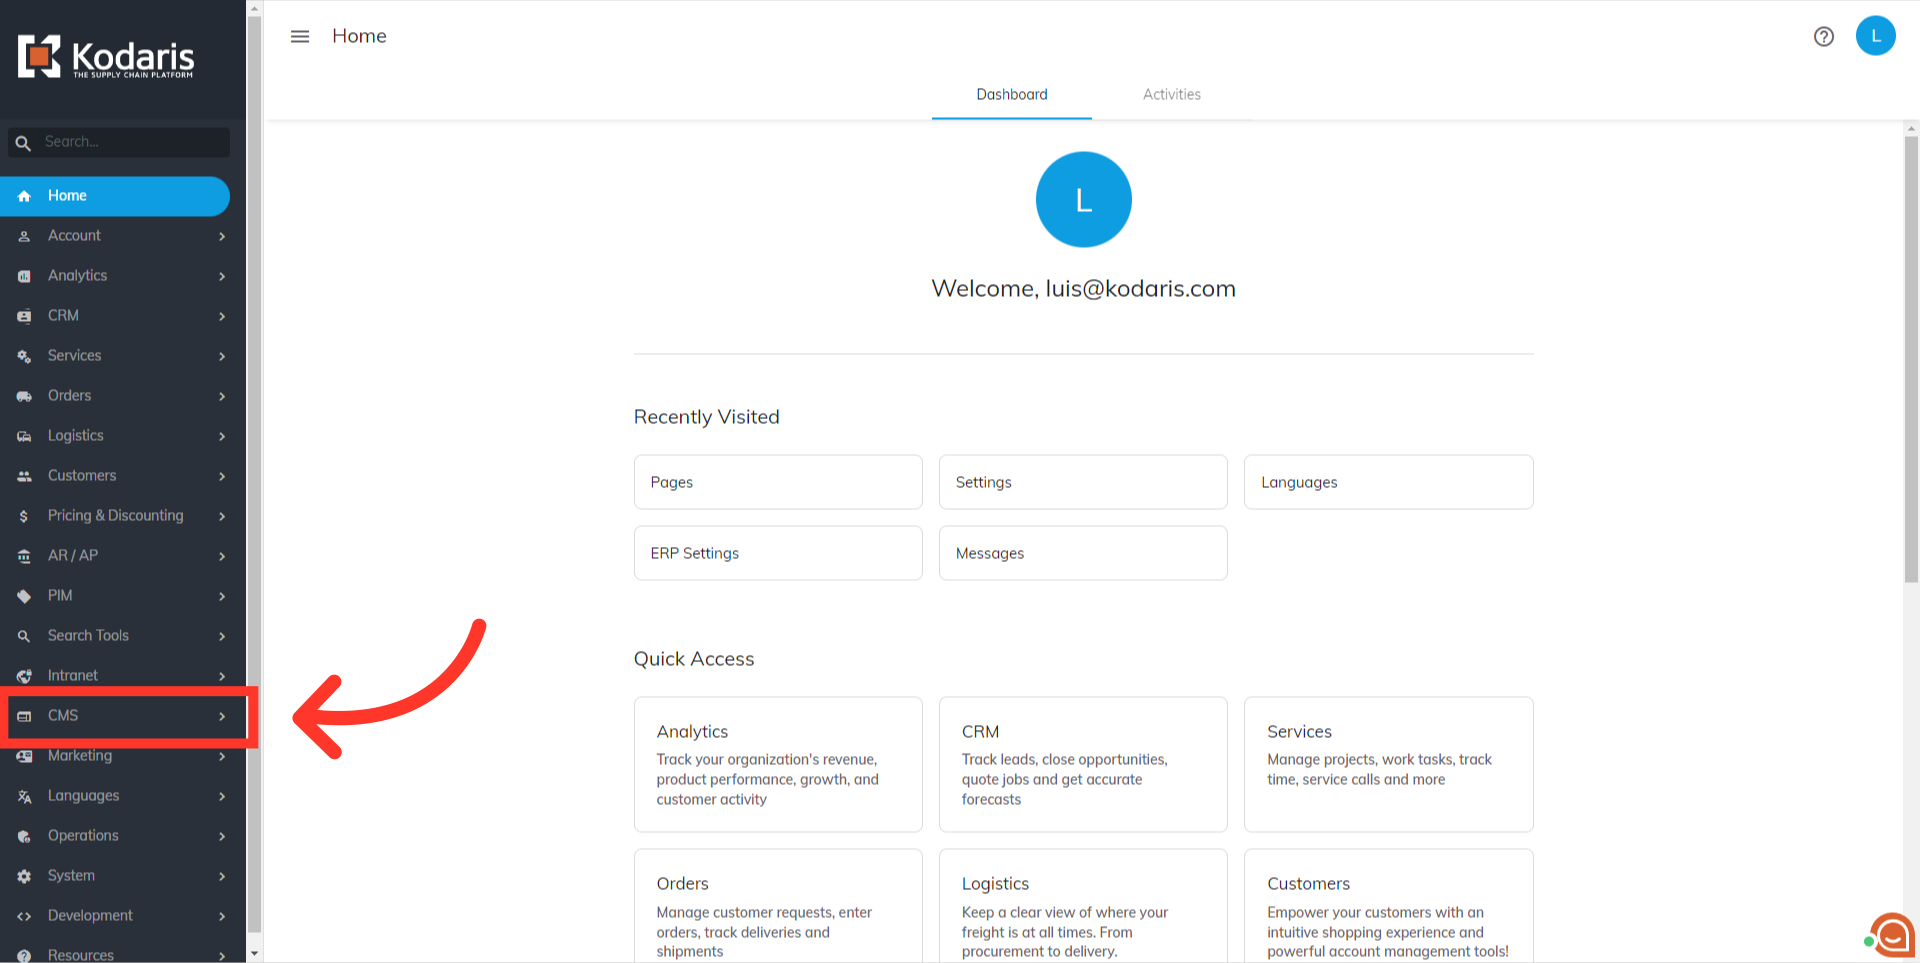
To create a table block in CMS, navigate to "CMS" in the operations portal.
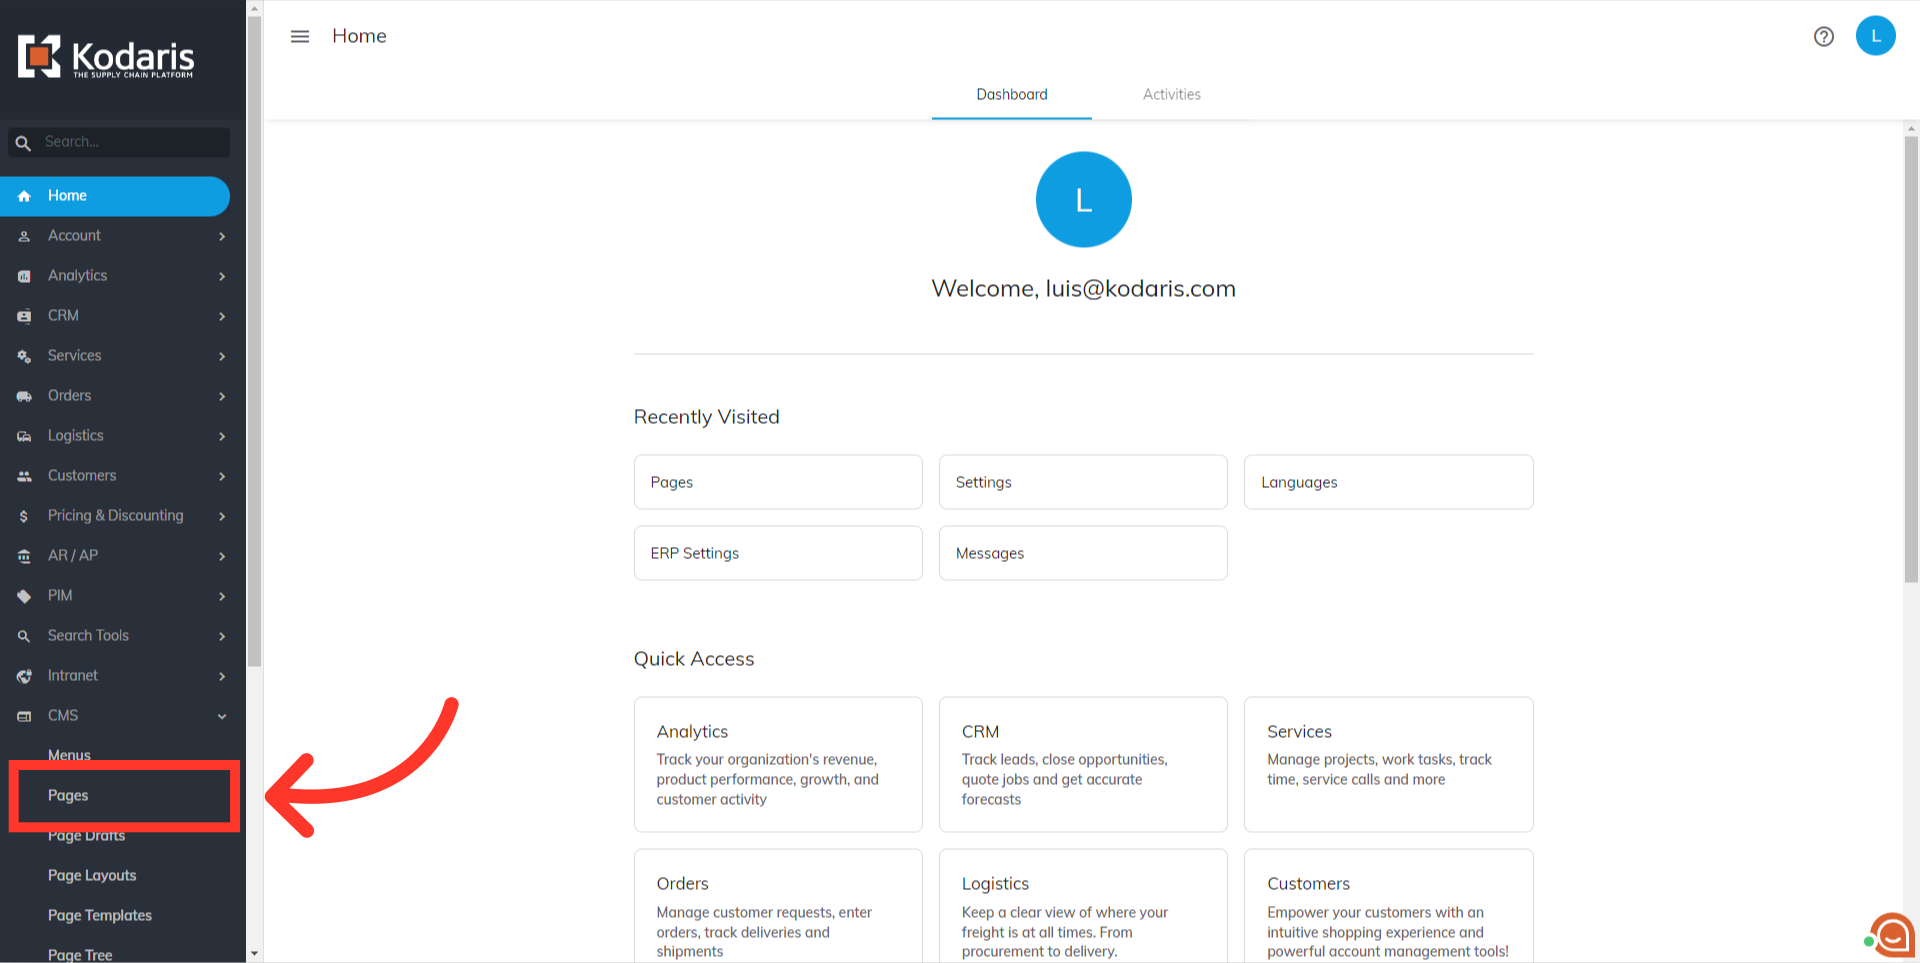
Then, click "Pages". In order to access, edit, and publish Pages, you will need to have the role of: "administrator" or "superuser", or have the roles of: "contentView" and "contentEdit" and “cmsView”.
Click the “Add Page” button to create a new page or go to an existing page that you need to update.

If you create a new page, you will be prompted to select a layout. Choose the preferred layout or click the "x" icon to close the layout selection dialog box.

Click the (+) icon located at the farthest right of a line to create the “Table” block.

Then, type in the word "table" in the field to locate the Table block.

Click the "Table" block option.

Fill in the number of columns and rows you would like to include in your table block. Columns and rows can also be adjusted at a later time if needed.
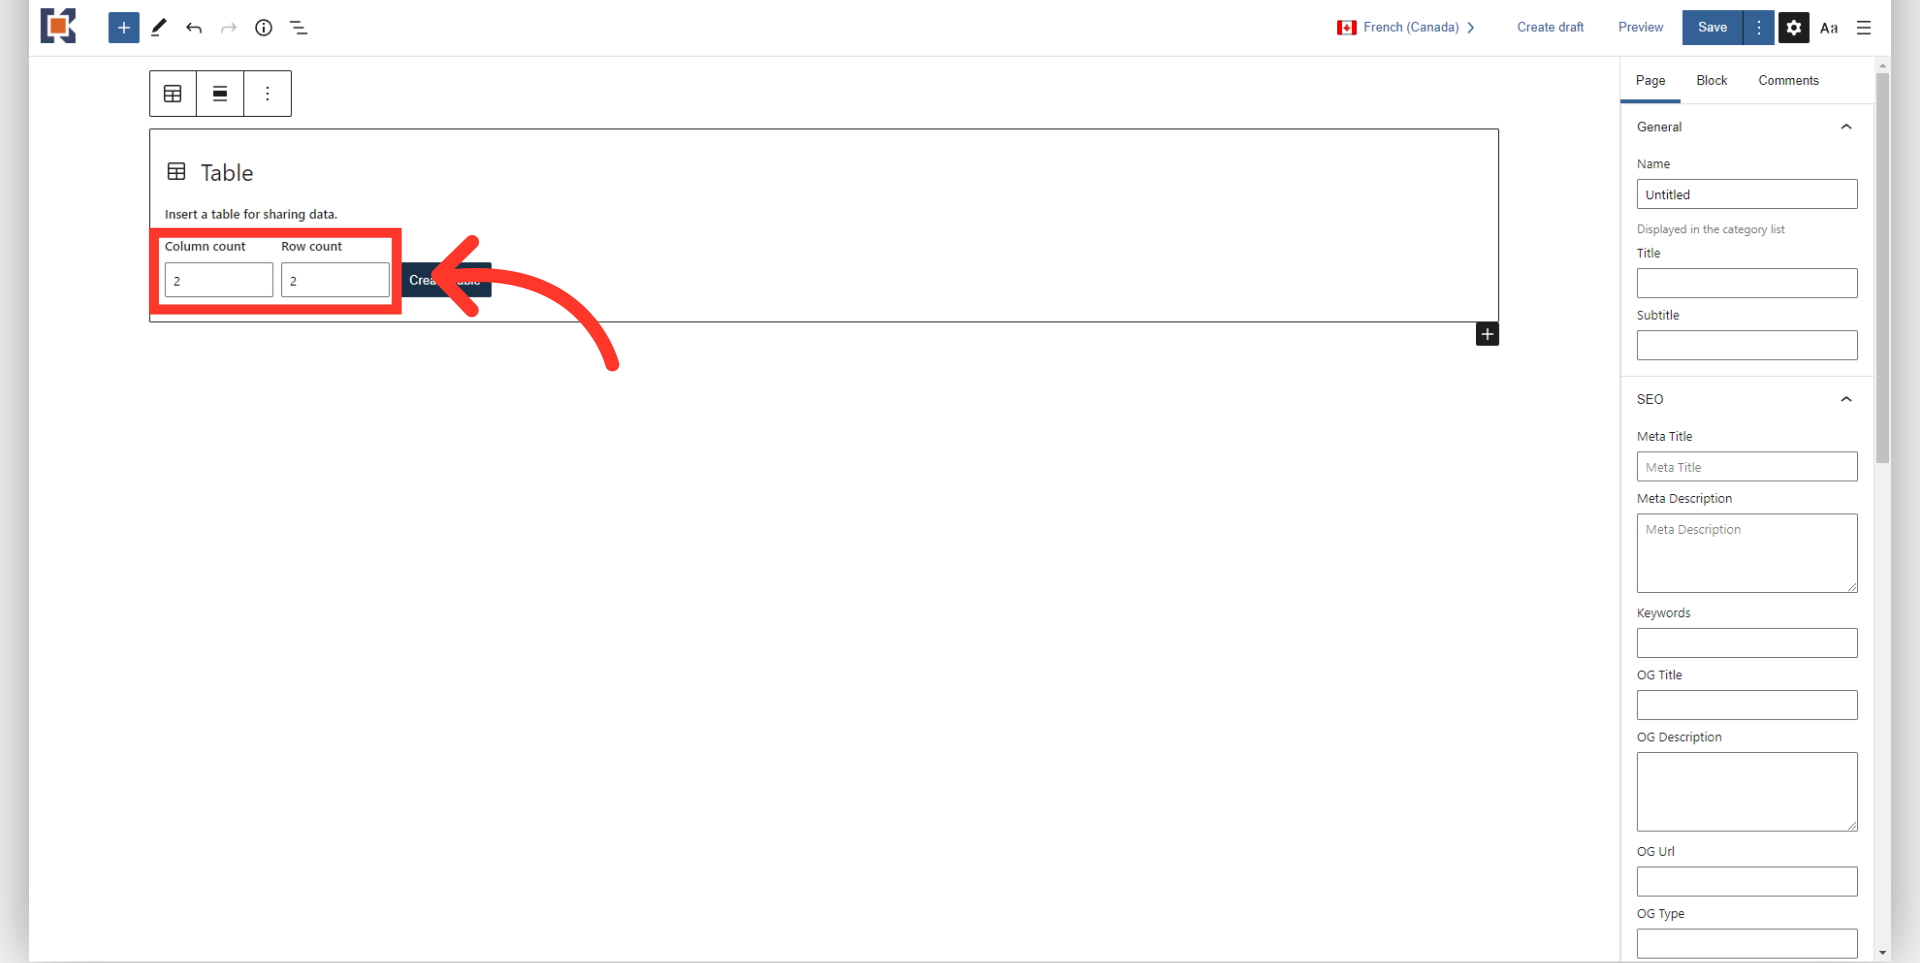
Finally, generate the table by clicking the "Create Table" button.

The table will now be added to your CMS page editor.

You can update table specific settings by accessing the "Block" tab on the right.

The table style can be updated here, by selecting a "Styles" option. "Default" is the standard table option, and "Stripes" will give you an alternating striped option.

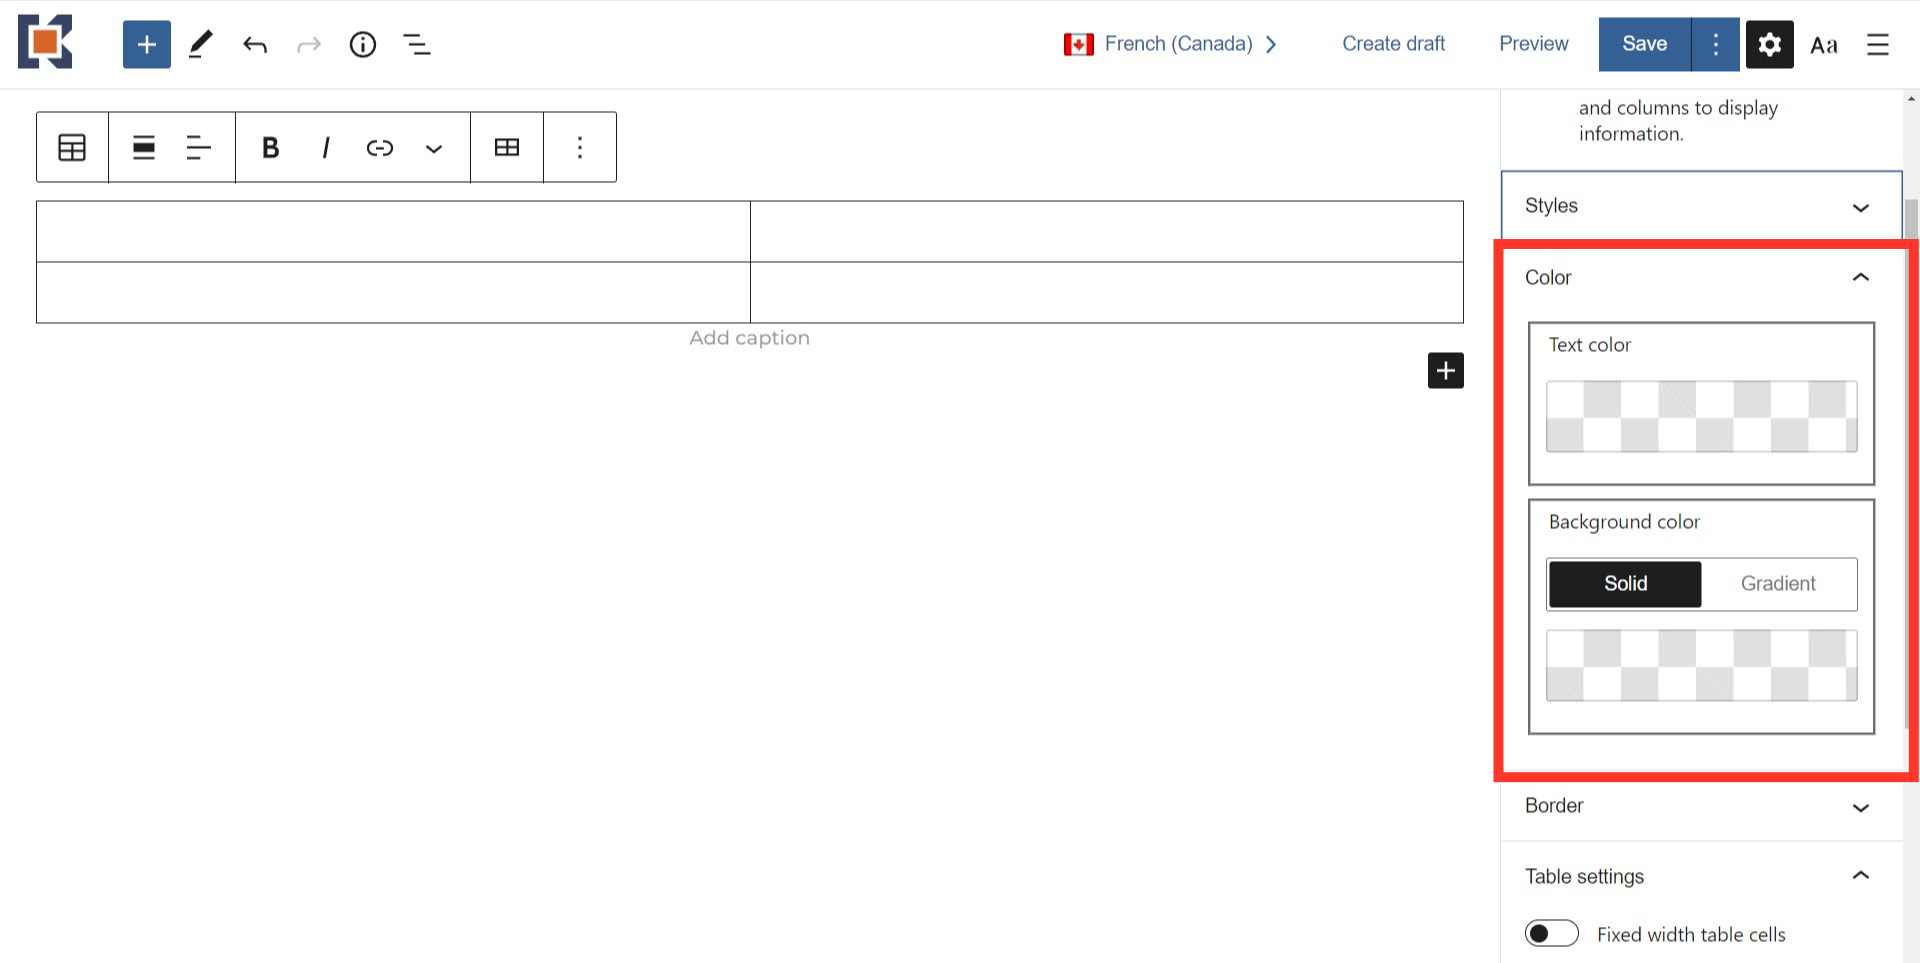
Access the "Color" section if you need to update the table text color or background color.
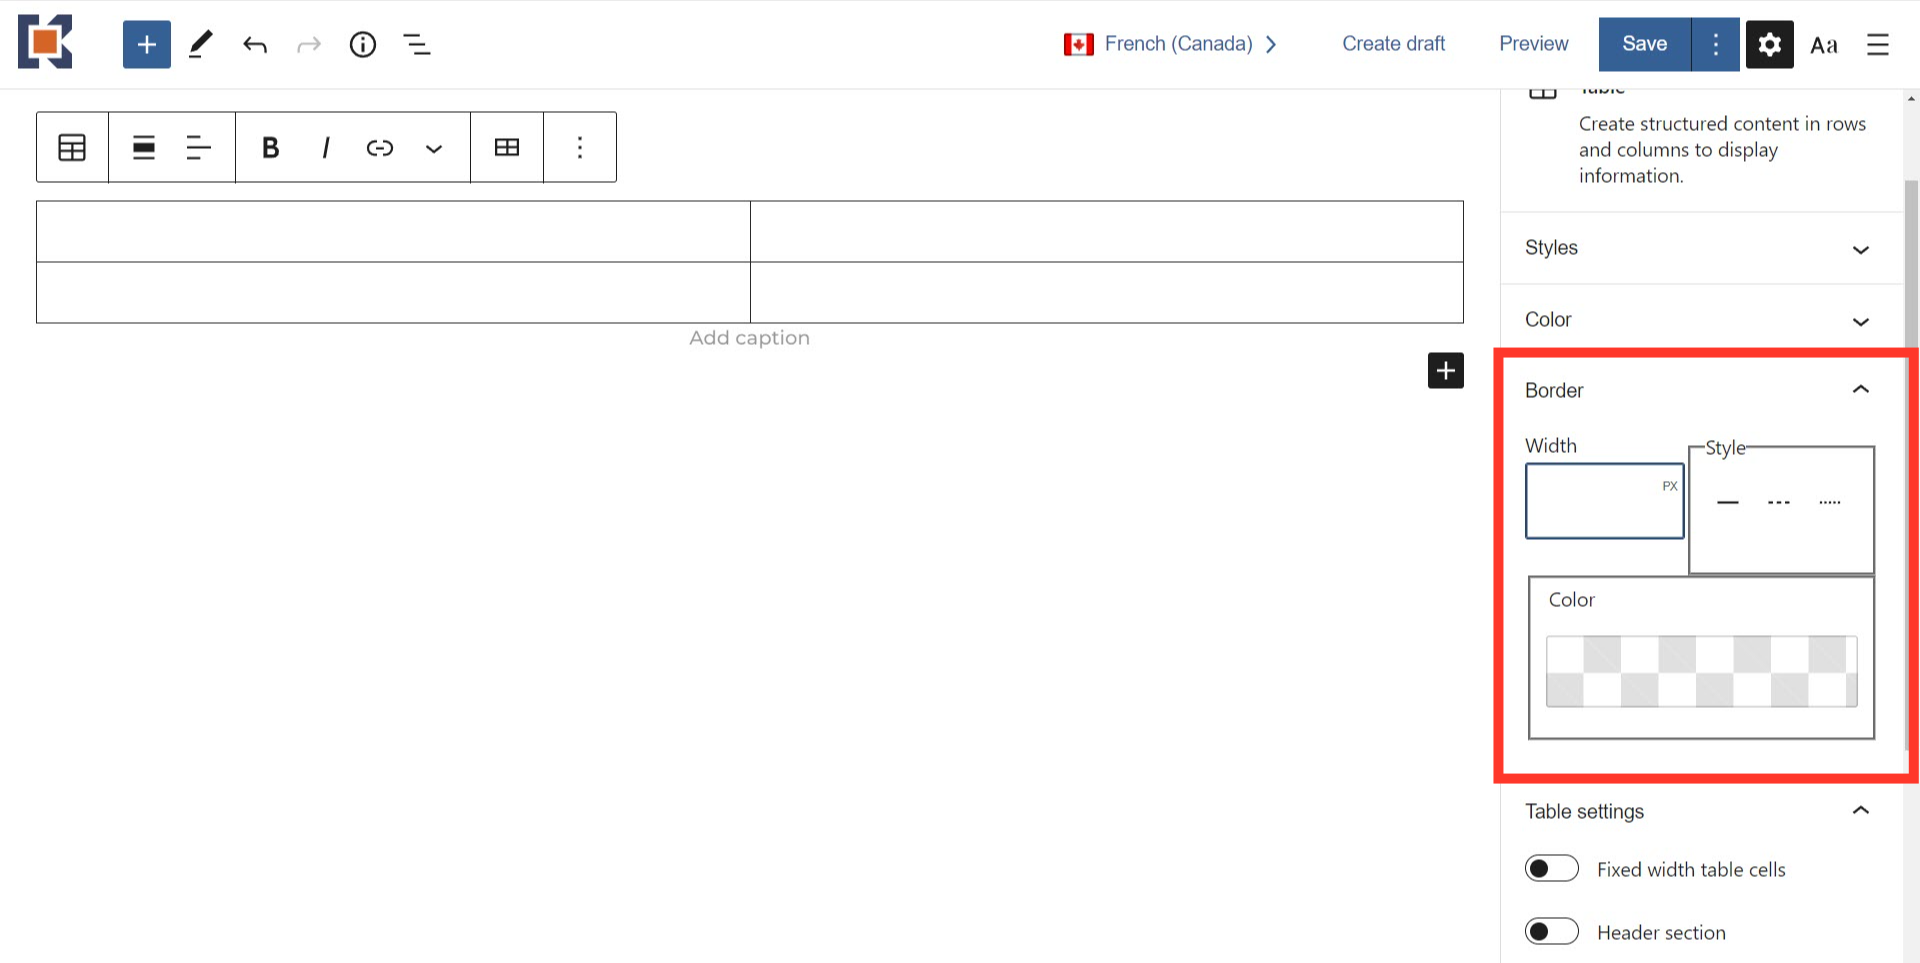
If you need to adjust the table border, access the "Border" section. You can adjust the width, style, and color of the table border.
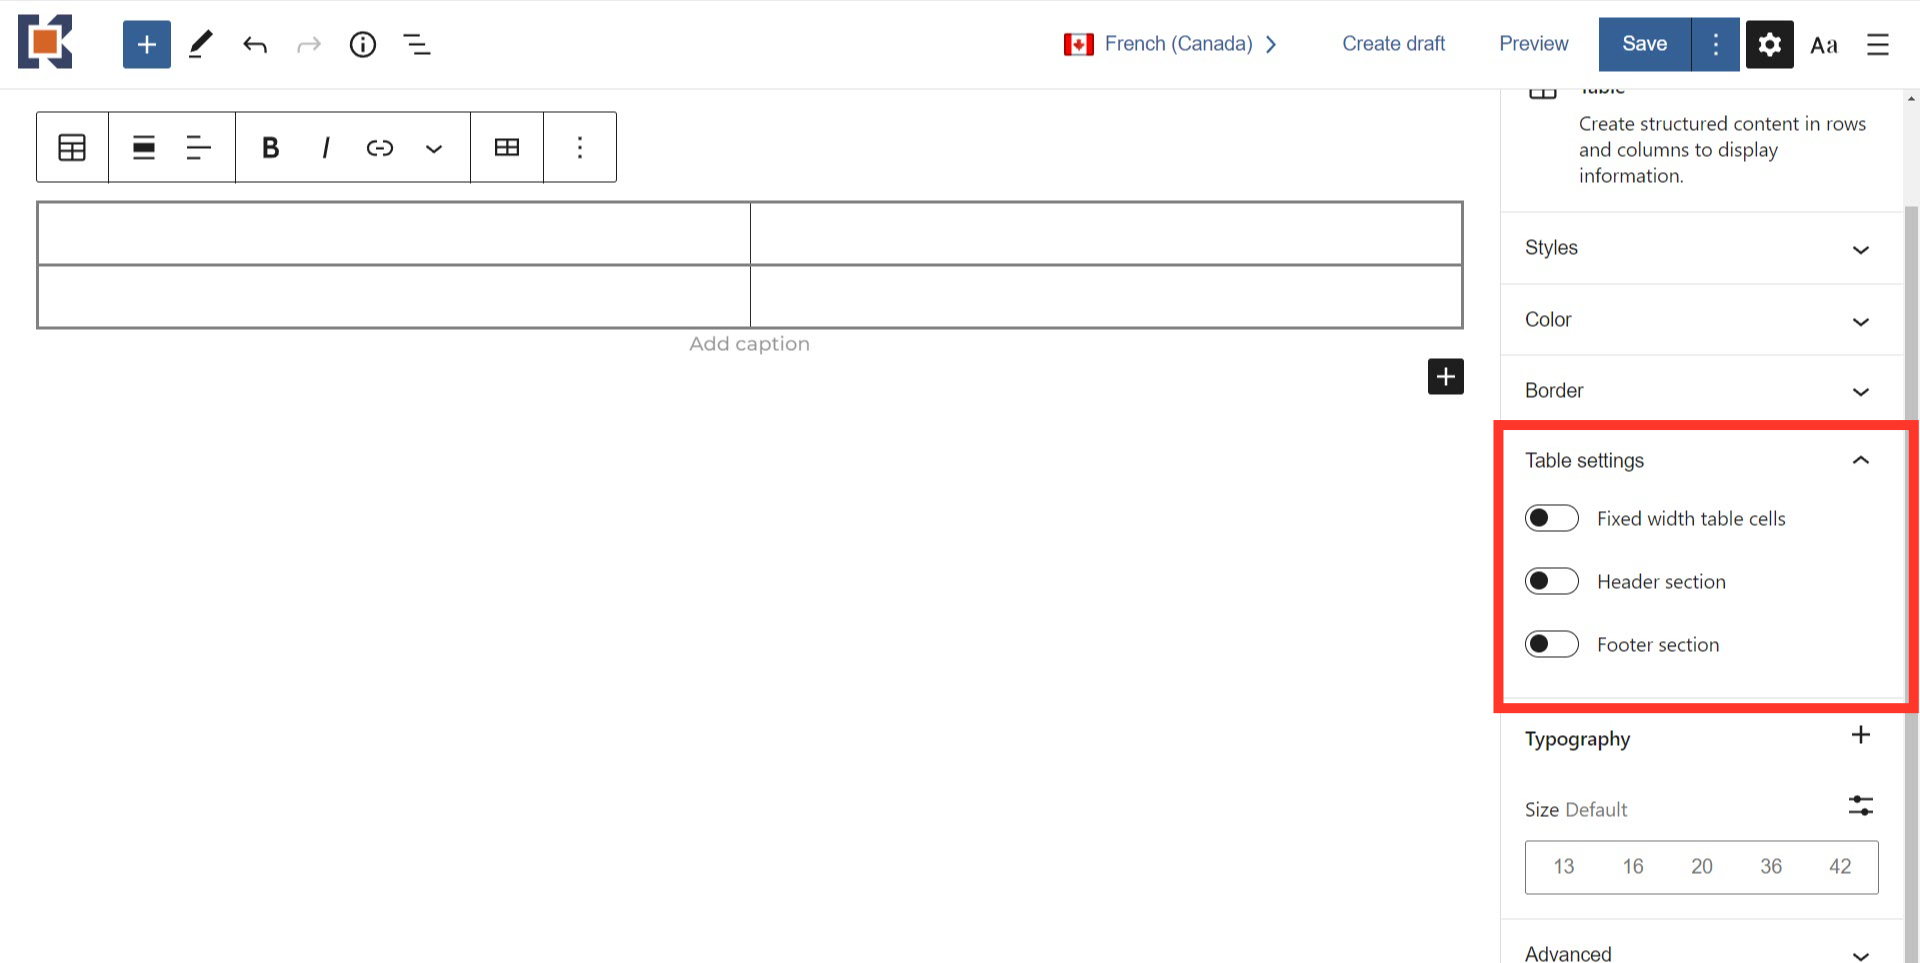
More table settings can also be enabled such as "Fixed width table cells", adding a "Header section", or adding a "Footer section".
In the "Typography" section, only the "Size" is shown by default. You can add more available settings here if you click on the "+" icon.
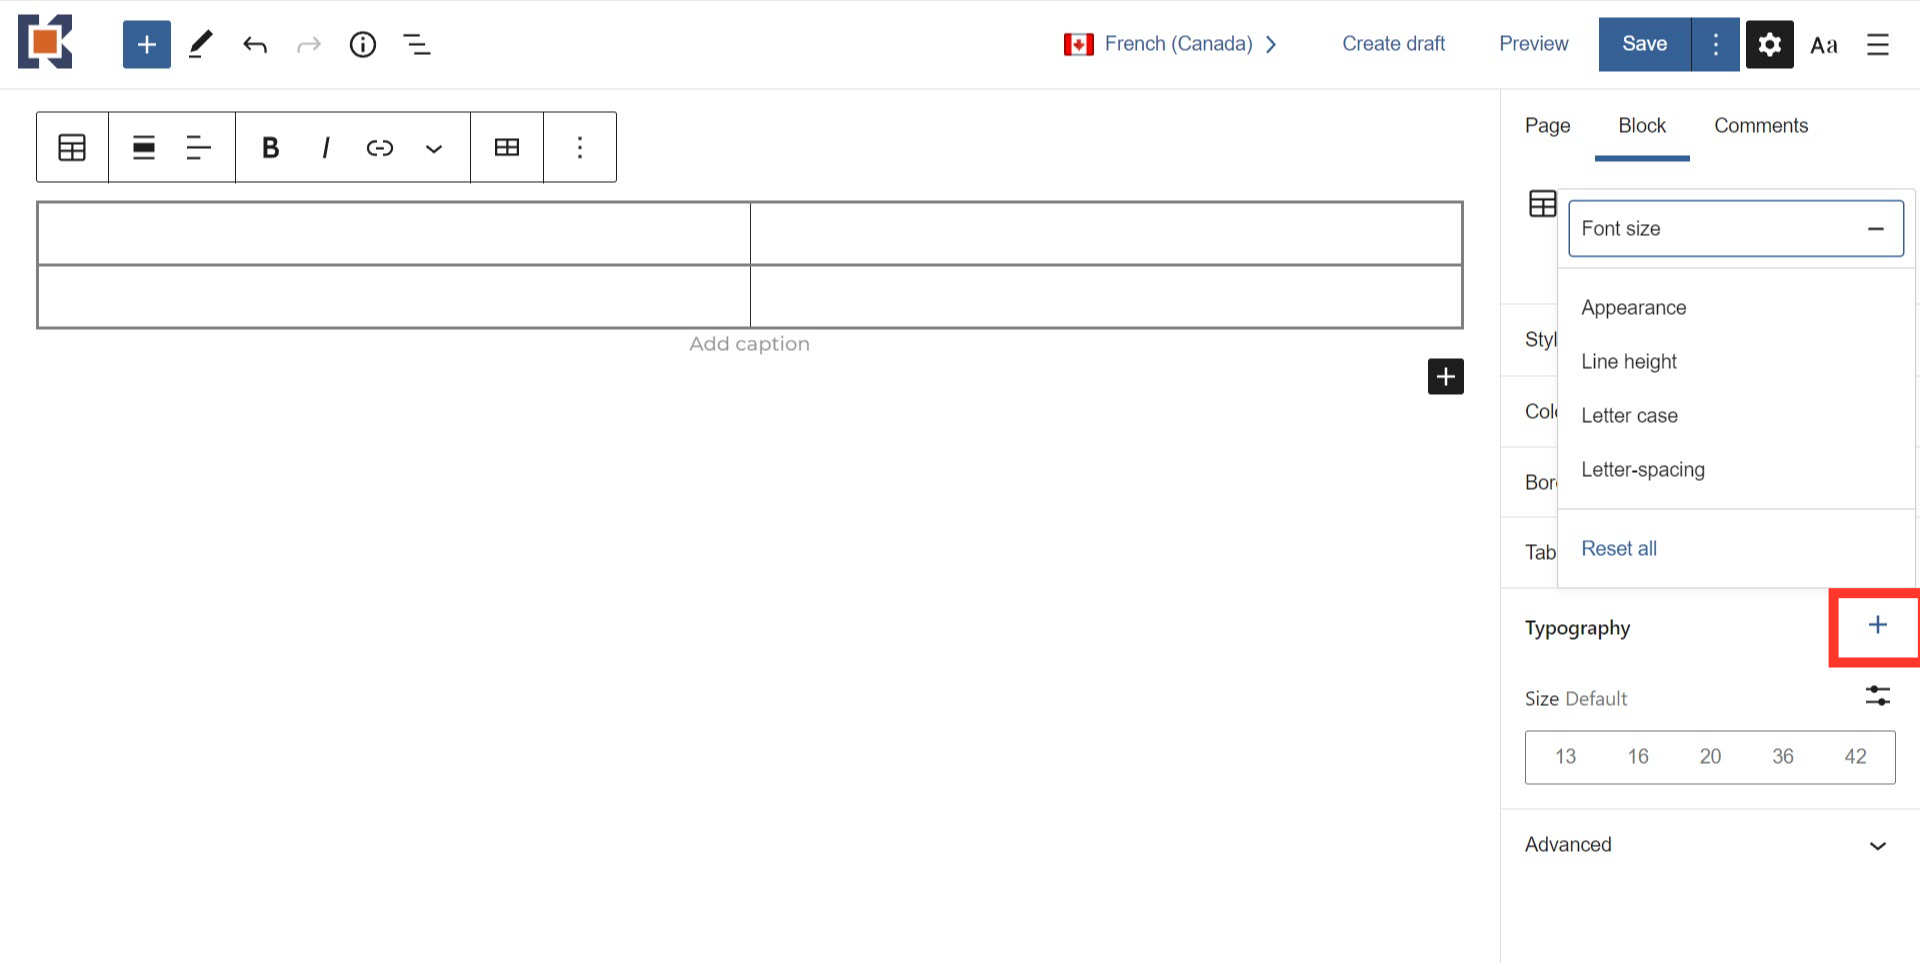
Check the options that you would like to see in the setting. You can also click the "Reset all" button to clear your customization.
