When using the Employee Mobile App, you can save your customized search filters so that those saved filters will be automatically available moving forward. To do this, first, open the app.
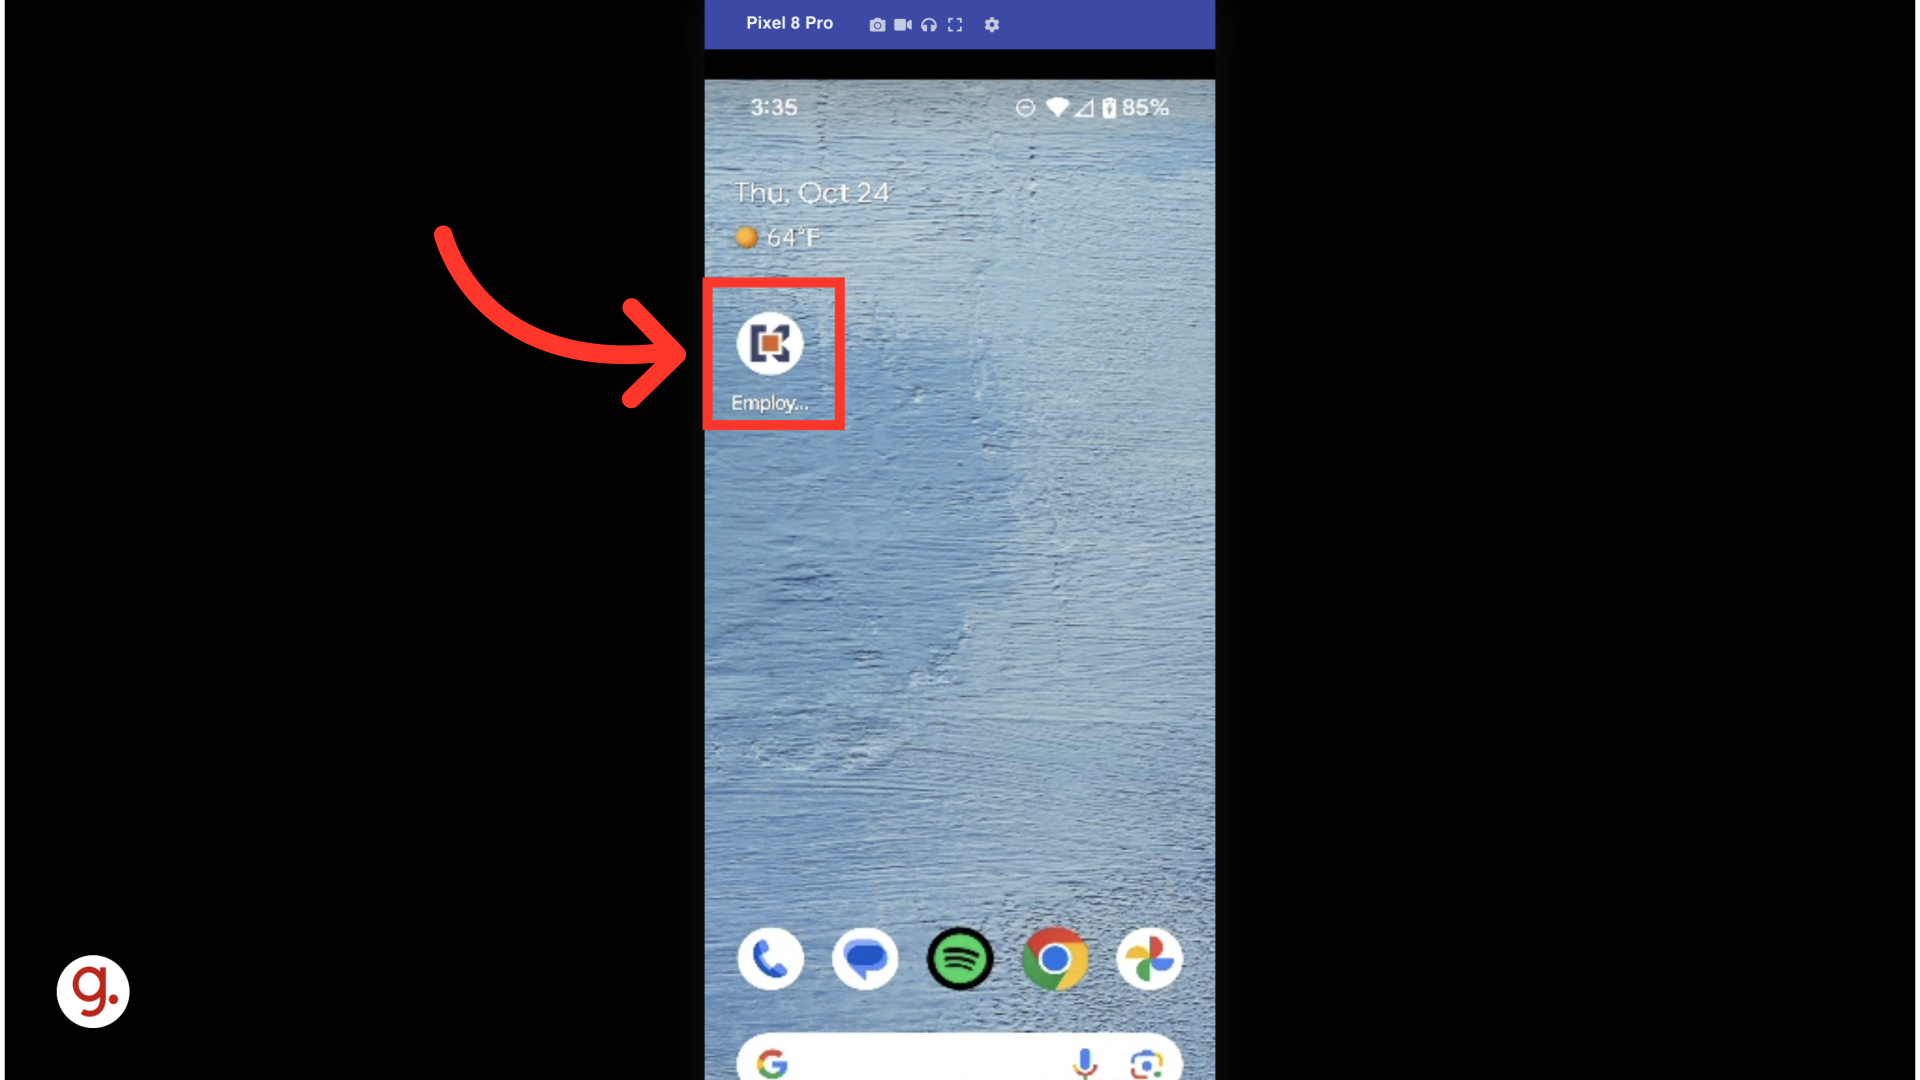
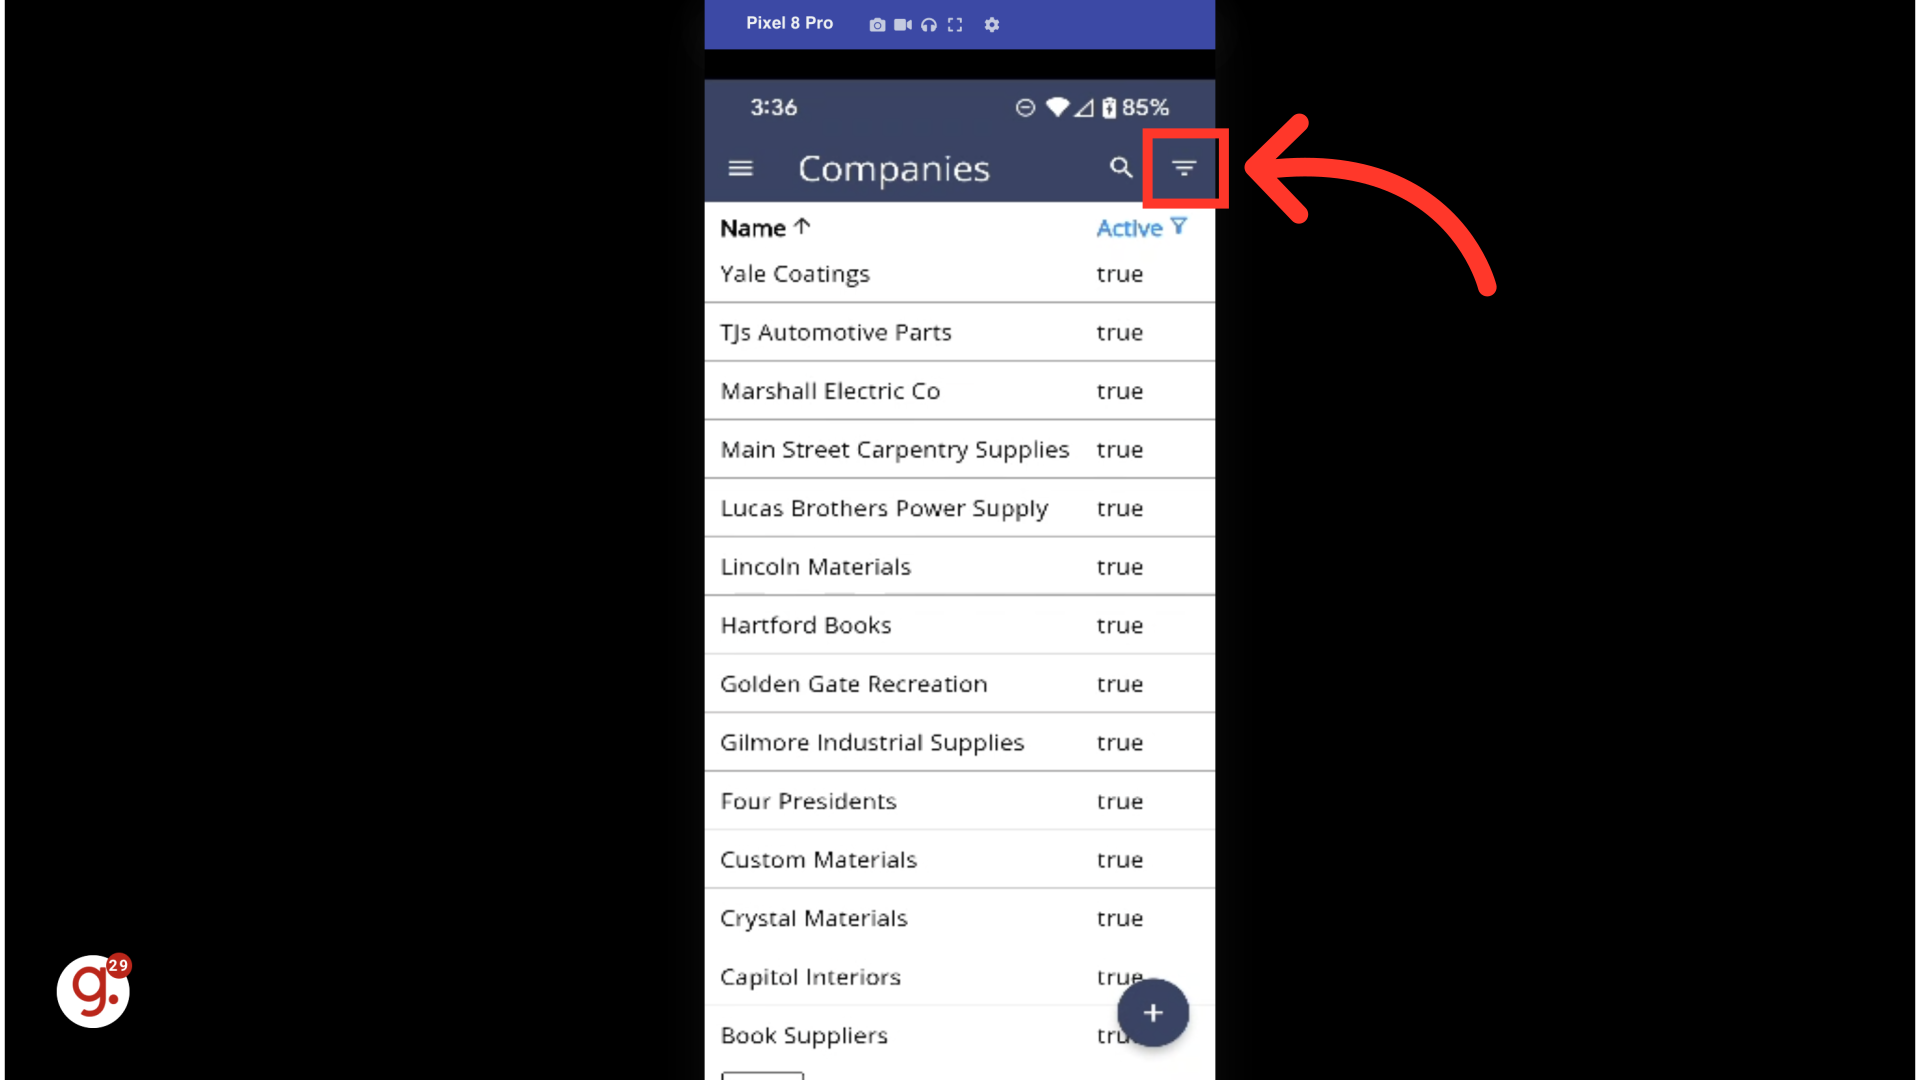
Navigate to the screen that you want to create a filter for. You can create and save a filter for any screen that has a grid layout in the Employee Mobile App. In this example, we will use the "Companies" screen.

Select the "Filter" icon to bring up the filter options.

The filter options will appear in a pop-up. Here, you can customize your filter to display the fields you want. To hide or display a field, click on the "View" icon for any field. If the icon is blue, it will be active on the grid.
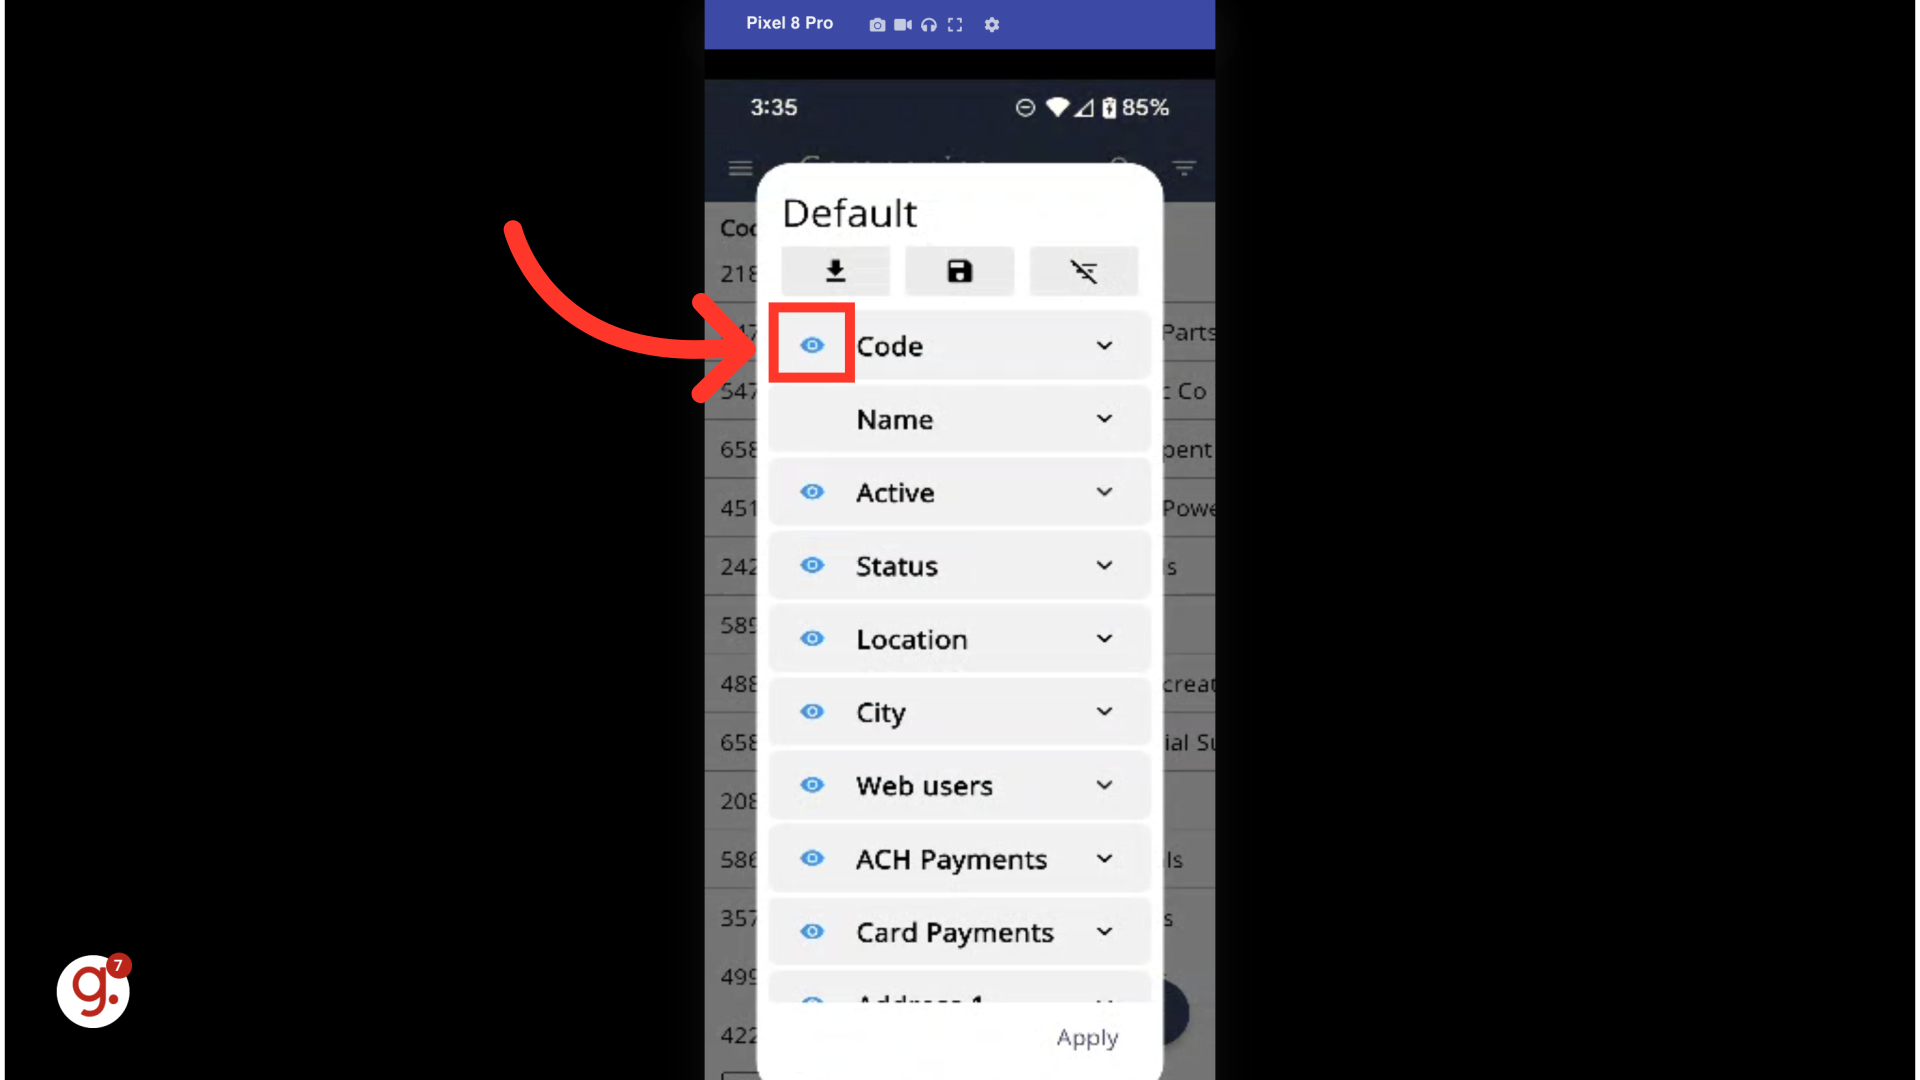
If the icon is gray, it will not appear on the grid.

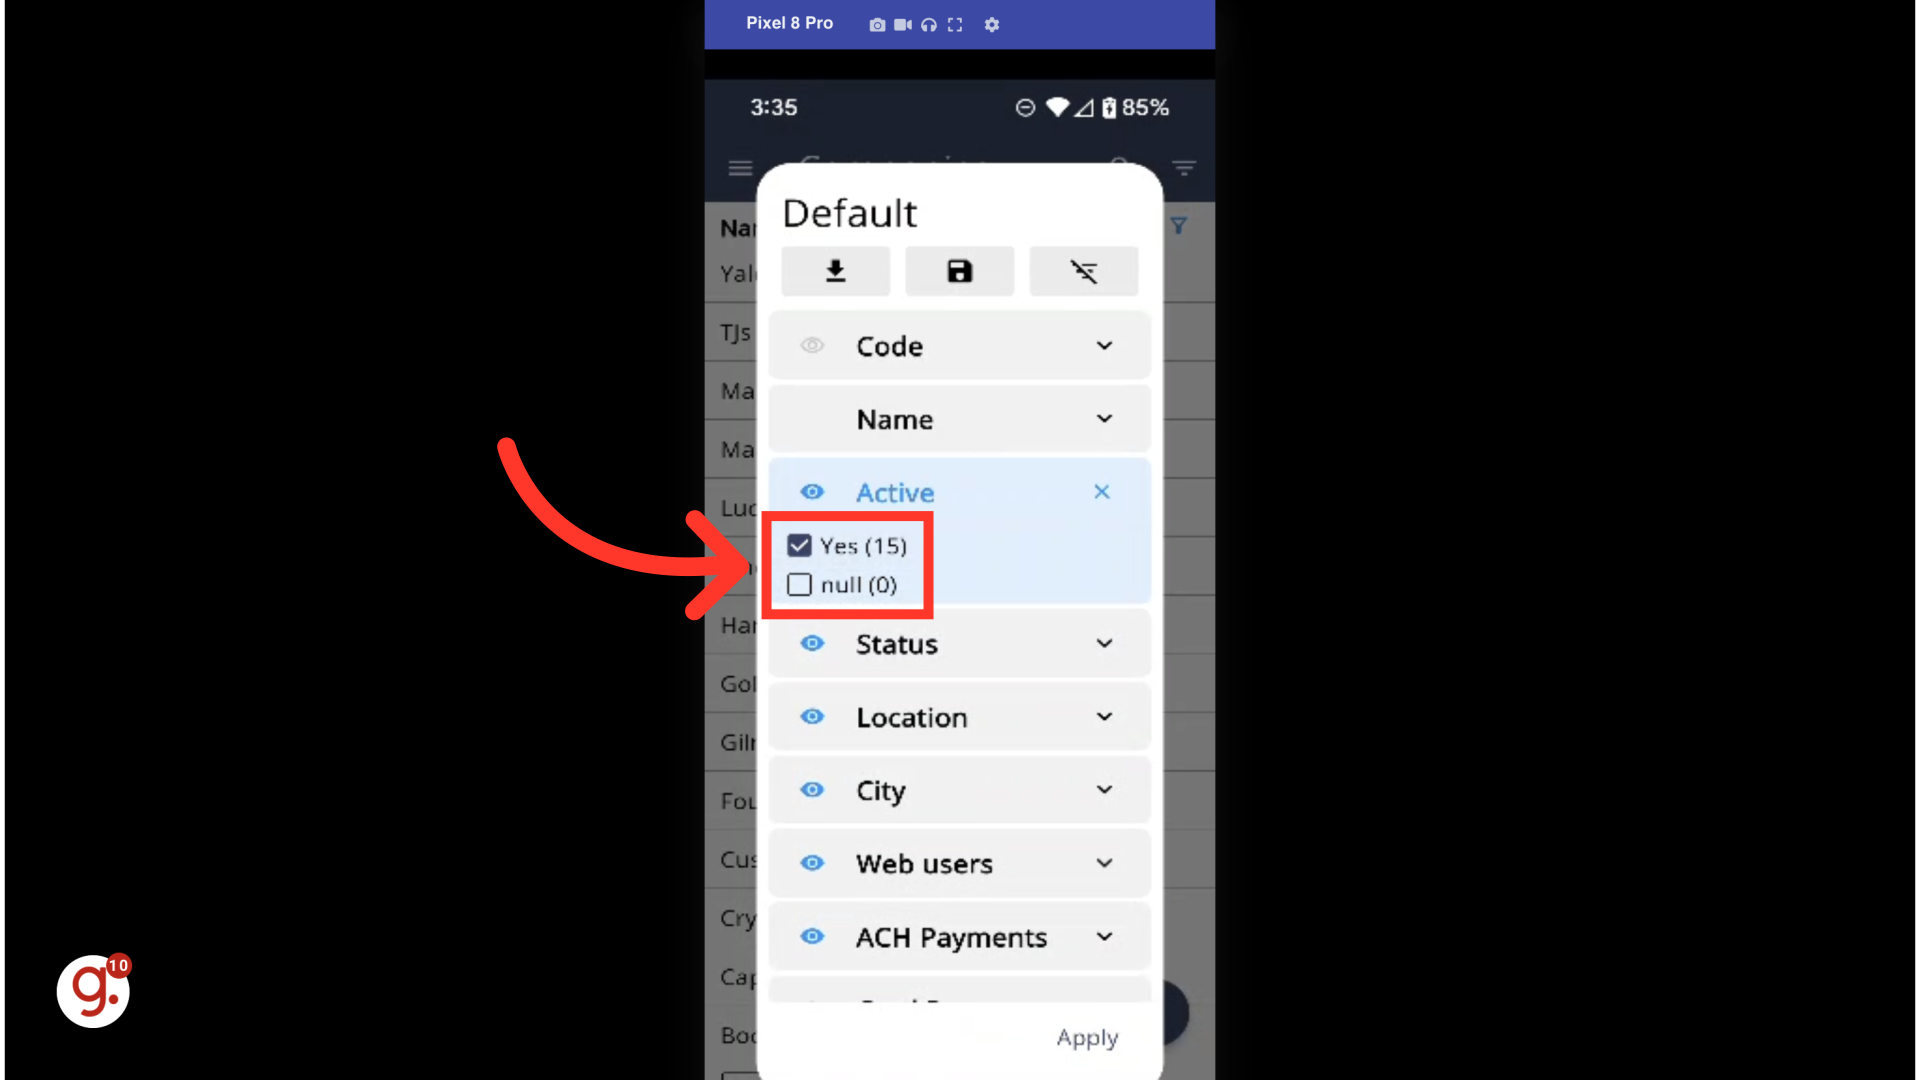
To view a field's individual filters, click the dropdown arrow associated with any field.

Select the filters you wish to apply. In this example, you can select or deselect checkboxes.
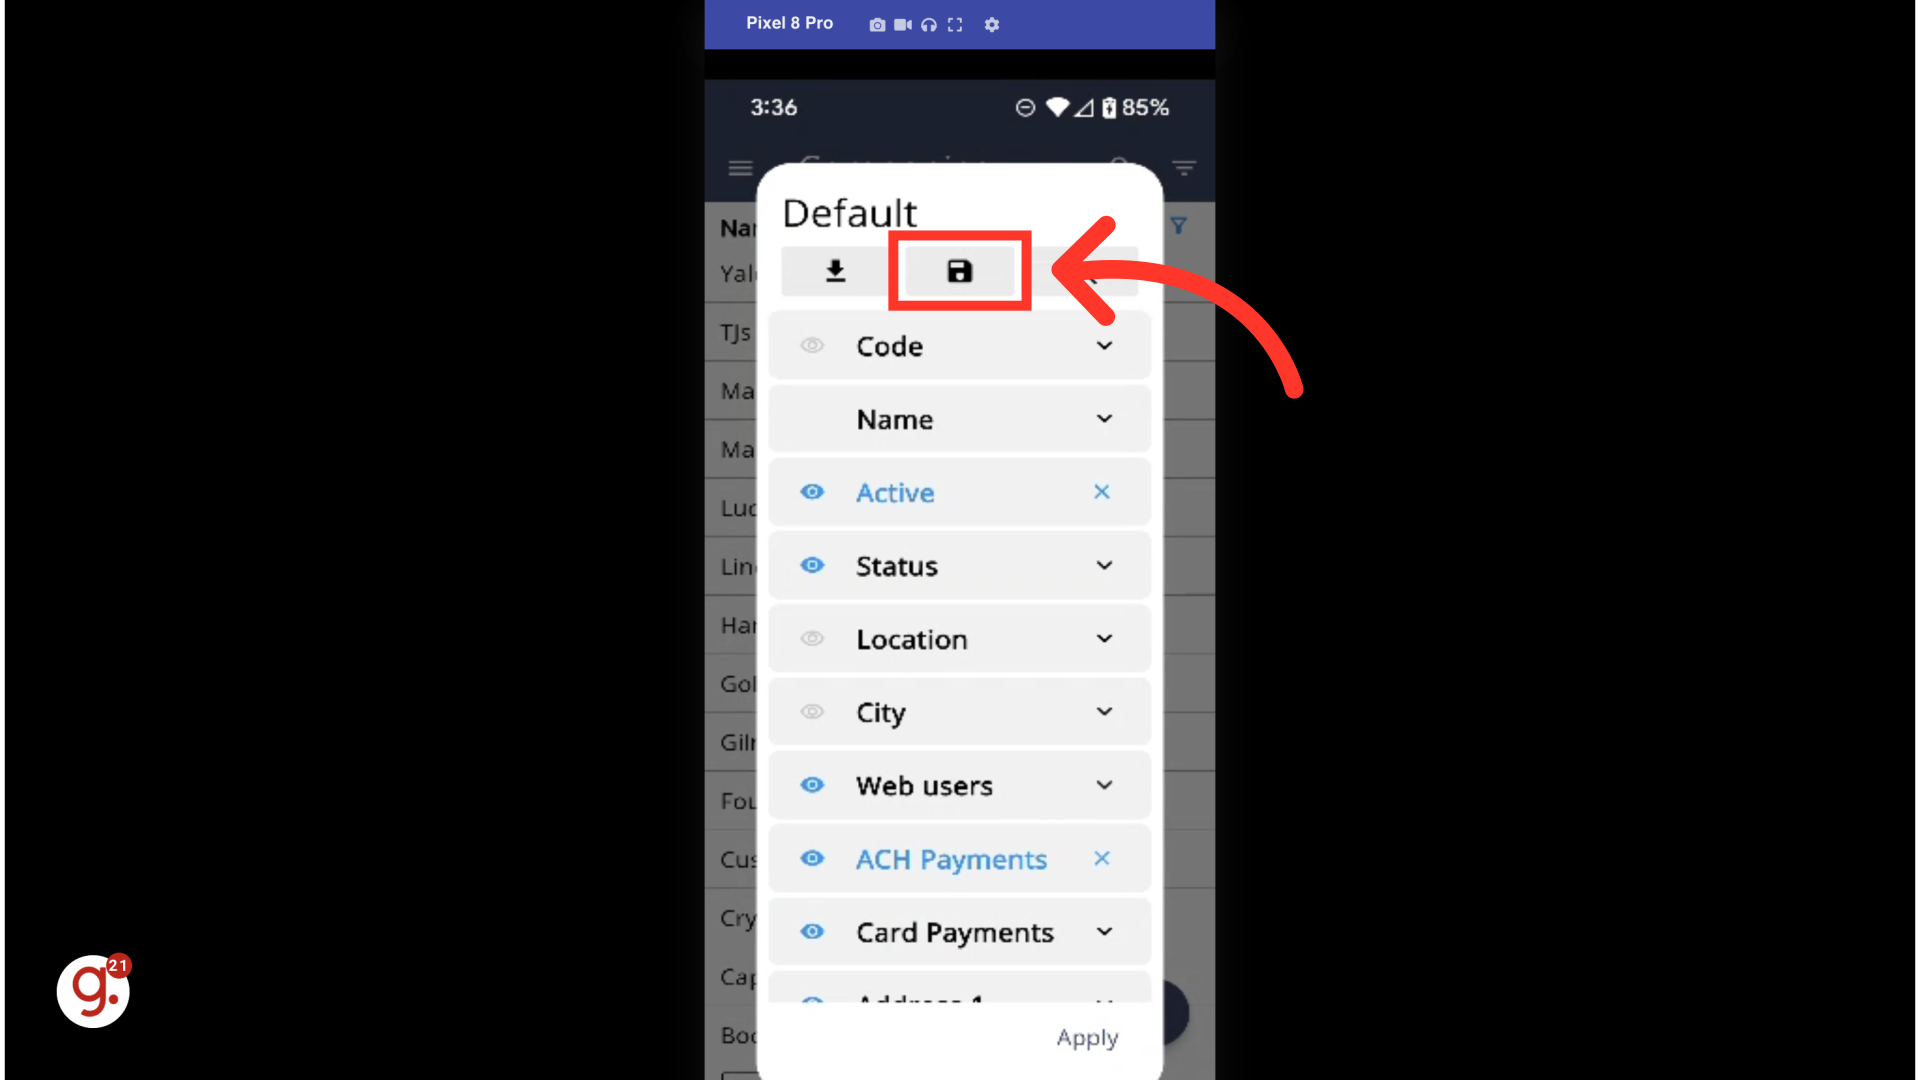
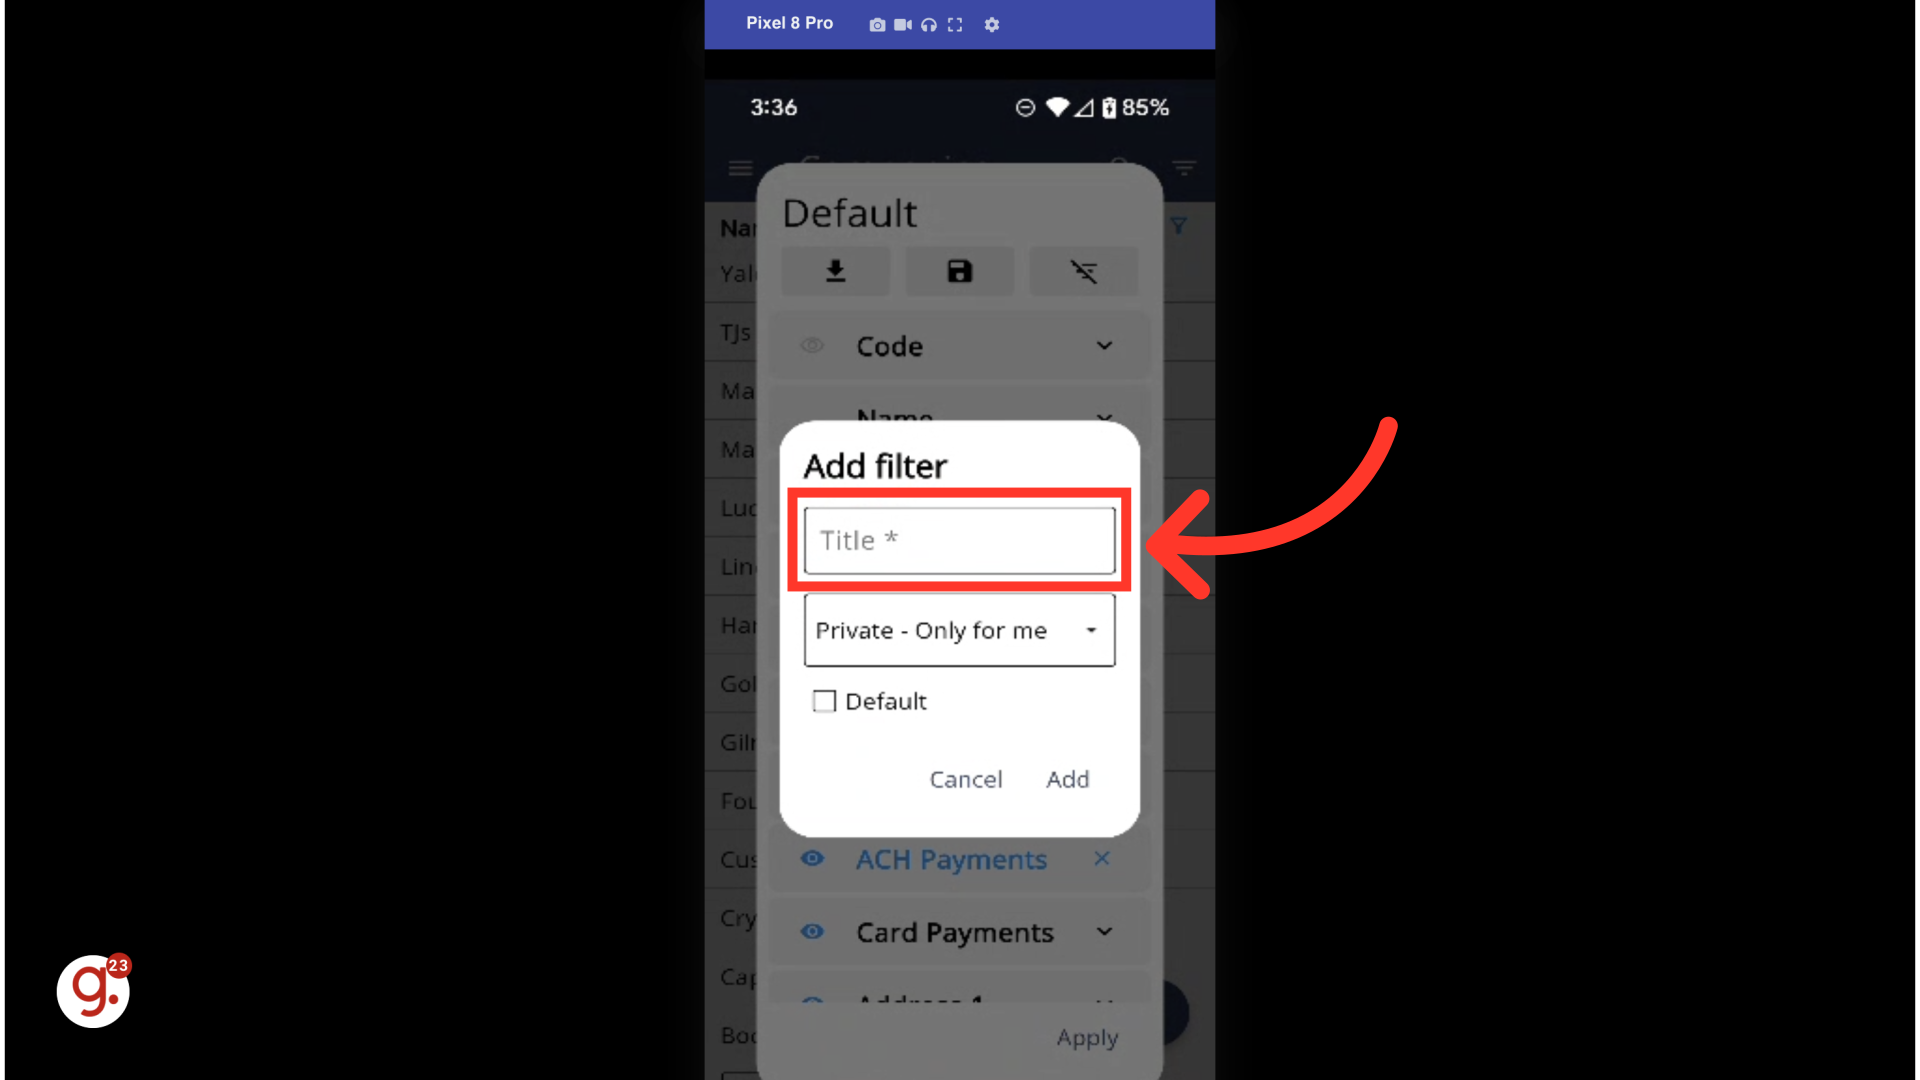
Once you are finished creating a filter, click on the "Save" icon to save the filter.
Select the "Save as" option to name your filter and choose its settings.

Give your filter a name by typing into the "Title" textbox.
Click on the dropdown arrow to select the filter's visibility status.

Select the visibility status by clicking on one of the options.

To make this filter the default filter that appears every time you navigate to this screen, you can select the "Default" checkbox.
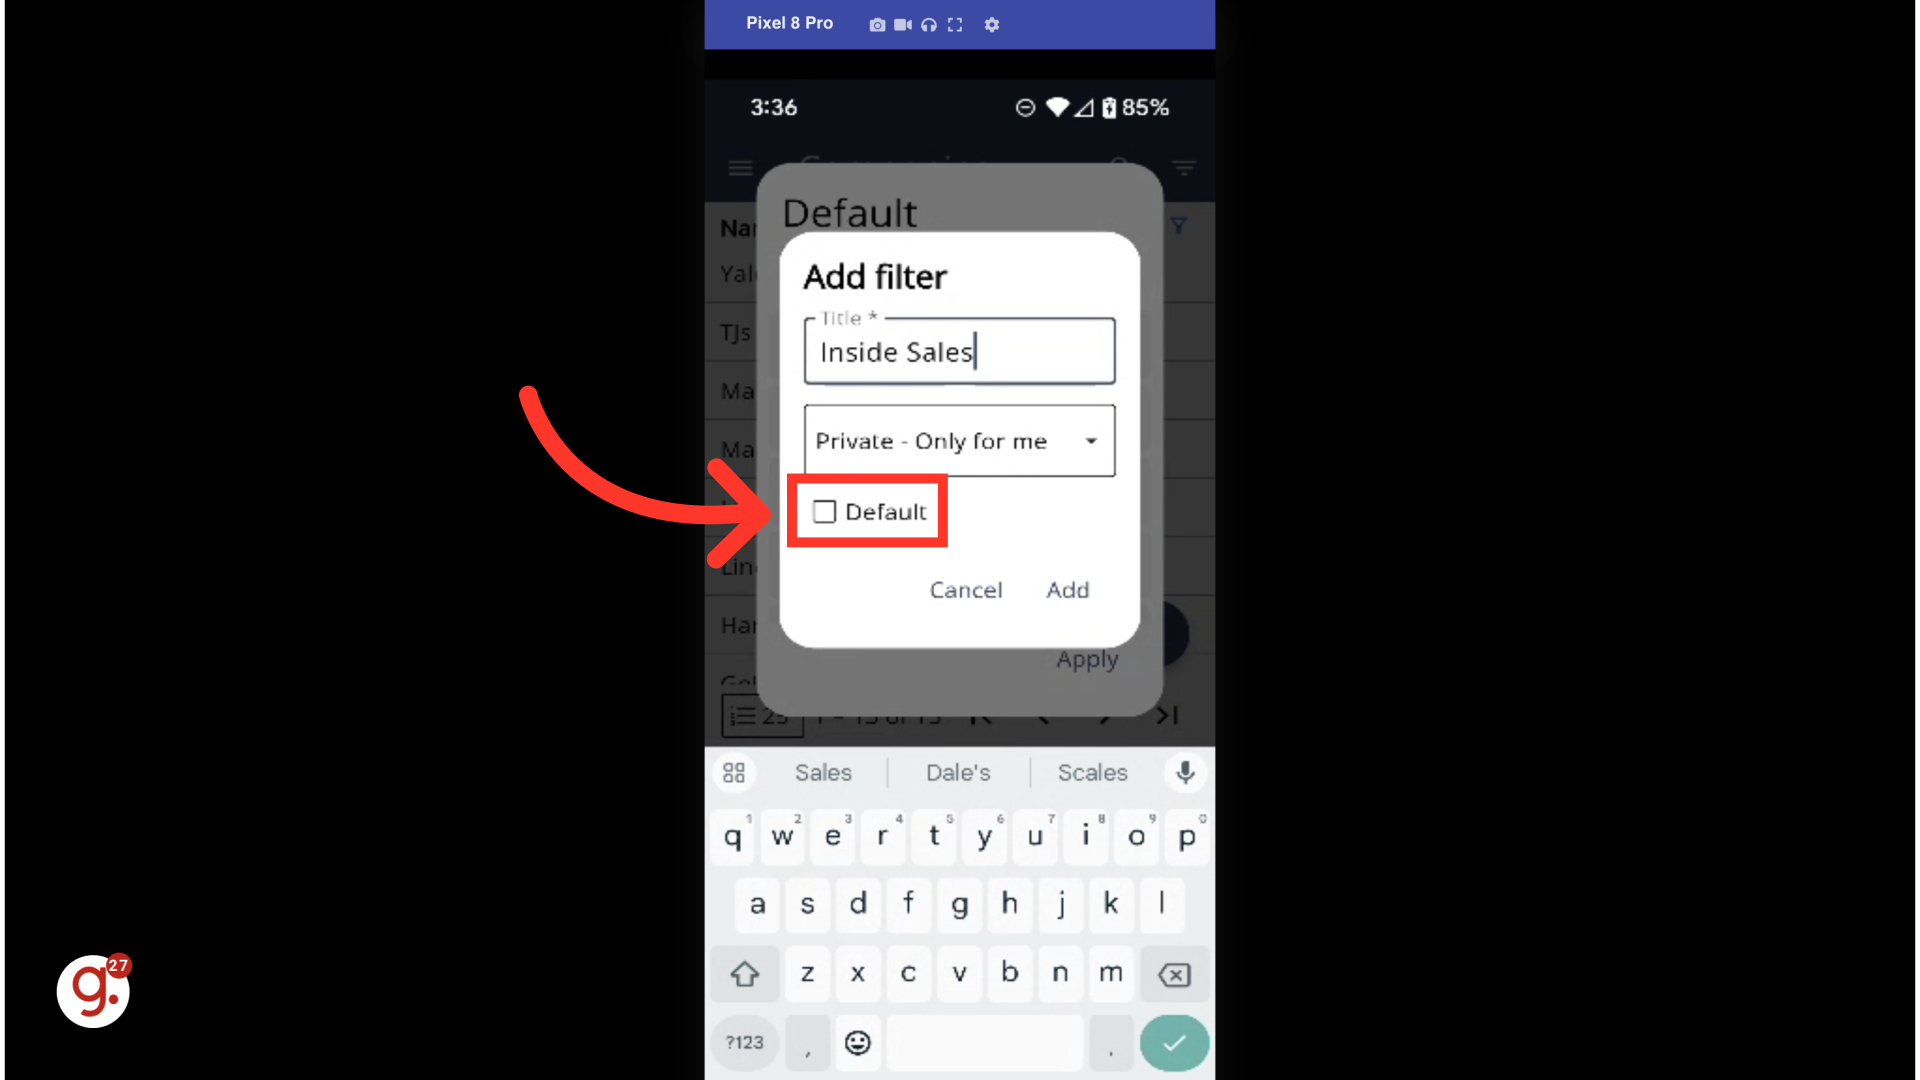
Click "Add" to add the filter.

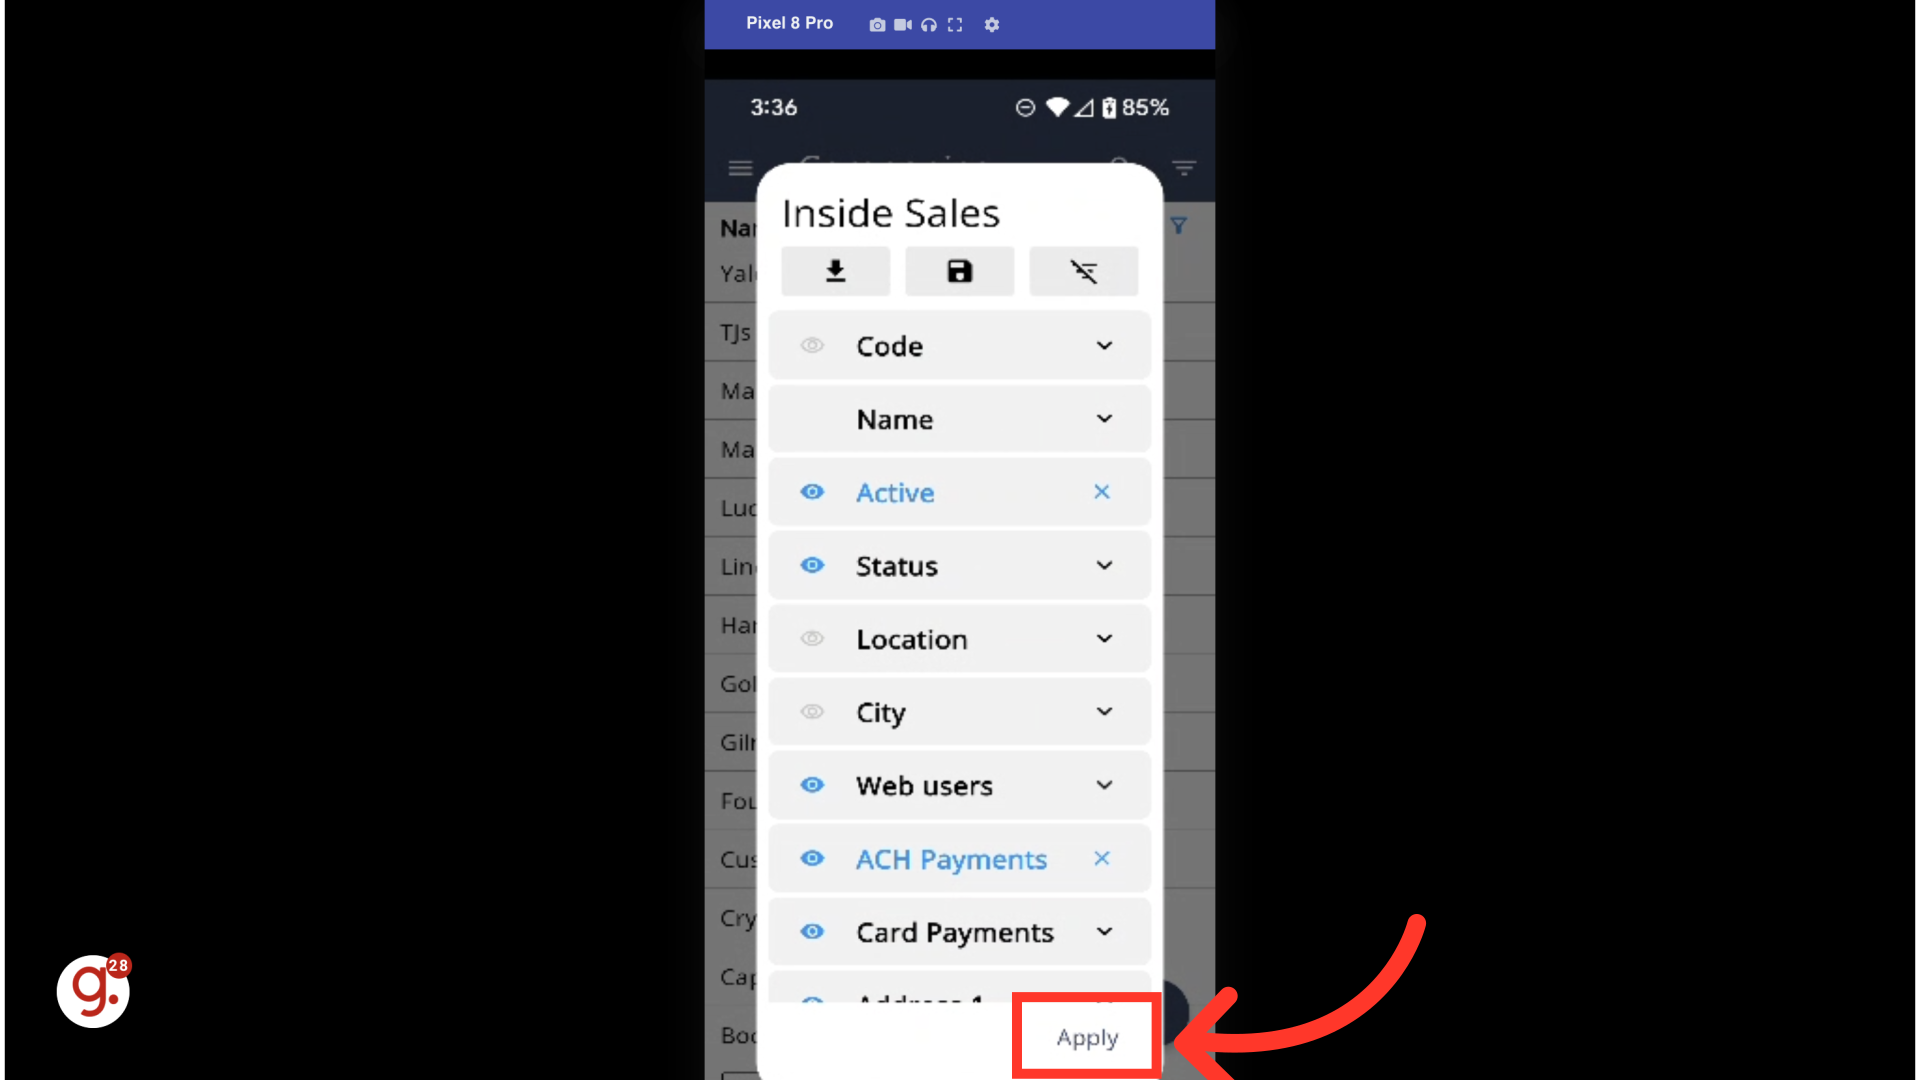
Once the filter settings have been saved and the filter has been added, you will see the filter name at the top of the pop-up box.

To apply the filter to the grid view, select "Apply".
To edit and save an existing filter, select the "Filter" icon.
Click on the "Download" icon to view a list of saved filters.

Choose a filter you wish to edit.

Edit the filter's fields.

To overwrite the previously saved filter and save your edits, click on the "Save" icon.

Click "Apply" to view the newly edited filter.
