Navigate to the AR / AP section of the Operations Portal, then click on "Accounts Receivable."
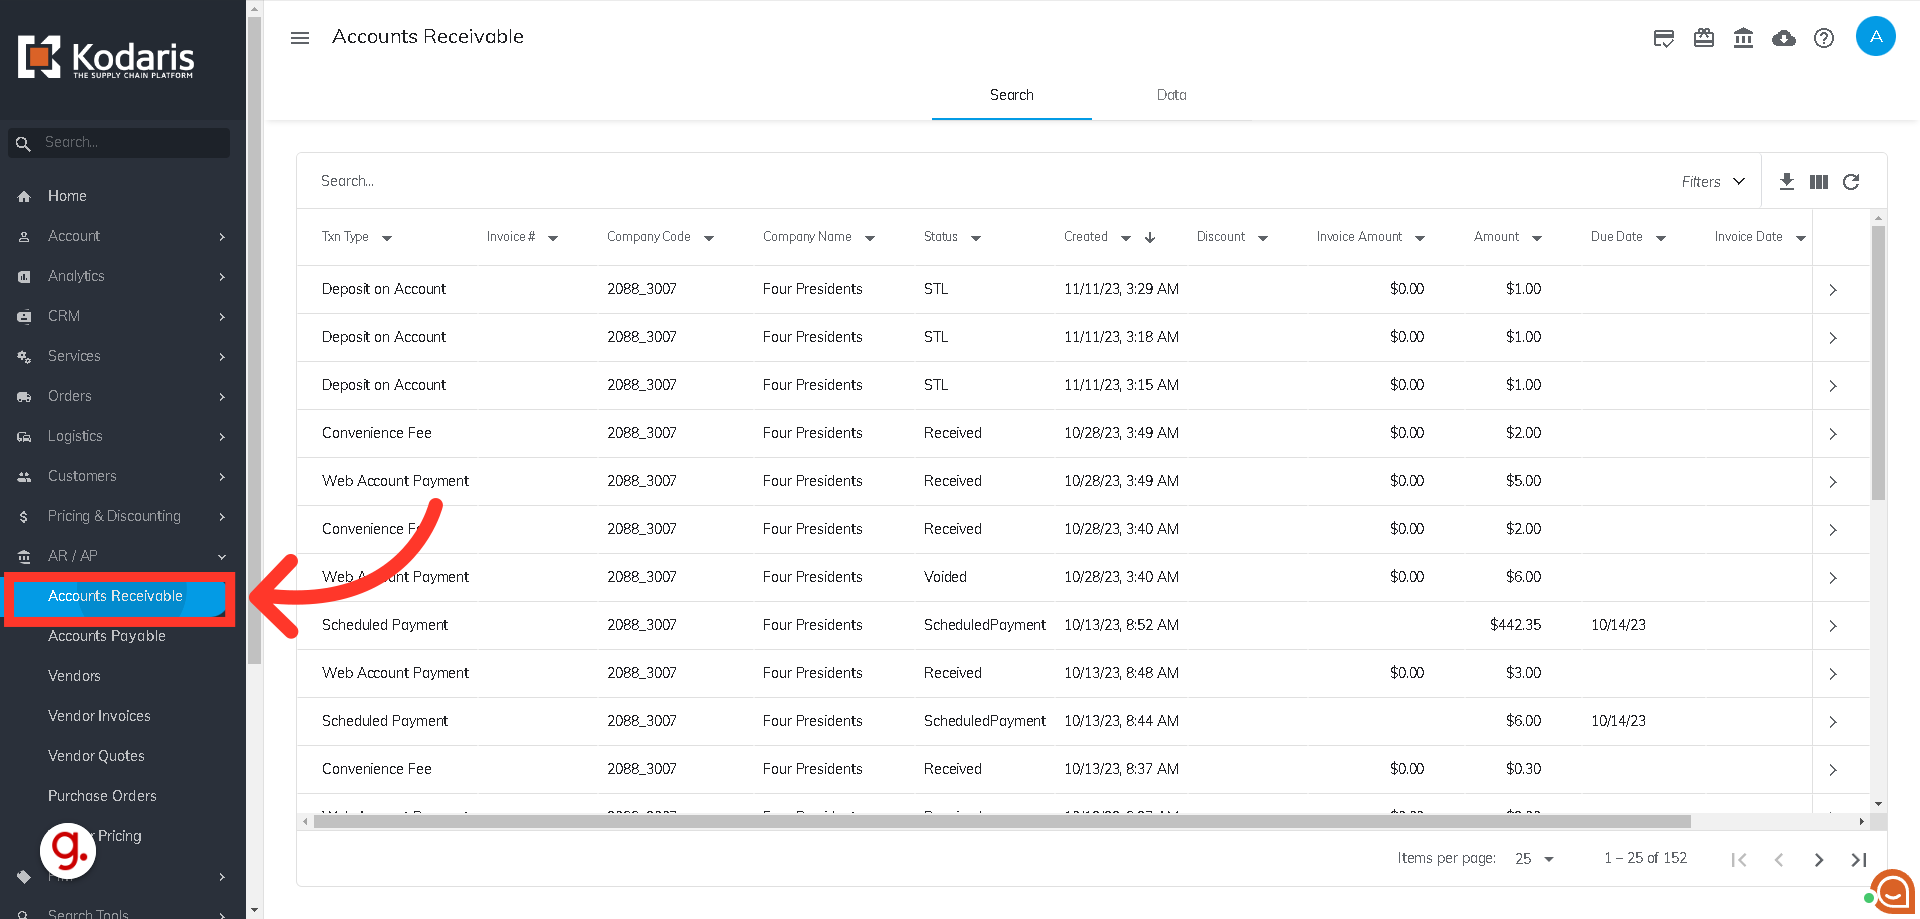
Click the Pull Payments to ERP icon, and a dialog box will appear.

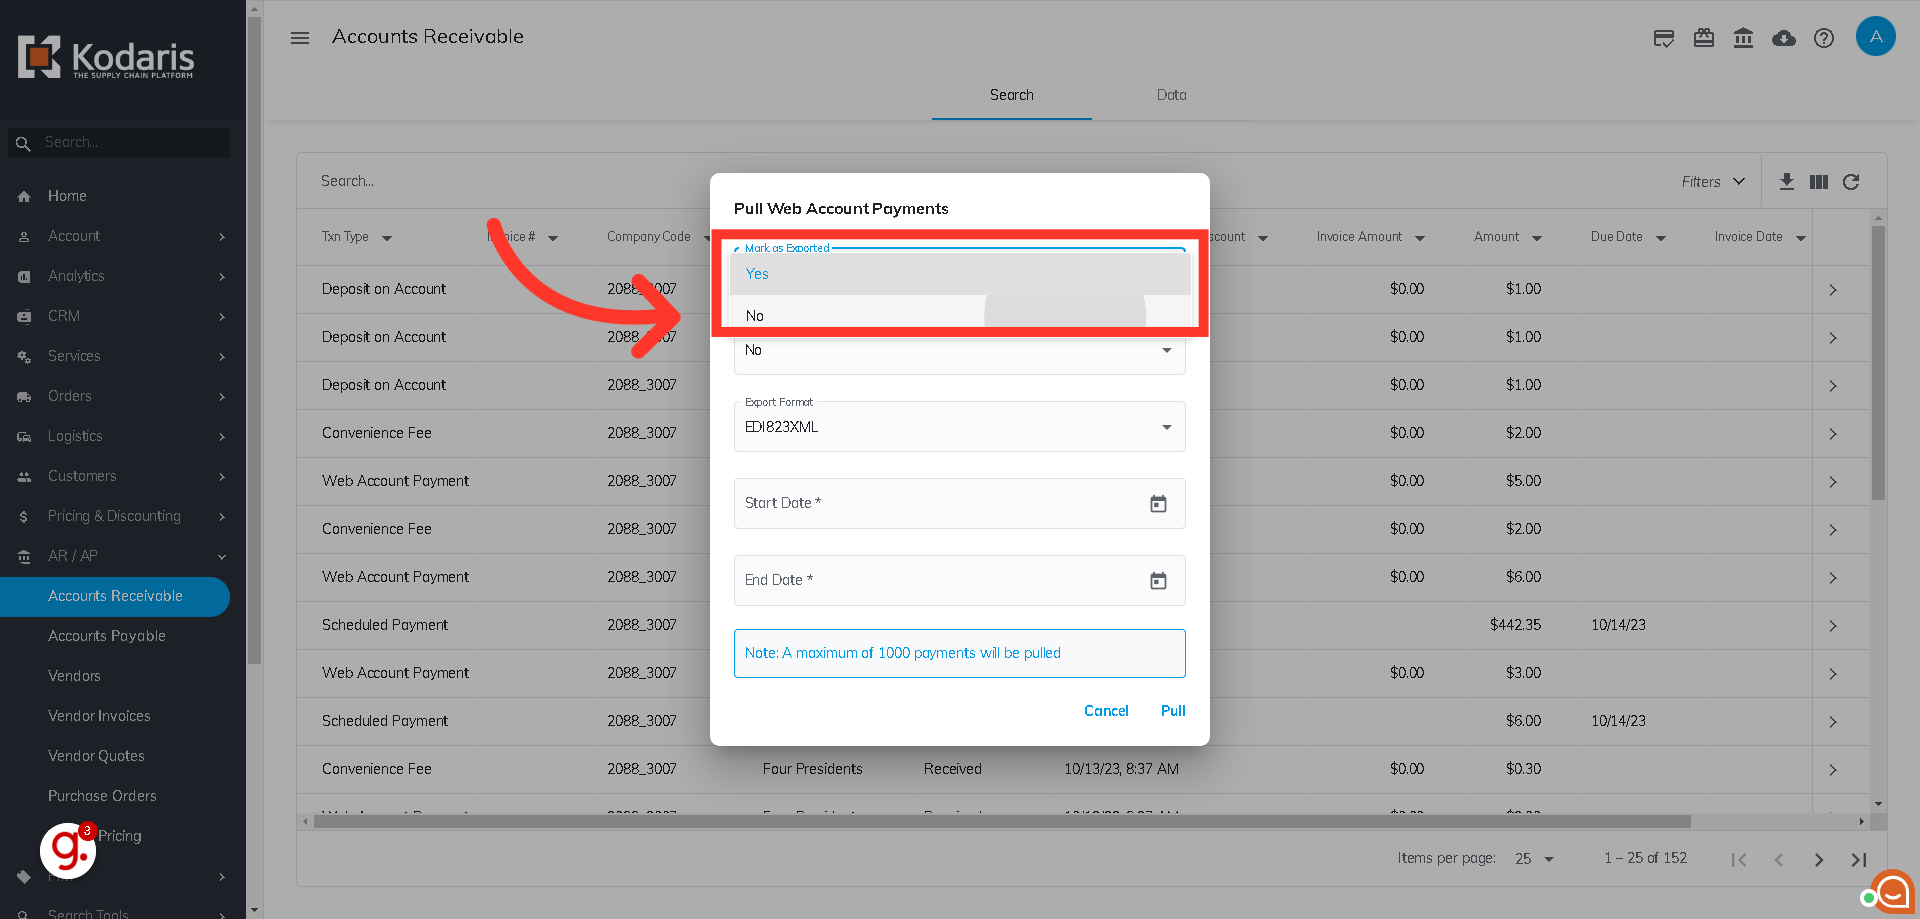
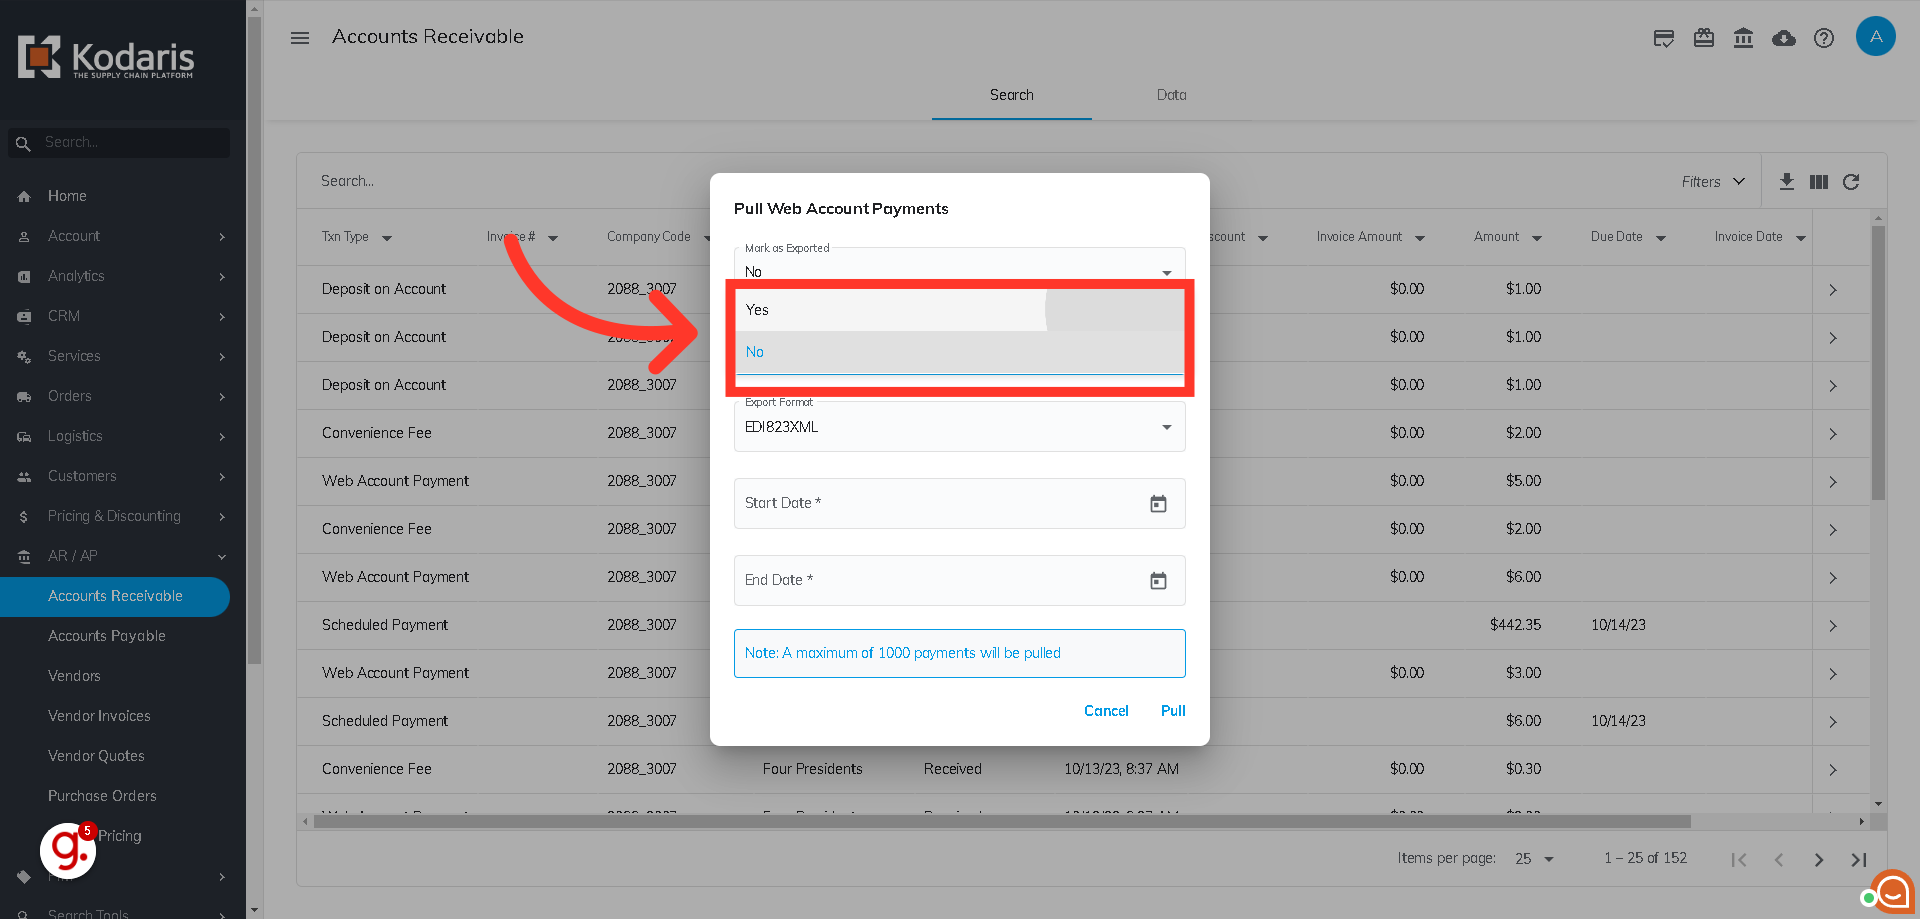
For the "Mark as Exported" field, you can select either "Yes" or "No." This field is helpful if you don't want the same payments included in future exports. The field is defaulted to "Yes" which will mark the payments as exported. These payments will then not be included in future exports. If you set it to "No," then the payments will not be marked as exported.
The "Include Already Exported Data" field is defaulted to "No", and will not include any payments marked as exported. If you select "Yes," then it will include all payments - both those marked and not marked as exported.
In the "Export Format" field, click the dropdown arrow and select the export format.
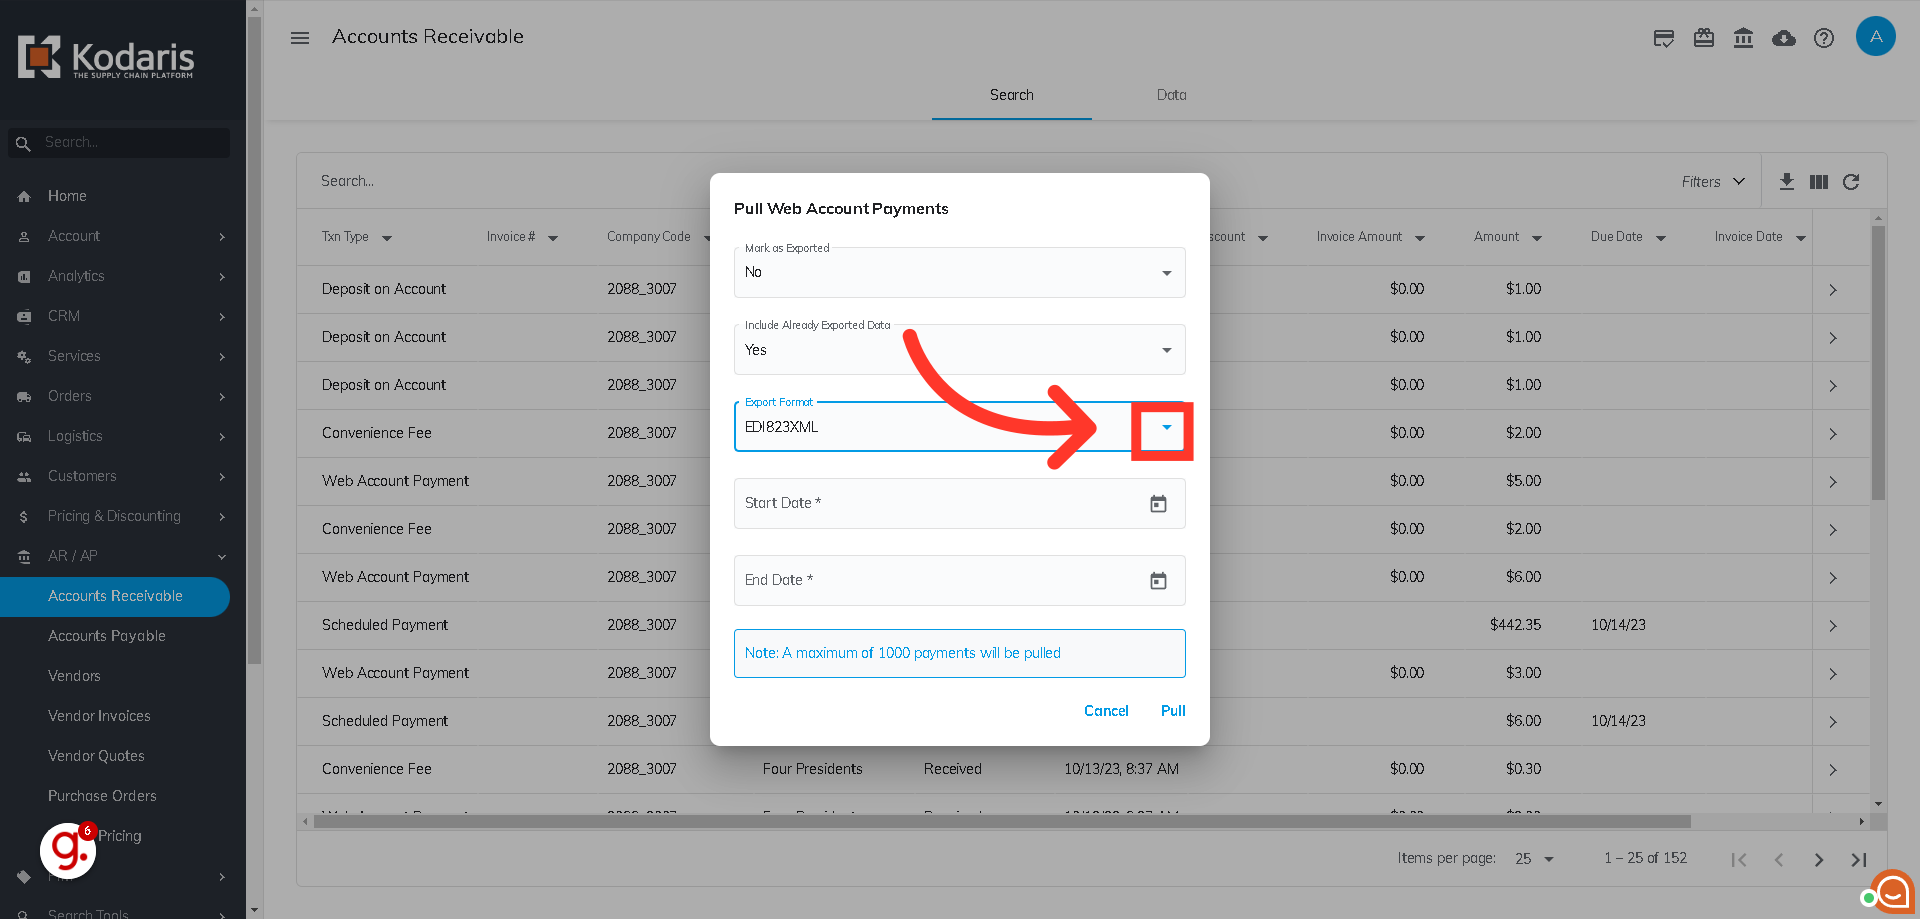
Select the file type for your export format. If you would like to view the export in a spreadsheet, choose the CSV option.

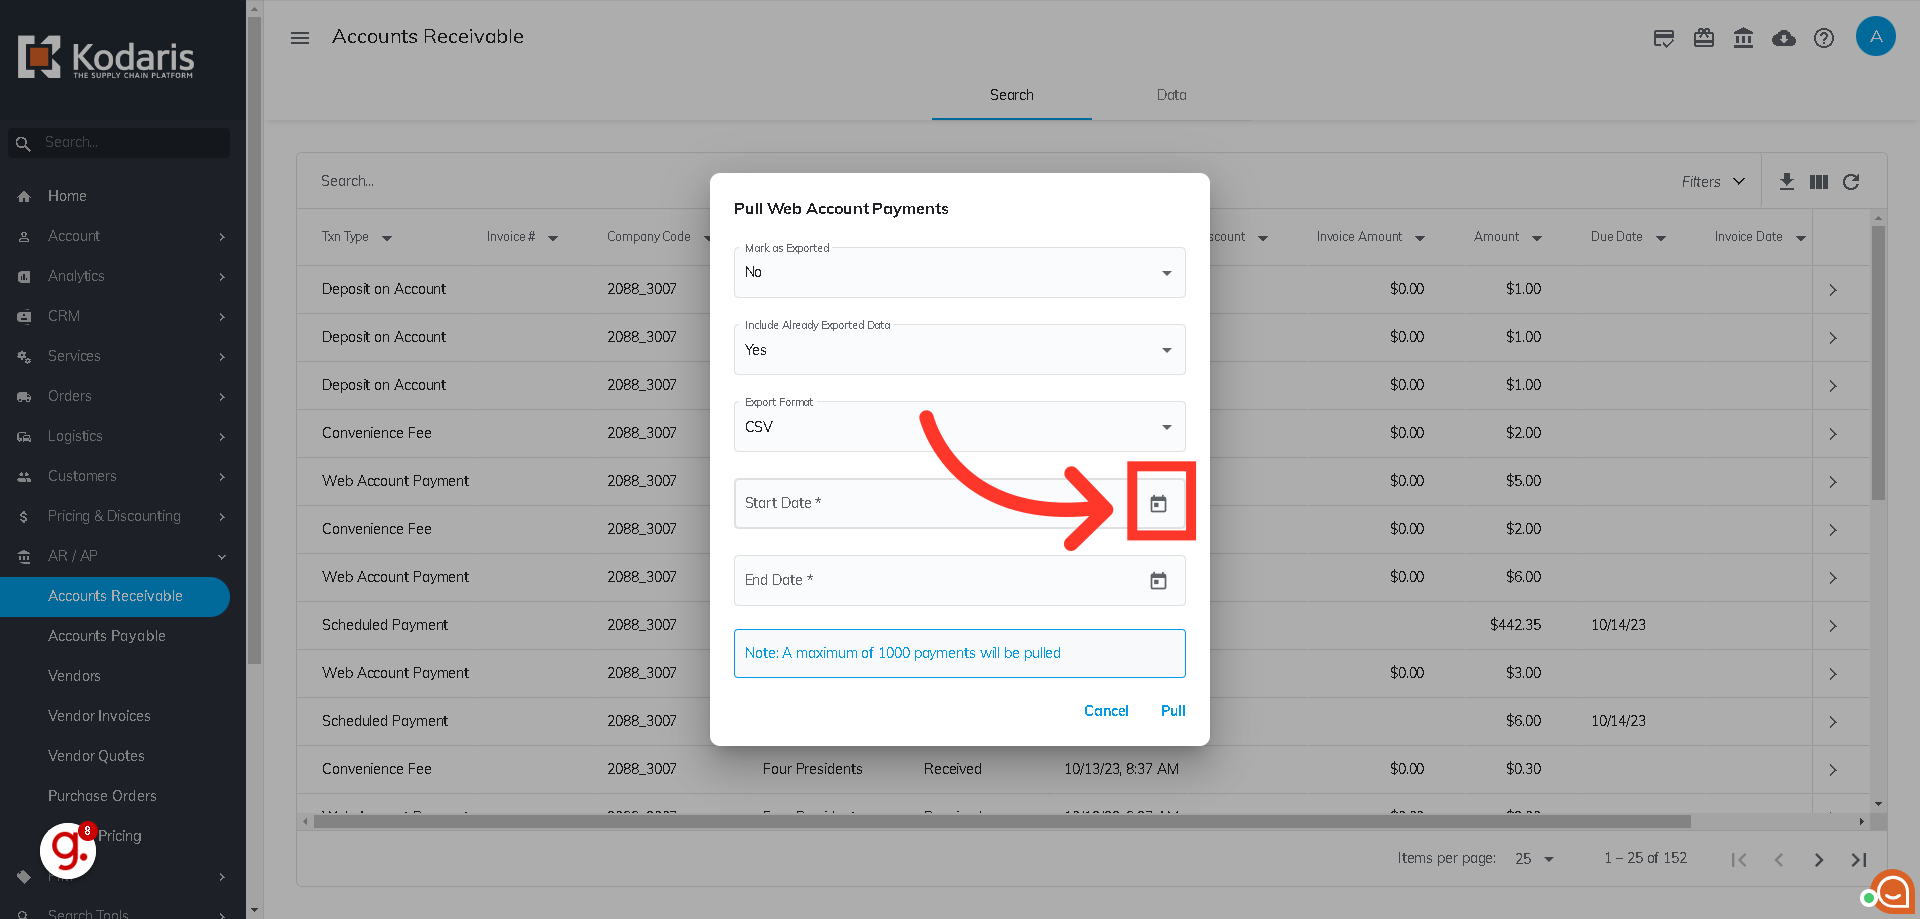
Set the date range you're pulling payments for based on the Created Date by clicking the calendar icon and selecting the Start Date.
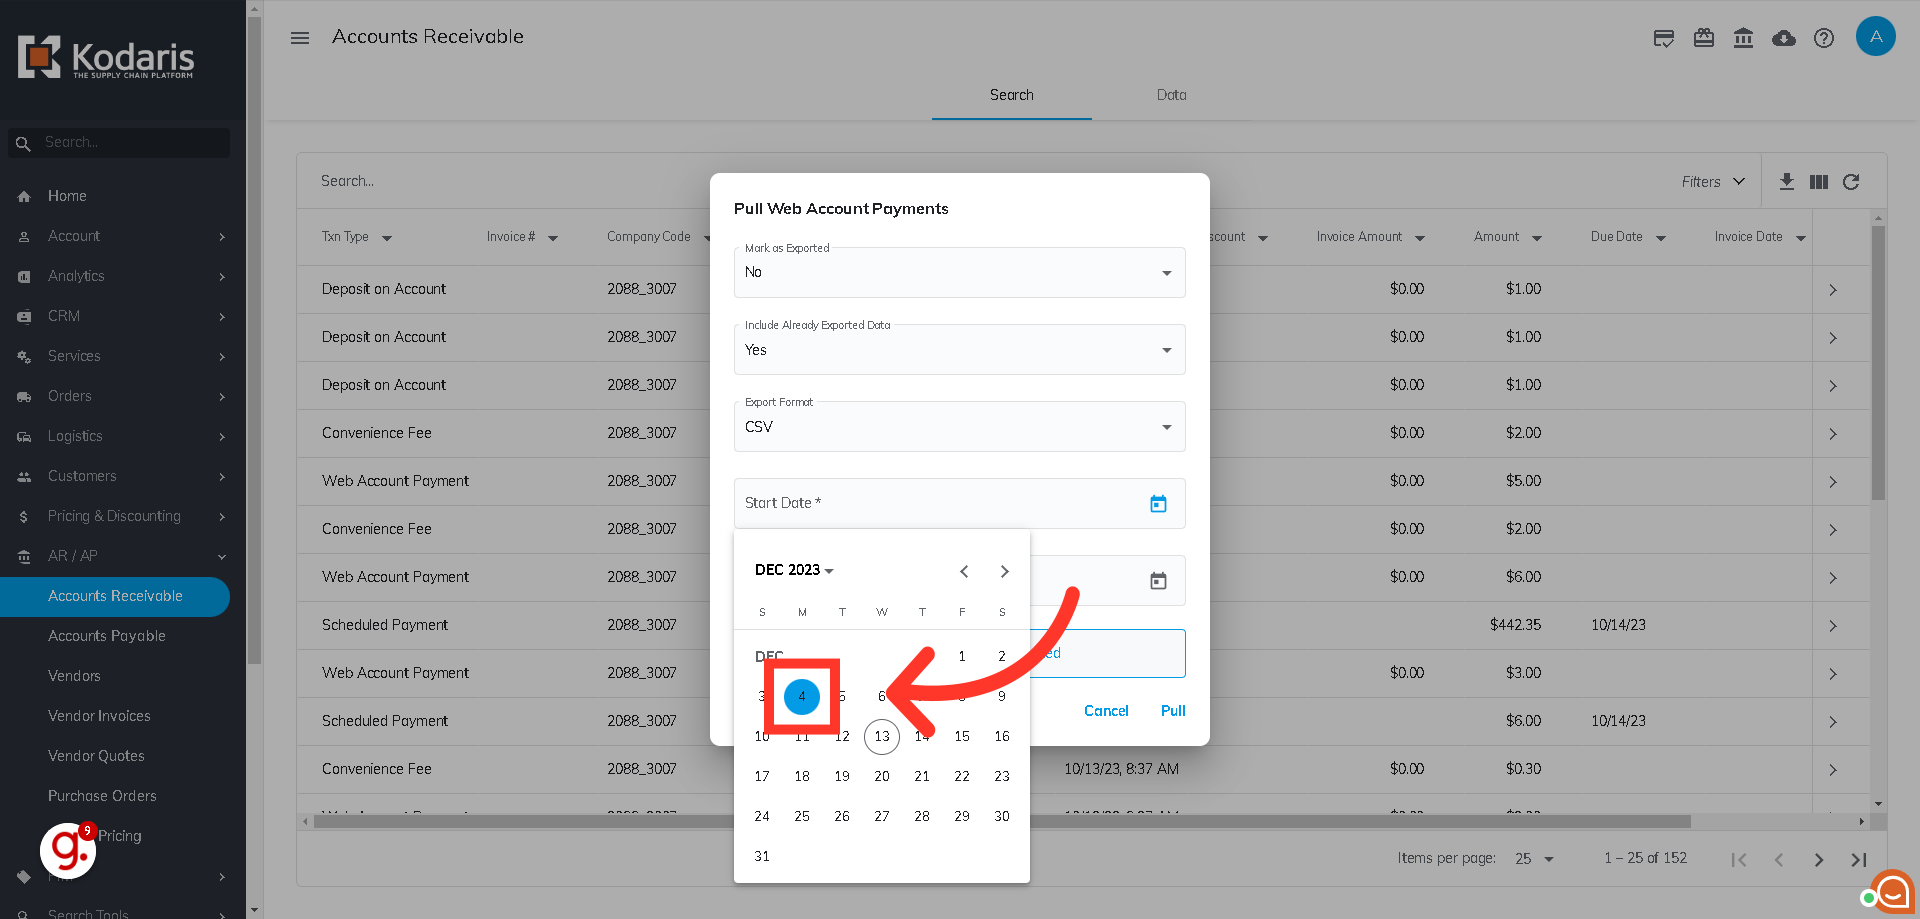
Select your desired start date using the calendar that appears.
To select the end date of the period you're pulling payments for, click the calendar icon in the End Date field.

Select your end date using the calendar that appears.

Once you have finalized all of your options, click the "Pull" button to start the export. Once finished, it will be saved to your computer.
