To create, update, and delete filters in the Employee Mobile App, start by opening the app.

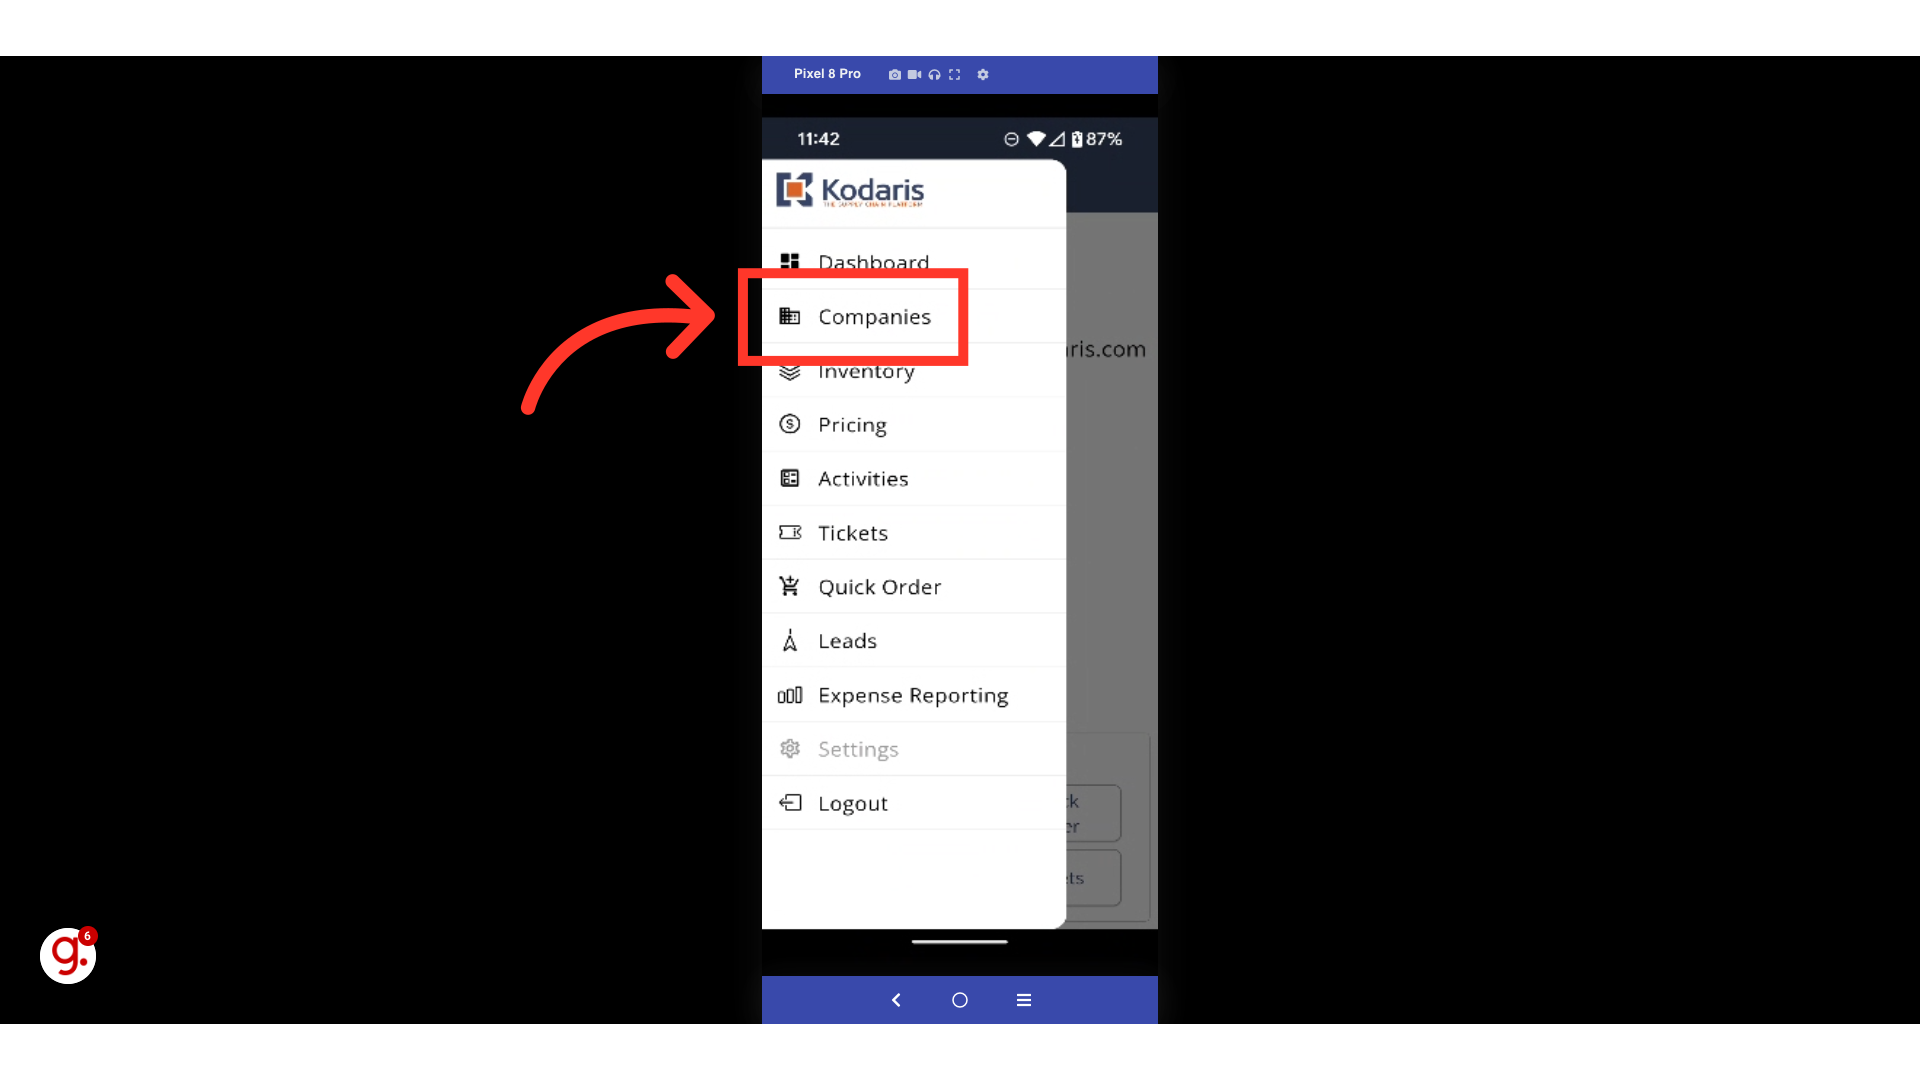
All filters found within the app work similarly. The process to create, update, and delete filters is the same on any screen that offers filtering. /pause/ To begin, tap on the "Menu" icon to locate the screen of the filters you want to edit.

Select your desired screen. In this example, we will walk through this process using the filters on the "Companies" screen.
To access the filtering capabilities for any screen, select the "Filter" icon.

To create and save a new filter that you can use again in the future, start by customizing your filter.

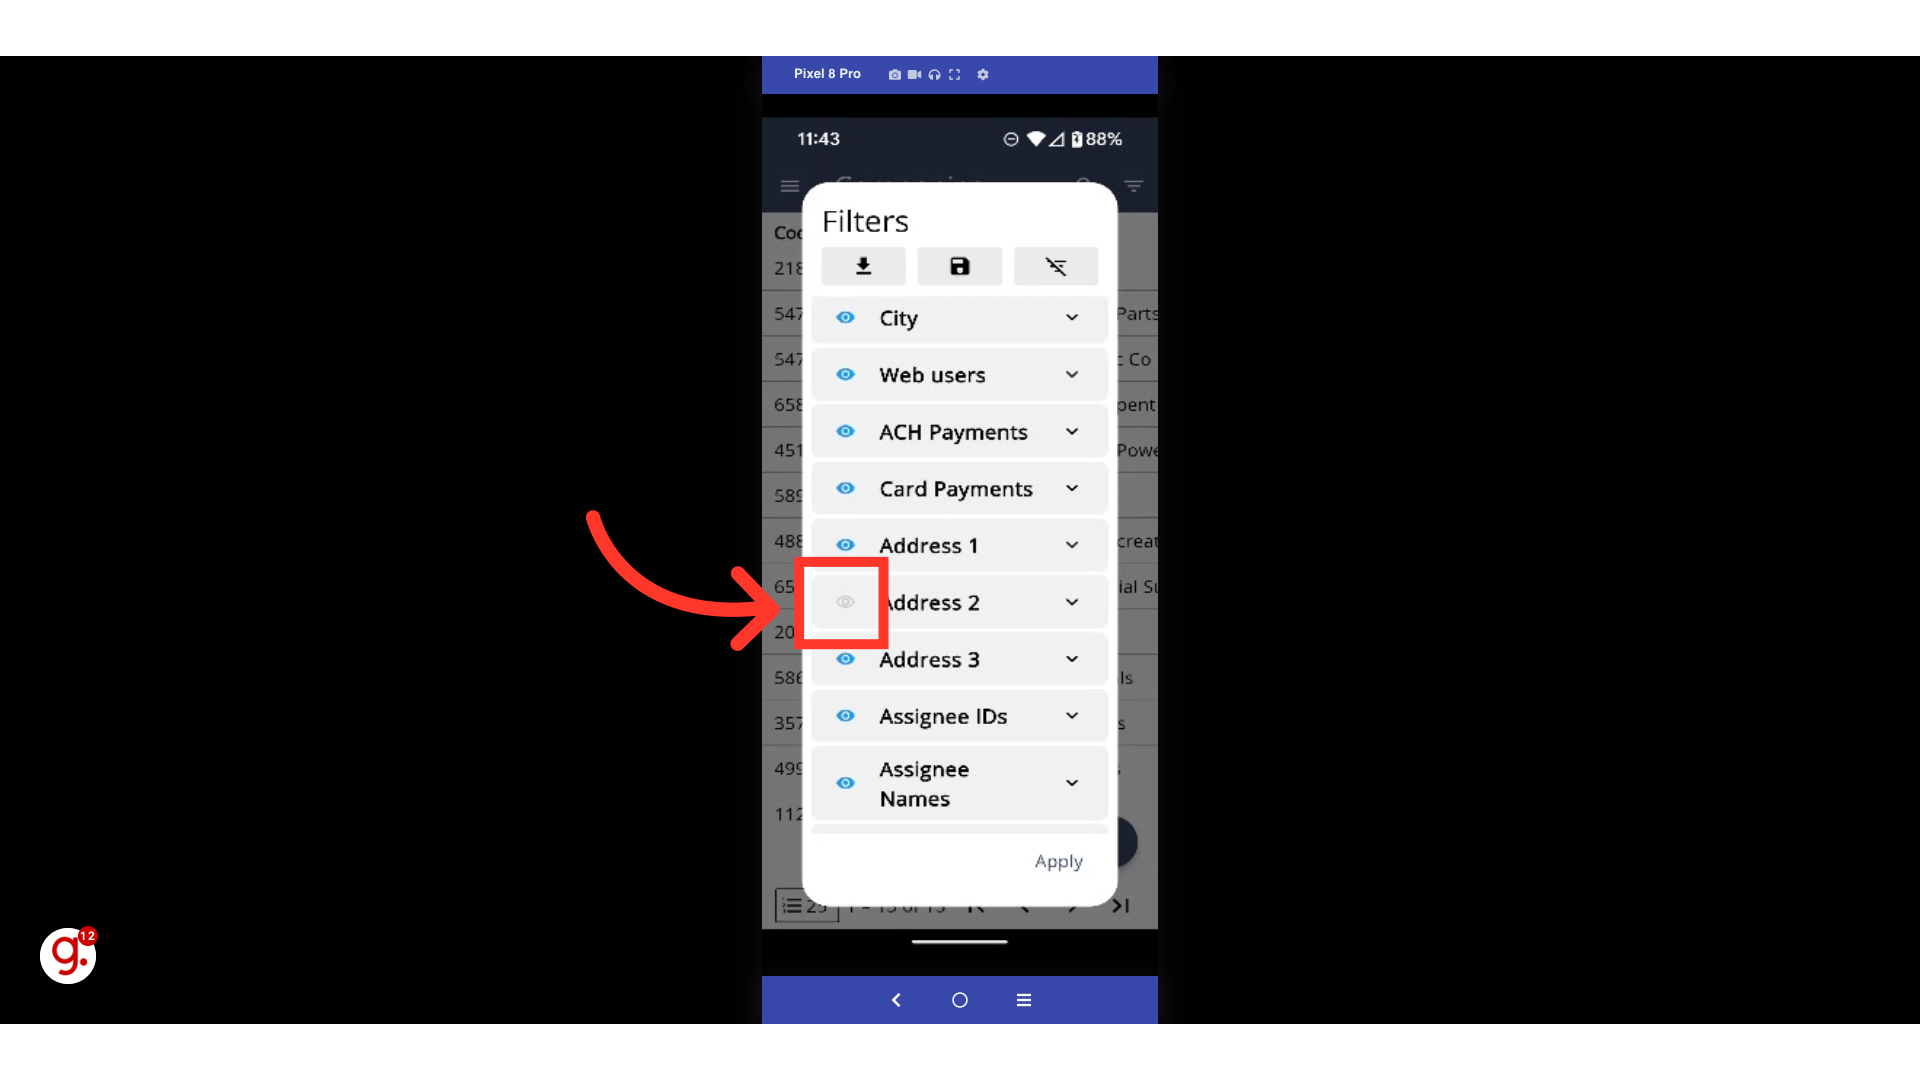
To add a field to your filter, tap on the "View" icon next to the field name so that it's highlighted and blue.

To remove a field from your filter, de-select the "View" icon next to the field name so that it's gray and no longer highlighted.
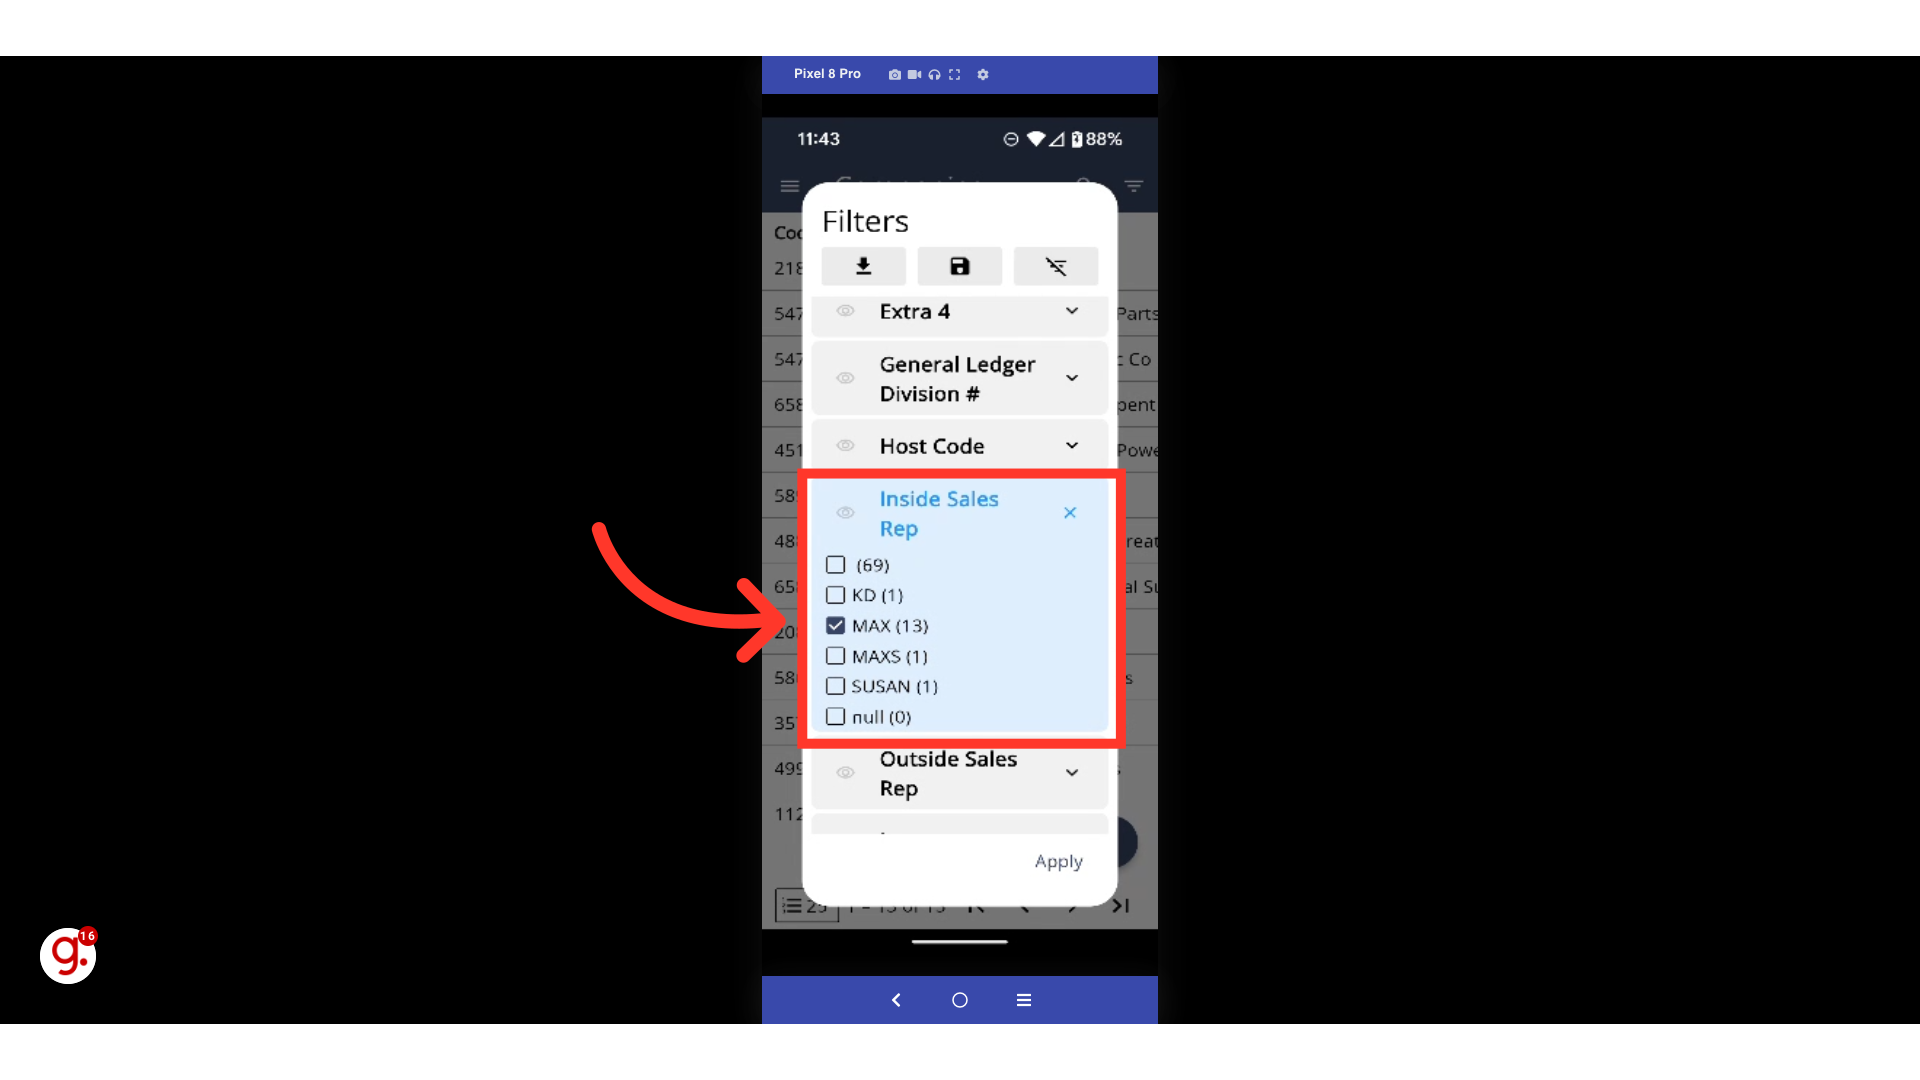
Select the dropdown arrow associated with any field to view the filtering options specific to that field.
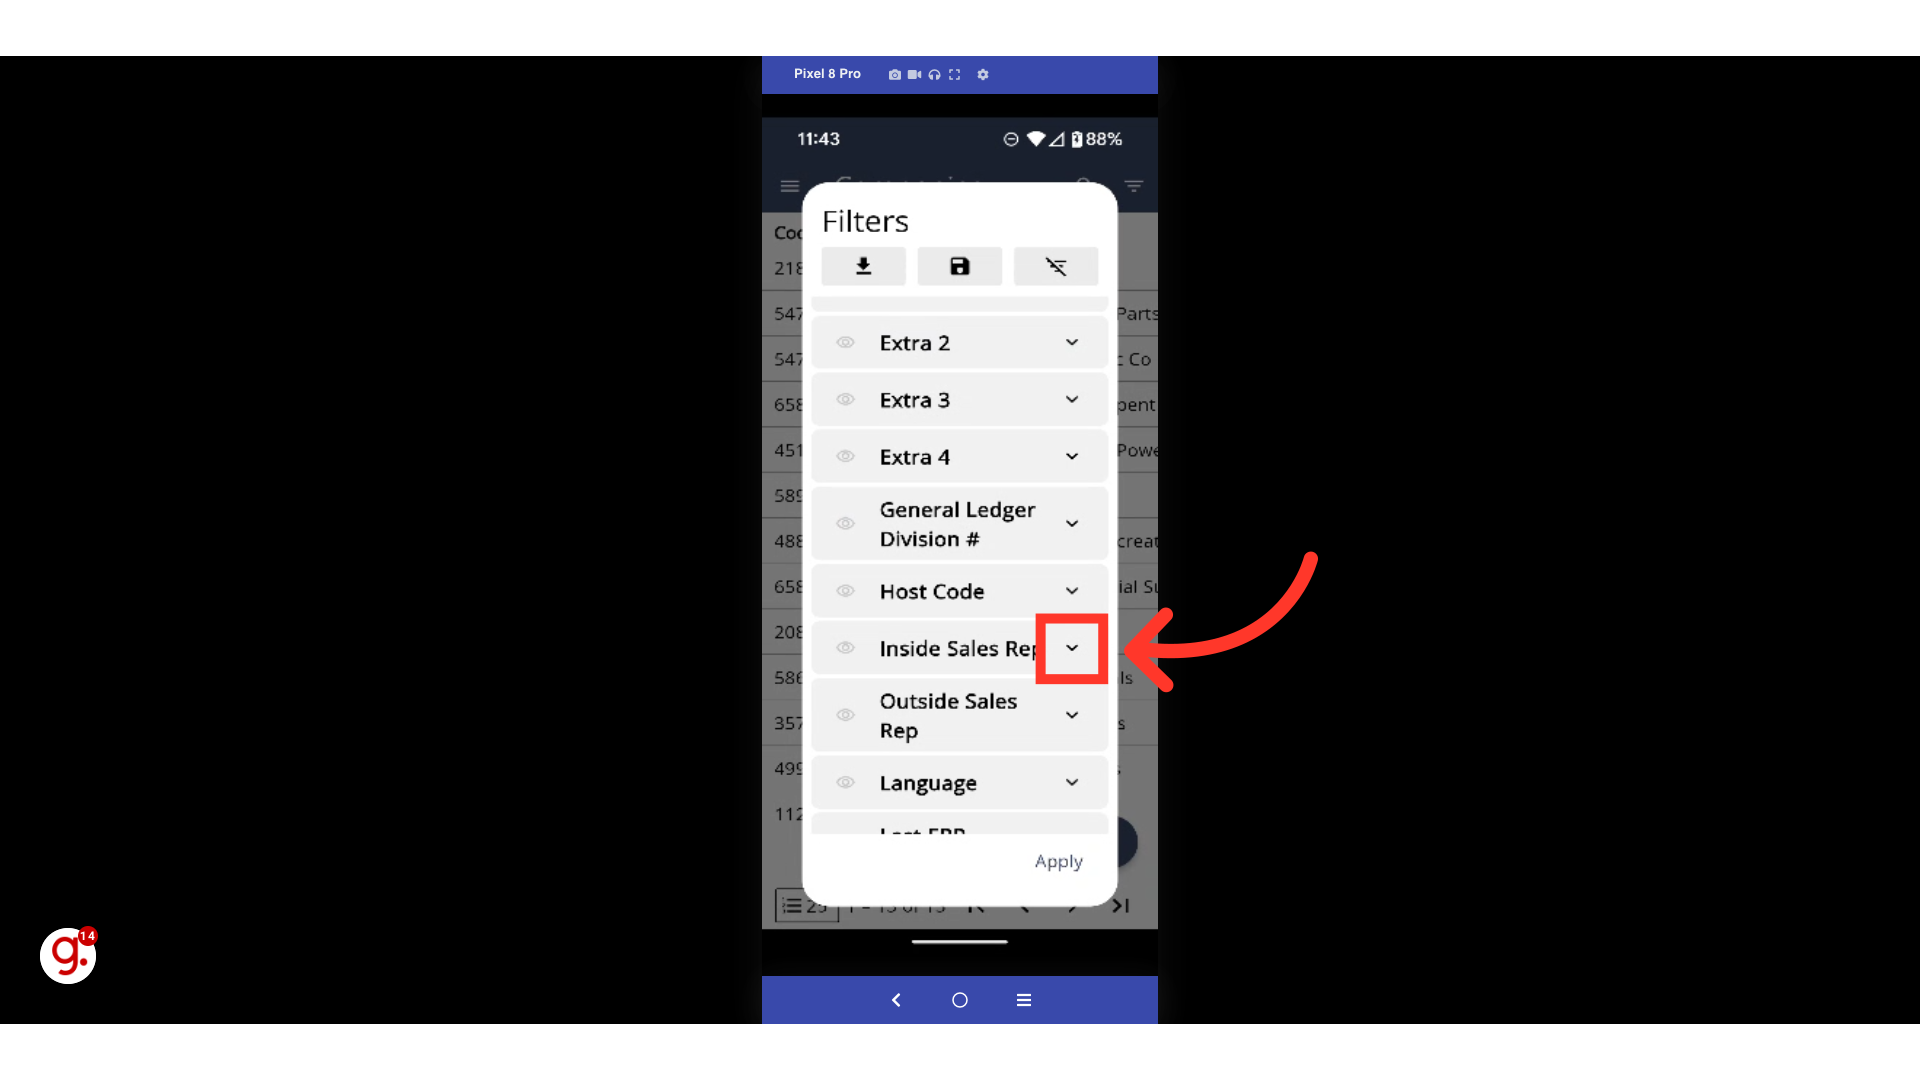
Select any option you'd like to add to your filter.
Once you have finished customizing your filter, save it for future use by selecting the "Download" icon.

Tap "Save as".

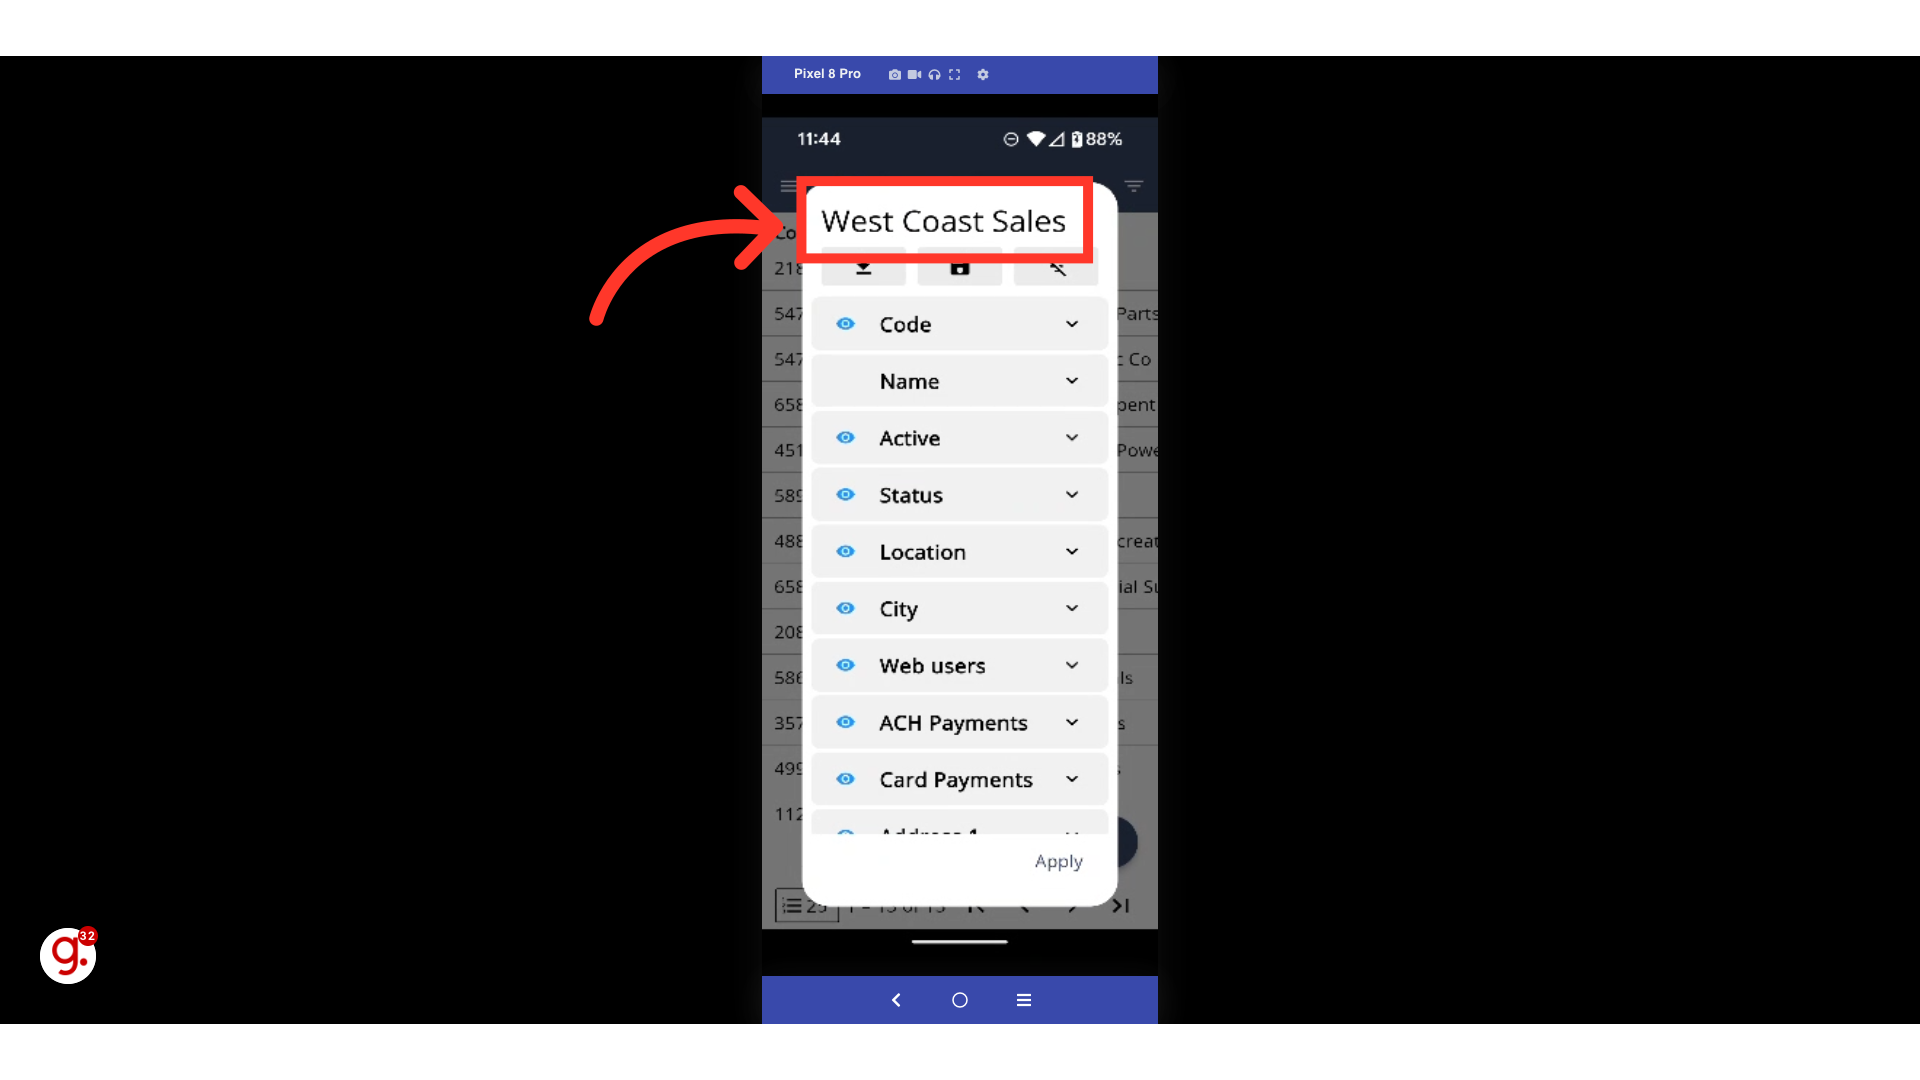
Give the filter a name by typing one into the "Title" textbox.

Choose the visibility of your filter by selecting the dropdown.

Select whether you want the filter to be private so that it's only visible to you or if you want to share it with all the users associated with your company account.

If you would like to set this filter to automatically appear each time you open this screen, you can set it as your default filter. /pause/ To do this, select the checkbox next to "Default". /pause/ This is not a required step.

Tap the "Add" button to save your new filter.

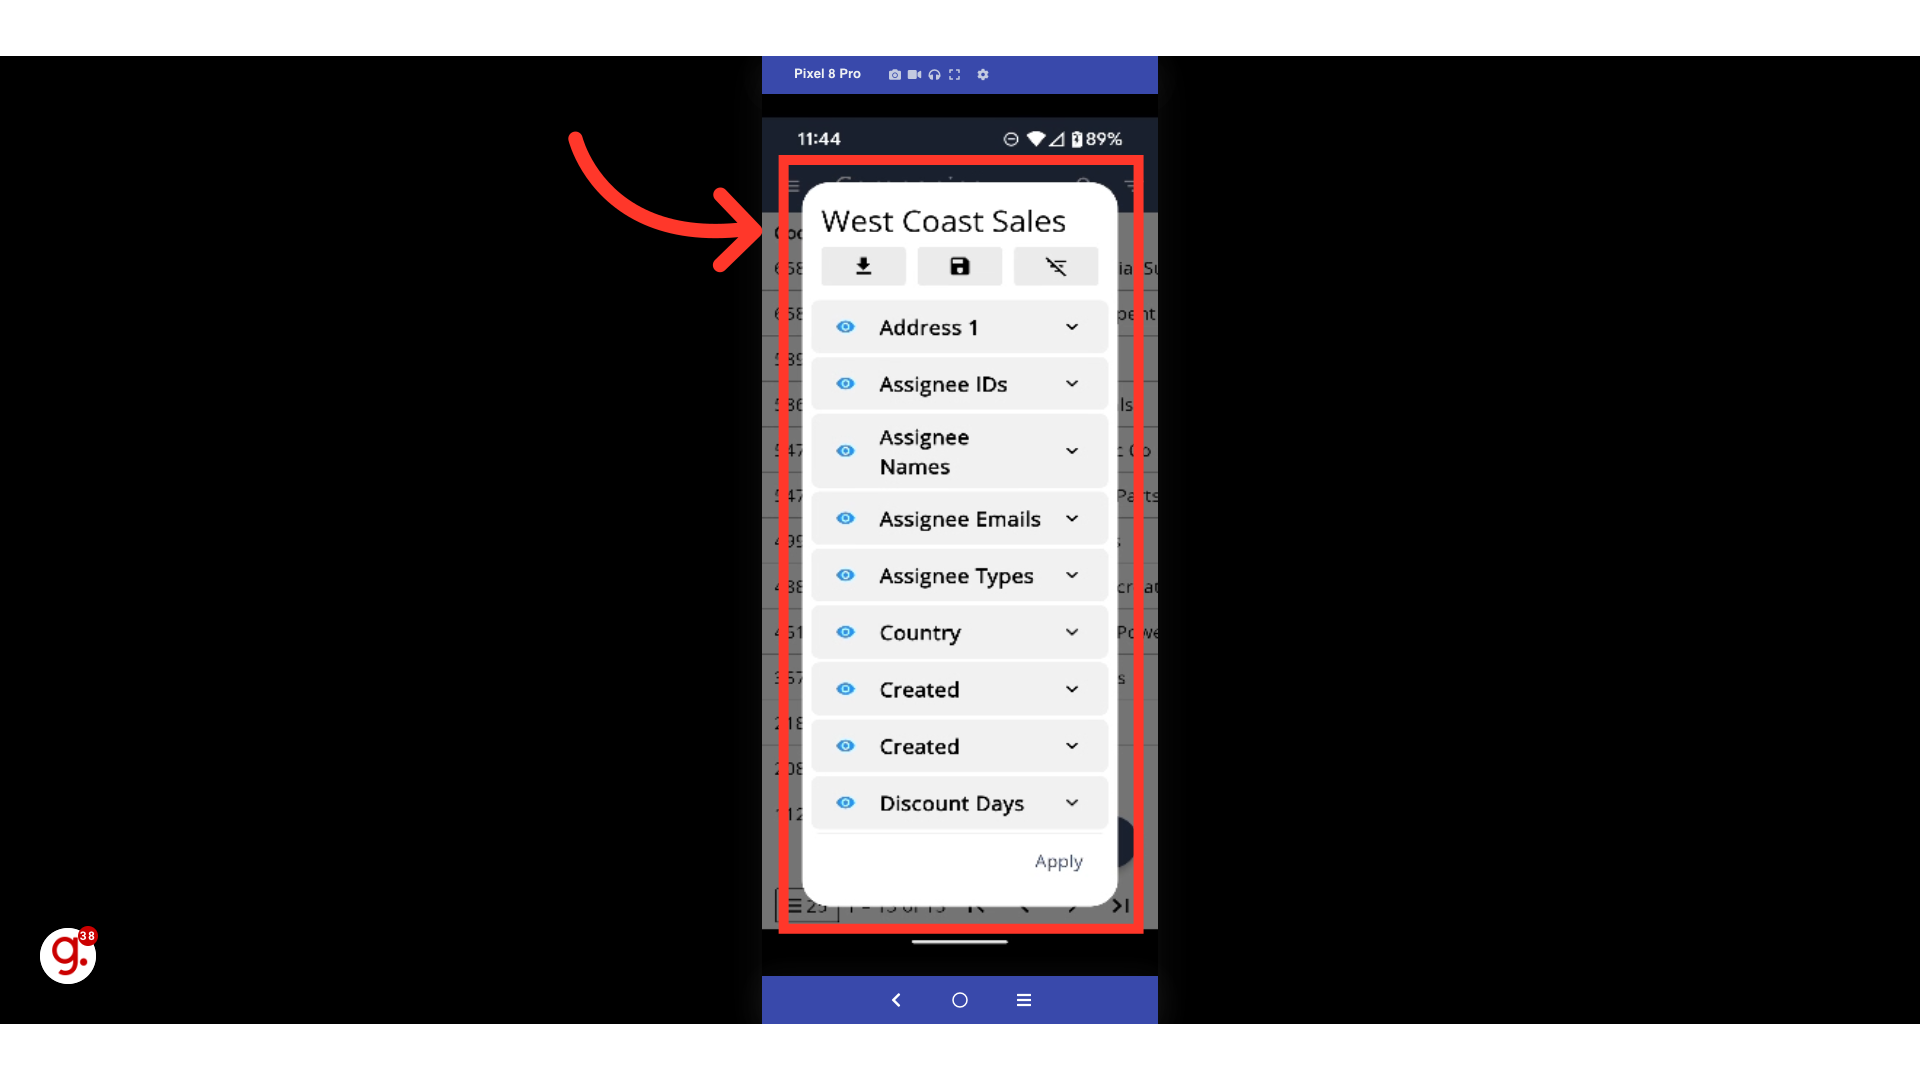
Once you have saved your new filter, the name will appear at the top of the filter settings box.
To update an existing filter, select the "Filter" icon.

Tap on the "Download" icon to bring up a list of currently saved filters.

Locate the filter you want to update and select its "Edit" icon.

Update your filter by editing its current fields.
Once you are finished updating your filter, select the "Save" icon.

Tap the "Save" option to update your currently selected filter.

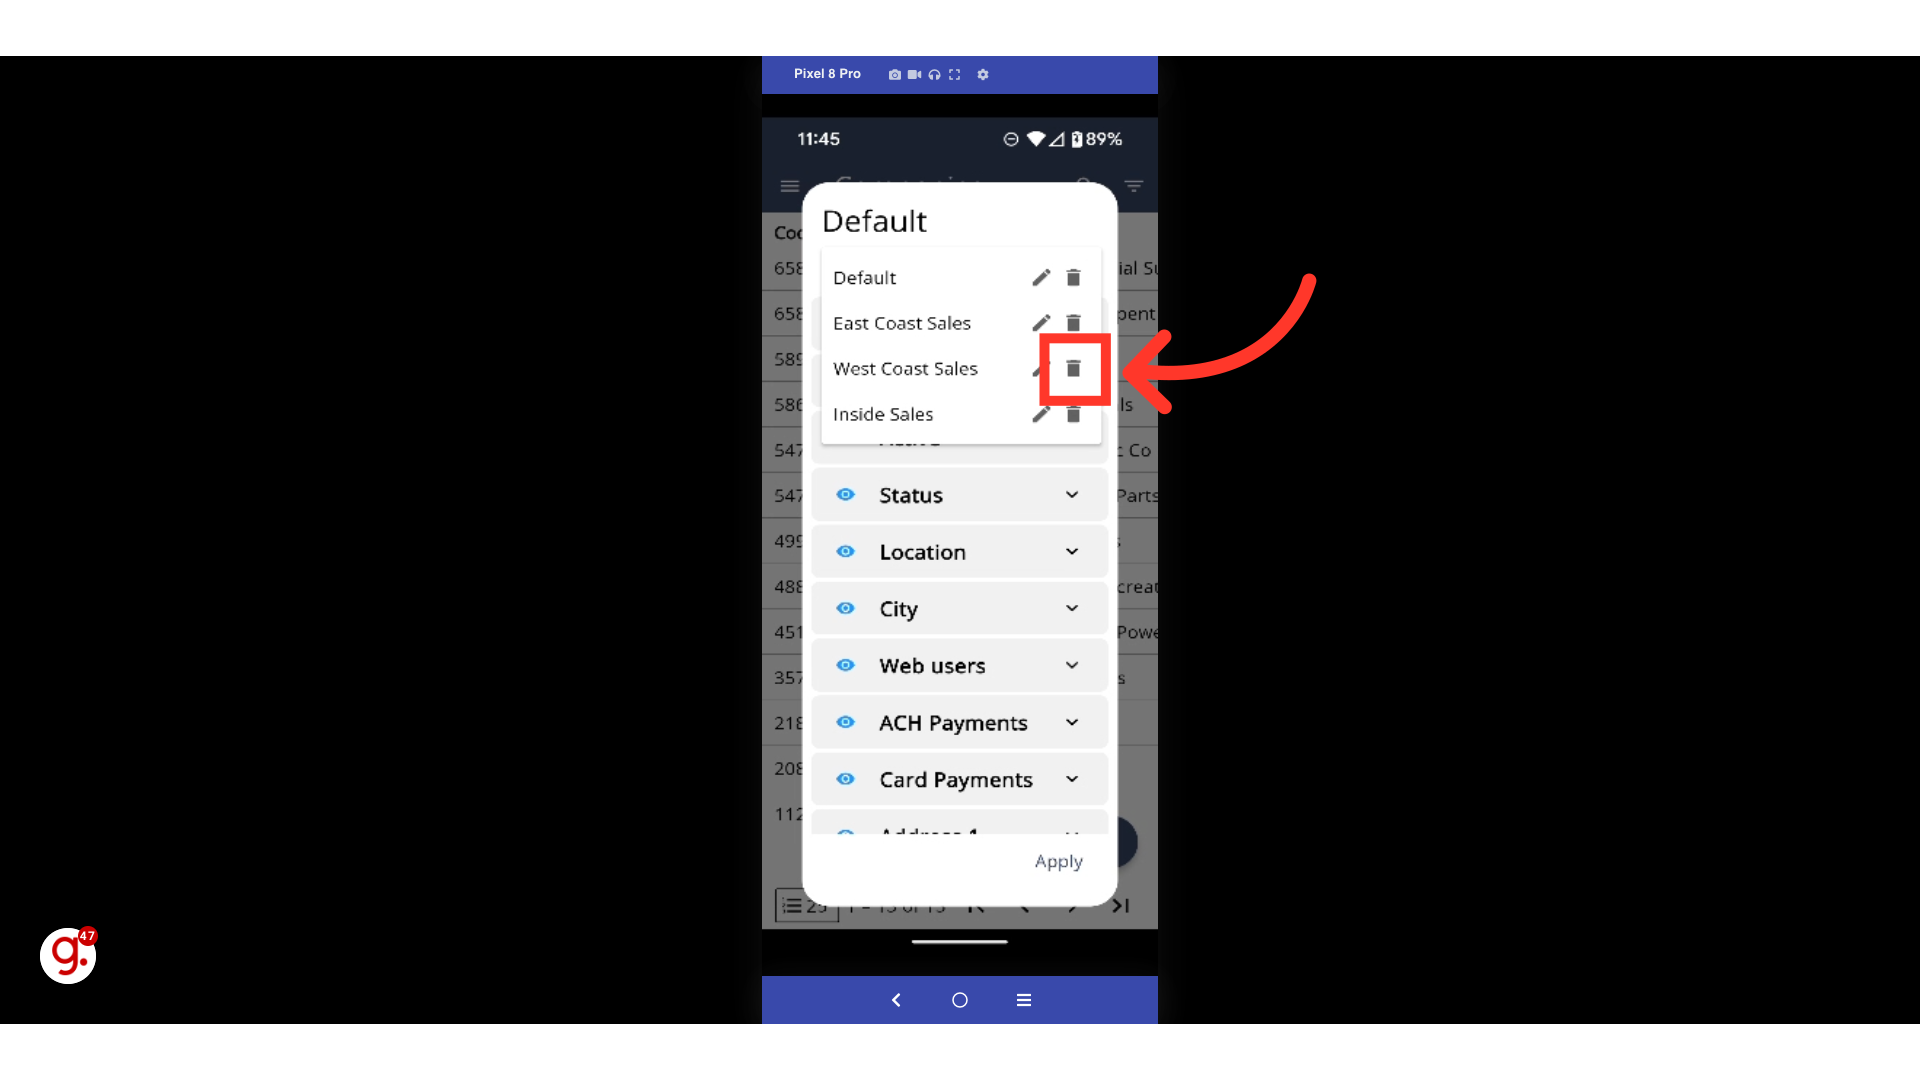
To delete a saved filter, tap the "Filter" icon.

Select the "Download" icon to bring up a list of currently saved filters.

Locate the filter you want to delete and tap its "Delete" icon.