While you can add a default form to your CMS page, you can also customize the form to your needs. Navigate to "CMS" section in the Operations Portal.

Then, click "Pages". In order to access, edit, and publish Pages, you will need to have the role of: "administrator" or "superuser", or have the roles of: "contentView" and "contentEdit" and “cmsView”.

Search for the page with the form you would like to update.

Click the "Edit page" icon at the right side of the page row to open the page in the CMS editor.

To copy an existing field, start by selecting the field.
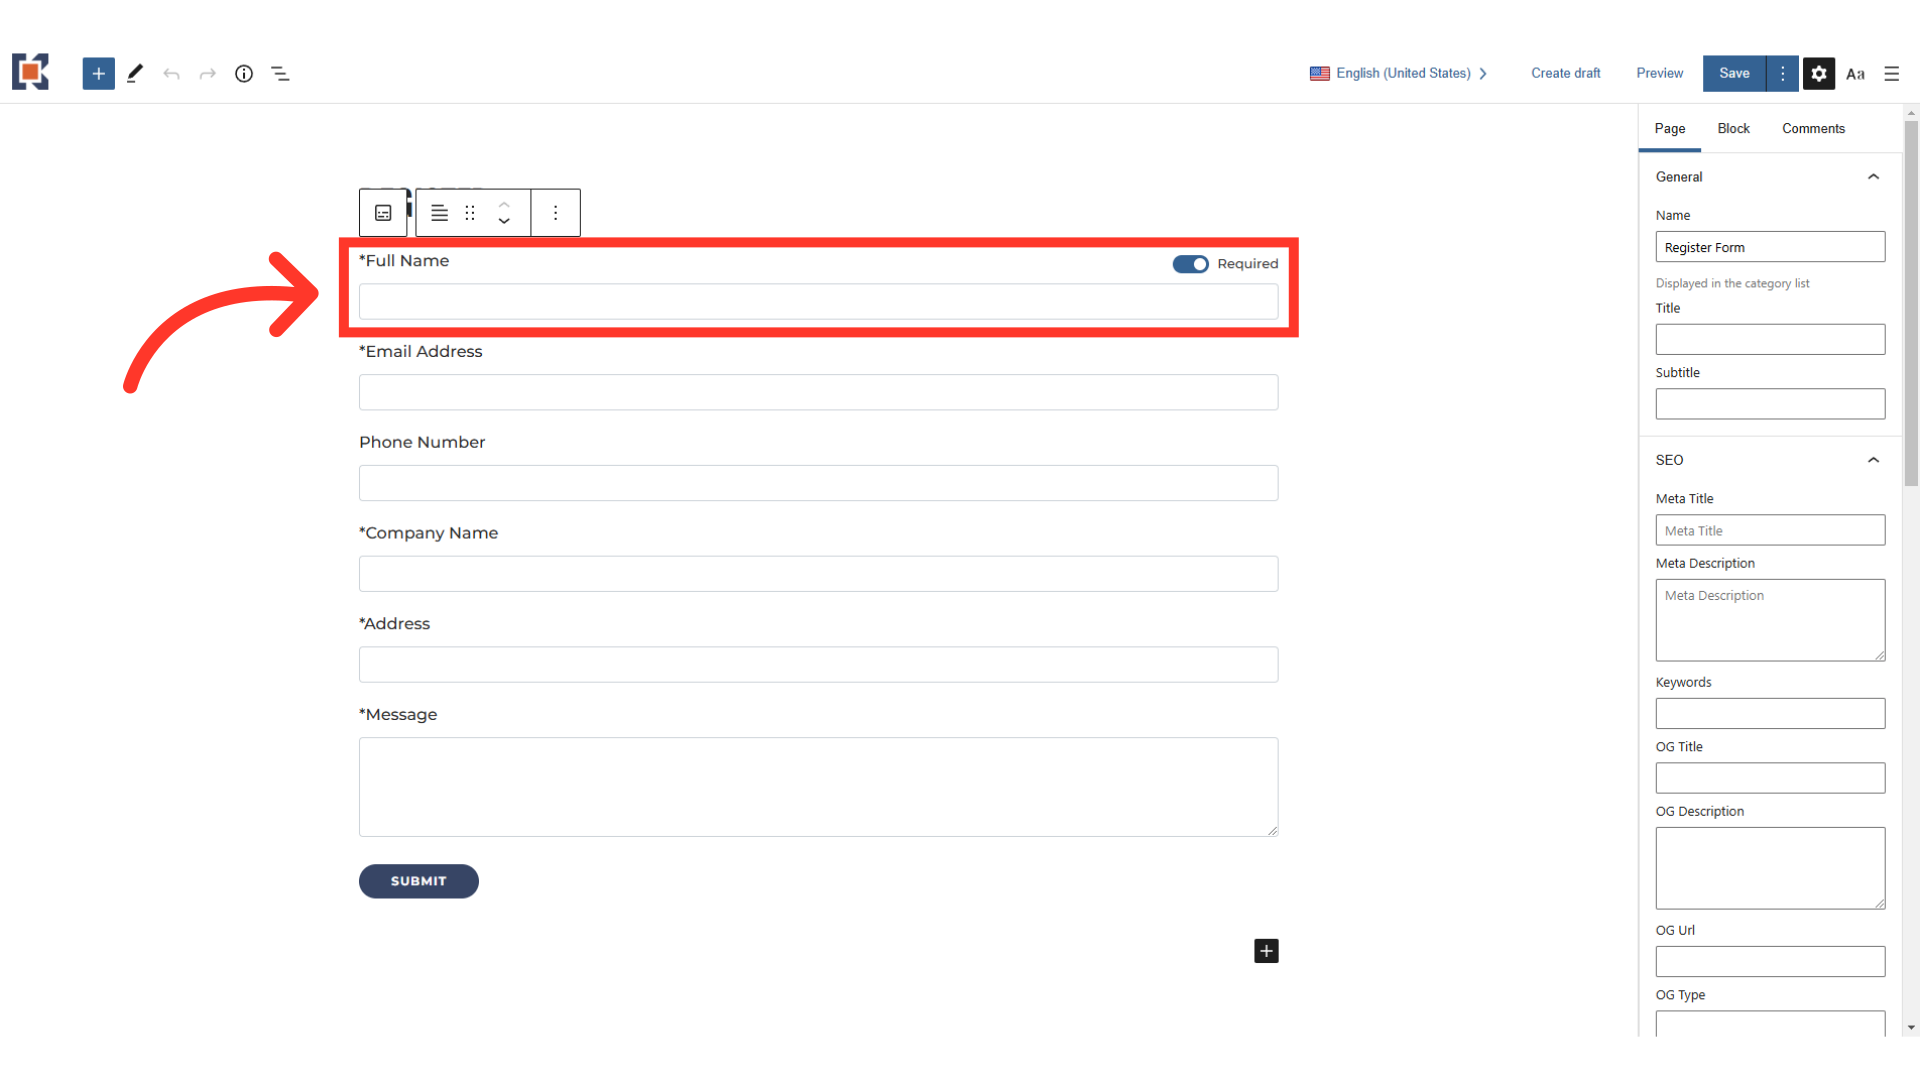
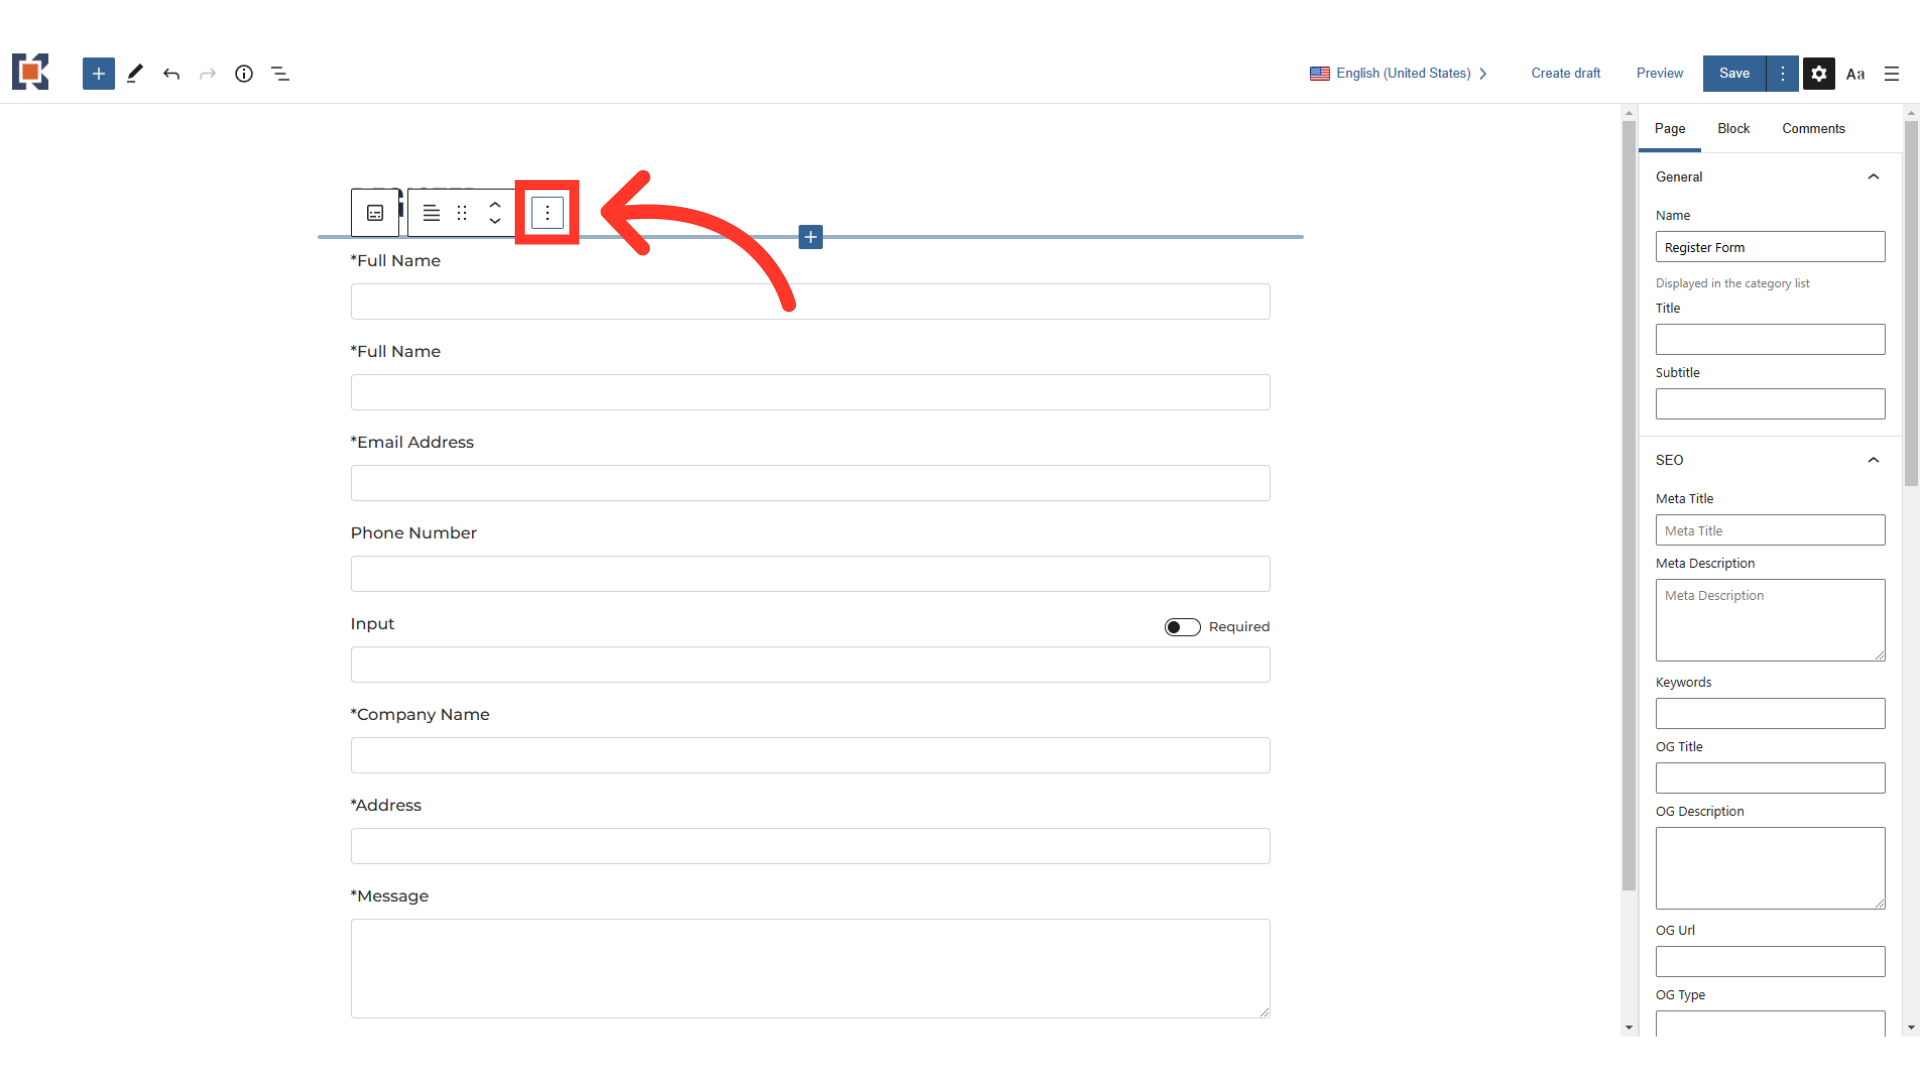
Click on the "Options" icon from the floating menu.

Then, select "Duplicate". This will make a copy of the field below the selected field.

If you need to insert a different type of field, click on the field where you wish to enter the new one.

Then, from the "Options" menu, select "Insert Before" or "Insert After" to add the field below or above the selected field.

Type in "/" to start choosing a block. Complete the block name if it's not in the suggestions yet.

Now, select from the options and your field will be added.

To delete a field, first select it.

Then click the "Options" icon.
Select "Remove Input" to delete the field. This may vary depending on the type of field you're deleting.
