Resource files can be added to individual products or added to multiple products by importing. You can see product resources on commerce product pages, and also in the operations portal. To view product resources in the operations portal, navigate to "PIM"

Then choose "Products". In order to access and update “Products” you will need to be set up either as an “administrator” or a “superuser”, or have the roles of: “productView” and “productEdit”.

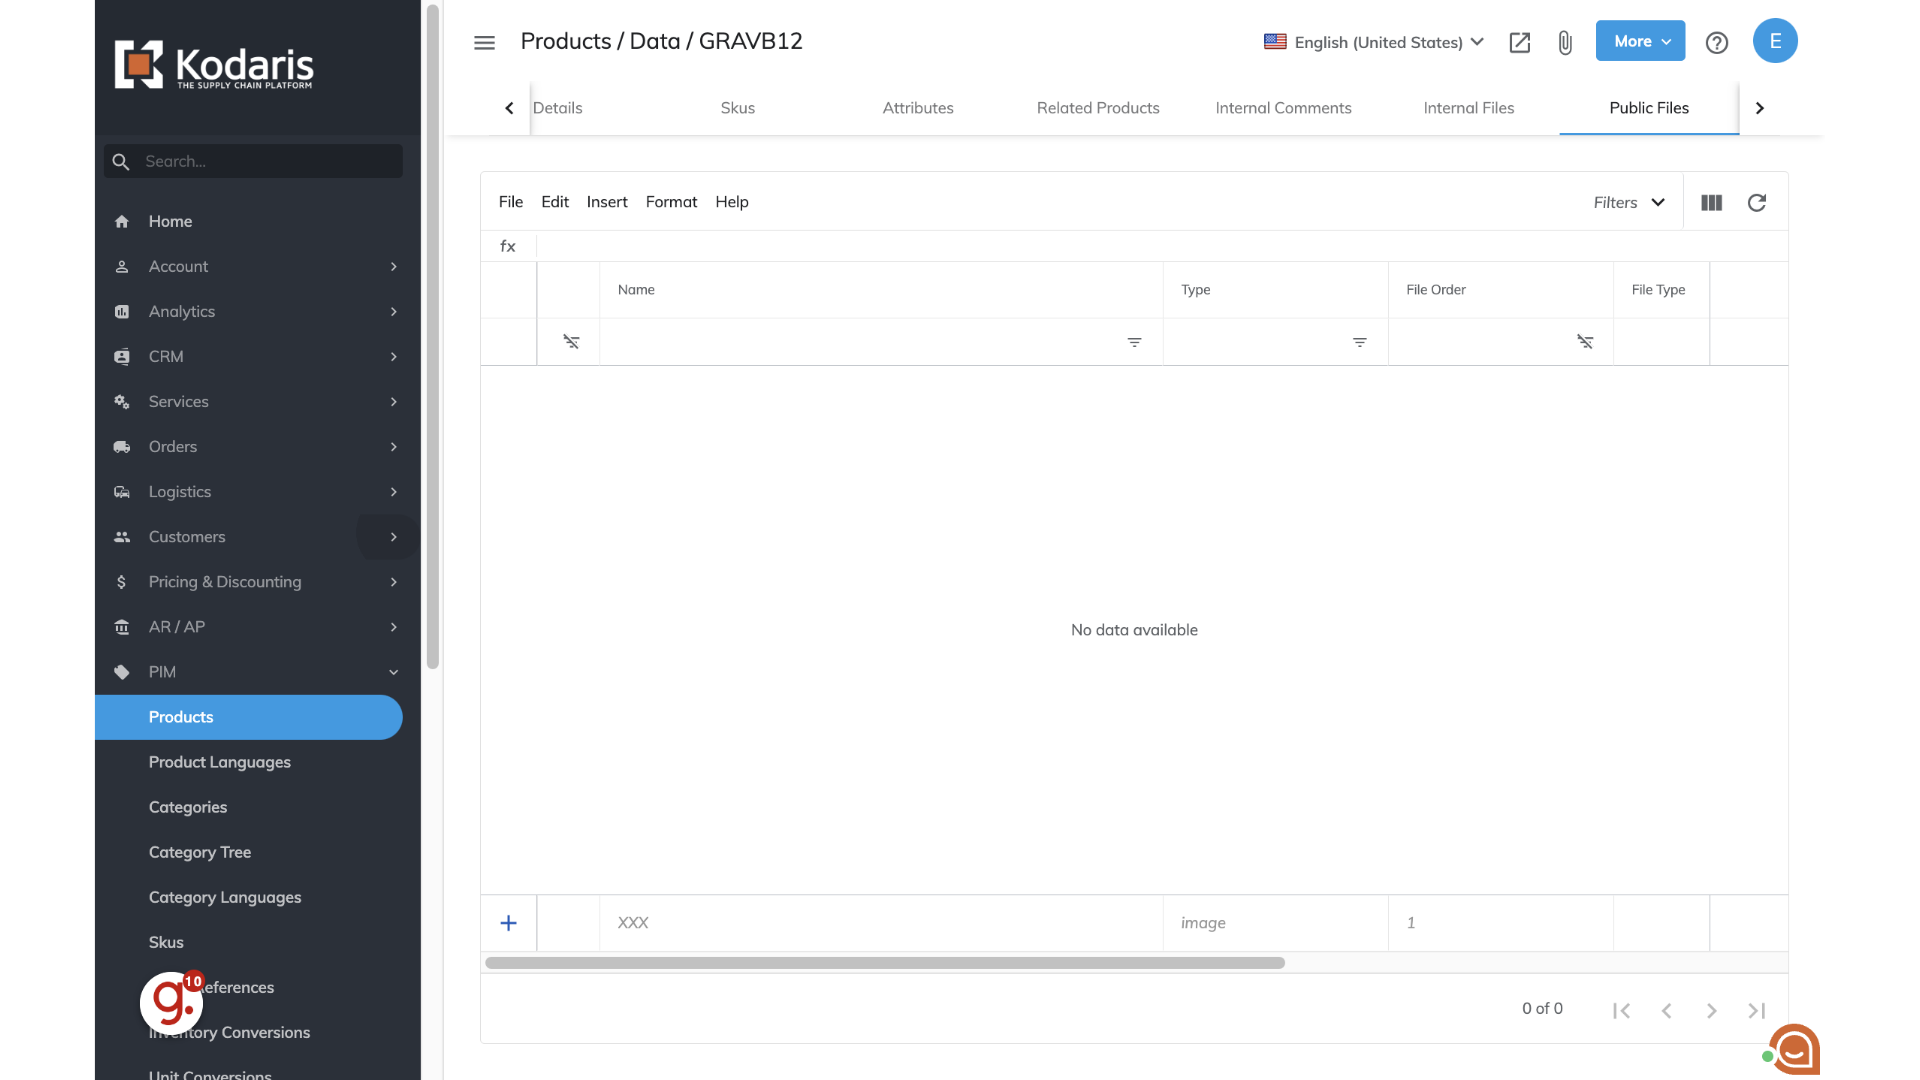
For this example, we have searched on a product code, and we would like to view the product details by clicking the more details icon.

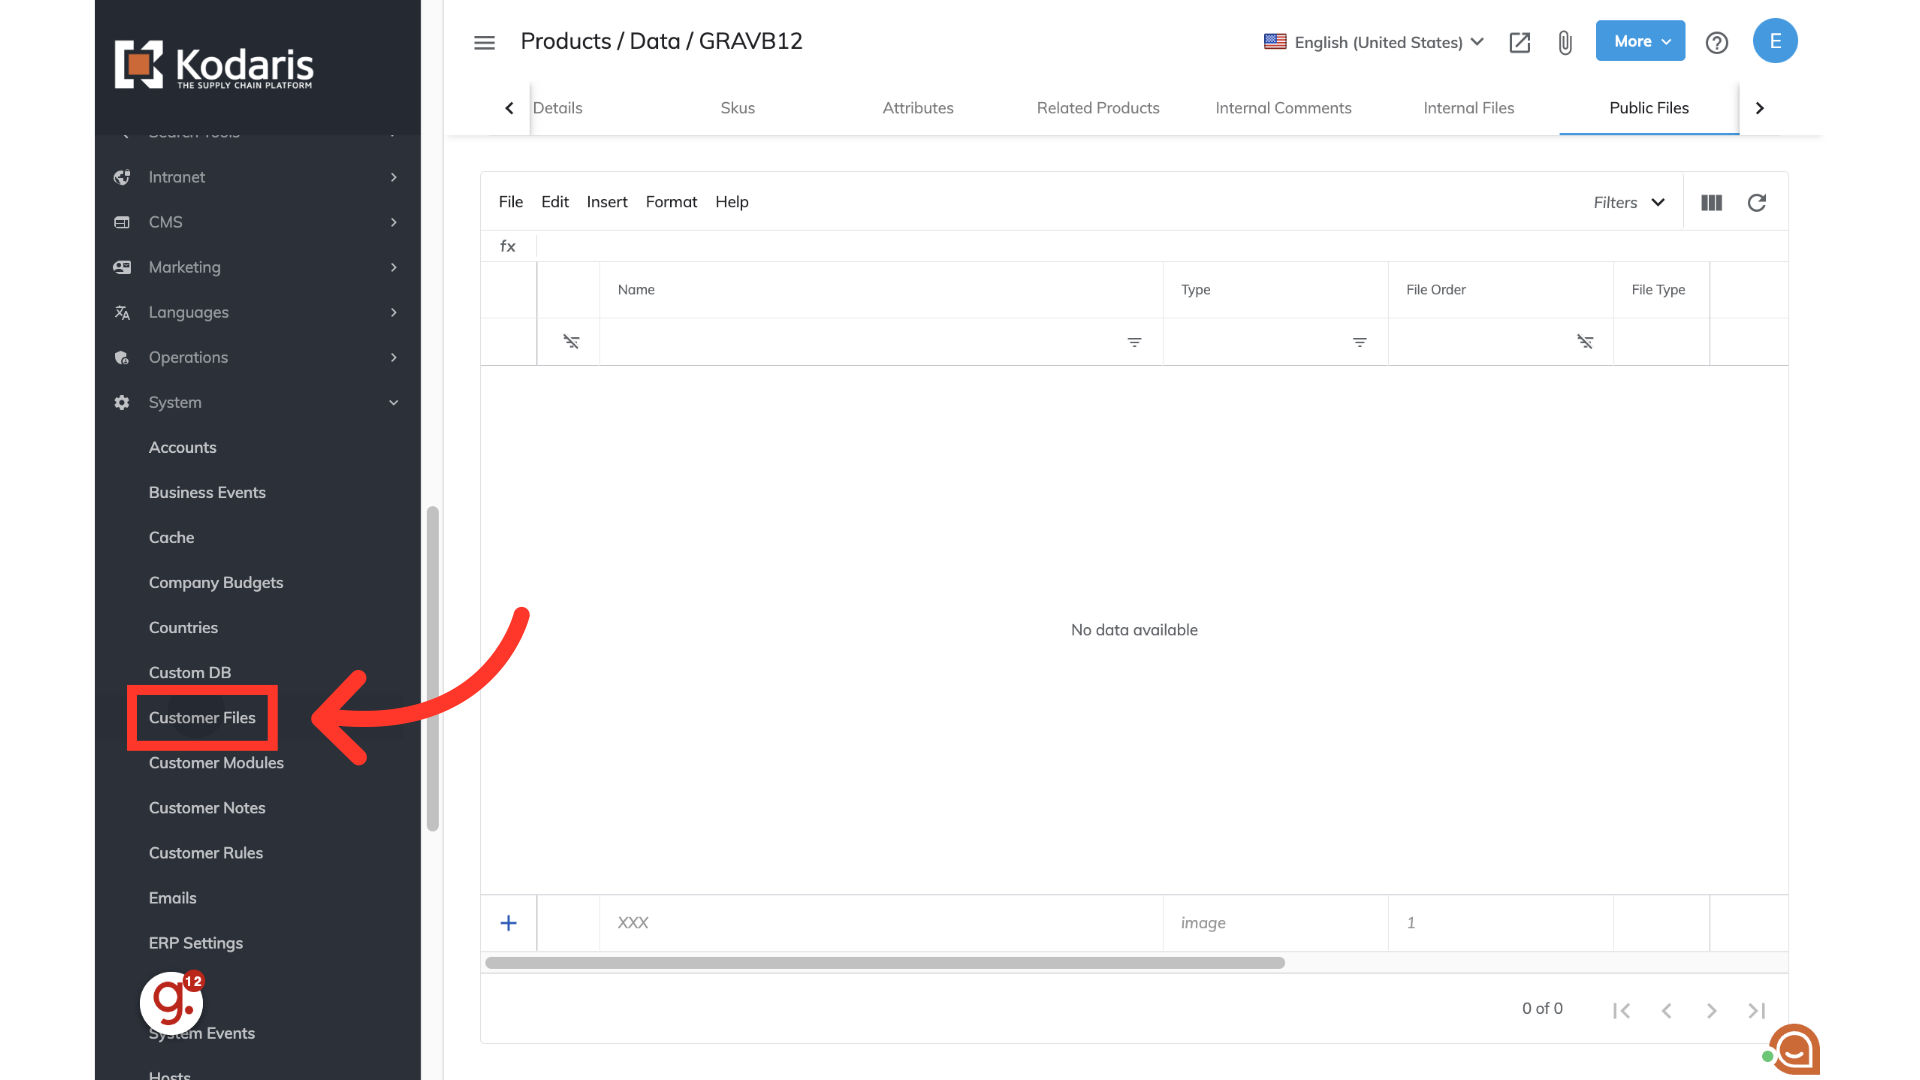
Product resources can be viewed in the "Public Files" tab.

You can view any public files added to the product on this screen. Currently, we can see that there are no files added to this product. To add files by import, you will first need to prepare a spreadsheet for importing.
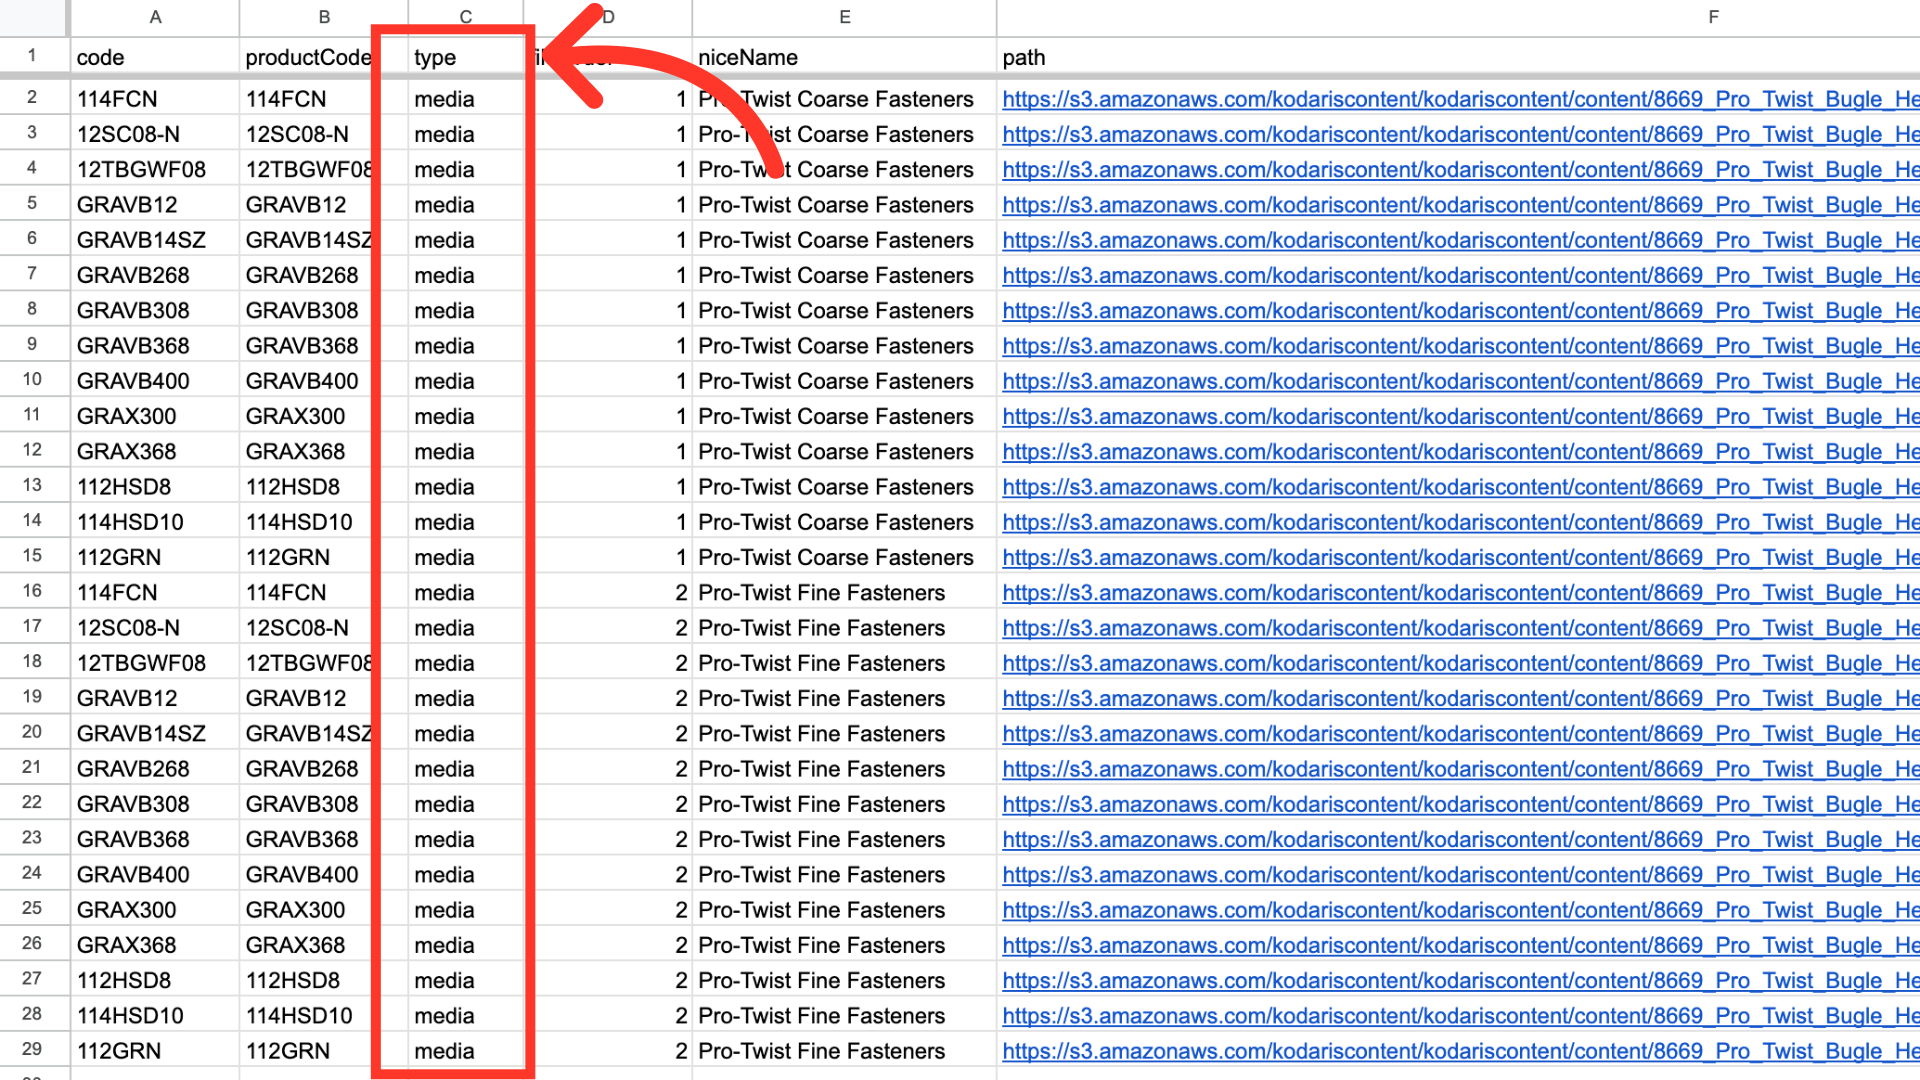
The spreadsheet will need a list of product codes you would like to update, along with the required header row and data.

The "code" column contains the product code. When importing data, the code is required as it is the identifying factor for matching information.

The "productCode" column also contains the product code. When importing data, this data is also required in order for the import to run correctly.

The "type" column contains the file type. In this case, we are adding resource files which are considered "media" files. This column is also required in order for the import to run correctly.
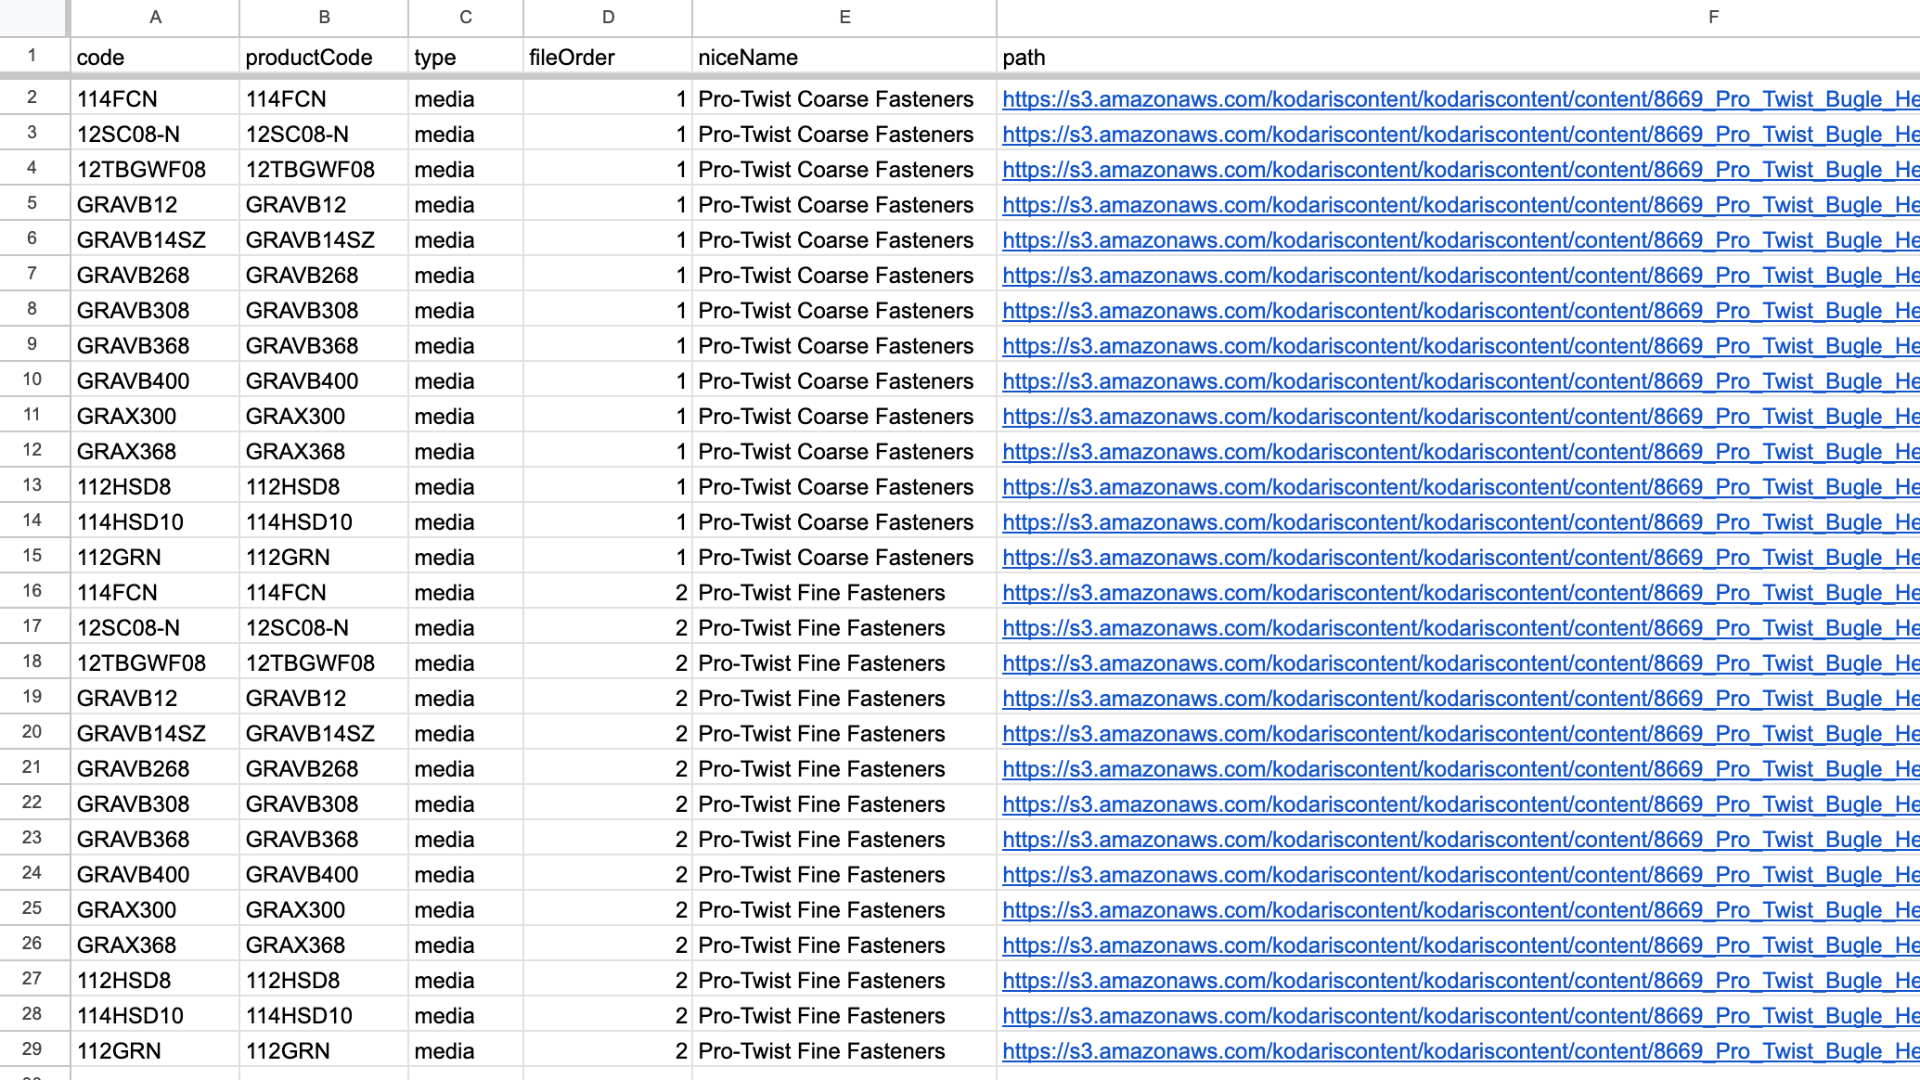
If you will be adding multiple files to a product, you can control the order of the files by inputing a numerical value in the "fileOrder" column. The lowest numbered file would appear first. This column is not required for importing data.

The "niceName" column should include the name of your files as you would like them to appear to your customers. This column is required in order for the import to run correctly.

The "path" column needs to include the full URL or path to your resource file. This column is required for the import to run correctly.

Once you have entered the data that you would like to update, save your spreadsheet as .CSV file which is spreadsheet compatible and your file is ready to import. Be sure the spreadsheet you are using only contains the data that you would like to import.
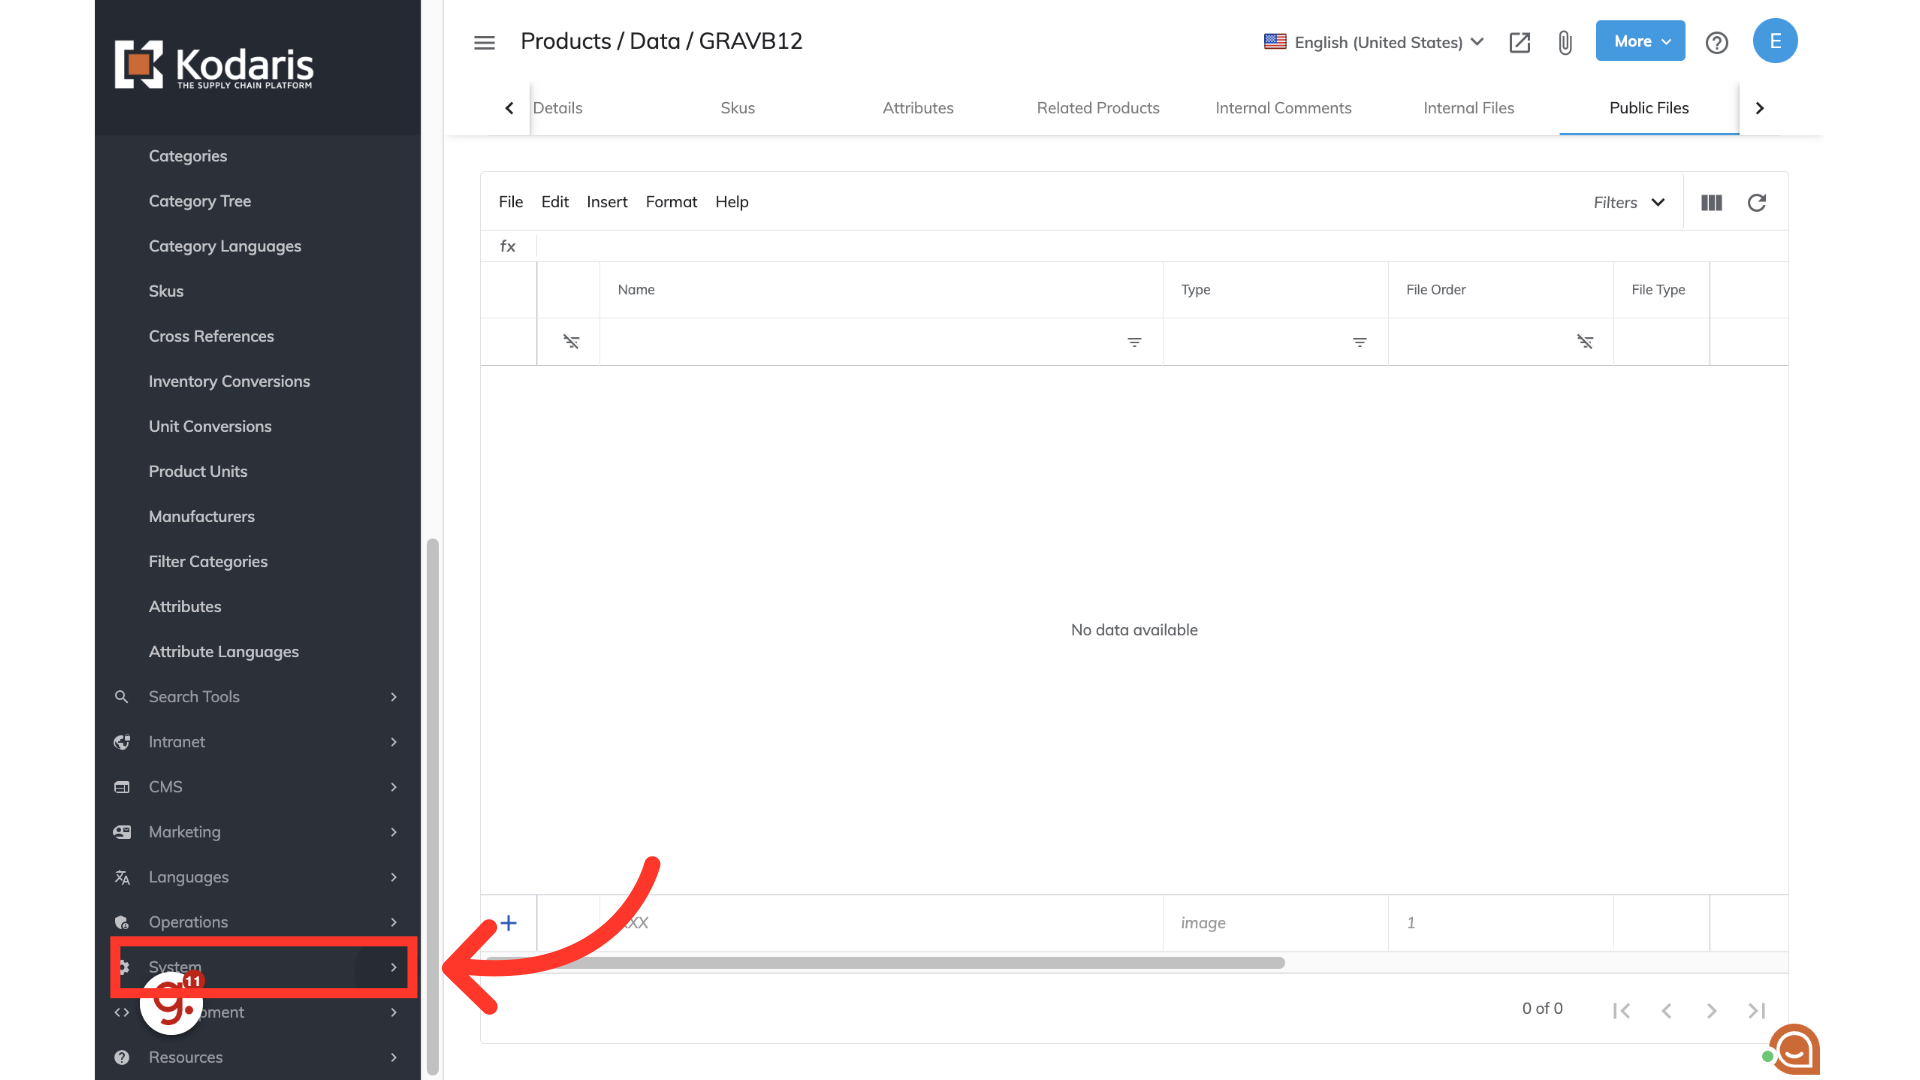
To import the file, navigate to "System" in the operations portal.
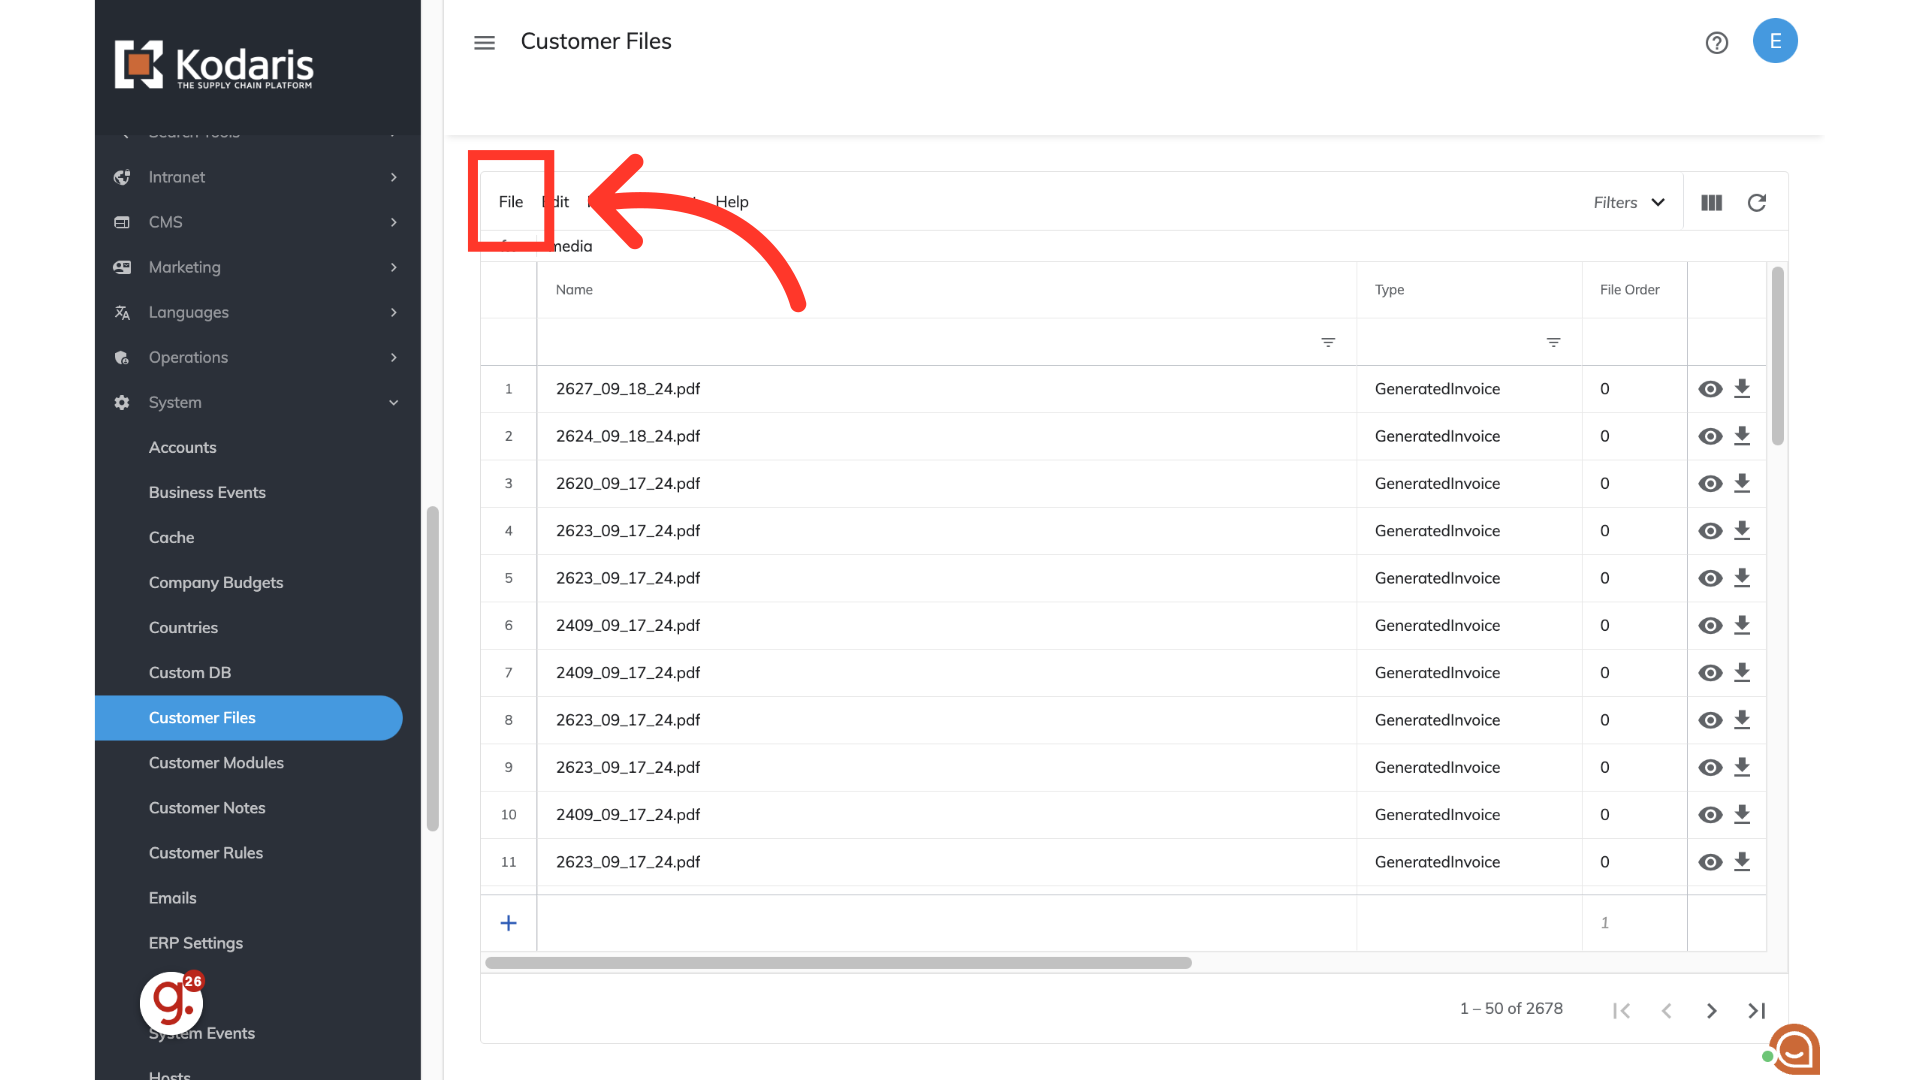
Choose "Customer Files". In order to access and edit Customer Files, you will need to have the role of: "administrator" or "superuser", or have the roles of: "customerFileView" and "customerFileEdit" along with "importEdit and "importView". These last two roles are needed for importing.
Click "File".
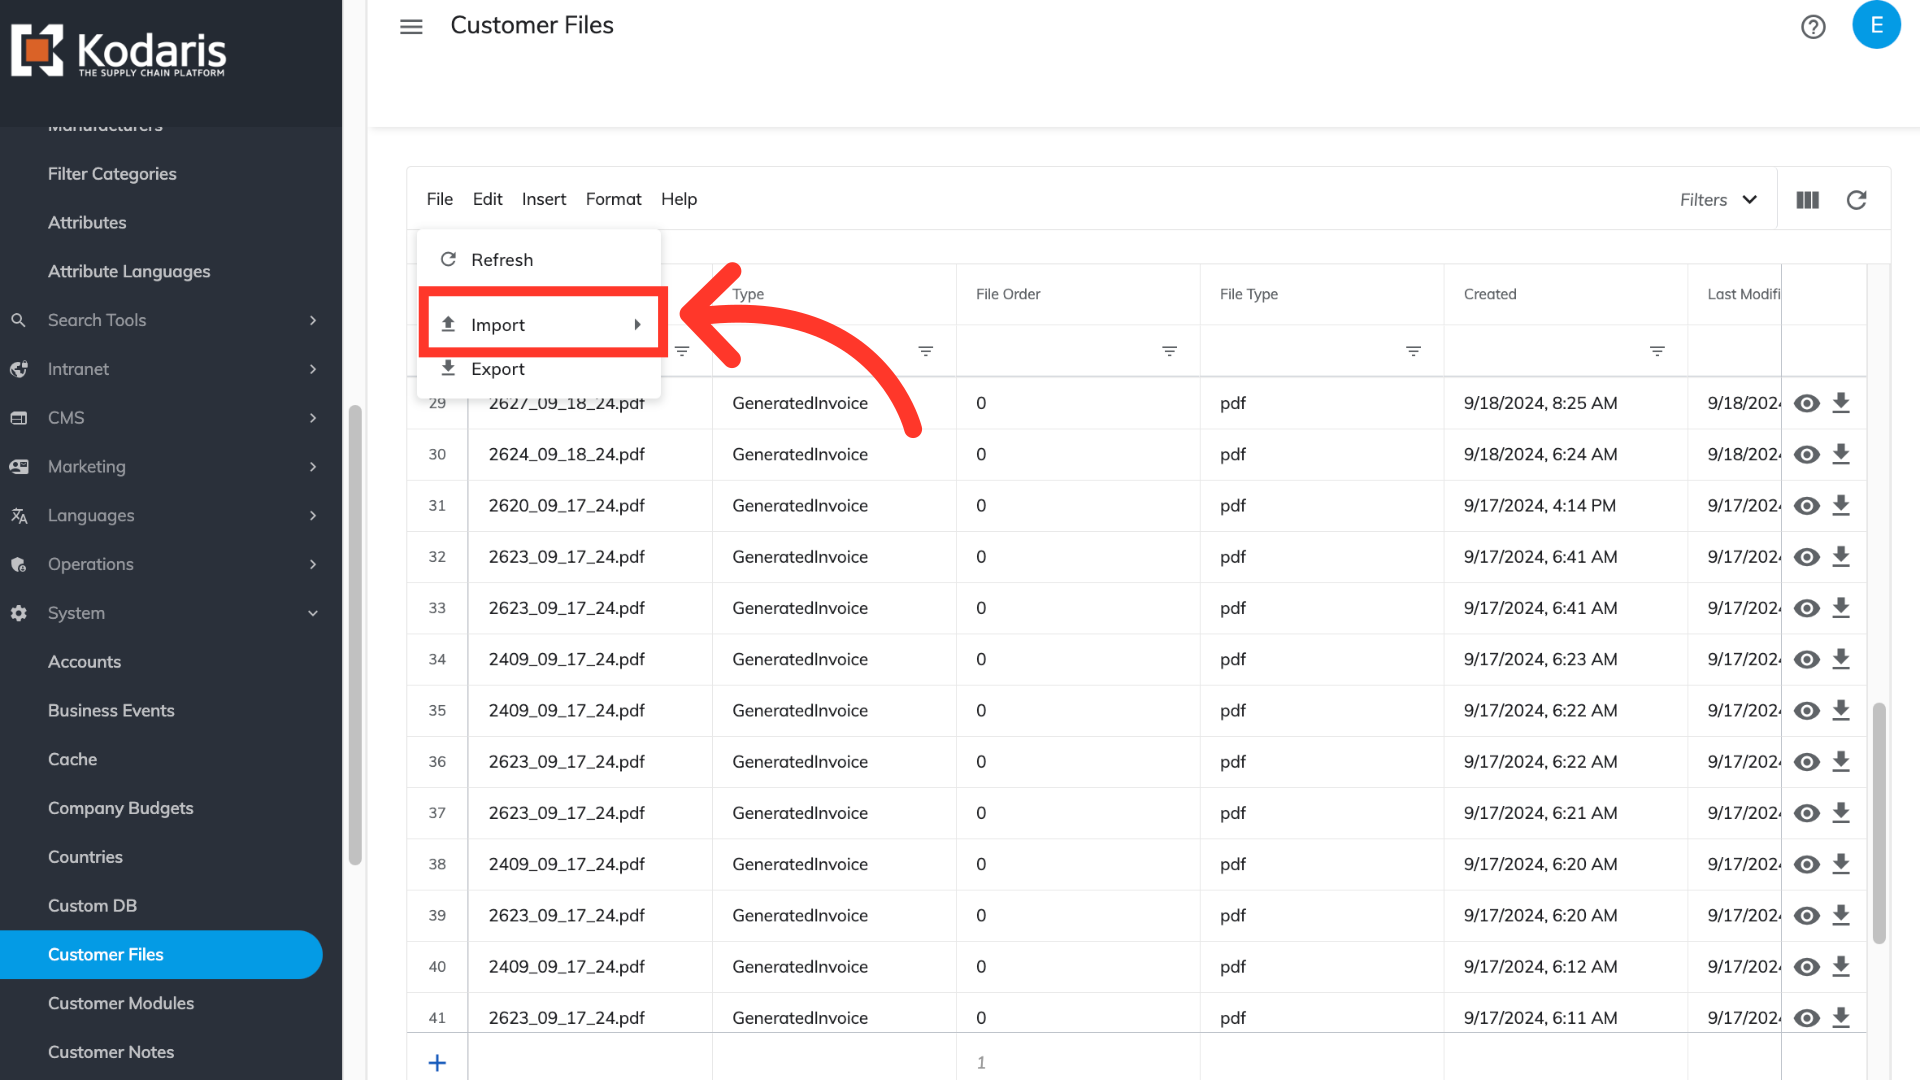
Select "Import".
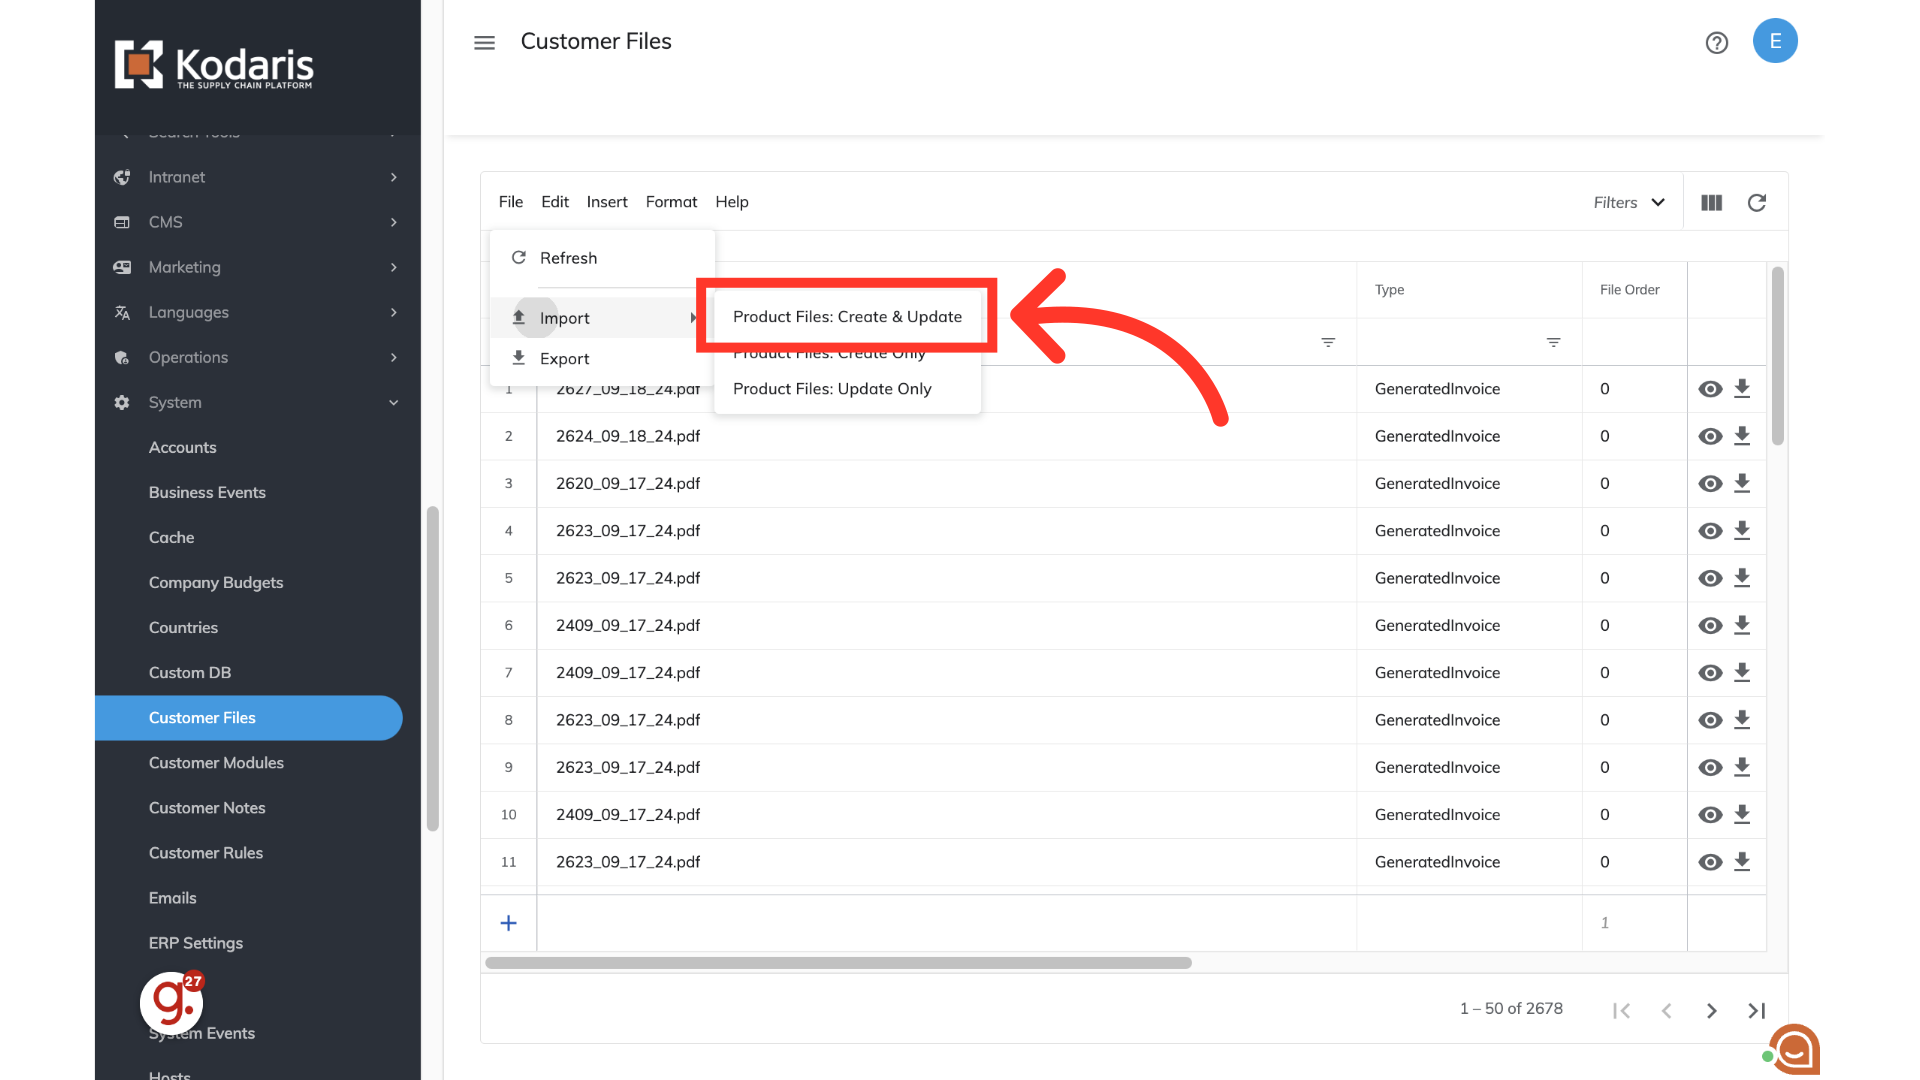
For this import, you will want to choose the "Product Files: Create & Update" option. Once you select the option, you will be prompted to select a file to upload. Be sure to choose the correct file to import.
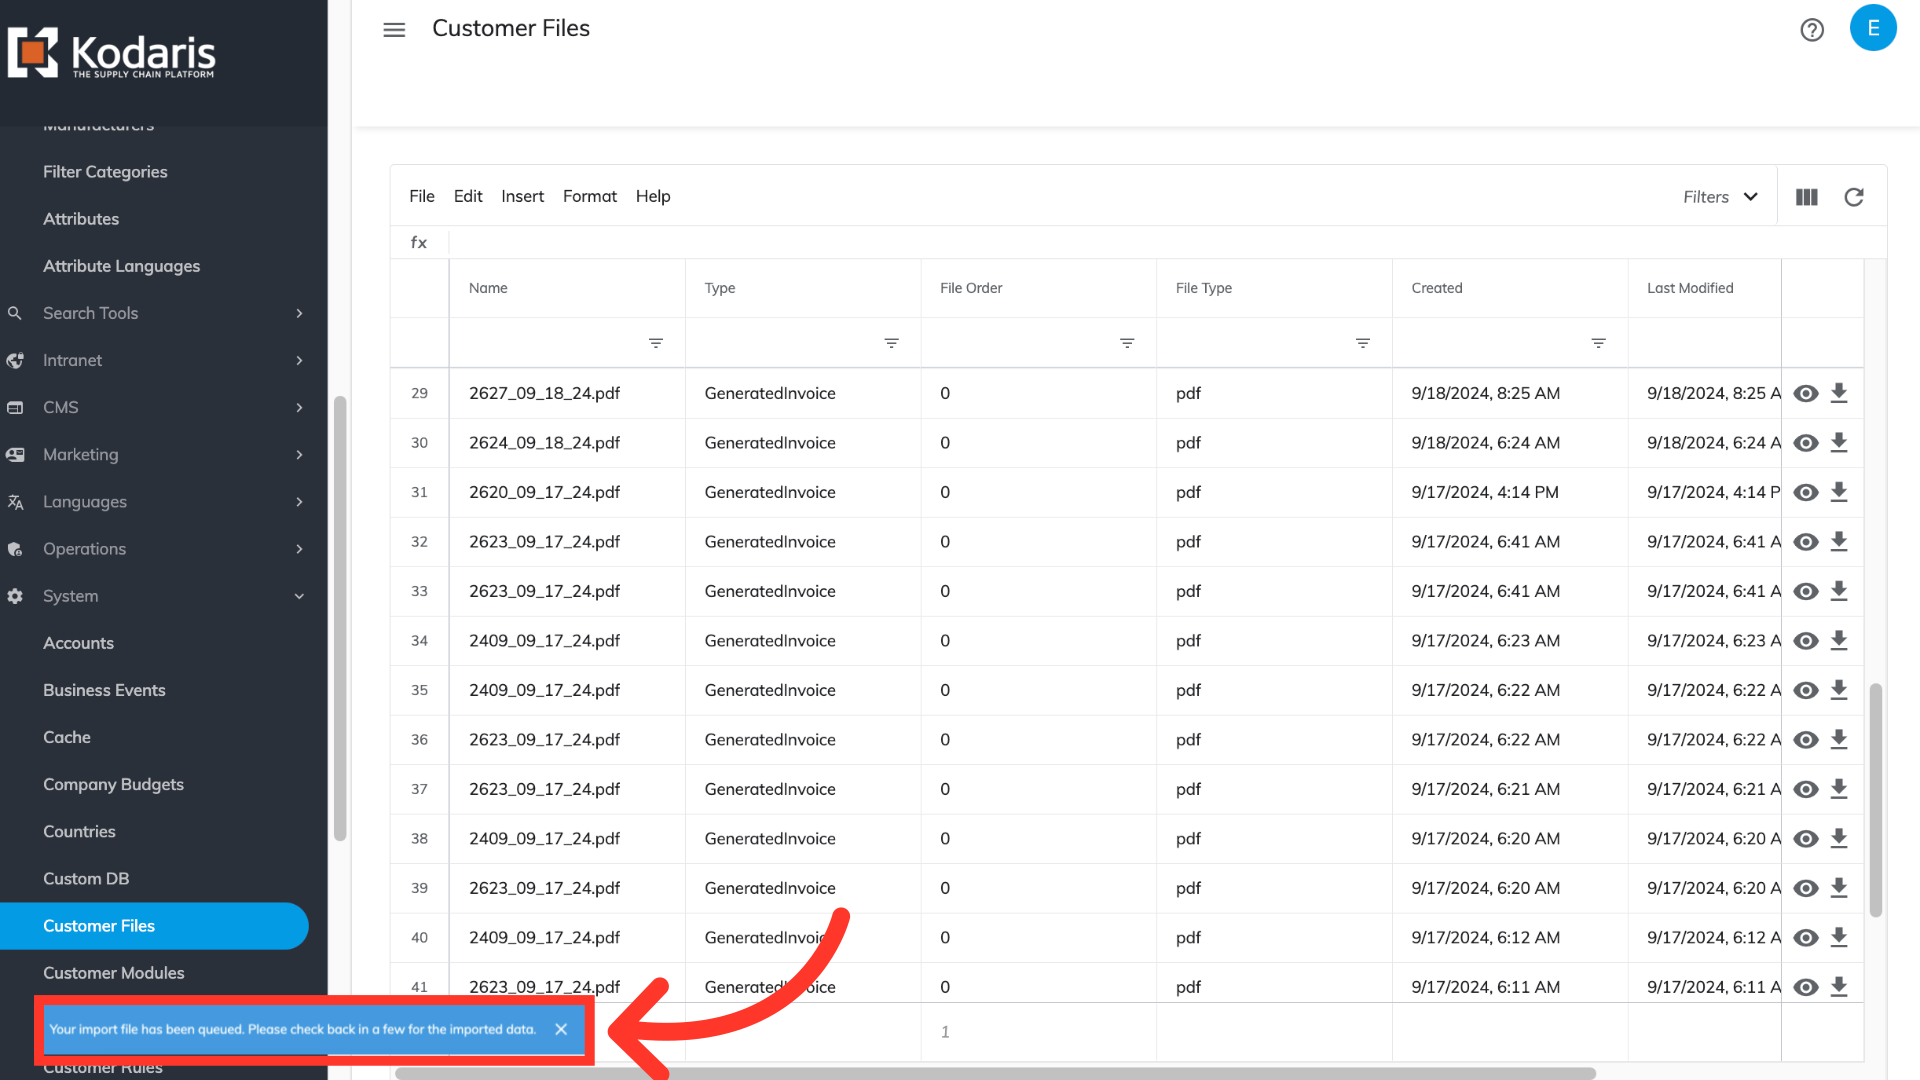
Once you click the import option, you will be prompted to choose and upload a file from your computer. Choose the .CSV file you would like to import. Please be sure that you select the correct file, as there are no rollbacks for imports. An import message will appear letting you know that the import file is in process and to check back in a few minutes for the imported data. If you are importing large amounts of data, it may take a short amount of time to complete. The import will continue to run in the background.
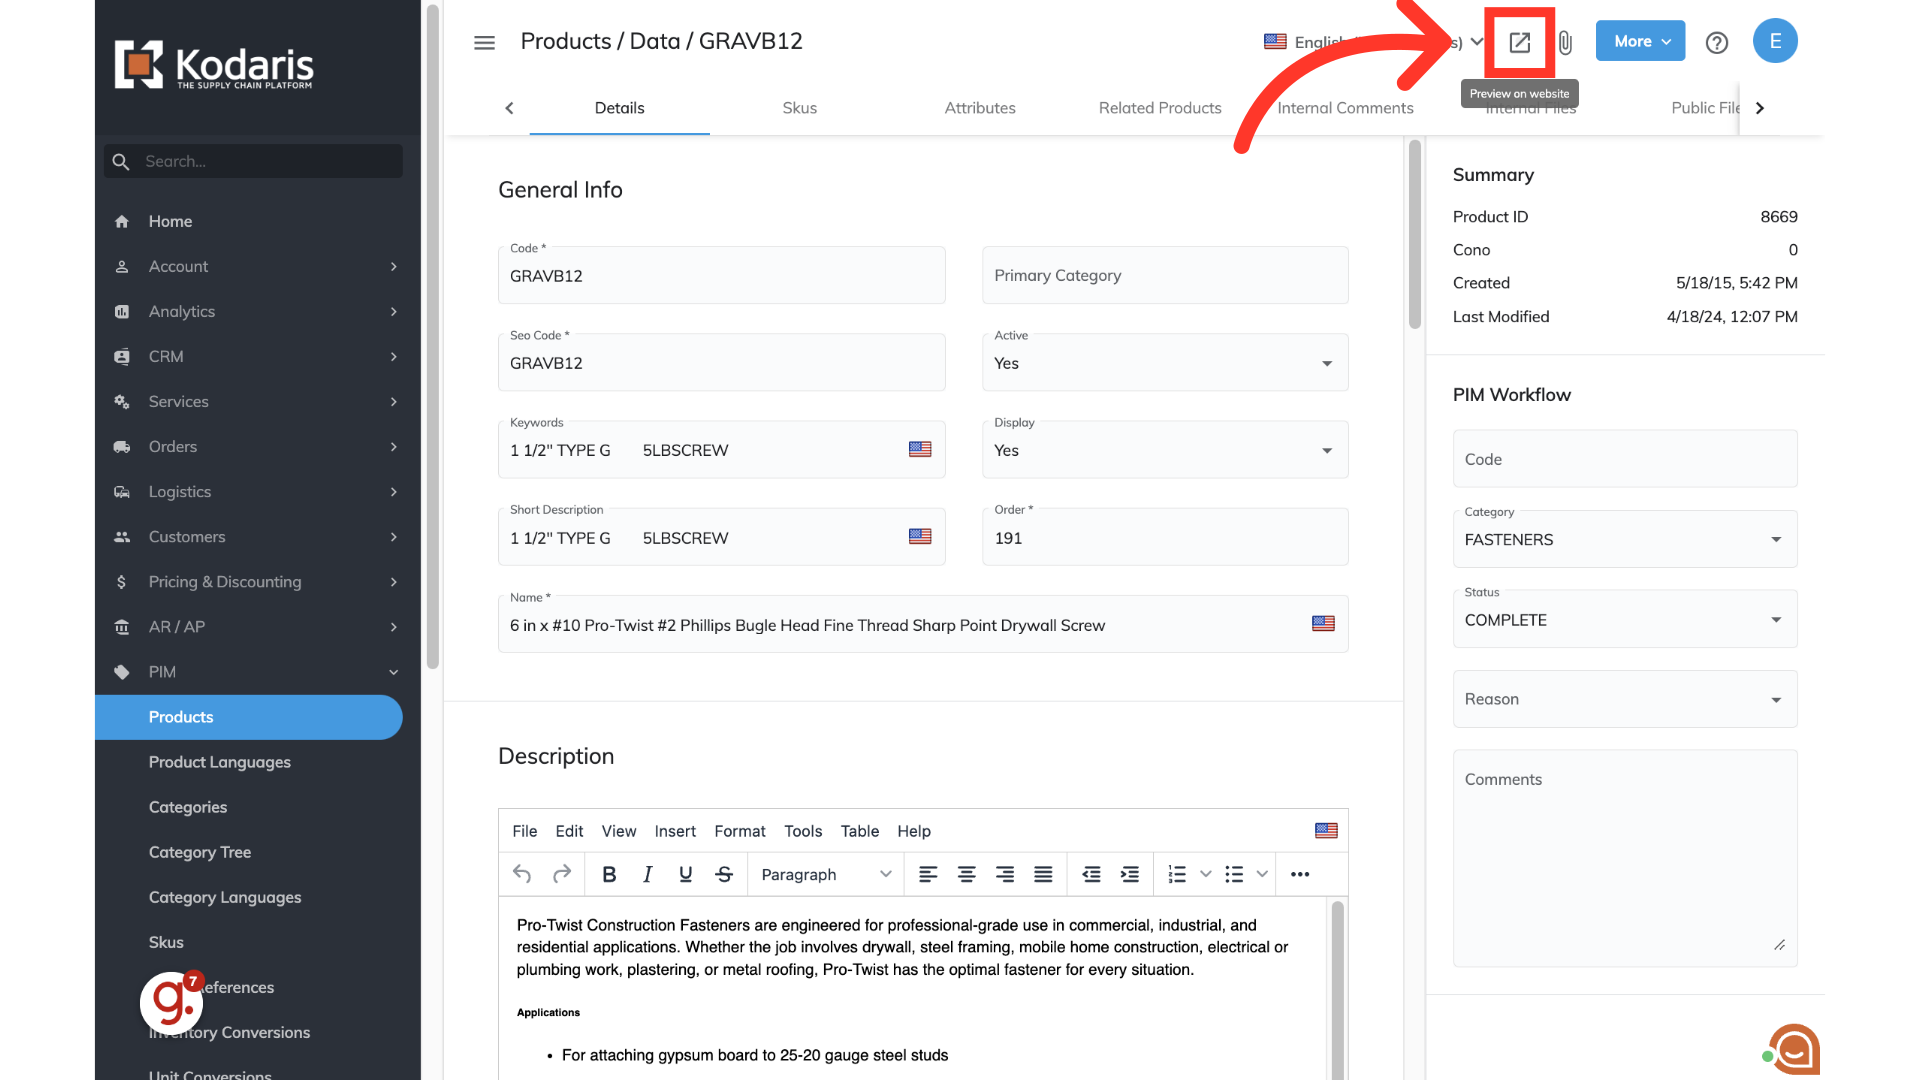
To view updated products you can search on products on the commerce site - or you can click the "Preview on website" icon on products in the operations portal.
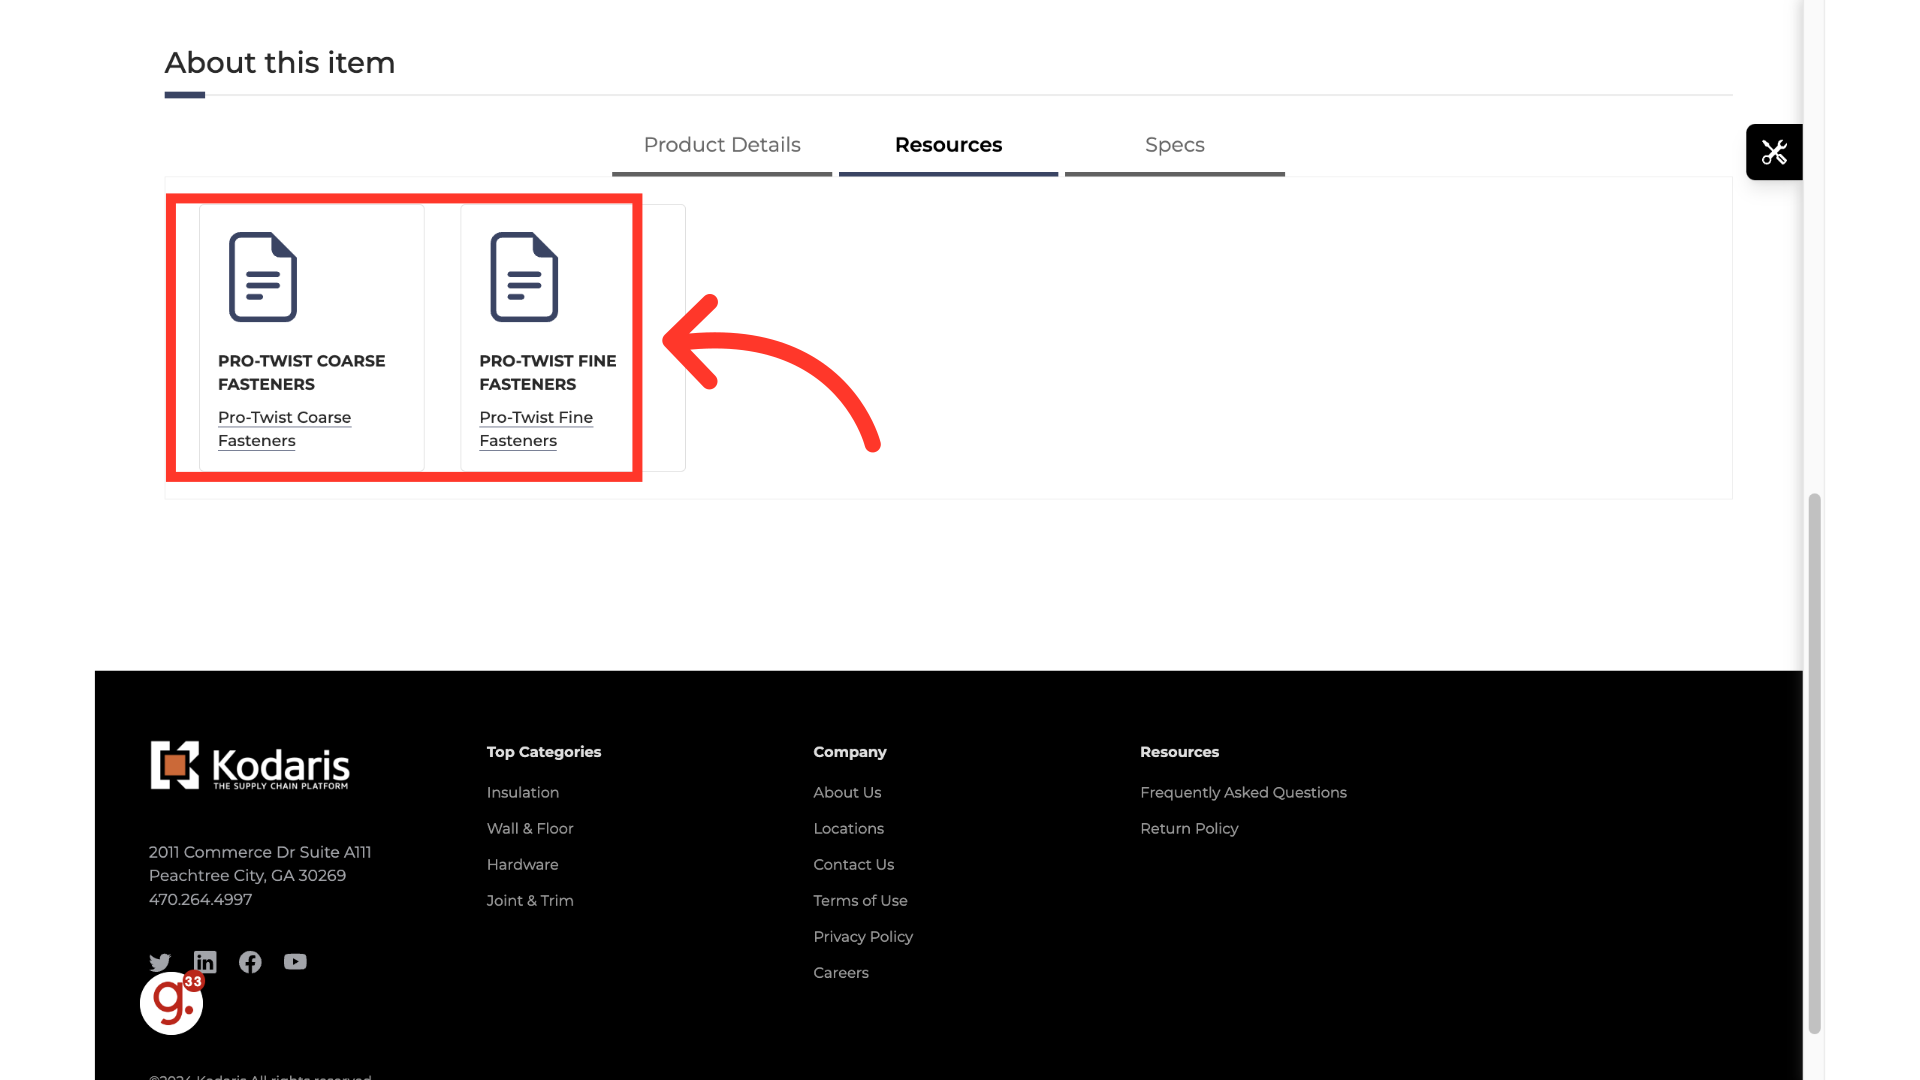
Then scroll down, and click the "Resources" tab.

Users can now view the added resources.
You can also go back to the public files screen in the operations portal and view the files that have been added to products. In this example, you can now see that files have been added.
