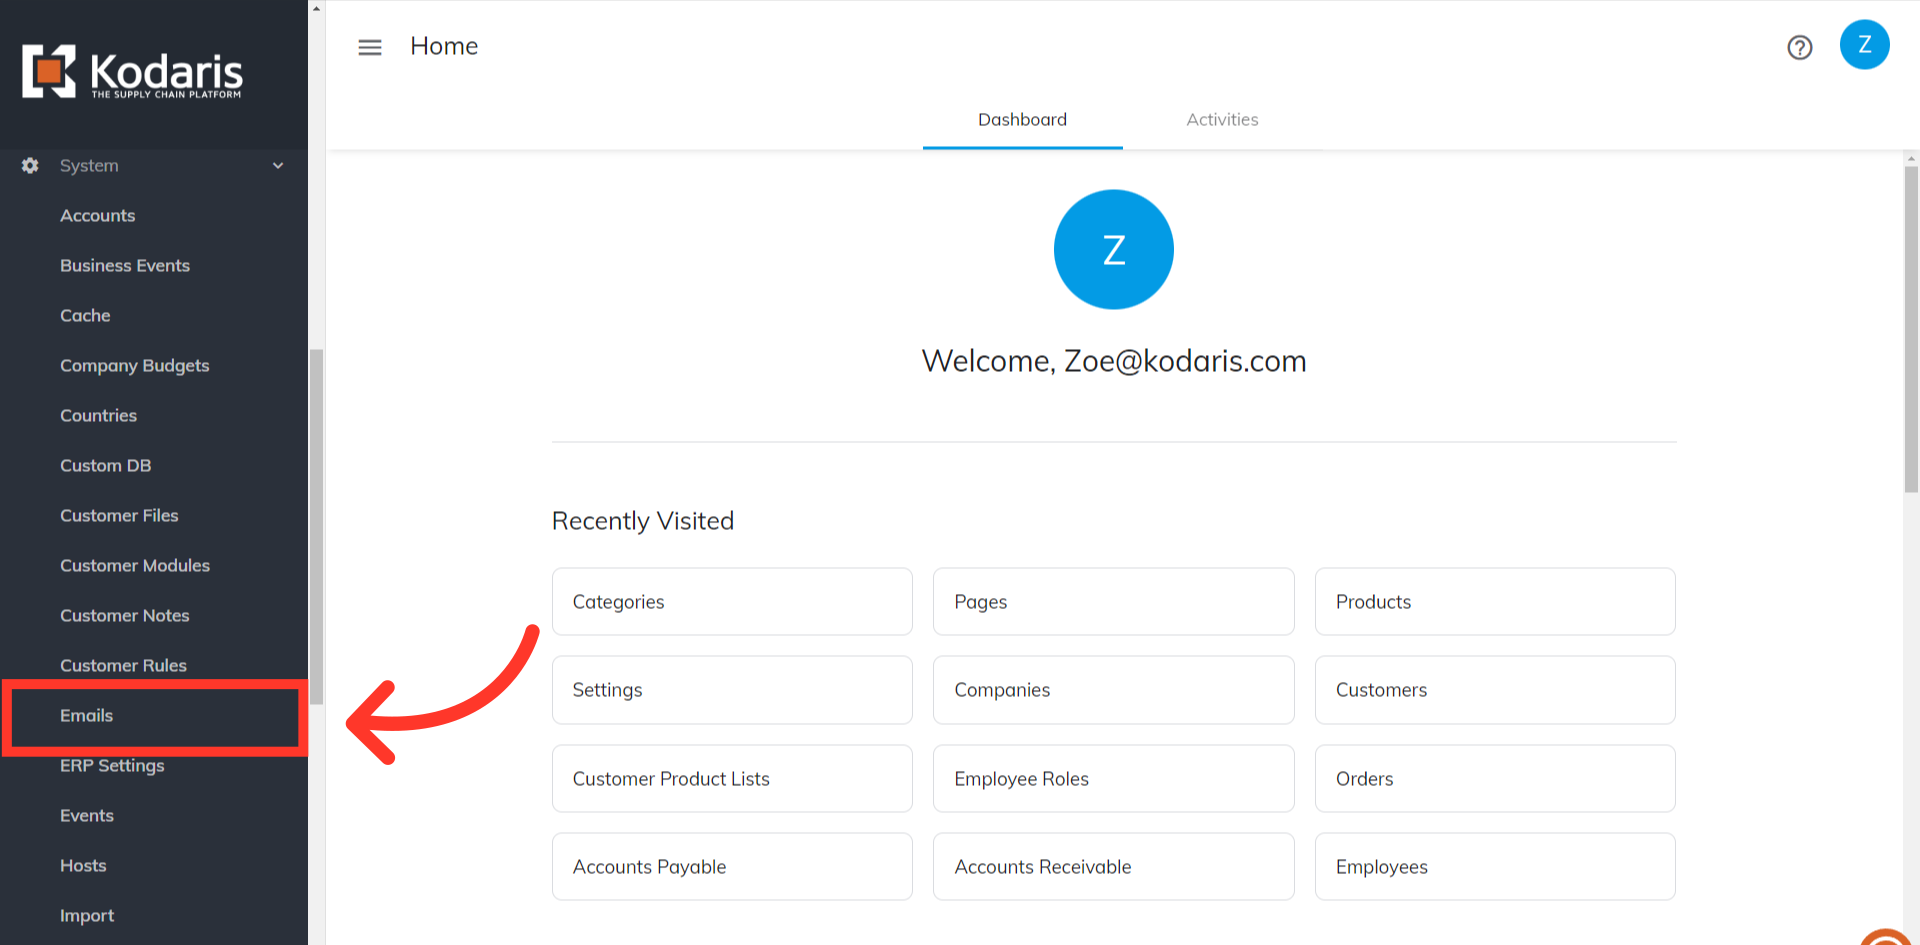
In order to schedule an email, navigate to "System" section in the operations portal.

Then, click "Emails". In order to access and update “Emails” you will need to be set up as an “administrator” or “superuser” or have the roles of: “emailView” and “emailEdit”.
Create a new email by clicking the "Compose" icon.

Fill in all the needed fields to create the email you would like to send.

Click the "Schedule send" icon to open the scheduling options.

Click "Choose a Date" field to select the date.
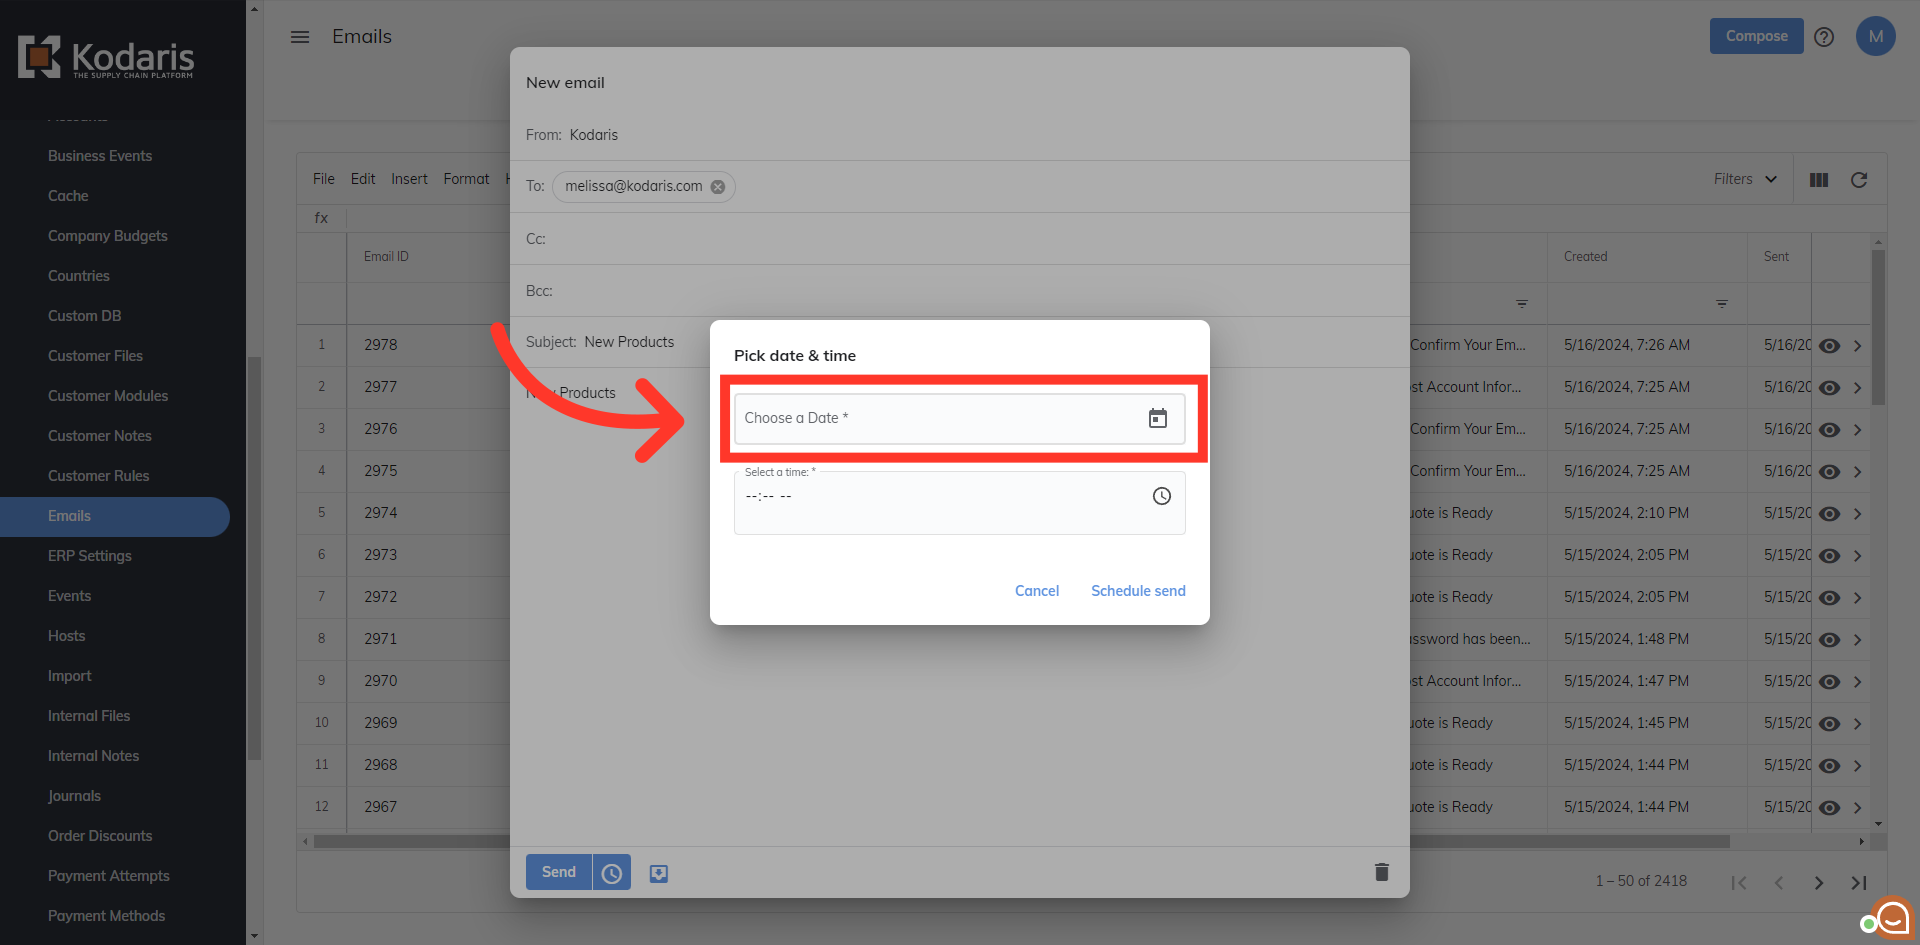
Select the date you would like the email to be sent.

Next, click the "Select a time" field.

Select the desired time, and either am or pm.
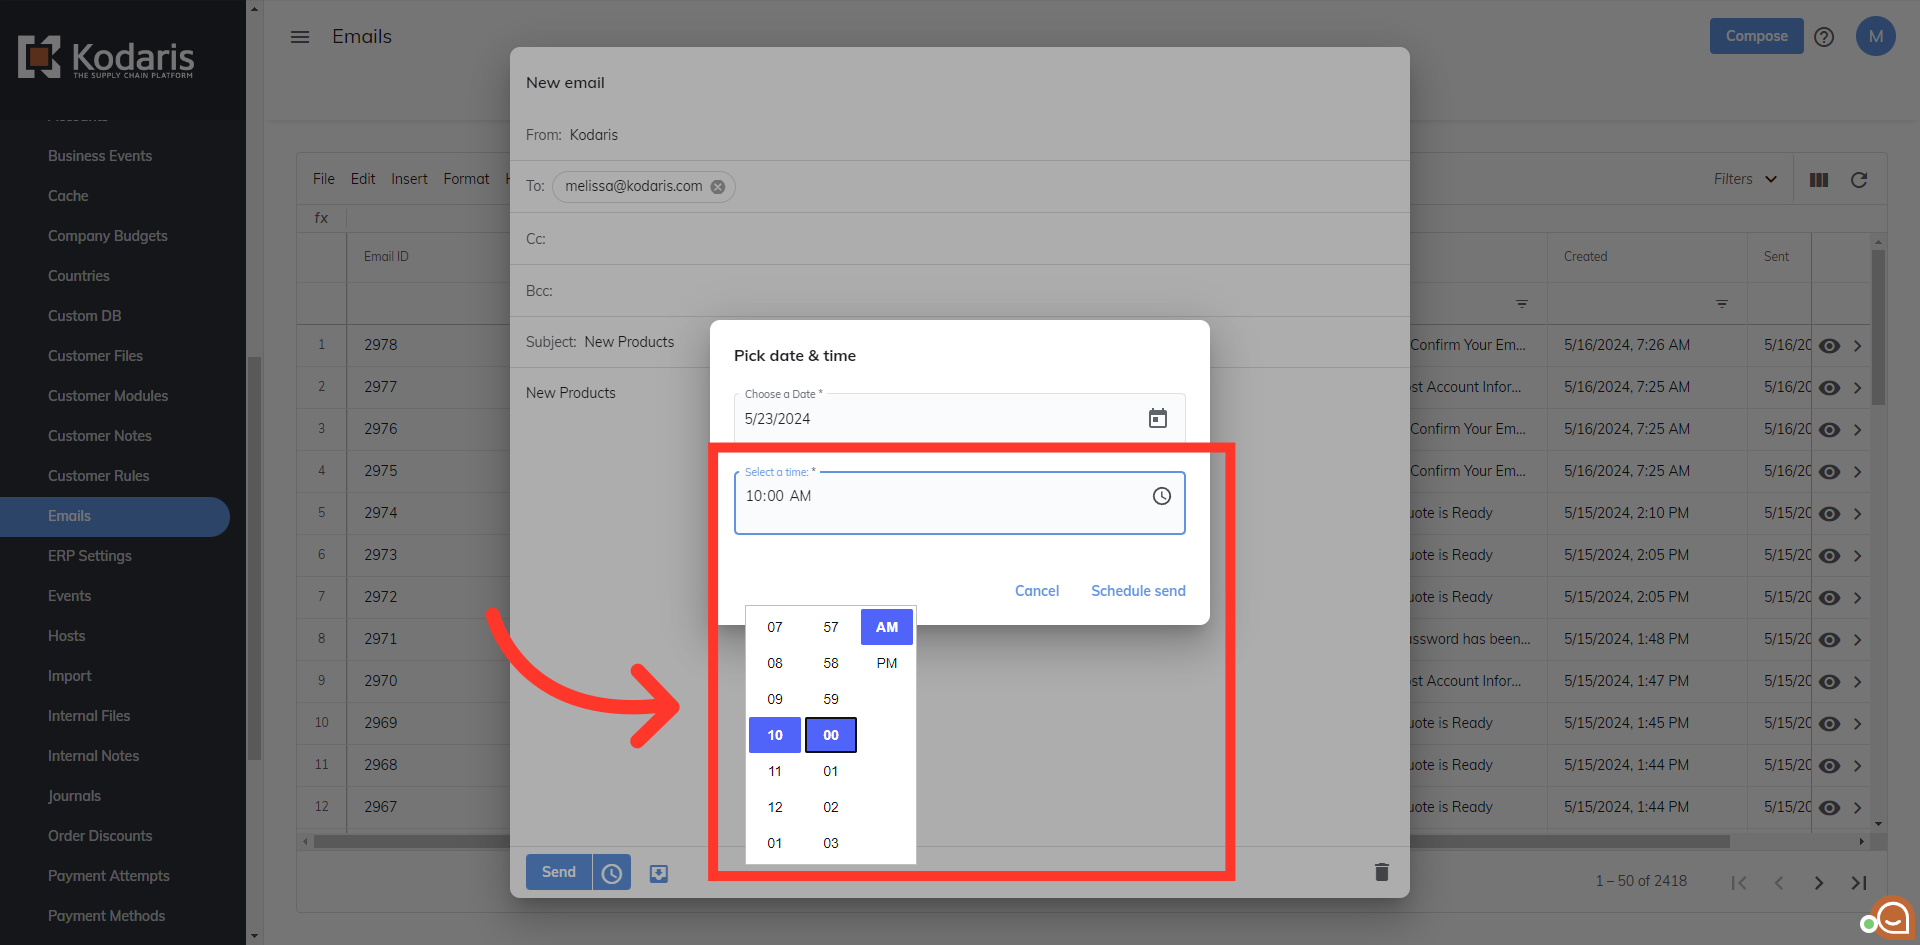
Click the "Schedule Send' icon to schedule that email to be sent out at that date and time.

Success message will appear when the email has been scheduled. The time stamp will be in UTC format.

Once you refresh the grid, the email you created will appear at the top of the grid. The "Sent" column will be blank until it is sent out at the scheduled time.
