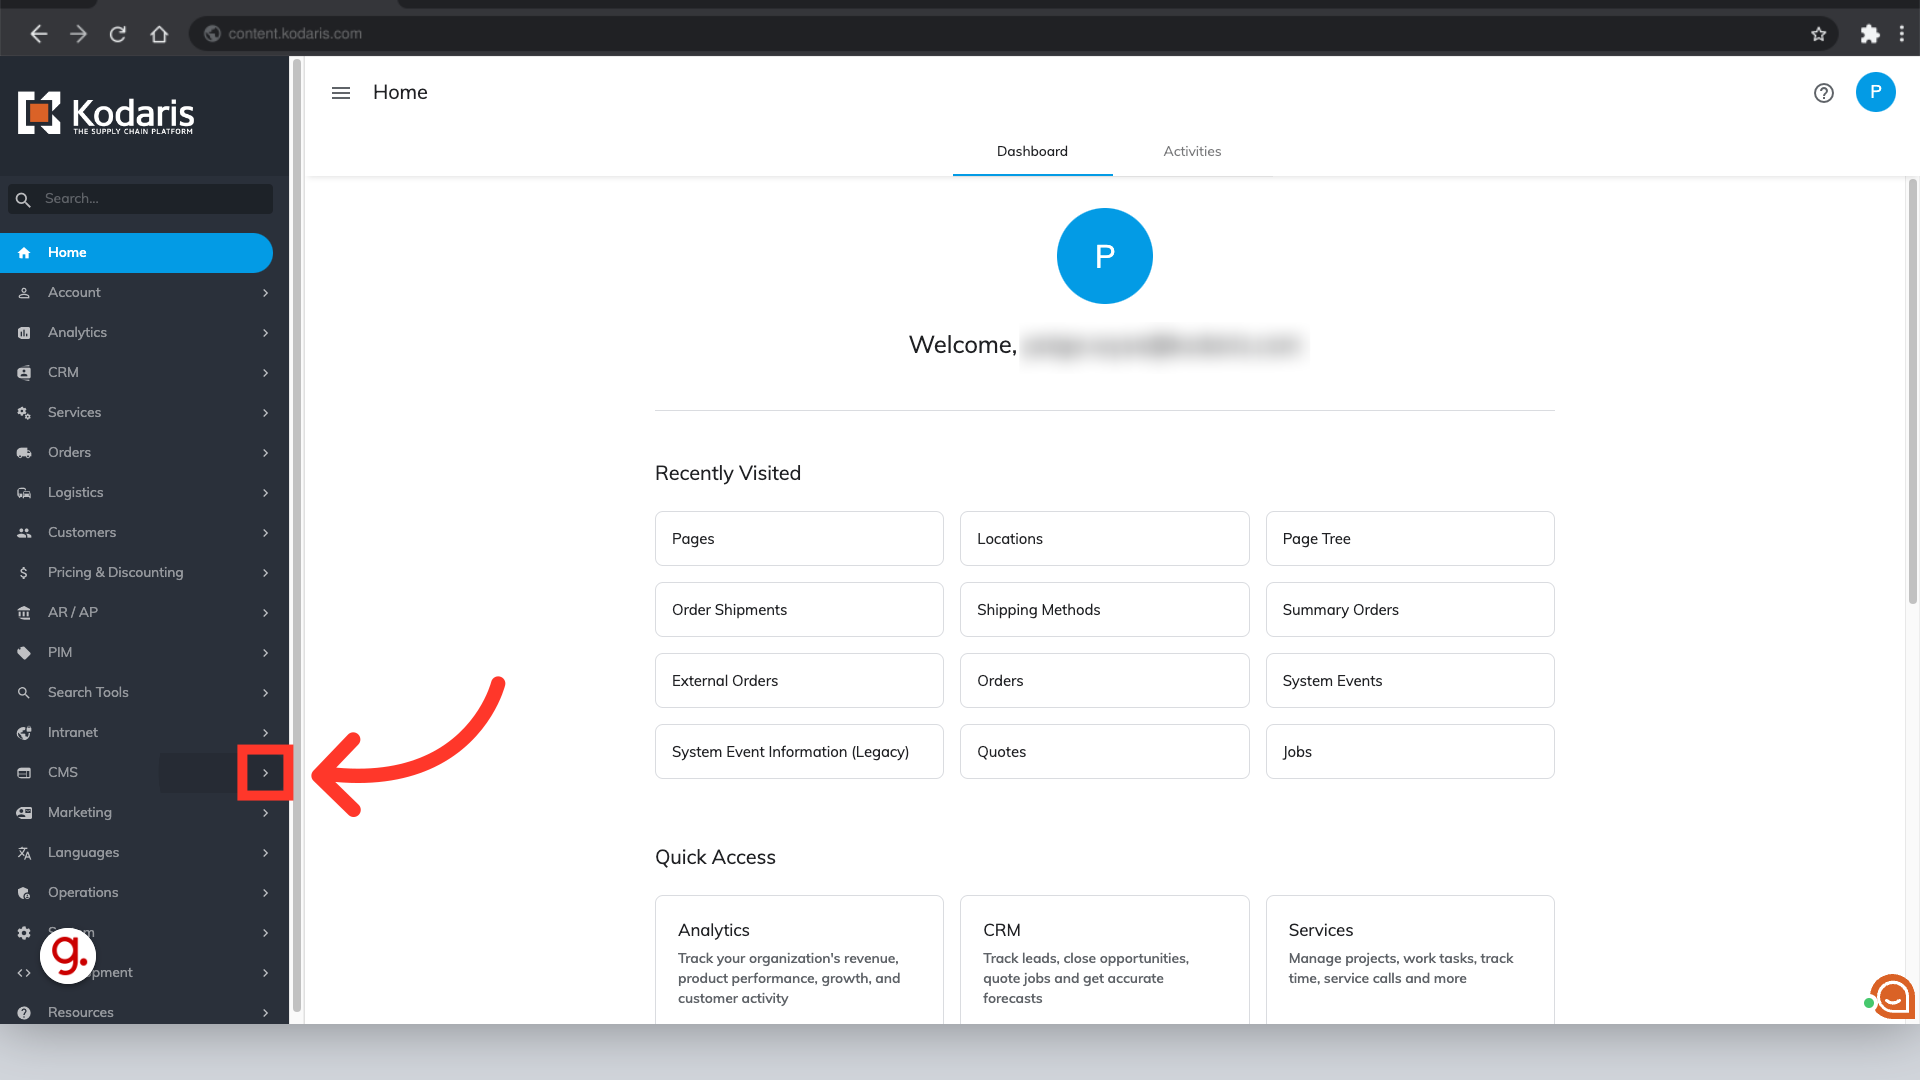
You can customize your Map Block in the Operations Portal. To navigate to the Map Block, click on "CMS".
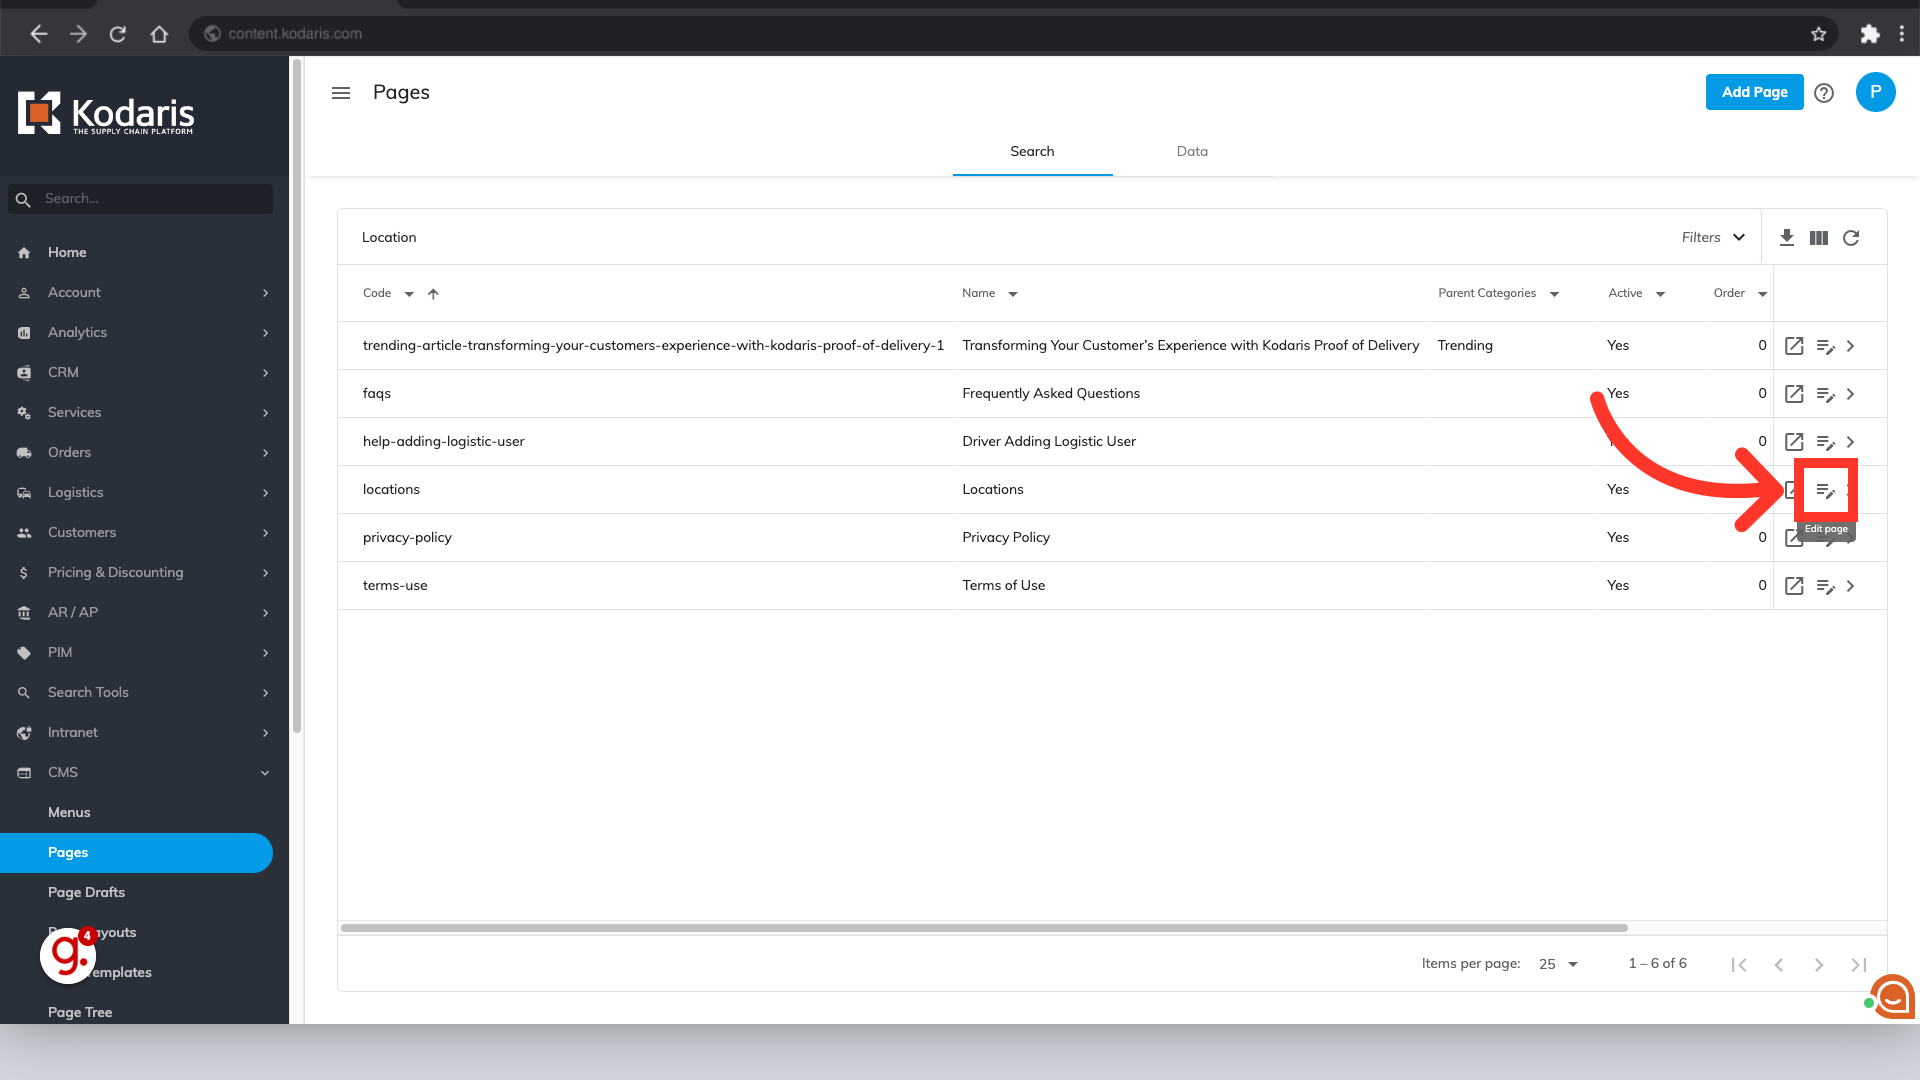
Click on "Pages". In order to access, edit, and publish Pages, you will need to have the role of: "administrator" or "superuser", or have the roles of: "contentView" and "contentEdit" and “cmsView”.

Use the search bar to type in a keyword that relates to the page you're trying to find. In this case, to find your Map Block, type "Location" into the search bar to pull up the Locations page.

To edit the CMS page, click the Locations page's edit icon.
To begin editing the Map Block, click on the map to select it.

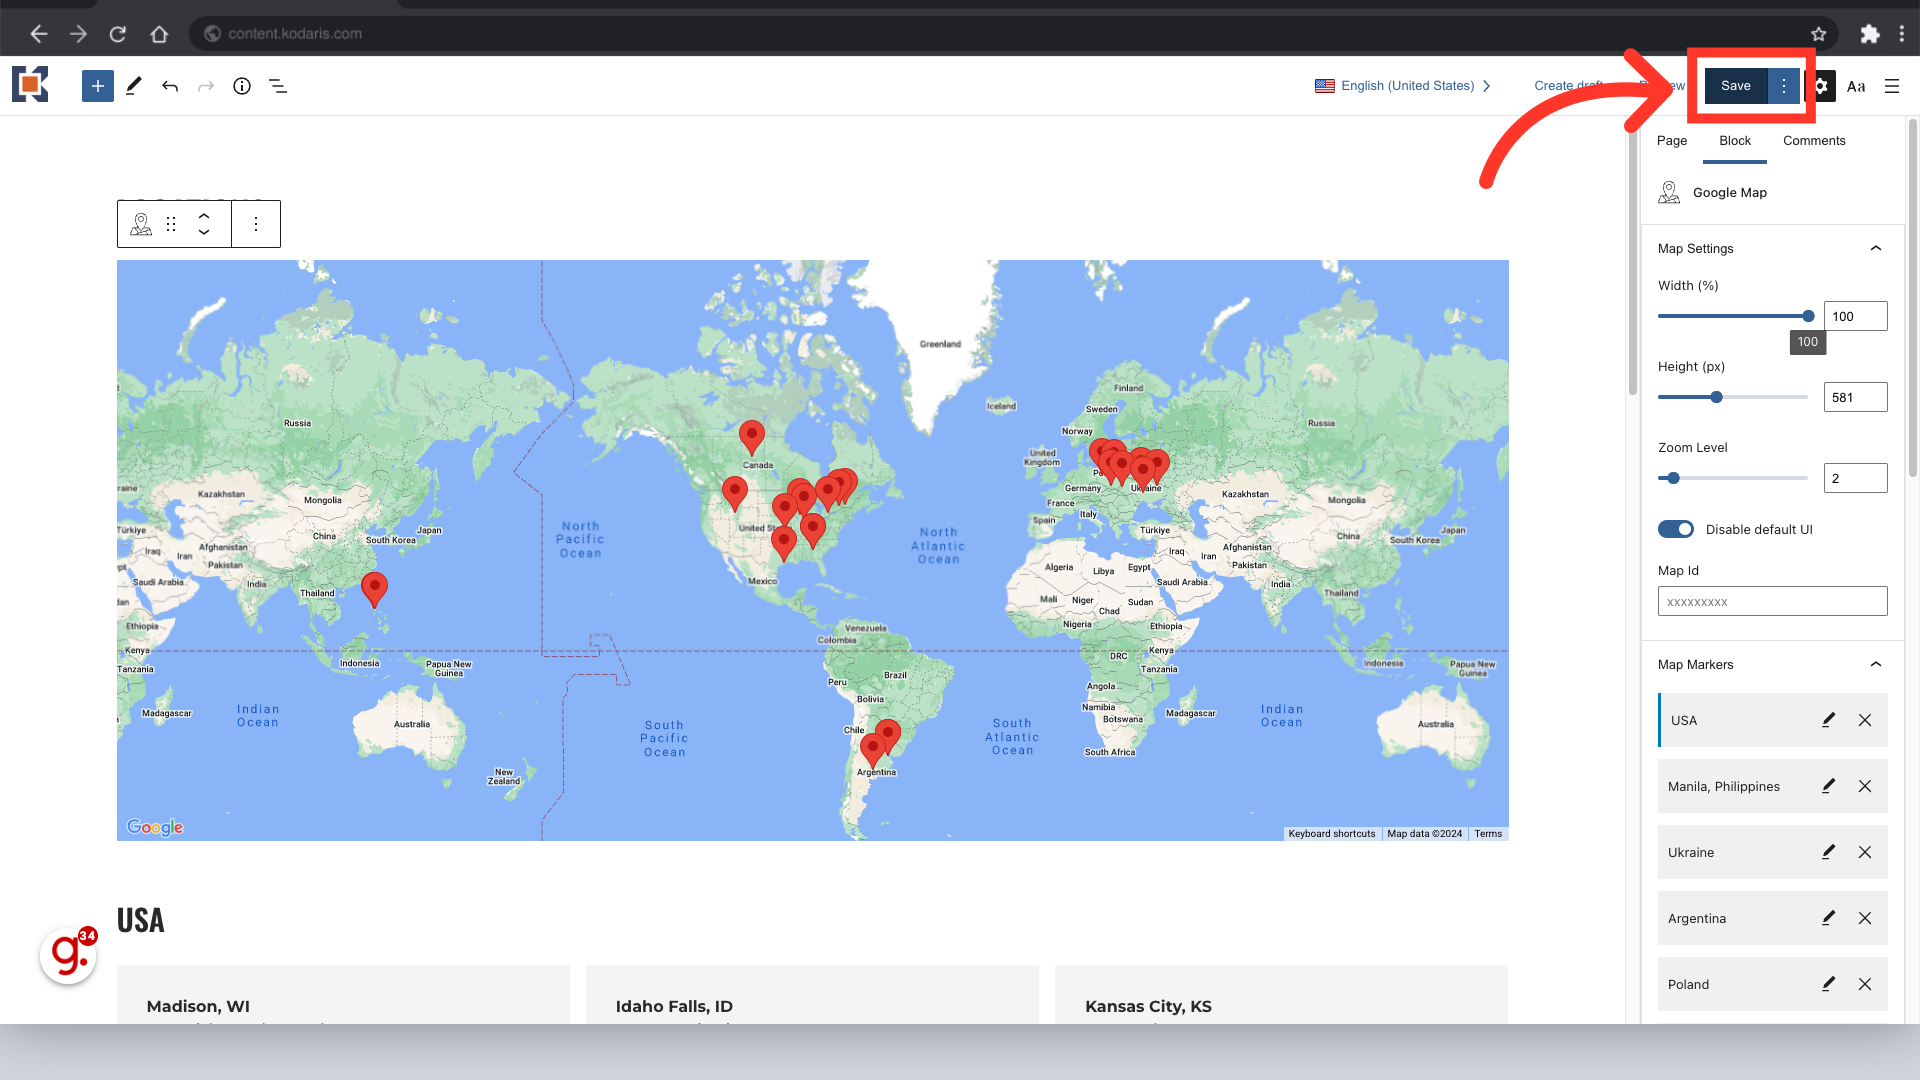
To view the editable fields, click on the "Block" tab from the settings panel.

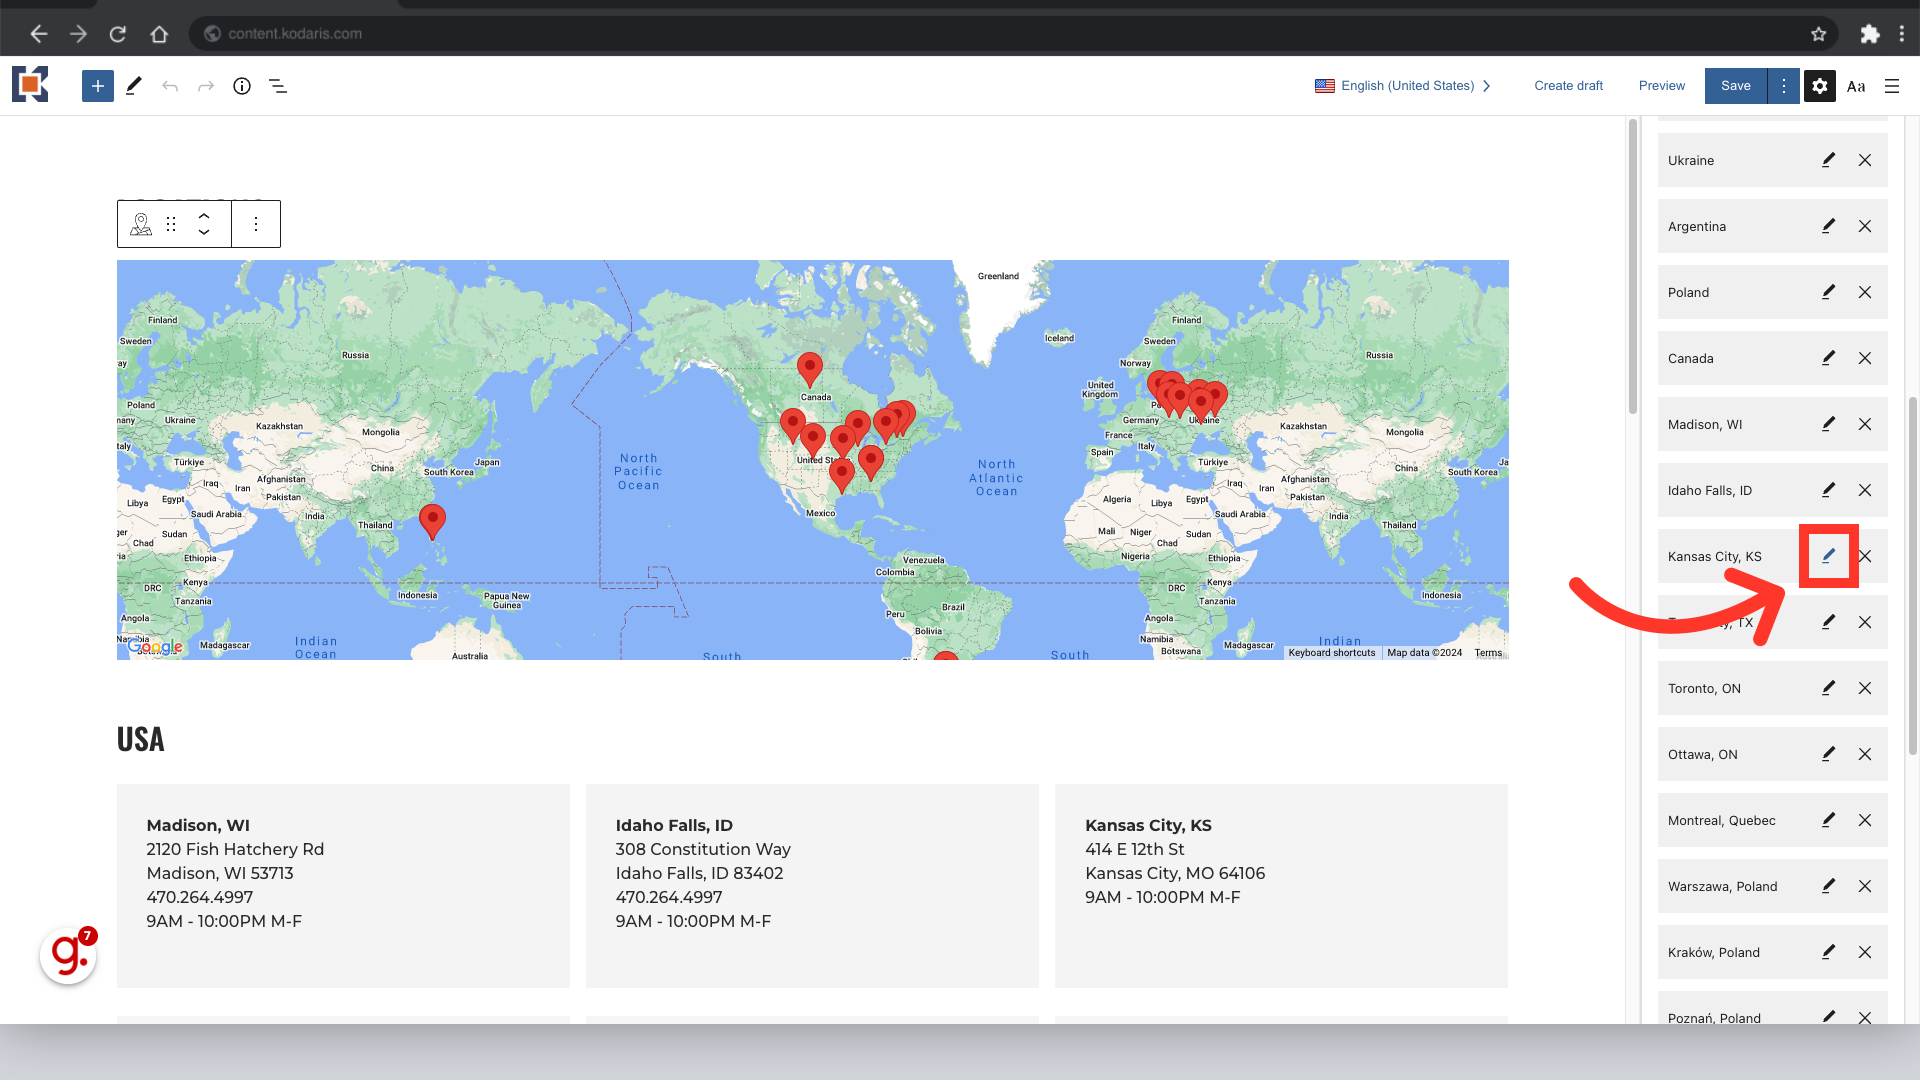
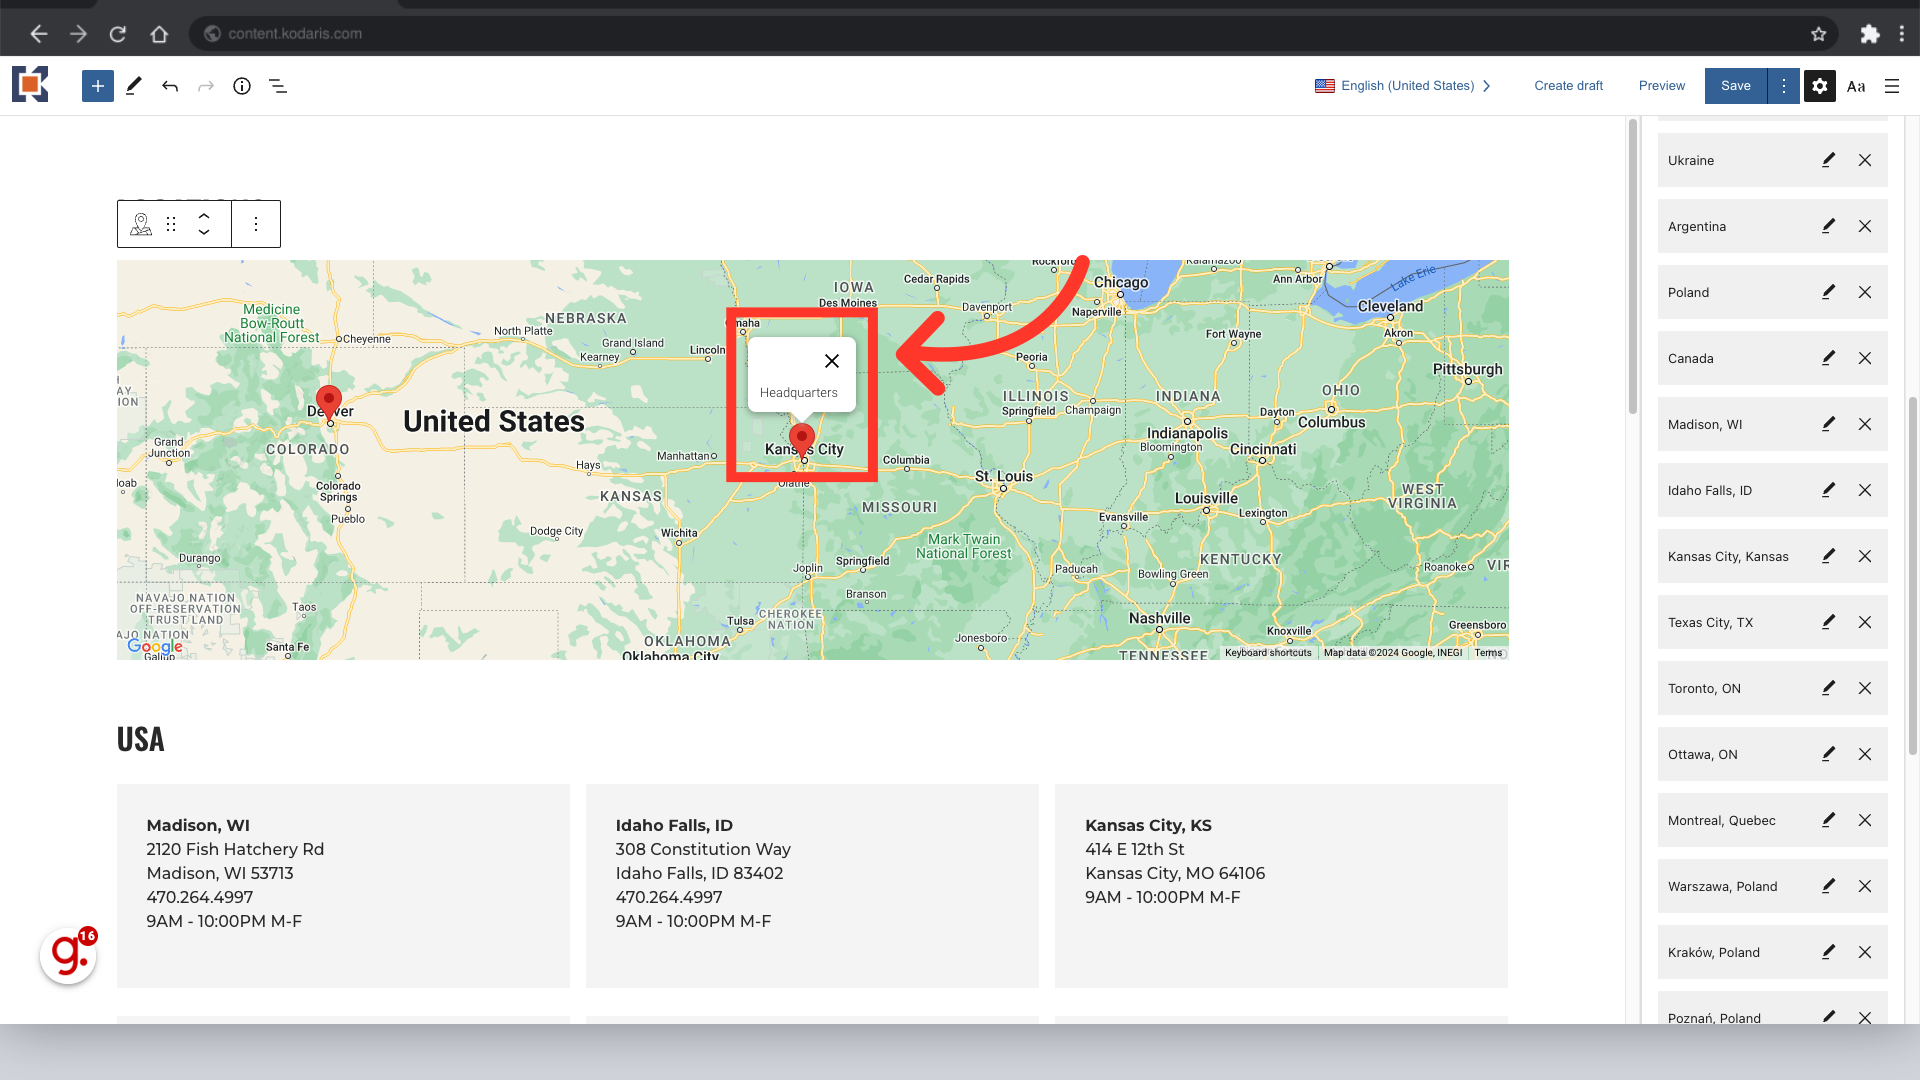
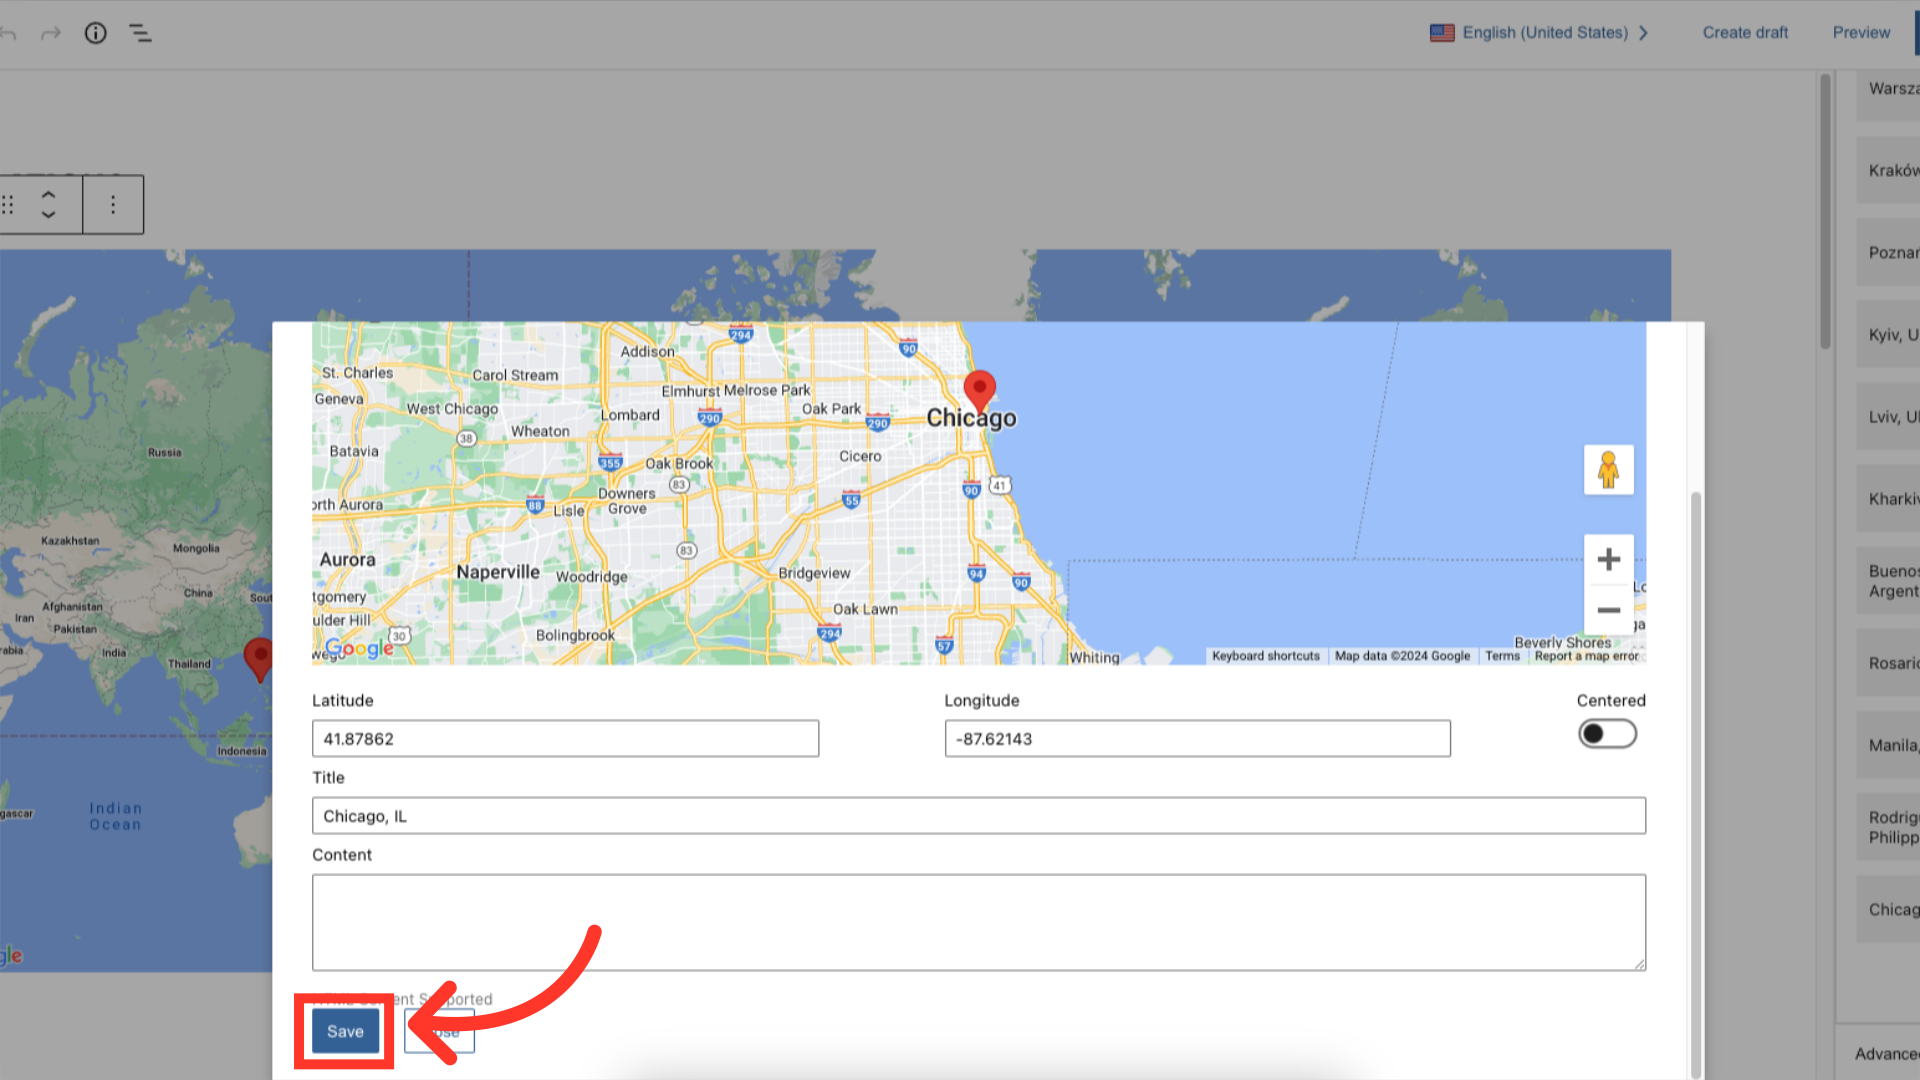
To edit an existing location, choose the edit icon next to the location you wish to change.
Make your desired changes by editing any of the text in this pop-up box. Click into a text box and begin typing to edit.

After making edits, click the "Save" button.

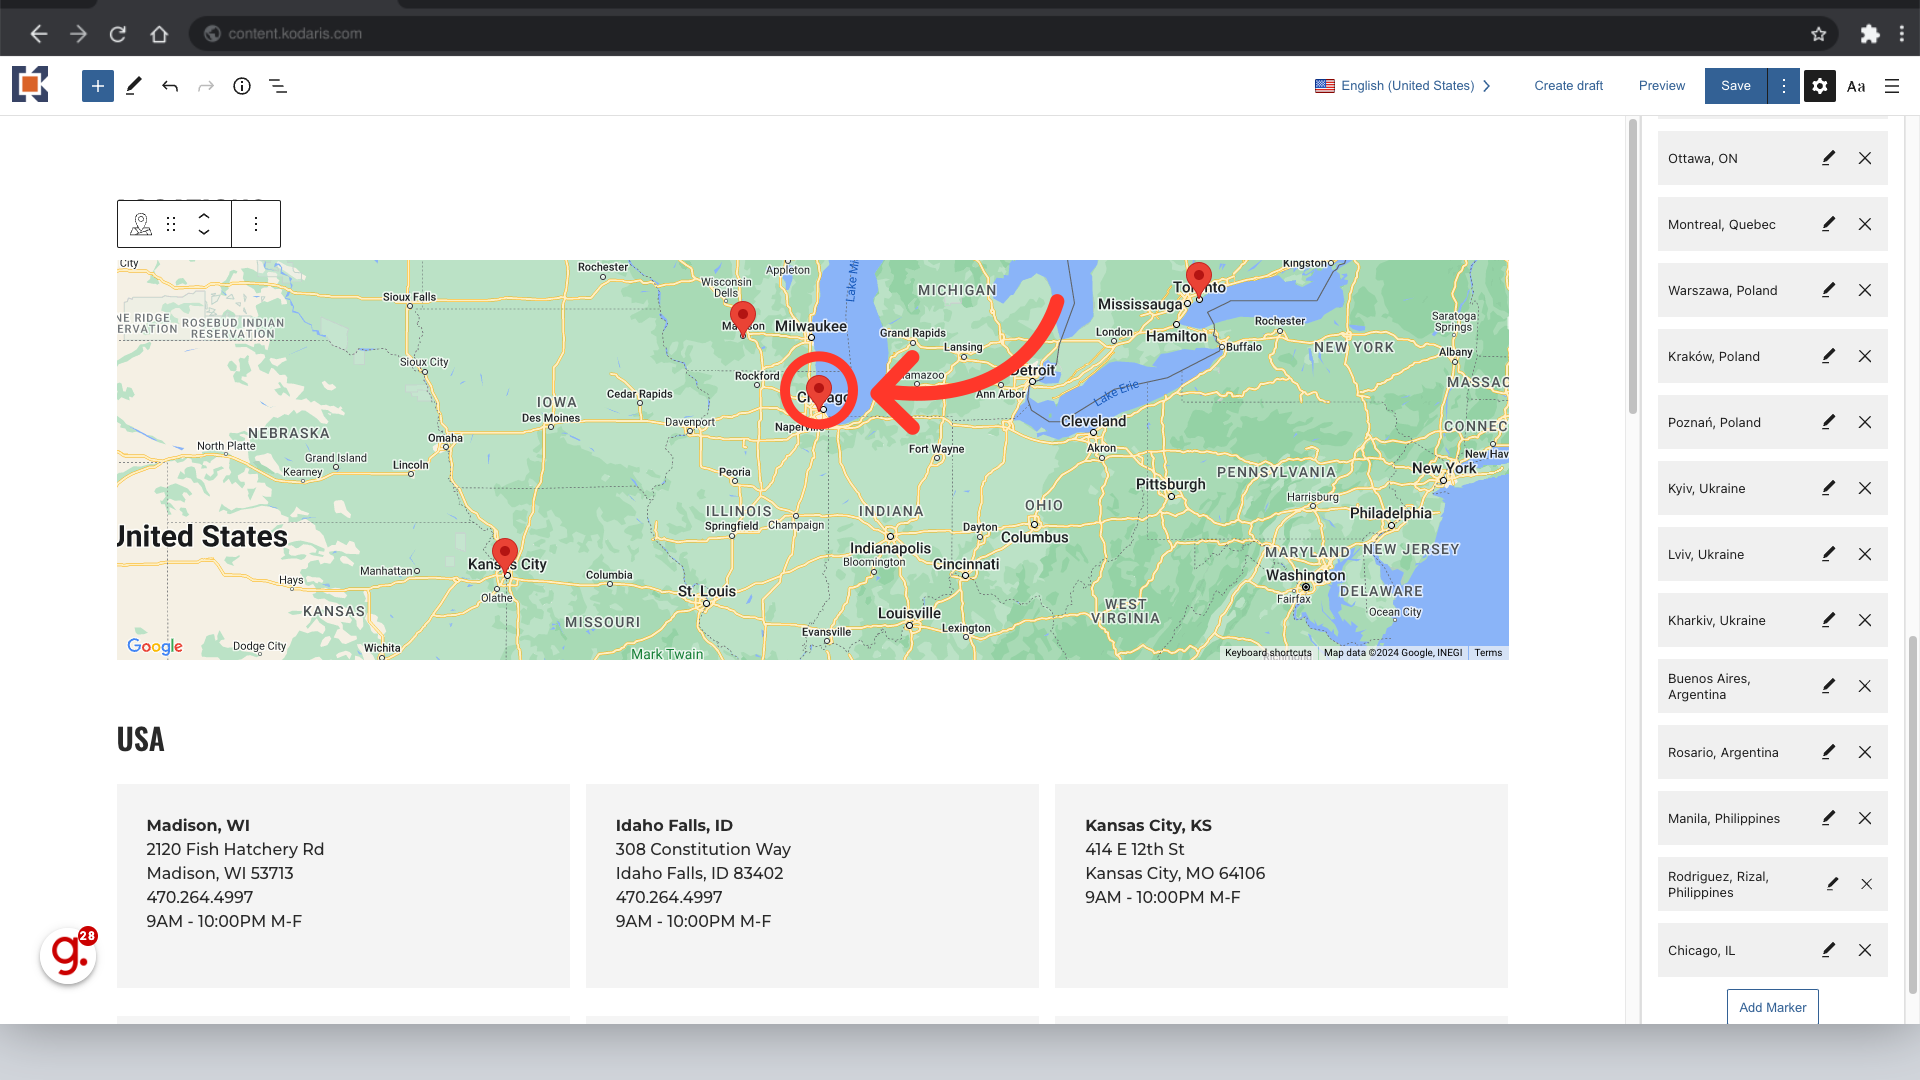
The changes you made will now be applied to that location. Click on the location's pin to view the changes.
To delete an existing location, find the one you wish to remove and click the "X" icon.
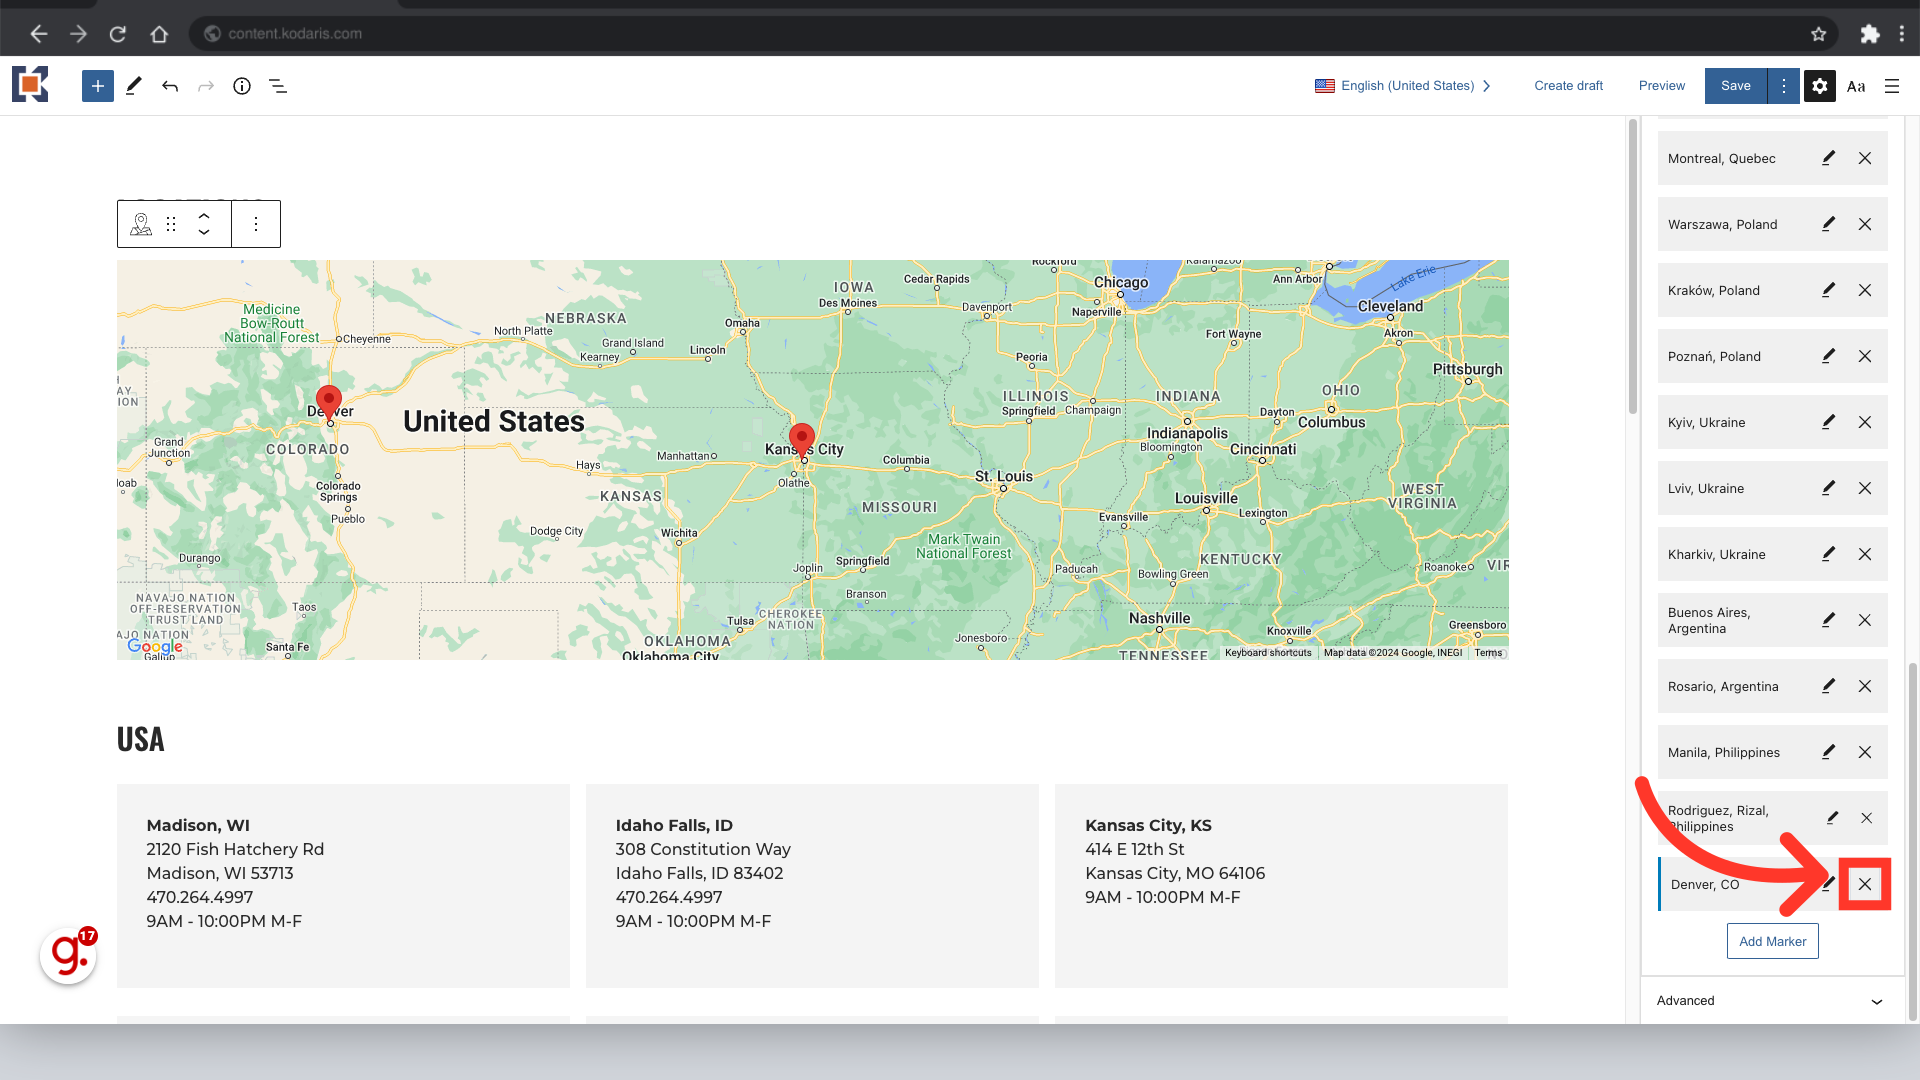
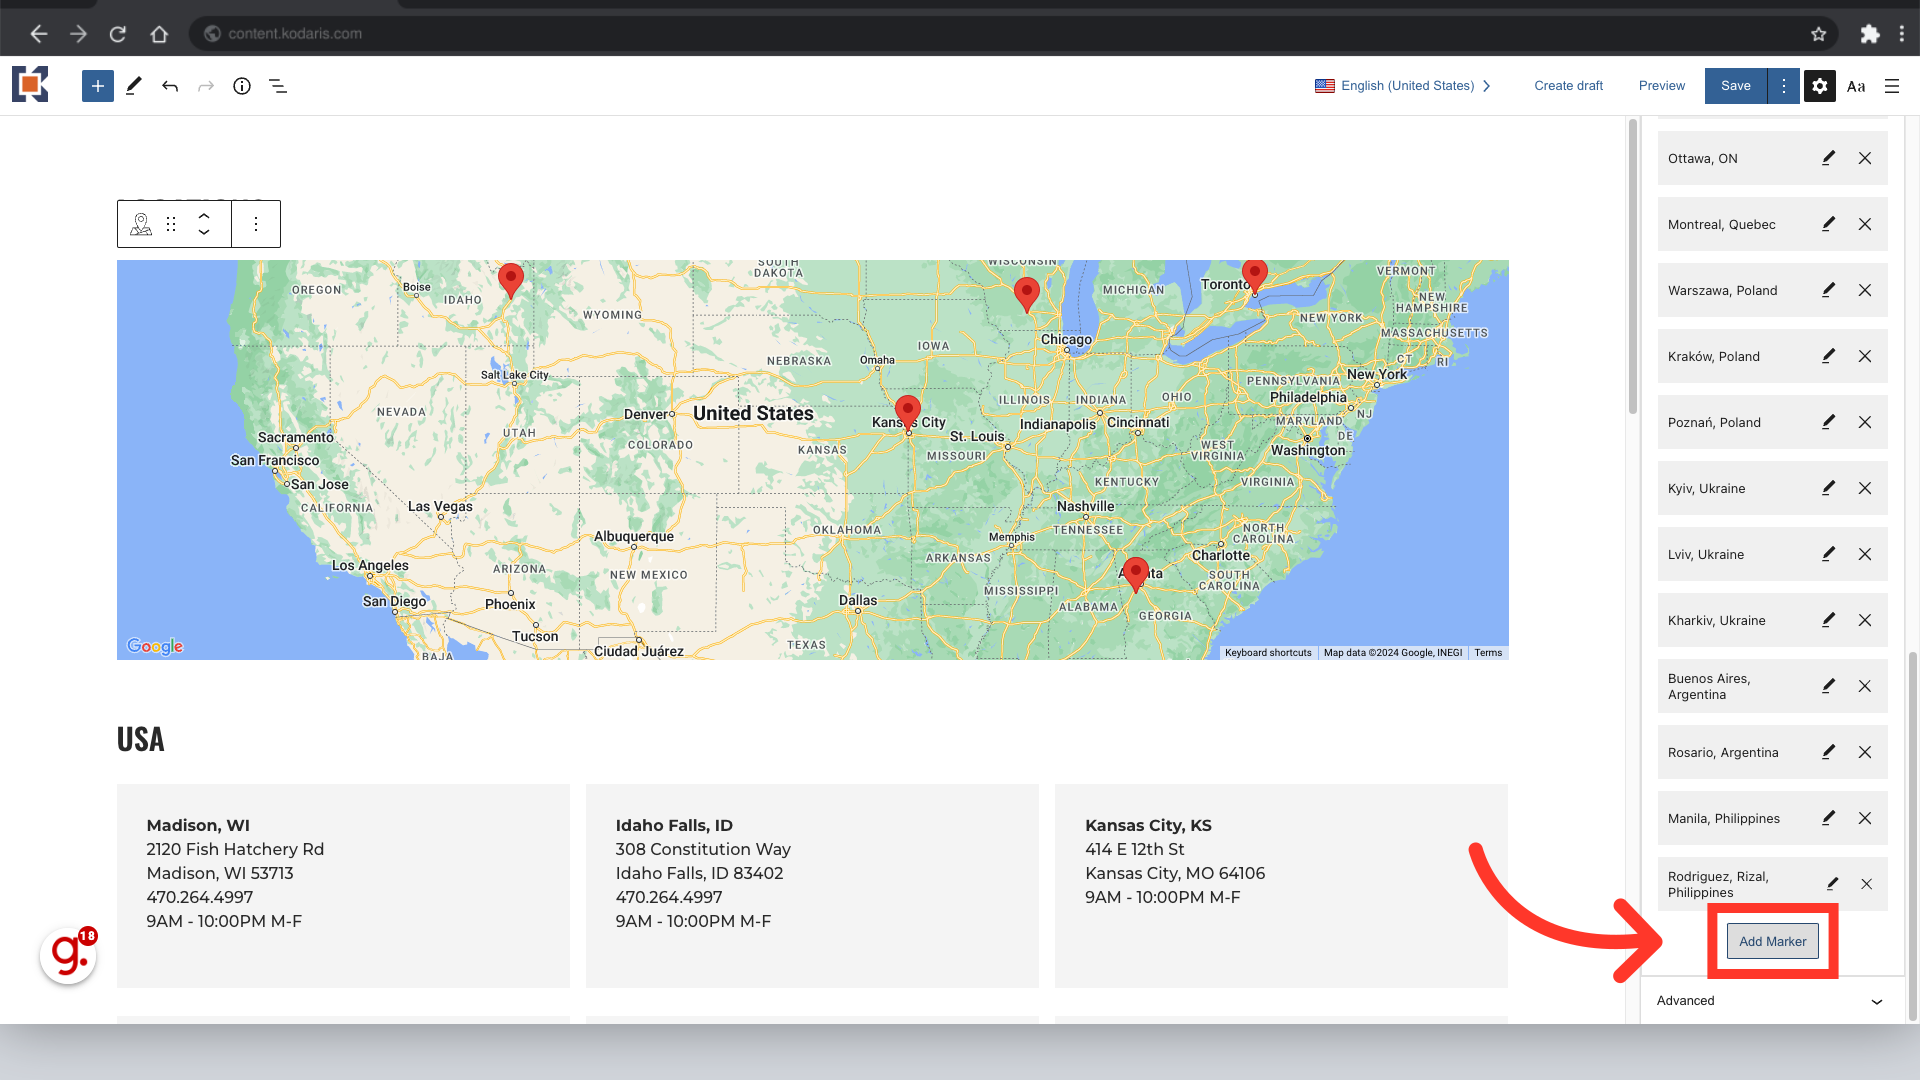
To add a new location, select the "Add Marker" button
Fill out all the available text boxes in the pop-up box. What you include here will be visible to your customers on your website. The "Title" should be the name of the city followed by a comma and the state the city is located in. The "Content" box is for you to add additional context to a location. For example, you might want to indicate a location's operating hours or indicate if that location is where your company's headquarters is at. This field is not mandatory to fill out and is optional for you to use as you see fit. The "Centered" toggle button will place that specific location in the center of your map so that your map is centered around it. You can choose to turn this on or leave it off. The "Latitude" and "Longitude" will determine where the location pin will be placed on the map. You can pull the coordinates from Google.

To pull the latitude and longitude coordinates, navigate to Google Maps in a separate browser tab or window. Next, type the location into the search bar.
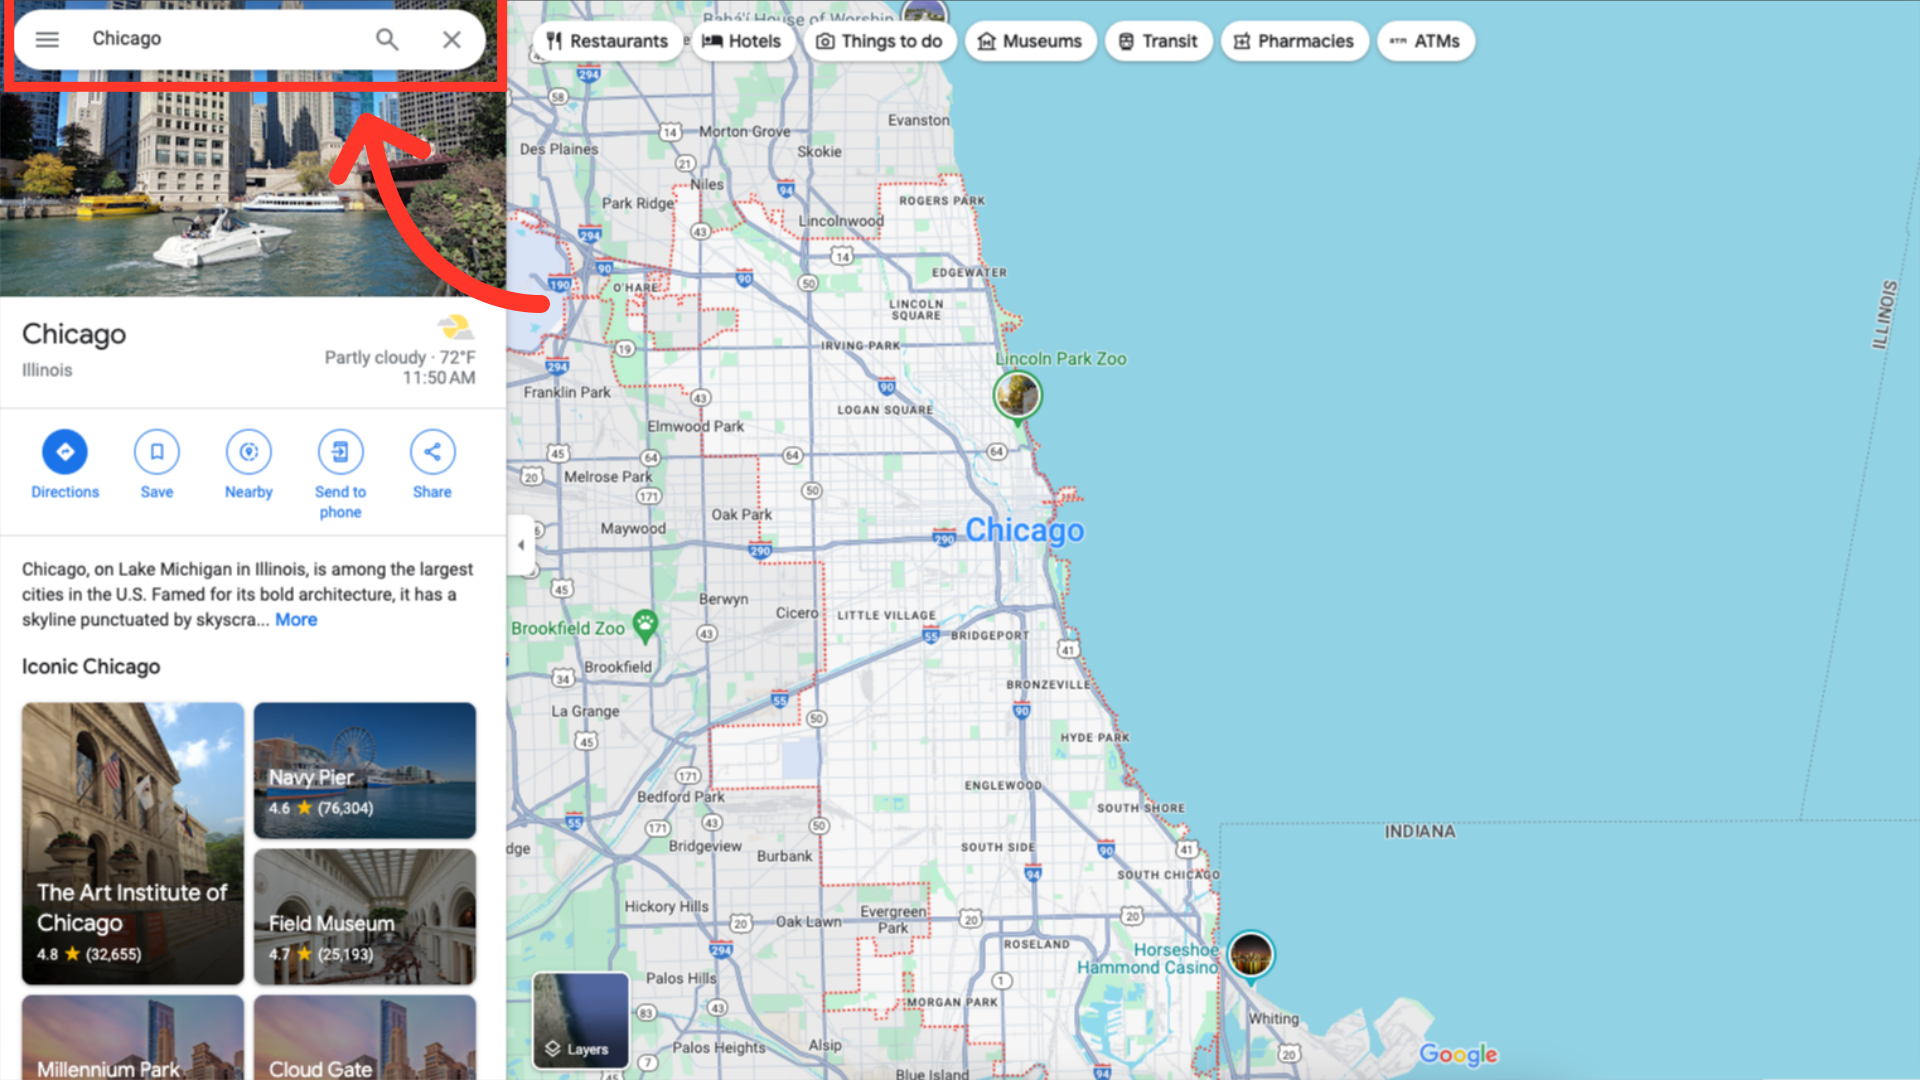
Once you have found the location you're adding, right-click on it on the map view. The coordinates will appear at the top of a context menu. You can copy them from this page and paste them into the CMS page you are working on.

When you are finished, click the "Save" button.
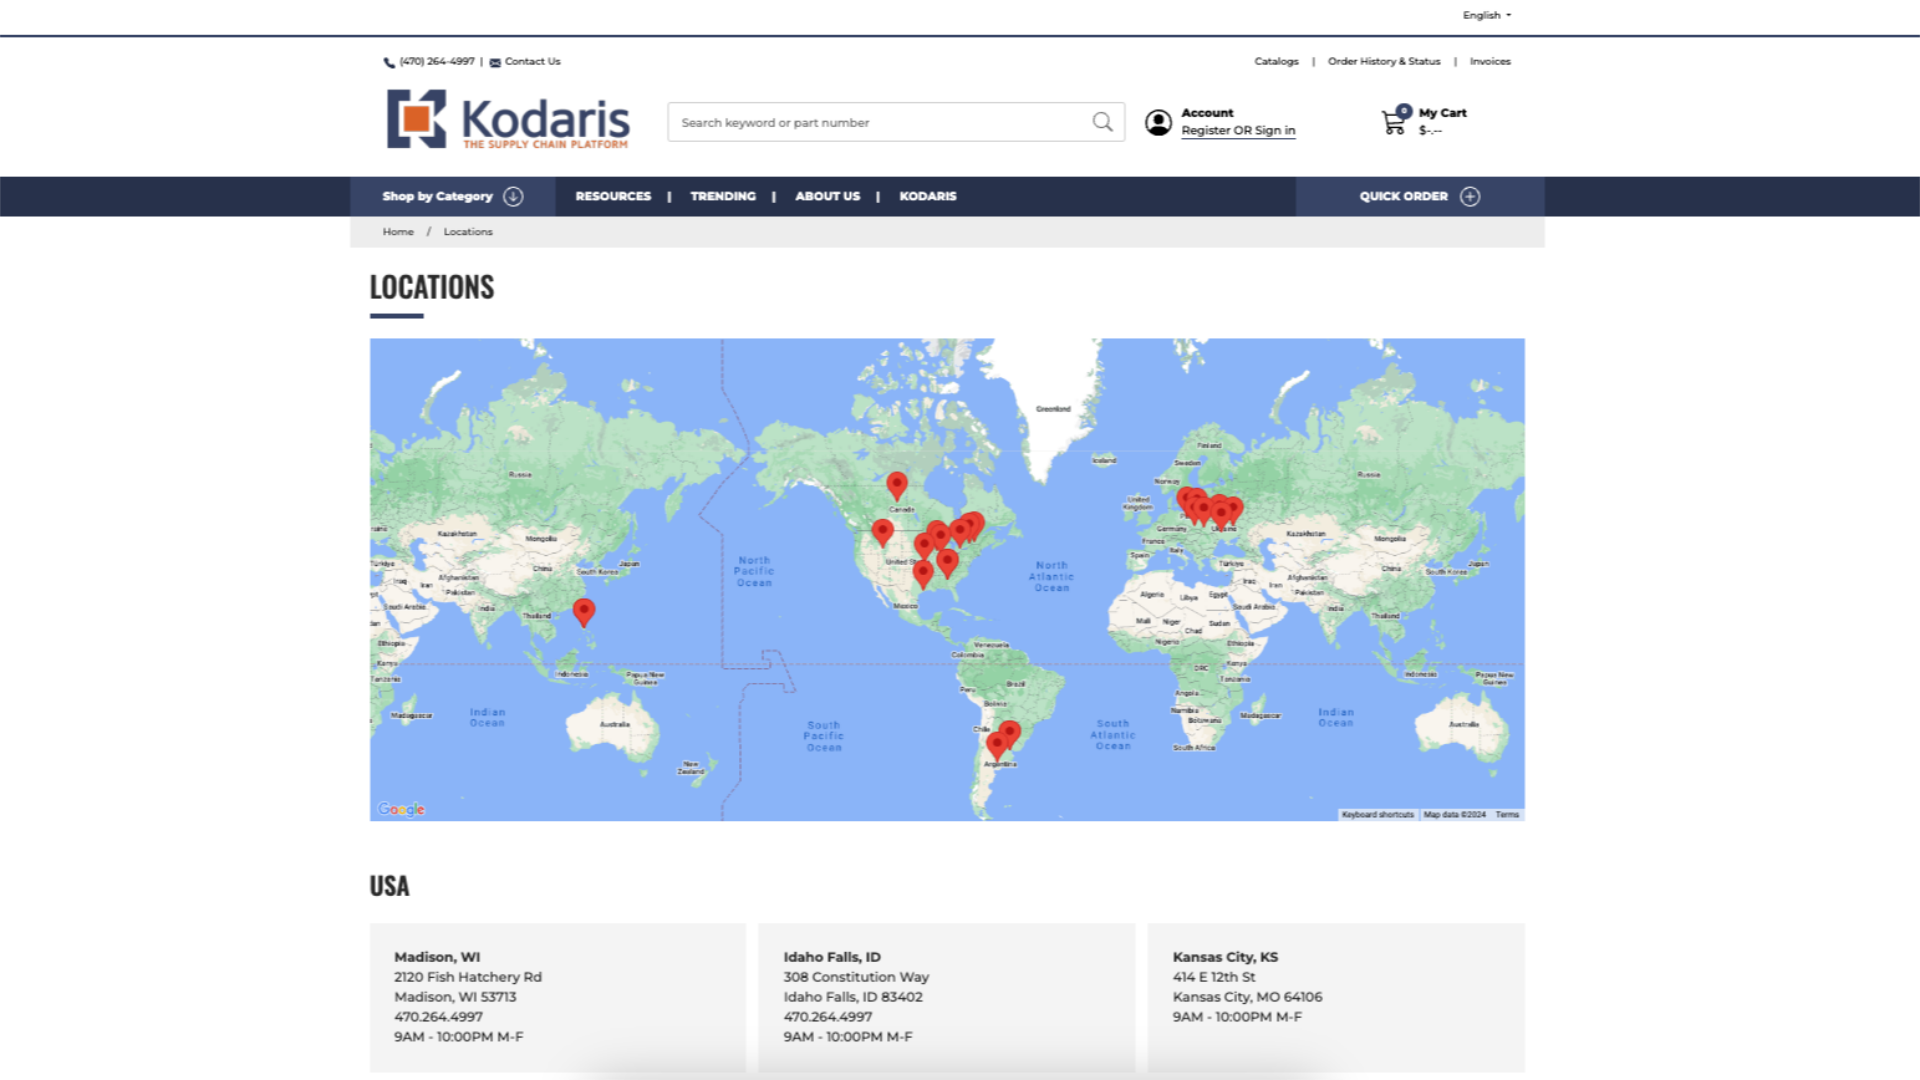
You'll now see the newly added location on your map.
You can also change how your map is displayed on your website by adjusting the map settings in the settings panel. Use the "Zoom Level" slider or the text box to the right to adjust your map's zoom level.

Adjust the "Width" and "Height" of the map by using the sliders or the text boxes to the right.

To see a preview of what your page will look like with your recent updates, click on "Preview", which is located in the top-right of your screen.

A new tab will open with a preview of your page. You can scroll through and interact with the page just like a user or customer would.
Once you're finished viewing the preview page, head back to the Operations Portal. You can make additional edits if needed at this time; however, when you're finished editing your Map Block, click the "Save" button to save your page.