You can choose to display the top categories on your homepage by using the "Top Categories" widget. To start, navigate to the "CMS" section in your Operations Portal.

Then, click "Menus". In order to access and edit Menus, you will need to have the role of: "administrator" or "superuser", or have the roles of: "contentEdit" and "cmsEdit".

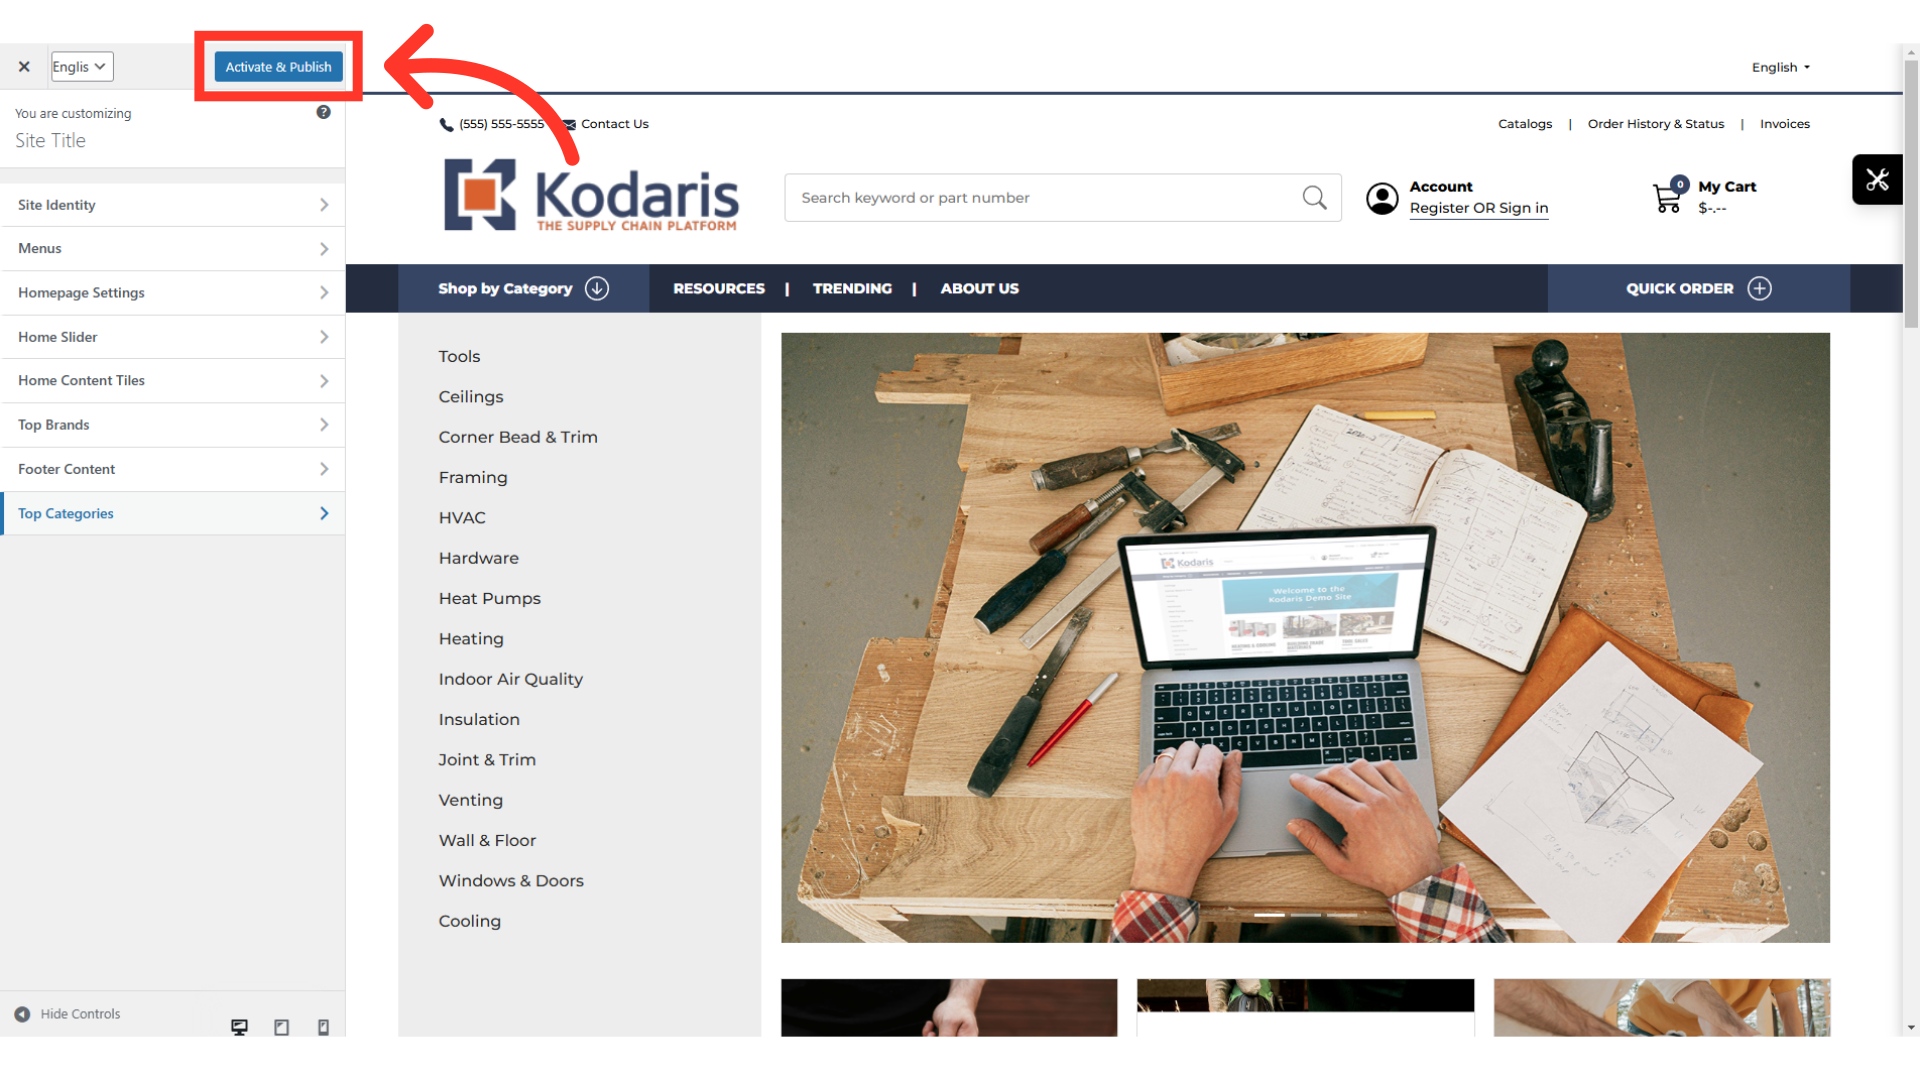
A new tab will open redirecting you to the site customizer. Click "Activate & Publish" if you don't see your page on the screen.
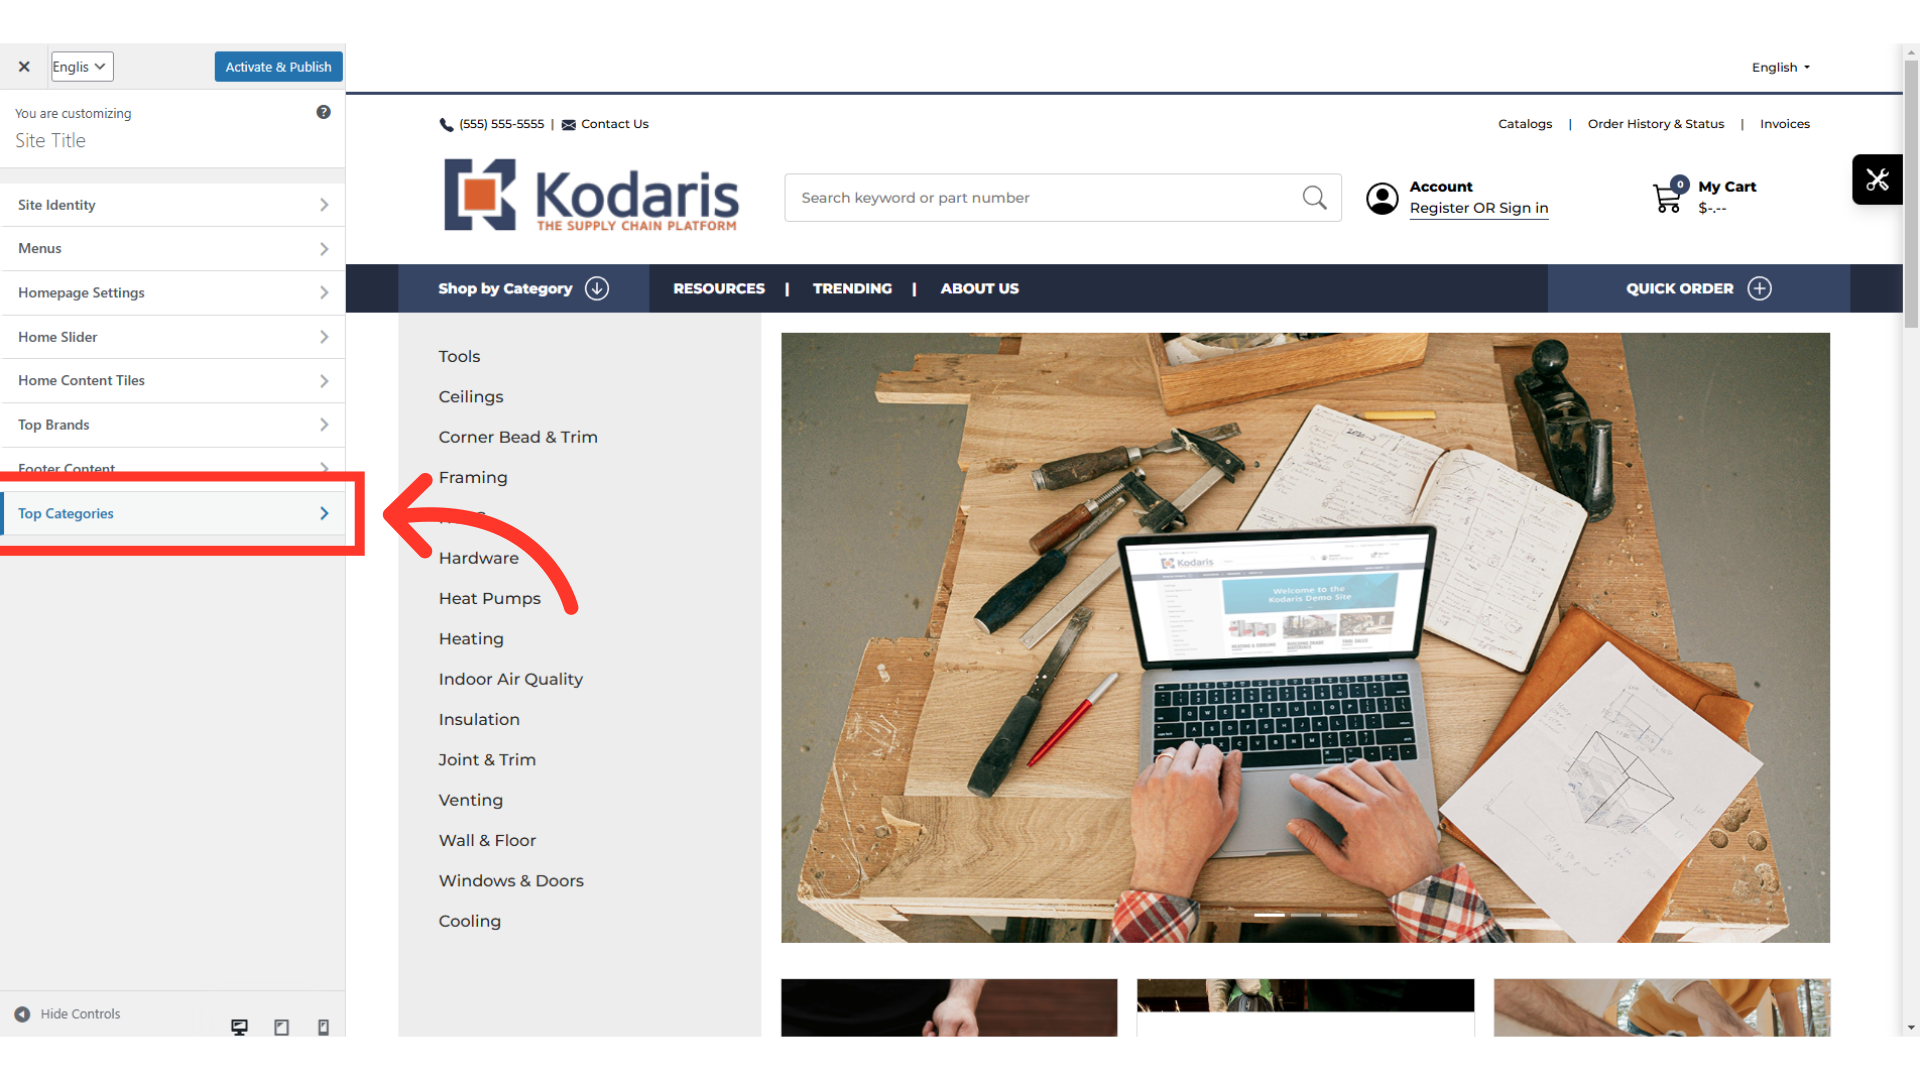
Now, go to the "Top Categories" section.
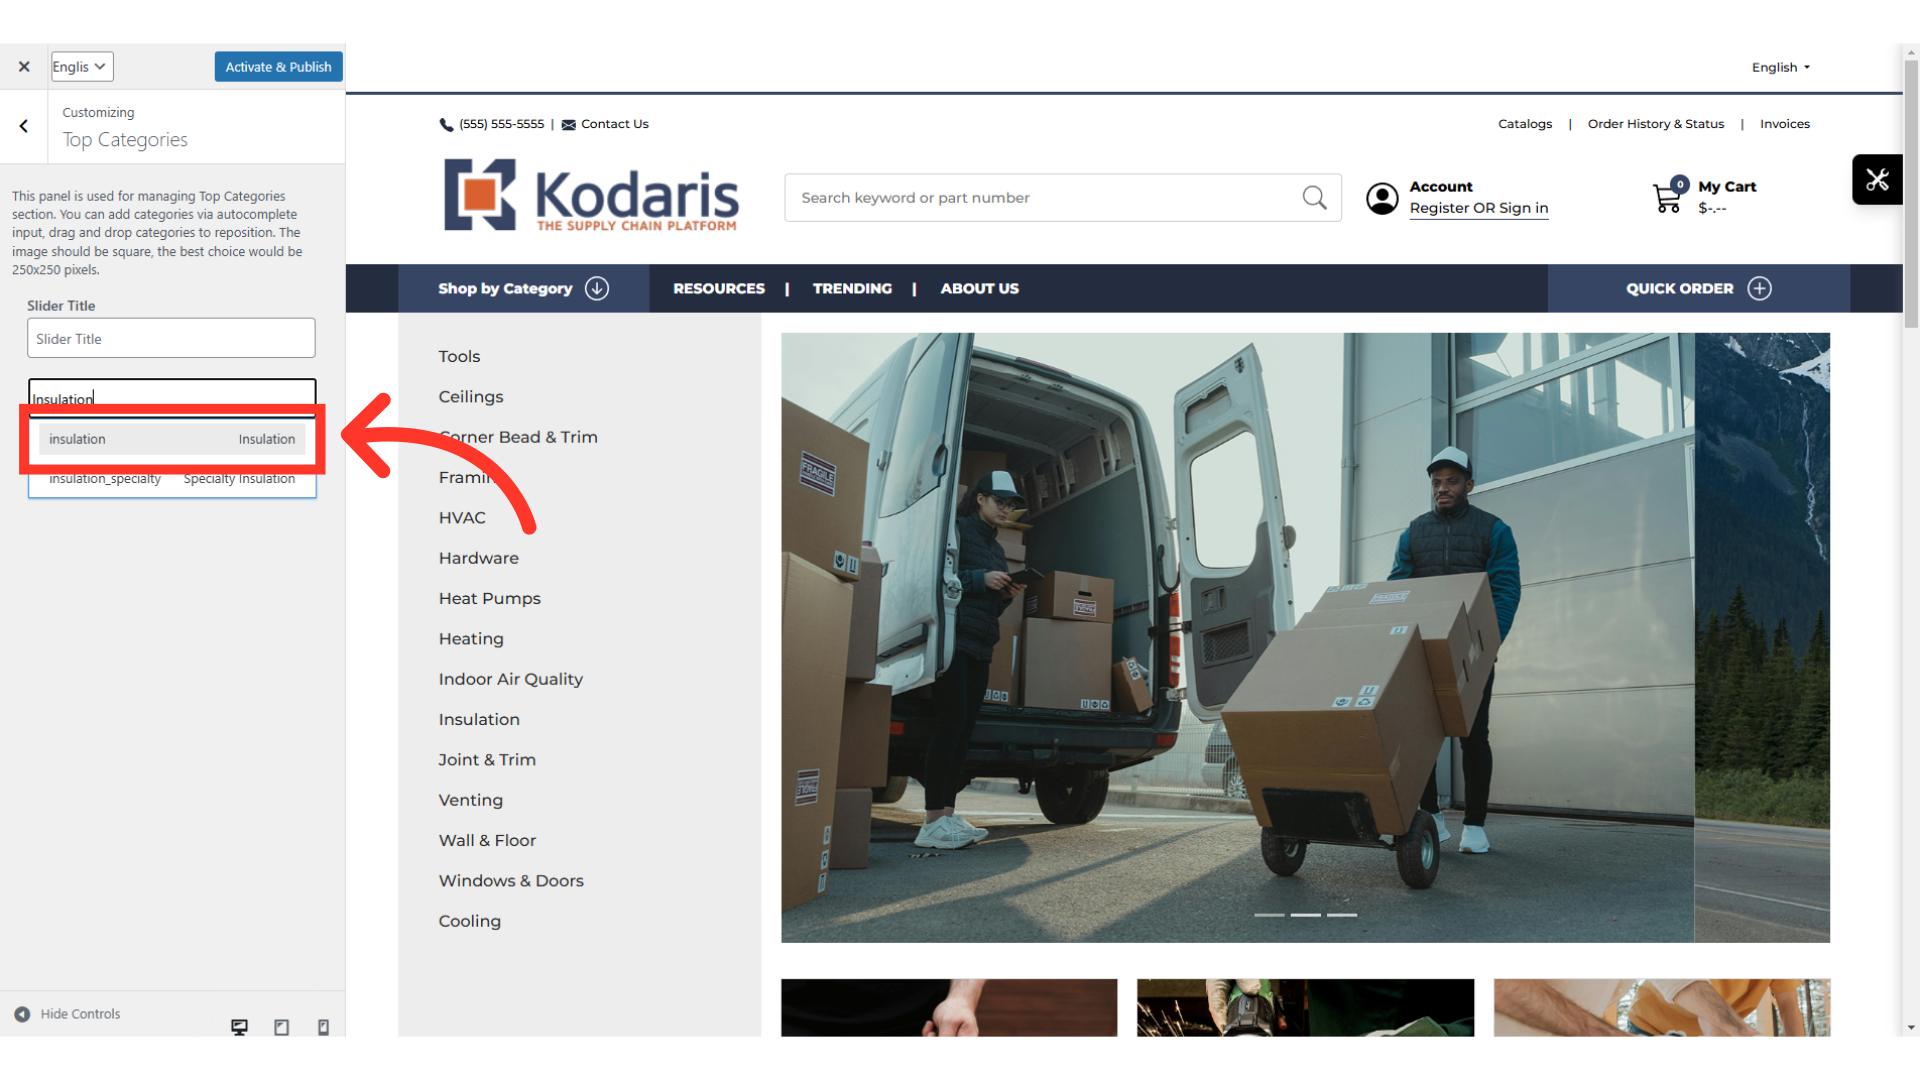
To start adding a category, click on the "Add category" field and type in category code. For this example we are using "Insulation".

Select the specific category code from the dropdown to add. For this example, we are choosing the "insulation" category.
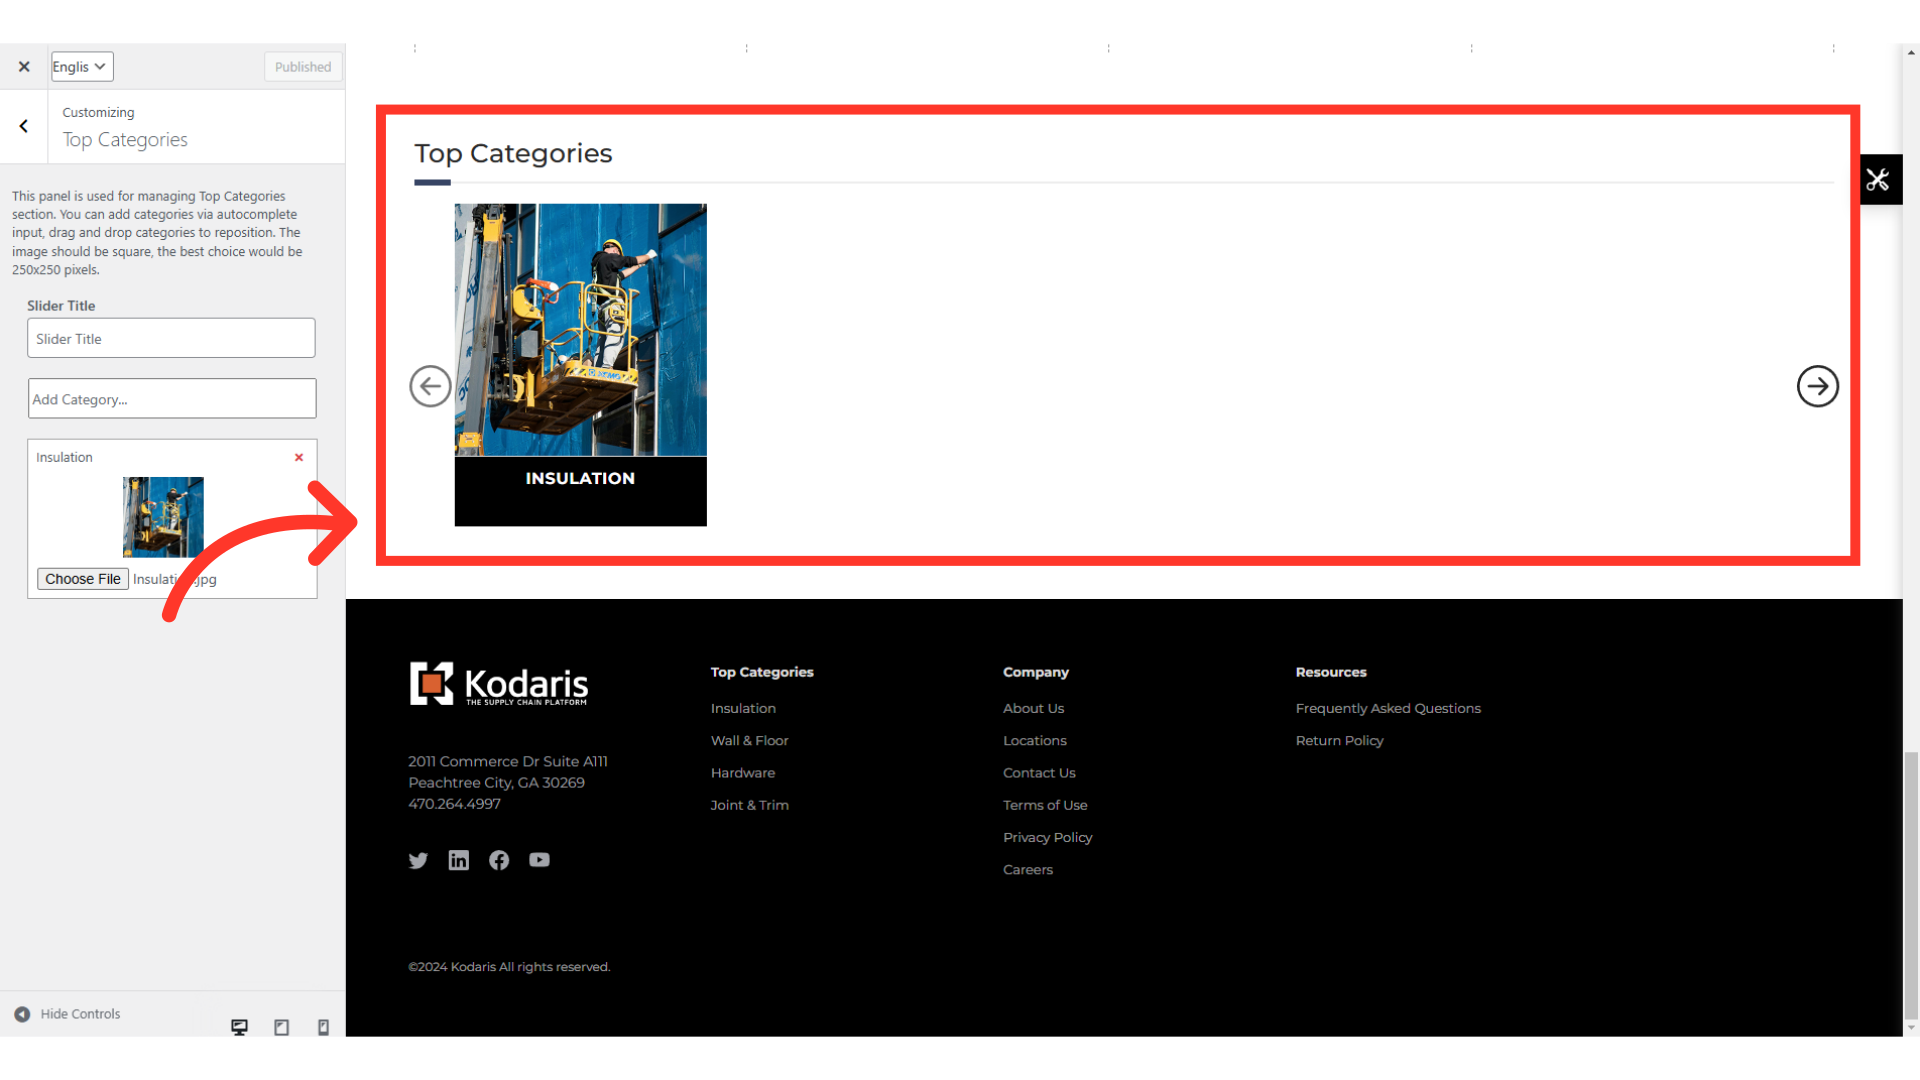
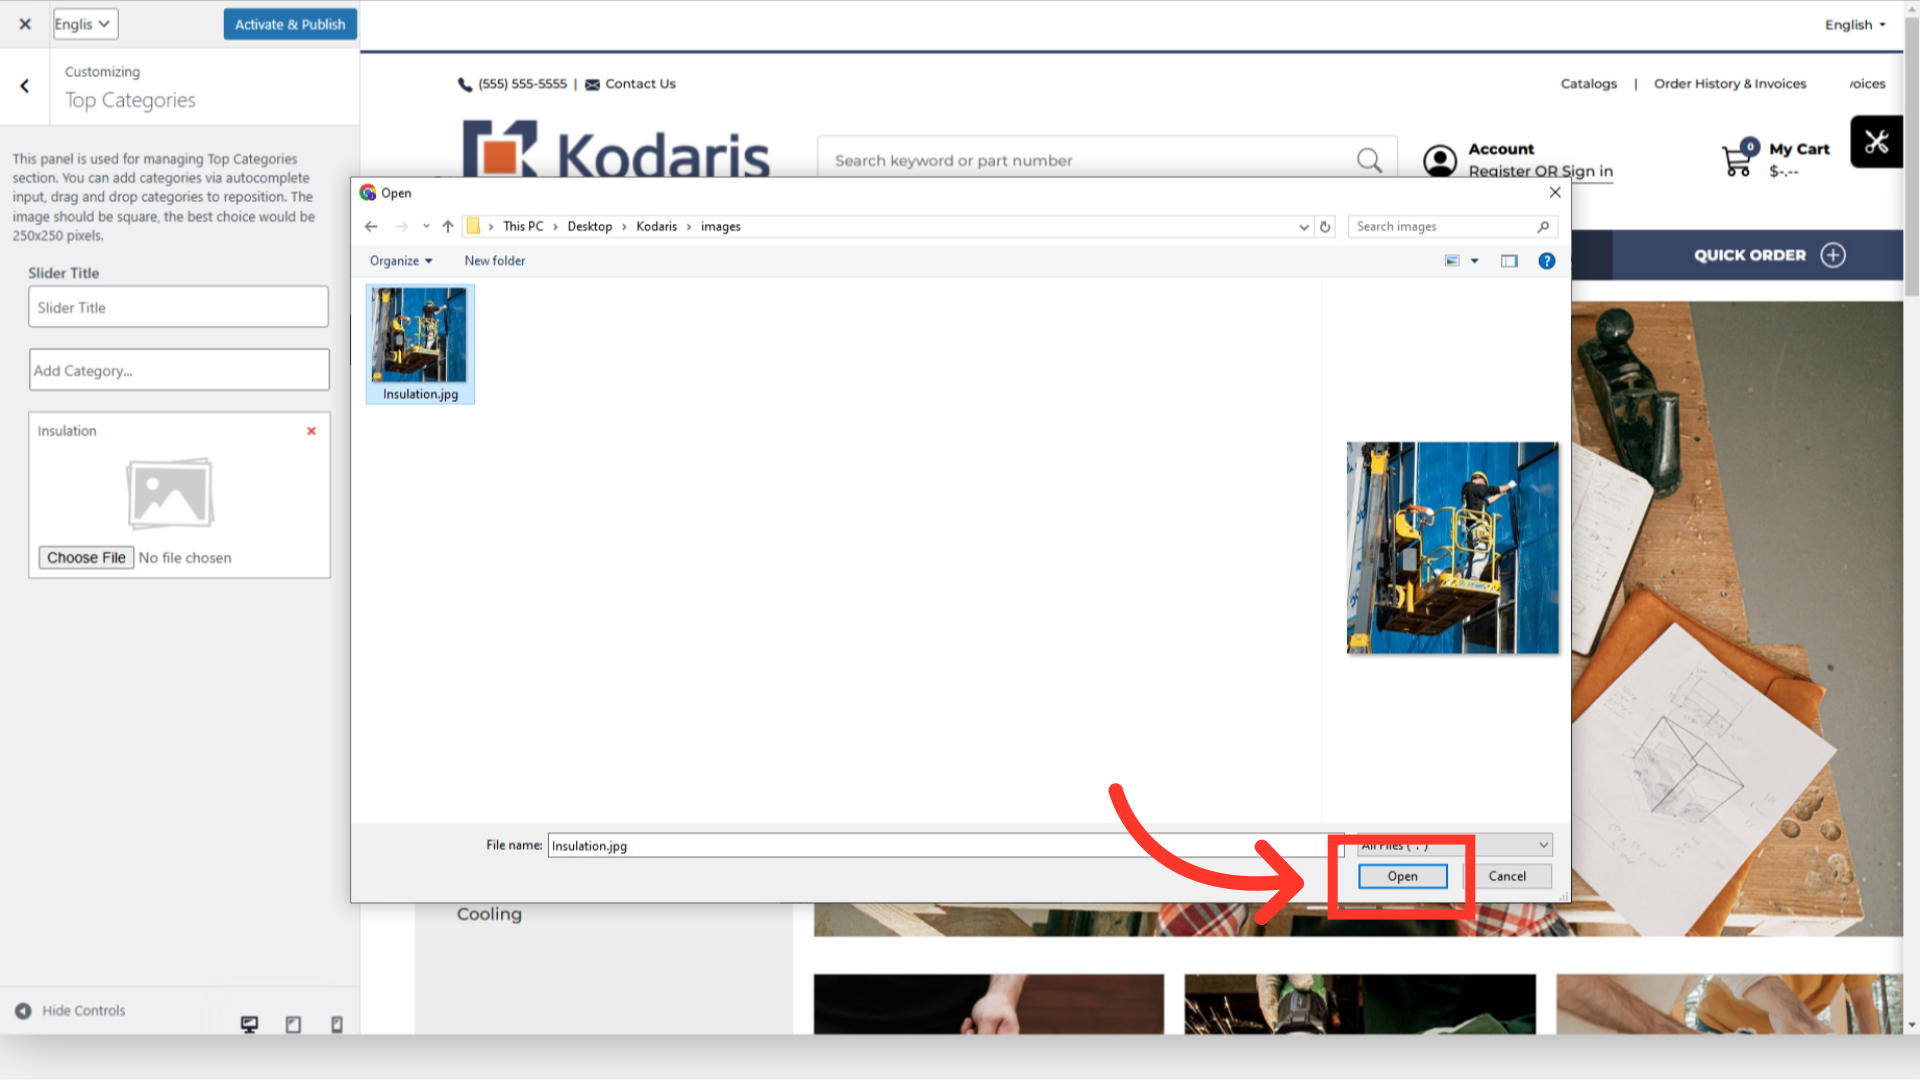
To upload a category image, click the "Choose File" button.

Select the image.

Click "Open" to add the image. Repeat the process to add more categories.
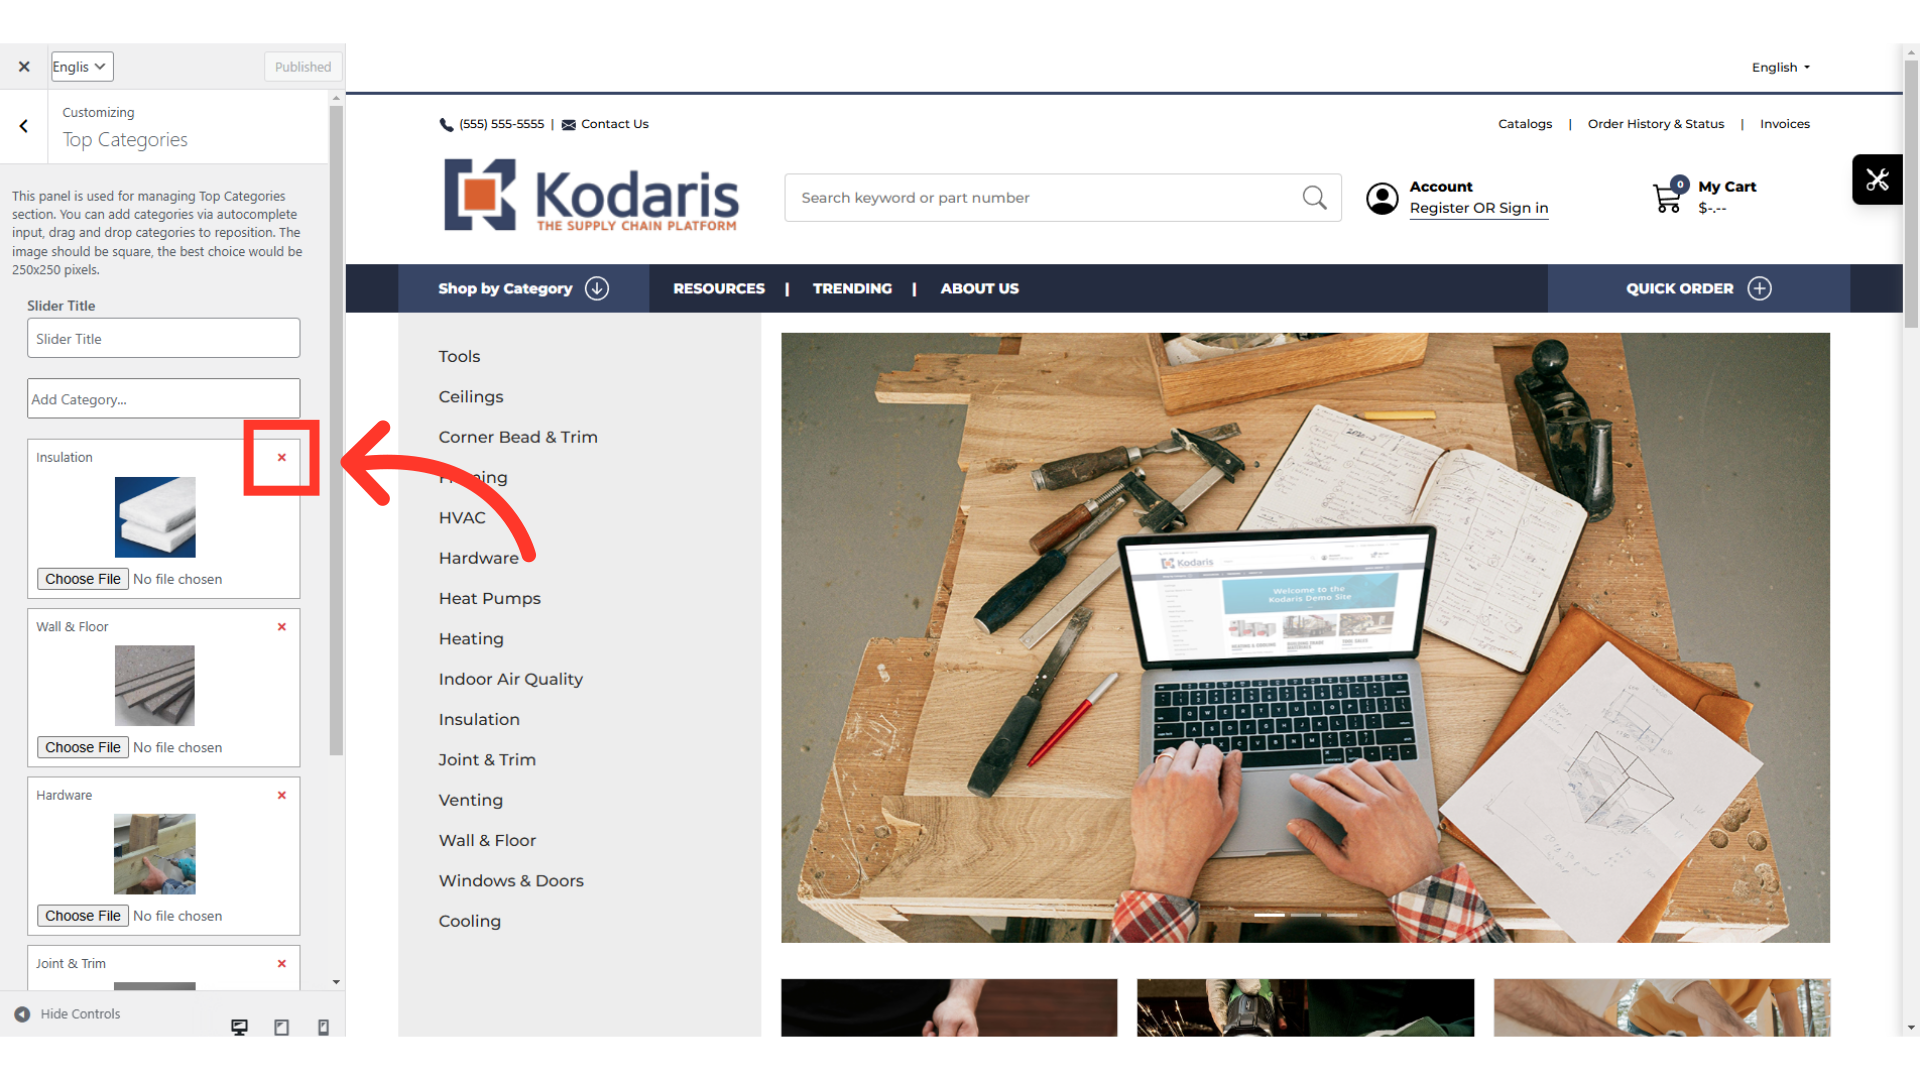
To remove a category from the widget, click the "x" icon.
You can also customize the name of your Top Categories widget. Just type in your preferred name in the "Slider Title".

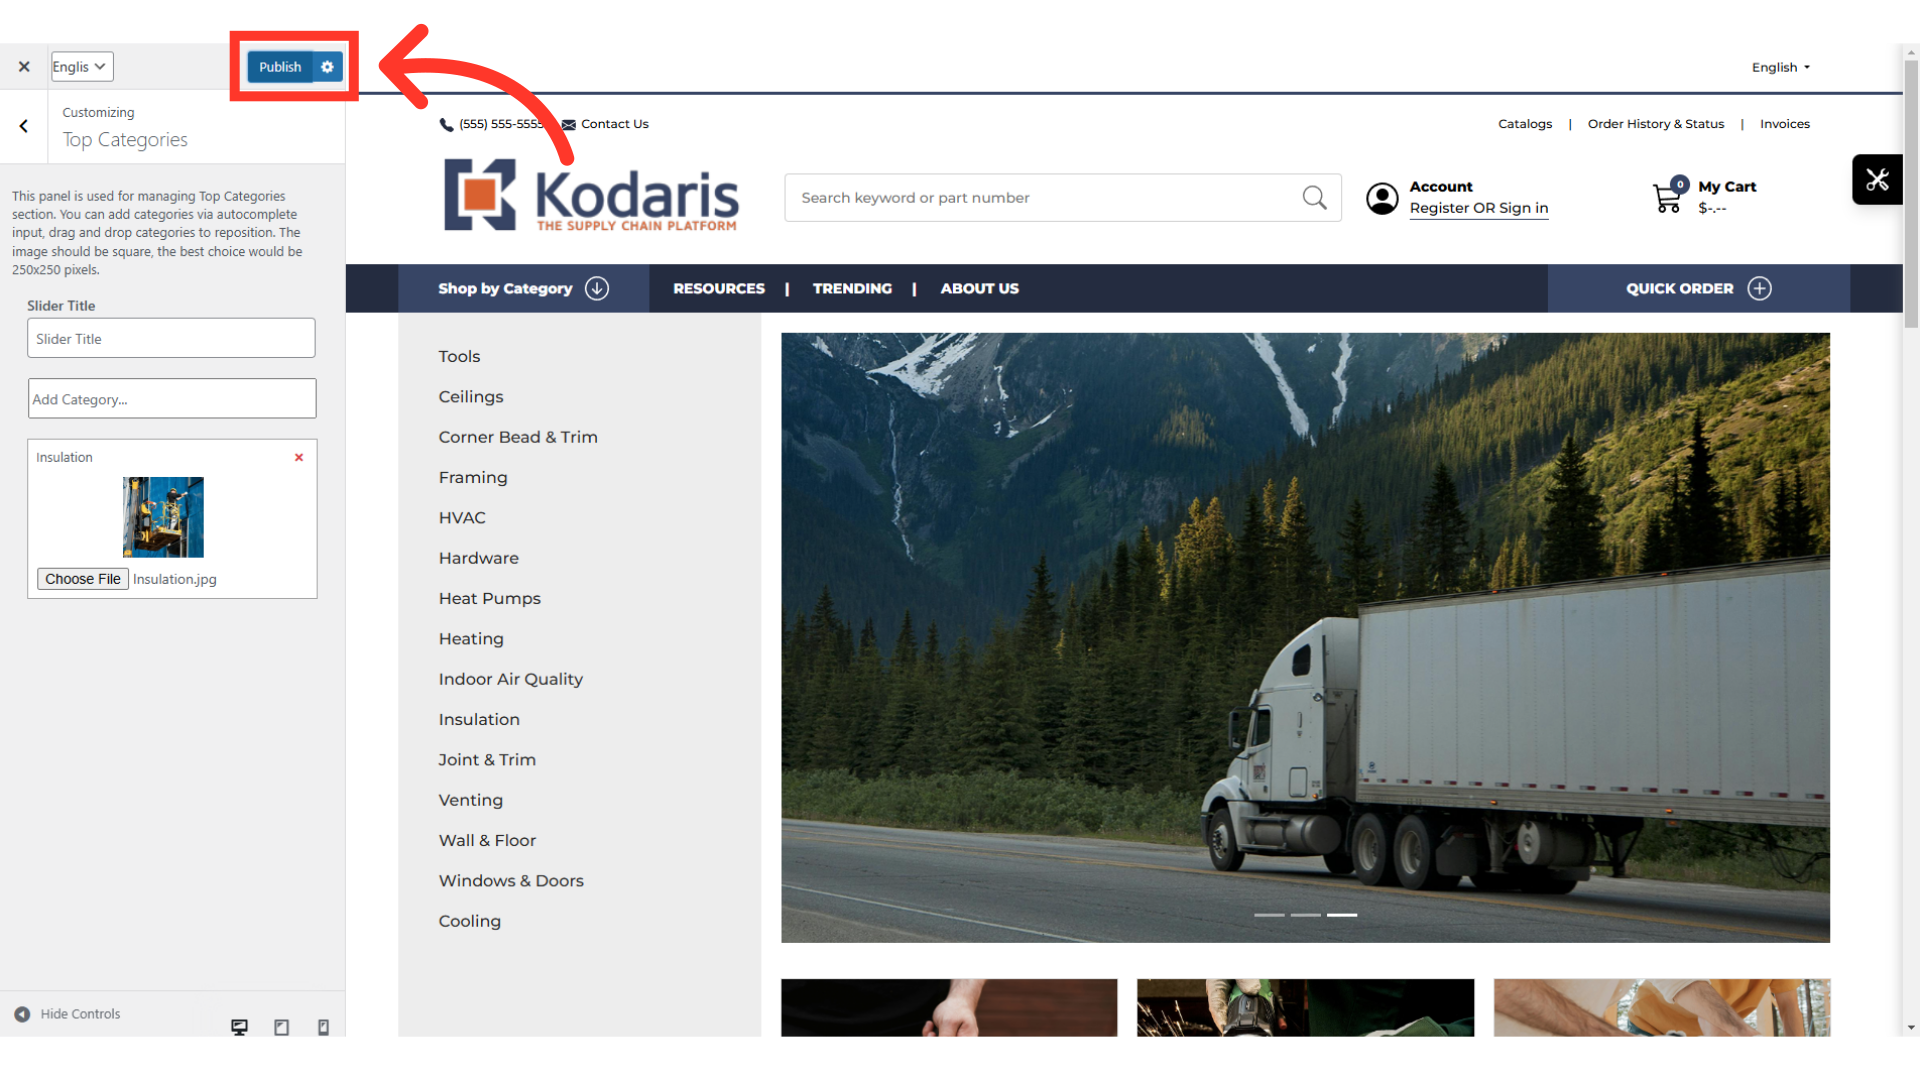
Click the "Publish" button when you would like to apply the changes made.
Look for the widget on the homepage and verify that it has been updated.