Before setting up your product kits, there is a setting that needs to be configured. To start, navigate to the "System" menu in the Operations Portal.

Then, click "Settings". In order to access and edit settings, you will need to be set up either as an "administrator" or a "superuser", or have the following roles: "settingEdit" and "settingView".

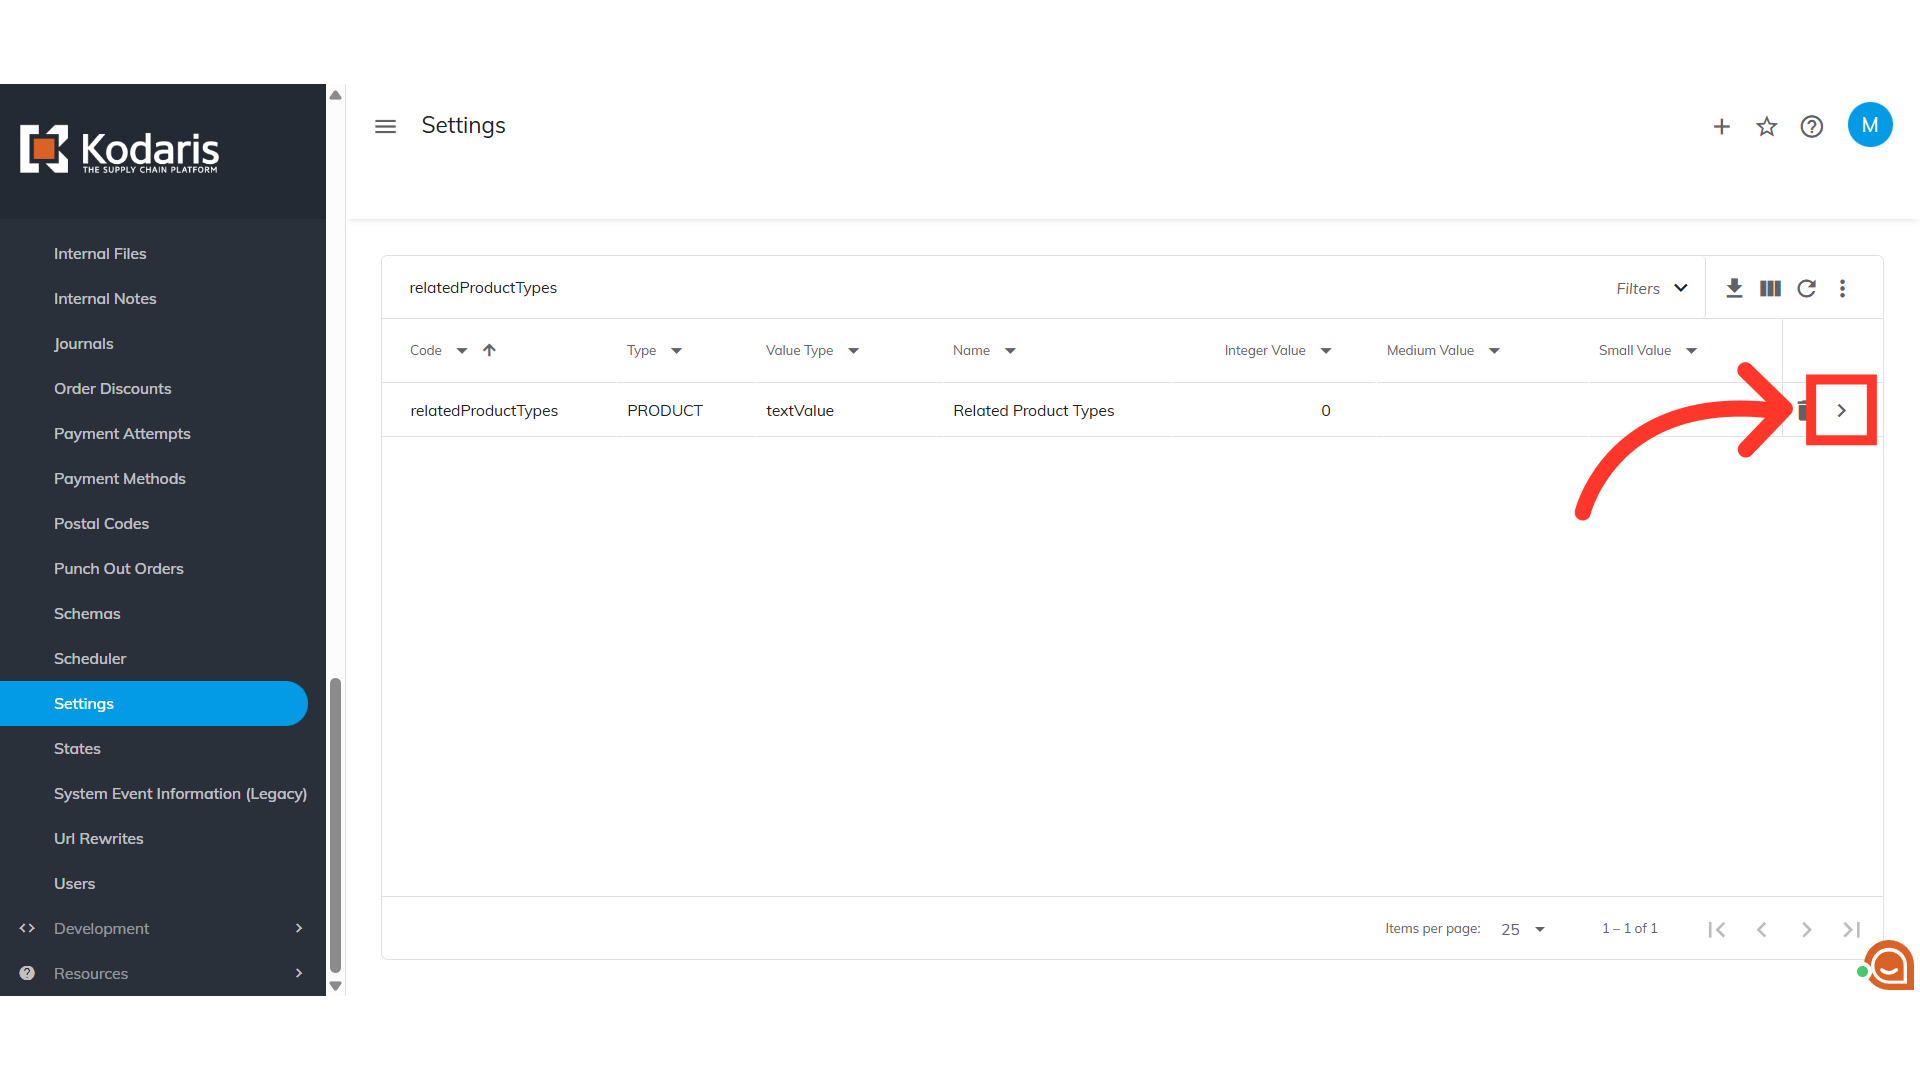
Enter "relatedProductTypes" in the field to search.

Click on the more details icon to open the "Settings" details page.
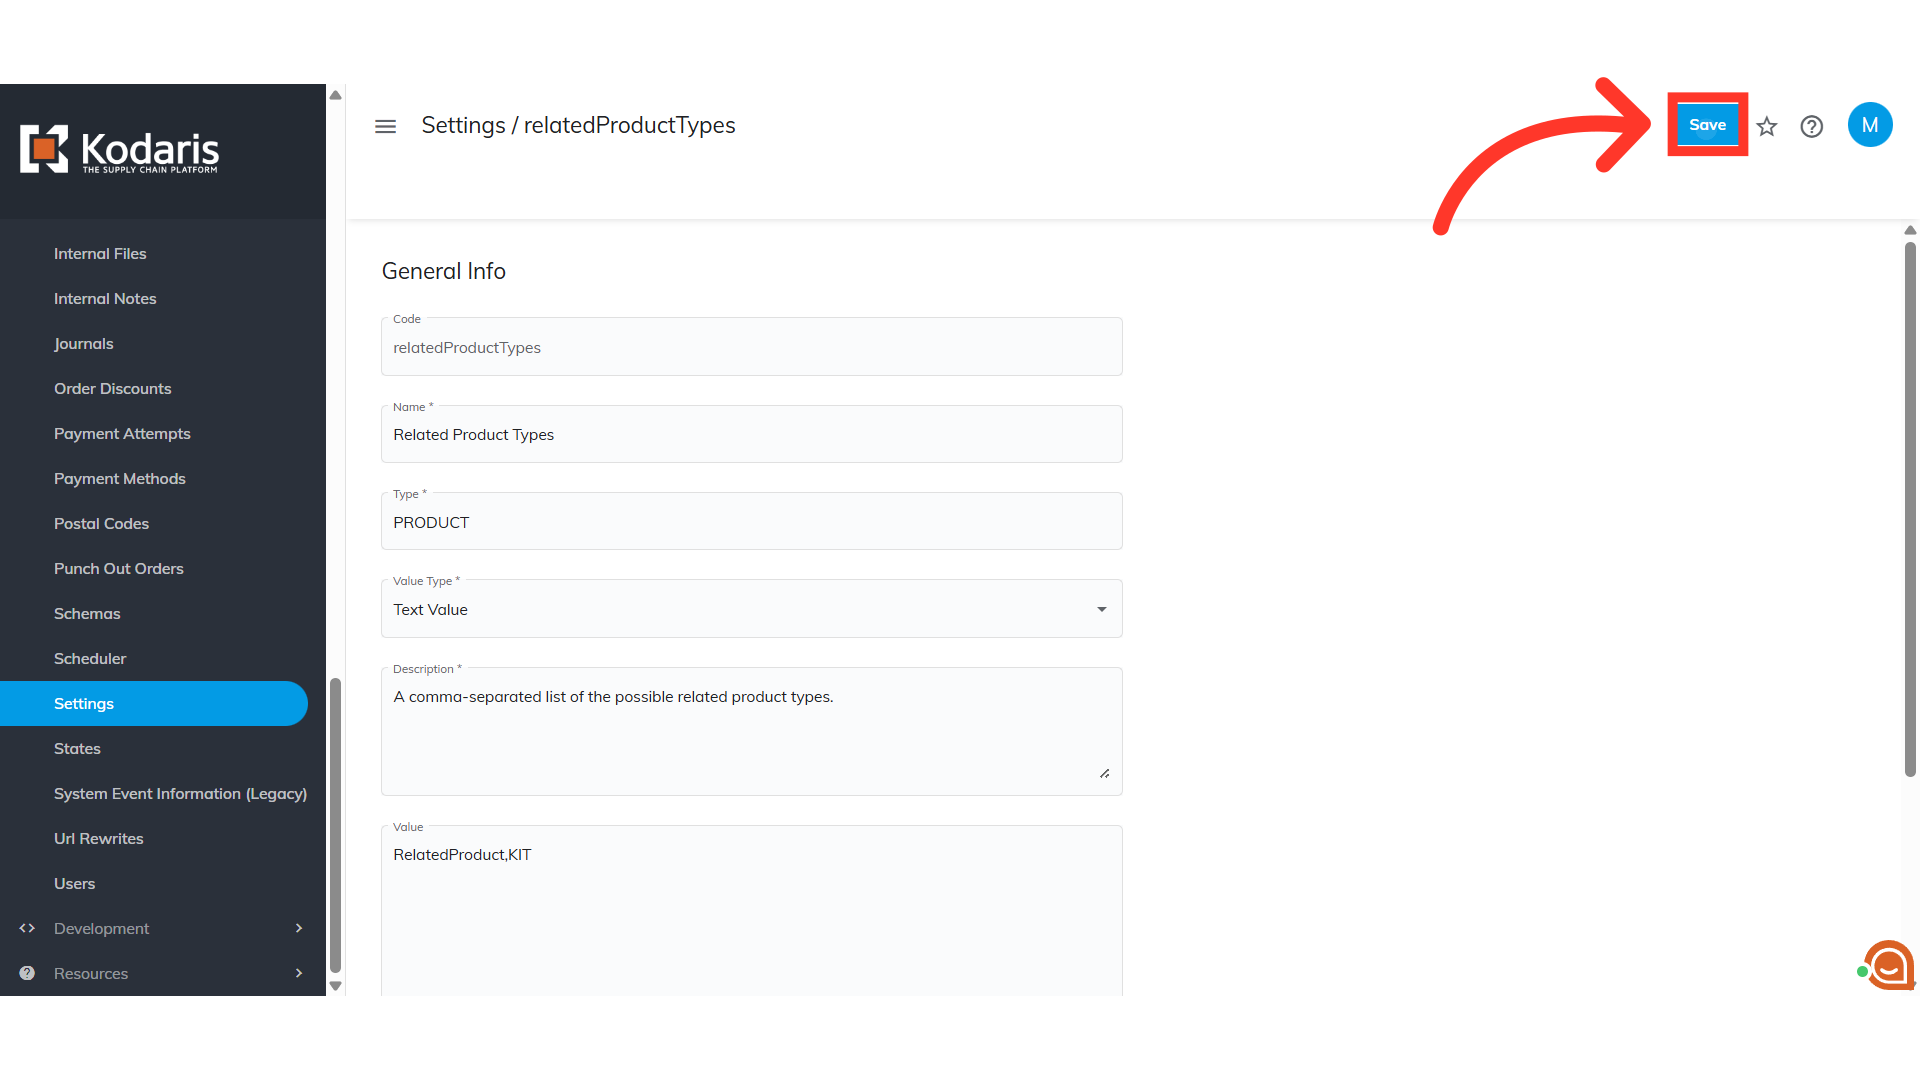
Add "KIT" to the list of existing values after a comma.

Click "Save".
Now that the setting has been updated, you can start creating product kits. Navigate to the "PIM" section.

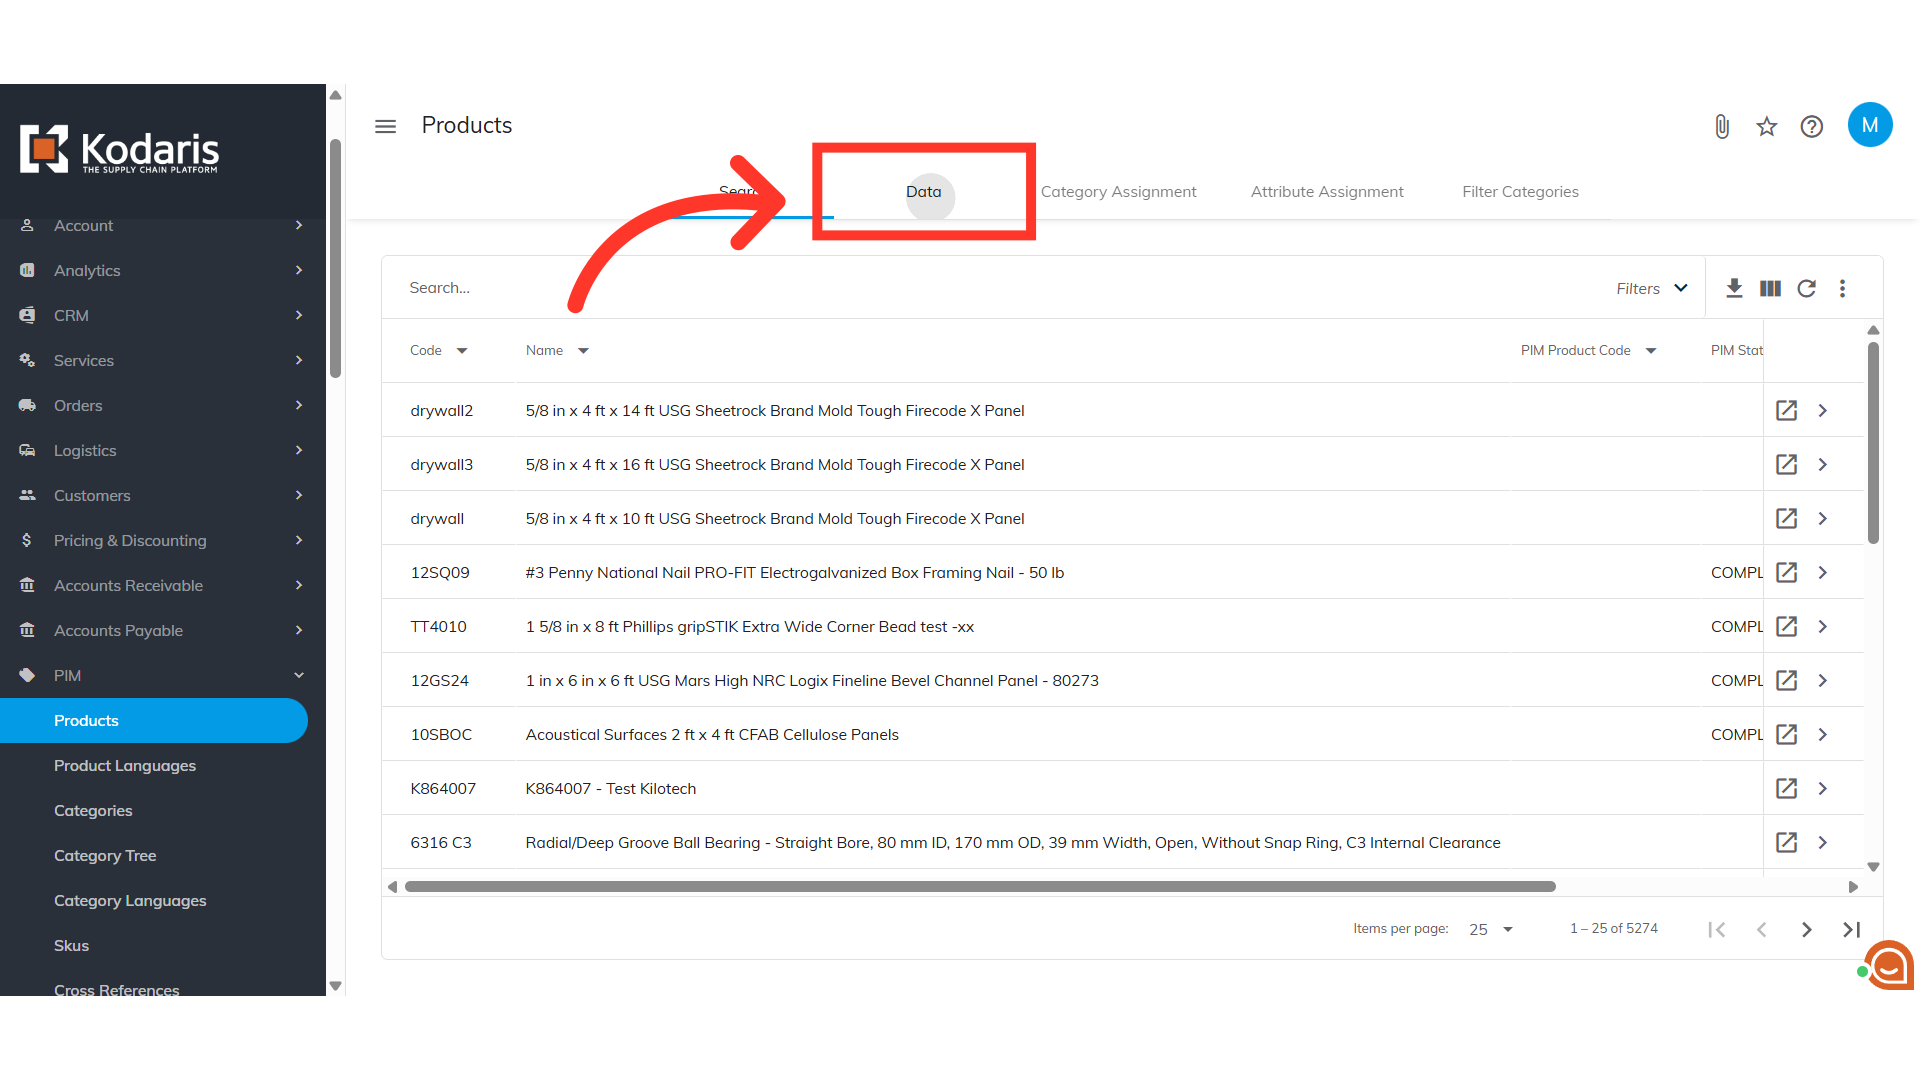
Click "Products". In order to access and update "Products" you will need to be set up either as an "administrator" or a "superuser", or have the roles of: "productView" and "productEdit".

Go to "Data" tab.
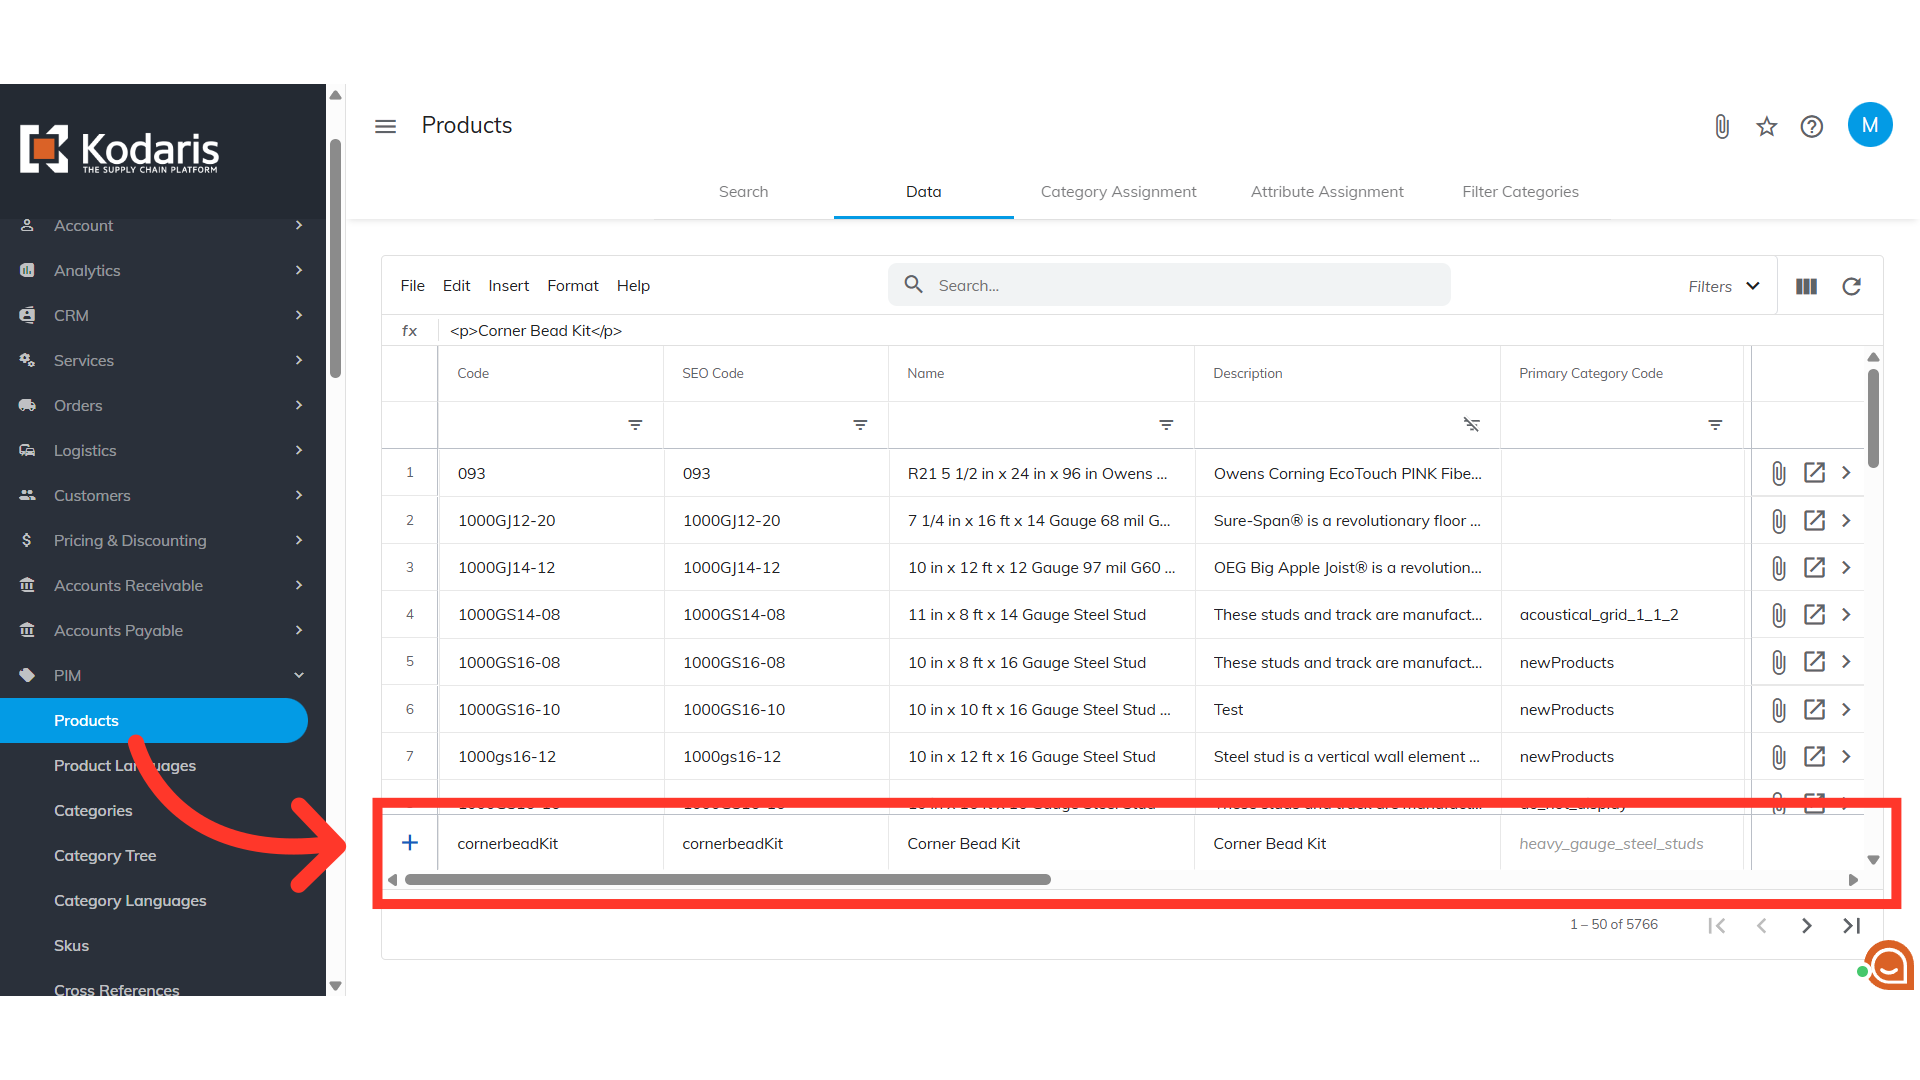
To add a new kit, you will first want to create a parent kit product. At the bottom of the screen, add the parent kit product by entering data in the "Add a row" fields. "Code" is a required field, and should contain the product code for the kit you are creating. You can choose to update additional fields at this time, or enter the data at a later date. Click enter to add the code to the grid.
Once added, search for the parent product code you just created, and click the more details icon to go to the more details page.
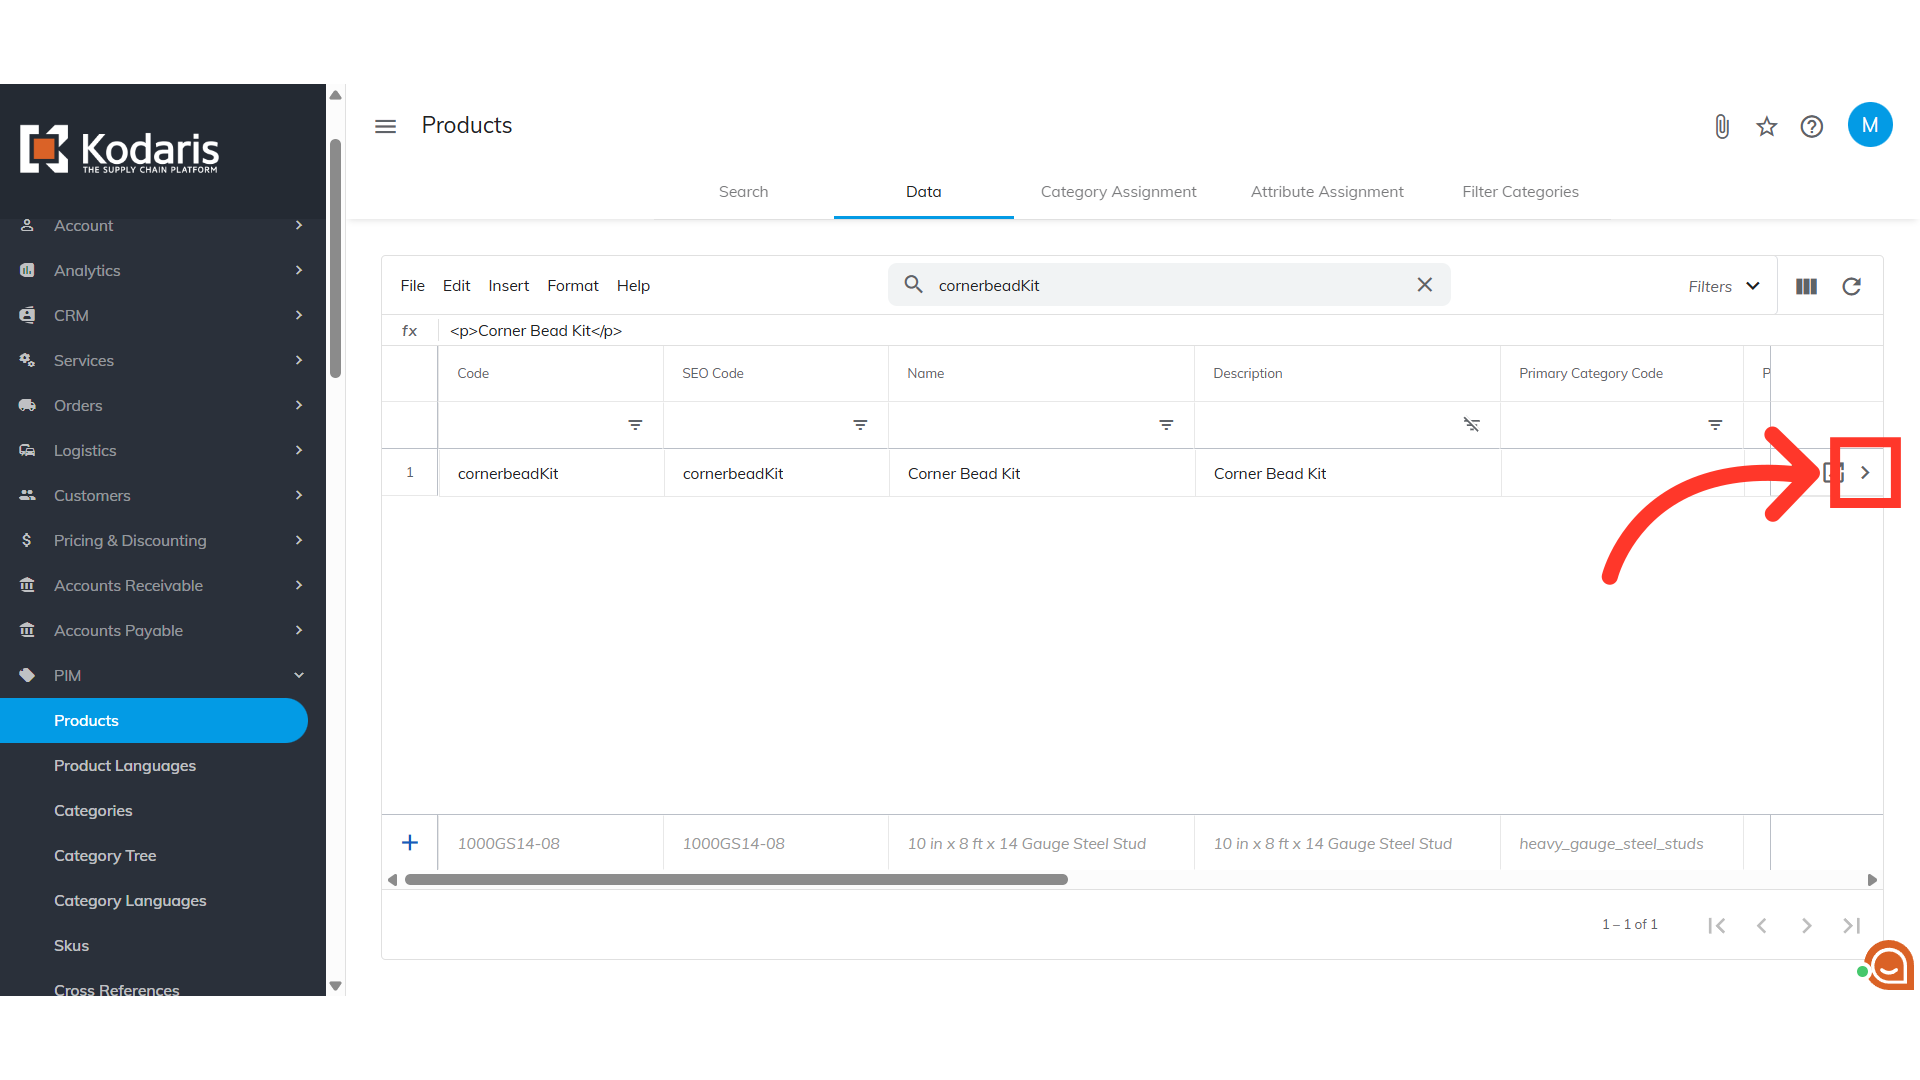
Then, select the "Related Products" tab.

Here, you will add the products that you would like to include in this kit. Click into the "+Relate Product" field. You can also choose to create new product codes that need to be added to your kit. This can be done ahead of time, by using the data grid under Products.

Enter the product name or code in the field to find a product you would like to add.

Select the product from the options.

You will notice that a tape product has been added to the product kit. Simply repeat the steps to add other needed products to your kit.

The "Type" field will need to be updated from "RelatedProduct" to "KIT".

Click into the field and select "KIT" from the options.
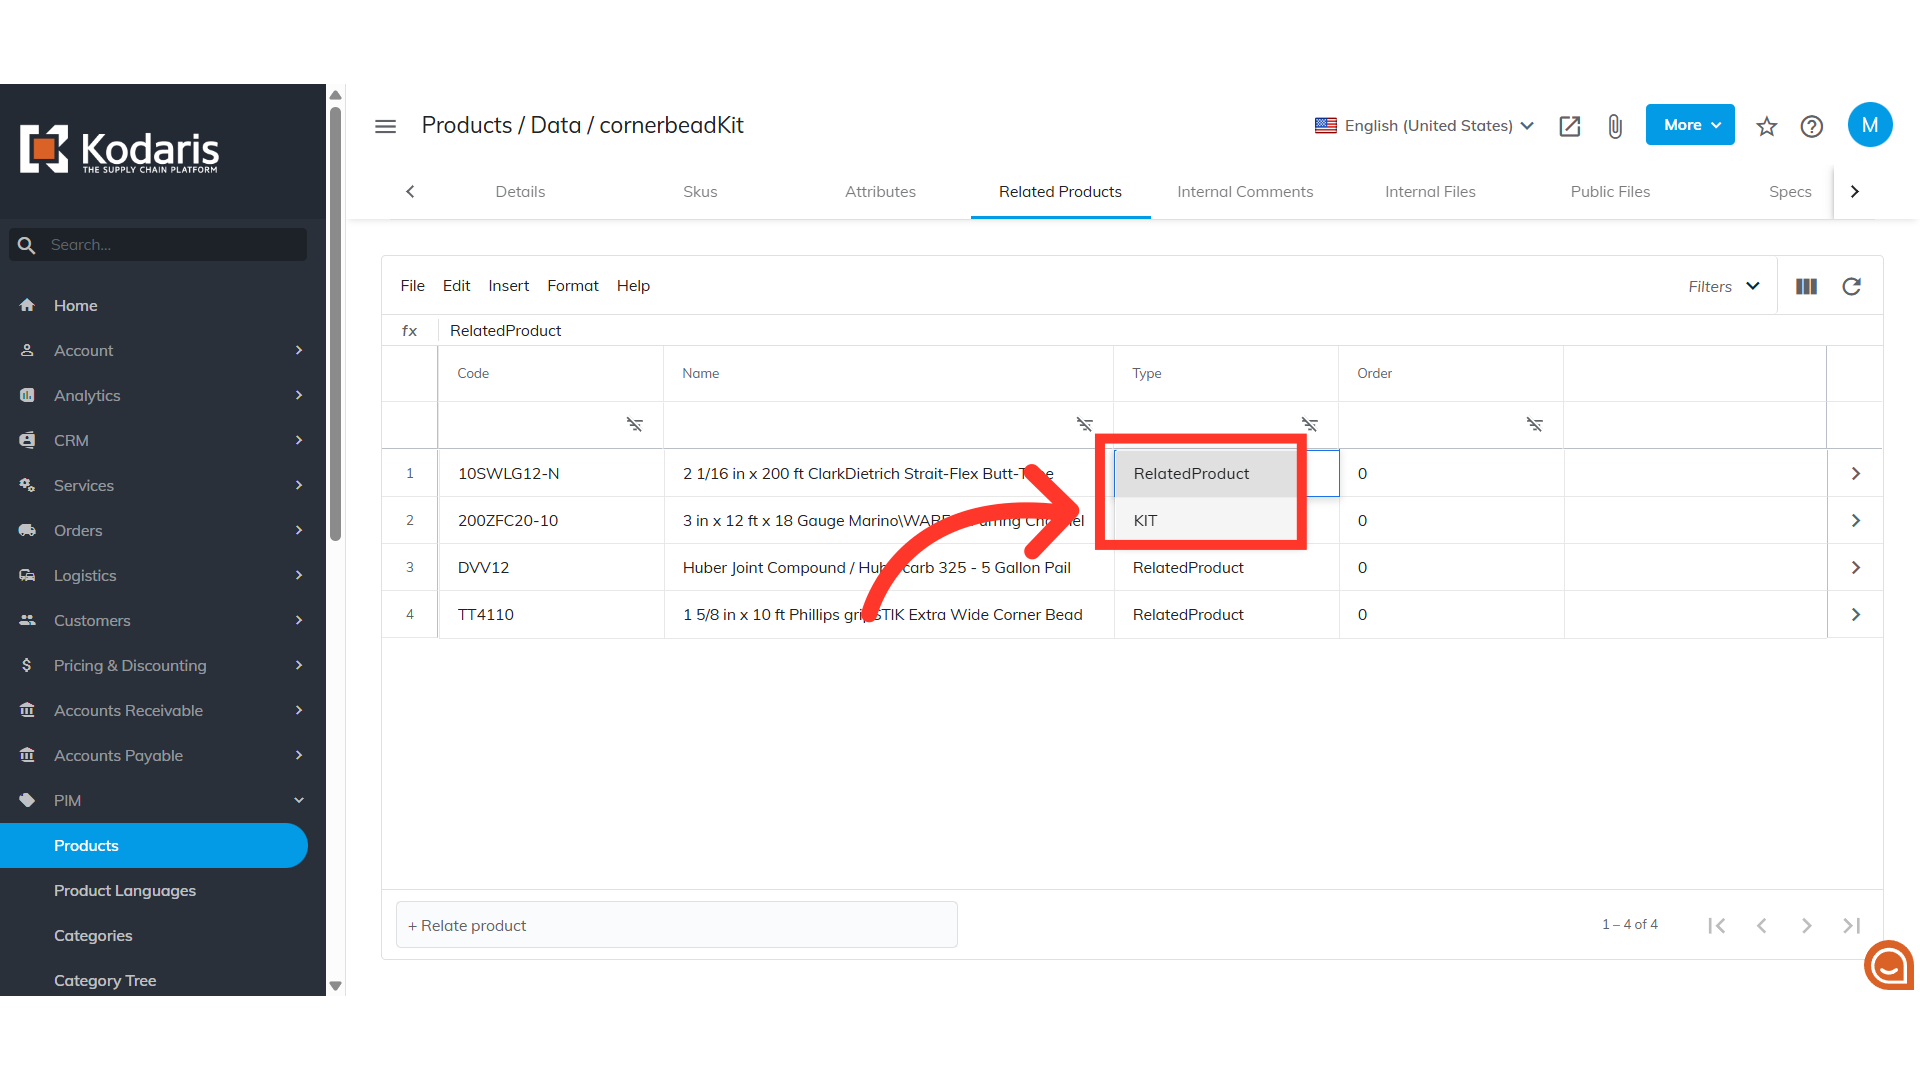
Update the type to "KIT" for all kit products.

To update additional product kit fields, click on the "Show/Hide columns" icon.

Select the columns you want to view or update by clicking on the checkbox next to column name. These columns will be added to your grid view.

Once you've added the columns, data can be updated by clicking into the cells. To find out more about these fields, you can check on the additional product kit settings help page for more details.

The product kit is now set up and can be added to quotes and orders.
