To add products to vendor invoices, navigate to the "AR / AP" section in the Operations Portal.

Then, click "AP Vendor Invoices". In order to access " AP Vendor Invoices", you will need to be set up either as an "administrator" or a "superuser", or have the following roles: "vendorInvoiceView and vendorInvoiceEdit.

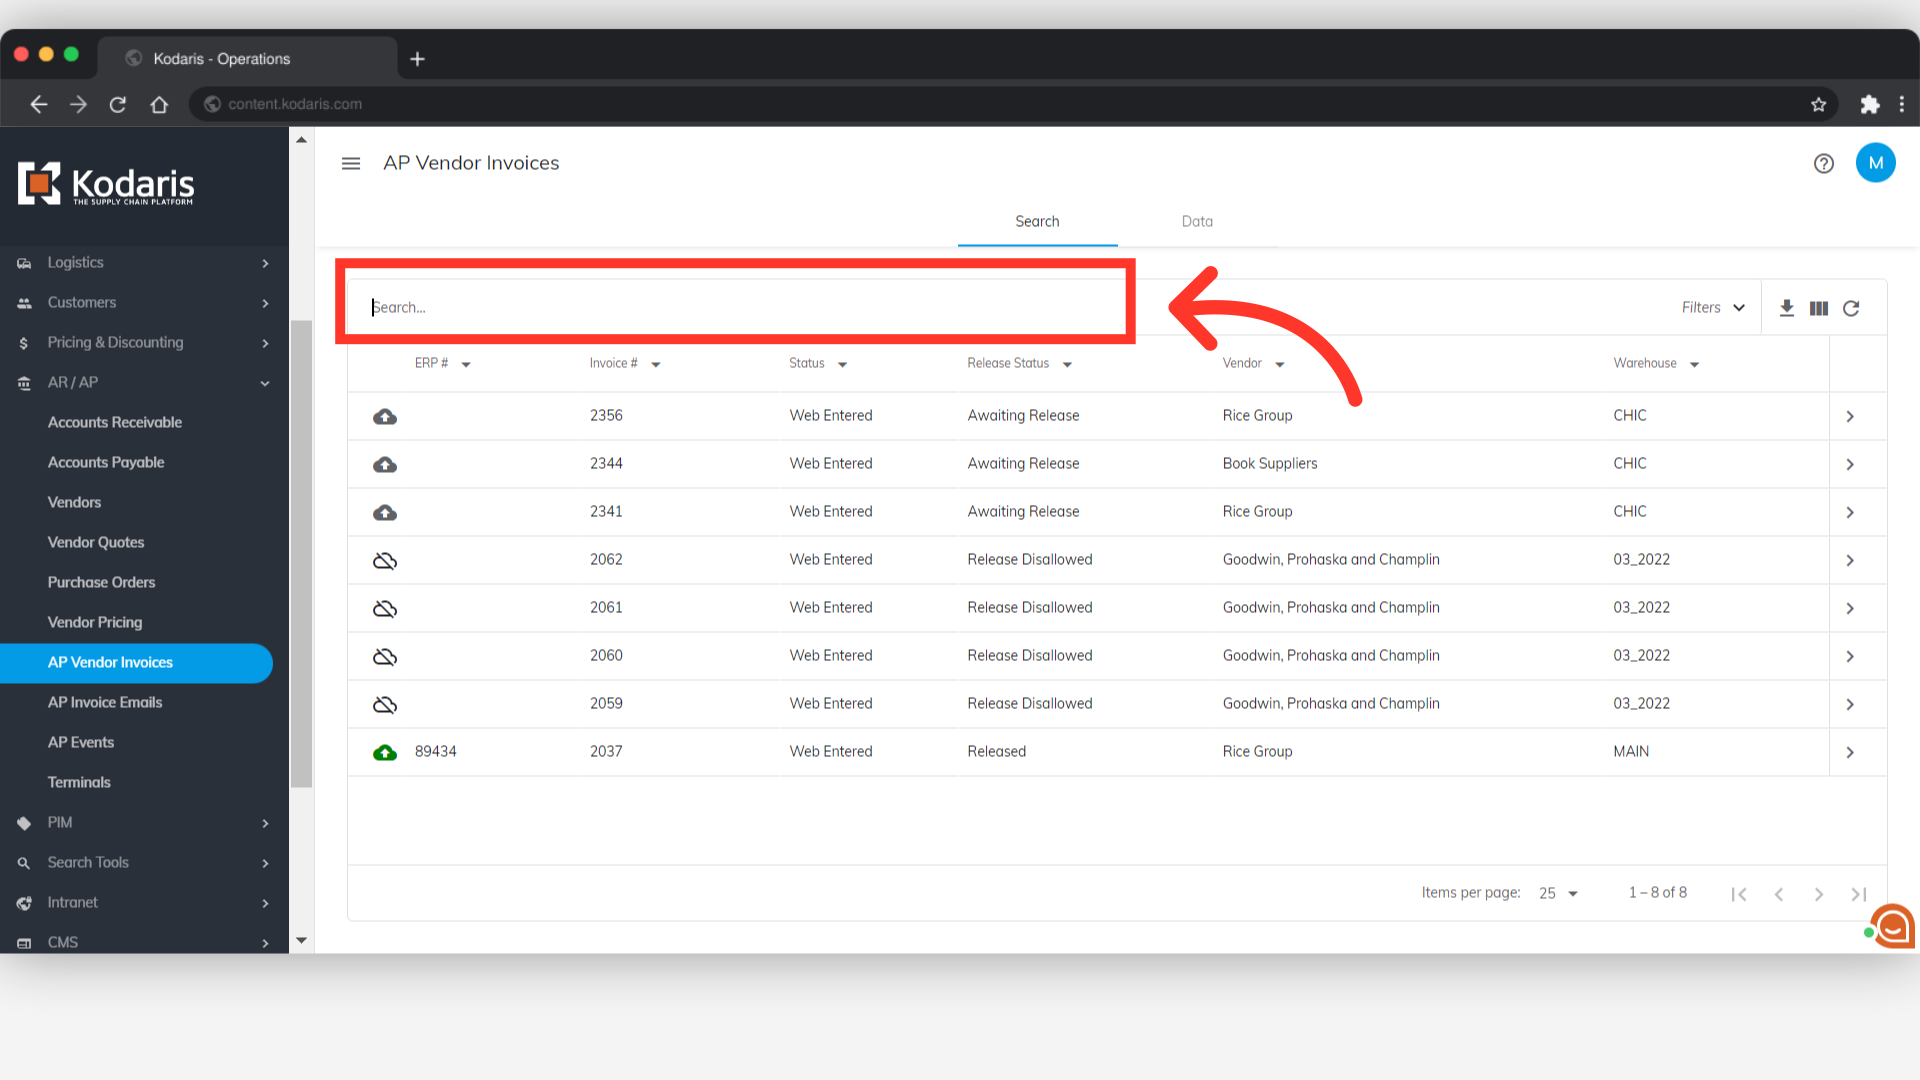
Search for the vendor invoice by typing in the "Invoice number" or "Vendor name" in the "Search" field.
Once you locate the vendor invoice, click on the more details icon.

Next, go to the "Items" tab.

Enter the line number you want for the product in the "Line" field.

Type to search for the product in the "Code" field. You can enter either the product code or the product name. This search feature has been added to vendor invoices to enforce using standard system product codes.

Select the product from the list.

Set the quantity of the product in the "Qty" field. Once set, hit the "Enter" key to add the product.

The product will now be added to the vendor invoice.
