Creating and maintaining a blog is simple and intuitive while using the Kodaris CMS, and it requires zero coding experience. Everything you need for your company’s blog is all in one place—from a modern page editor, ready-to-go layouts, and SEO fields to drafts, publishing capabilities, and more.
The CMS uses the WordPress Gutenberg page editor to create and edit blog content, and with the editor’s drag-and-drop and point-and-click functionality, it’s easy to create custom blog posts.
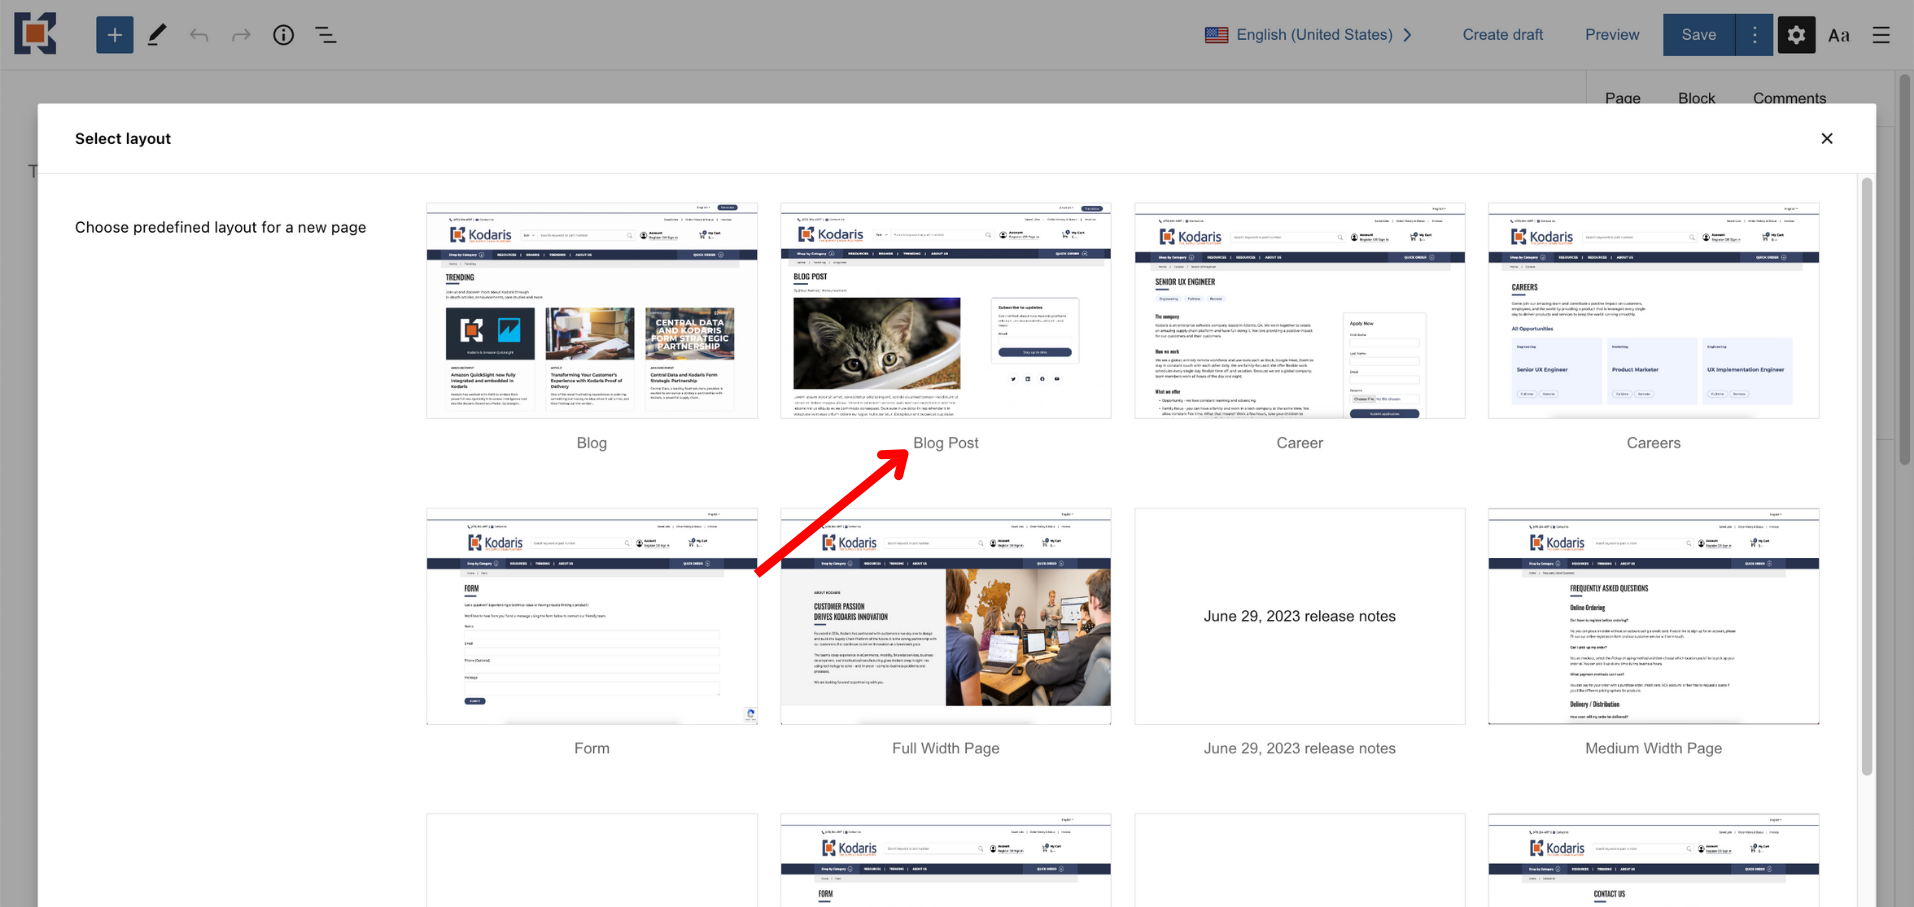
With the Kodaris CMS, you will receive various page layouts immediately available for use. In terms of layouts specific to blogging, there are a few to leverage.
The first option is a page layout structured for a typical blog homepage. The format showcases your articles in reverse chronological order.
The second is a page layout that represents a typical blog article. This format includes a heading/title and header image at the top and the body copy below.
These layouts are provided so that you have readily available pages; however, you can modify these layouts as you see fit. You also have the option to create your own layouts using the Gutenberg editor or via code. If you’d like to develop a custom, coded layout, you can leverage your IT team, or Kodaris can do this for you.

All blog content is housed and easily accessible in the Pages section within the Kodaris Operations Portal. To create a new blog article, head to Pages.

In the upper right corner, select “Add Page”, then choose “Gutenberg”.

This will bring up a list of page layout options. Select which layout you wish to use. In this example, we will choose the layout titled “Blog Post”.
Editing a blog post with the Kodaris CMS is similar to other modern CMS content editing experiences.
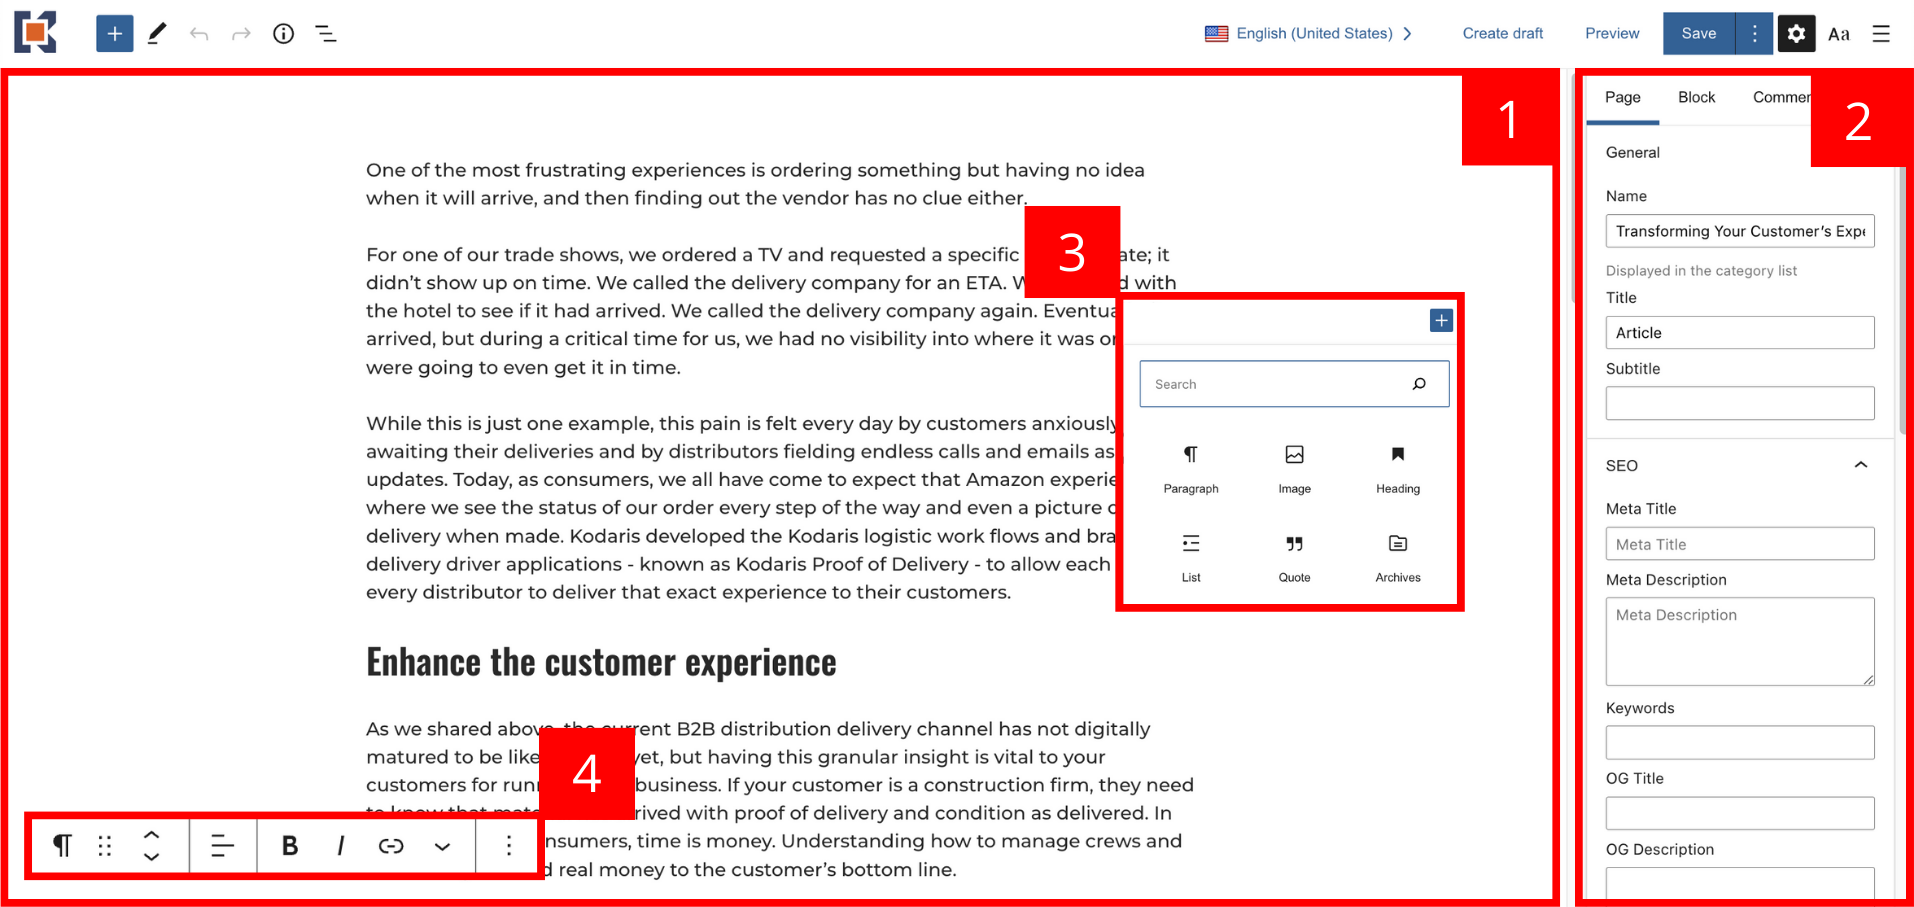
By creating a new blog post, the Gutenberg content editor will appear. This is where you can write and edit your article. Using the intuitive block features or via the page’s code, you can add elements to your pages, like headings, images, videos, paragraph text, bulleted lists, numbered lists, and more.
The page editor has four key components:
Additional resources about the page editing experience can be found under the Pages documentation.
One key aspect that is crucial to a blog post’s efficacy and success is having the proper settings in place.
To further customize your page, like adding a page title, subtitle, and URL slug or editing the page’s SEO fields, you will leverage the settings panel on the right-hand side of the screen.
The panel allows you to manage the following settings:
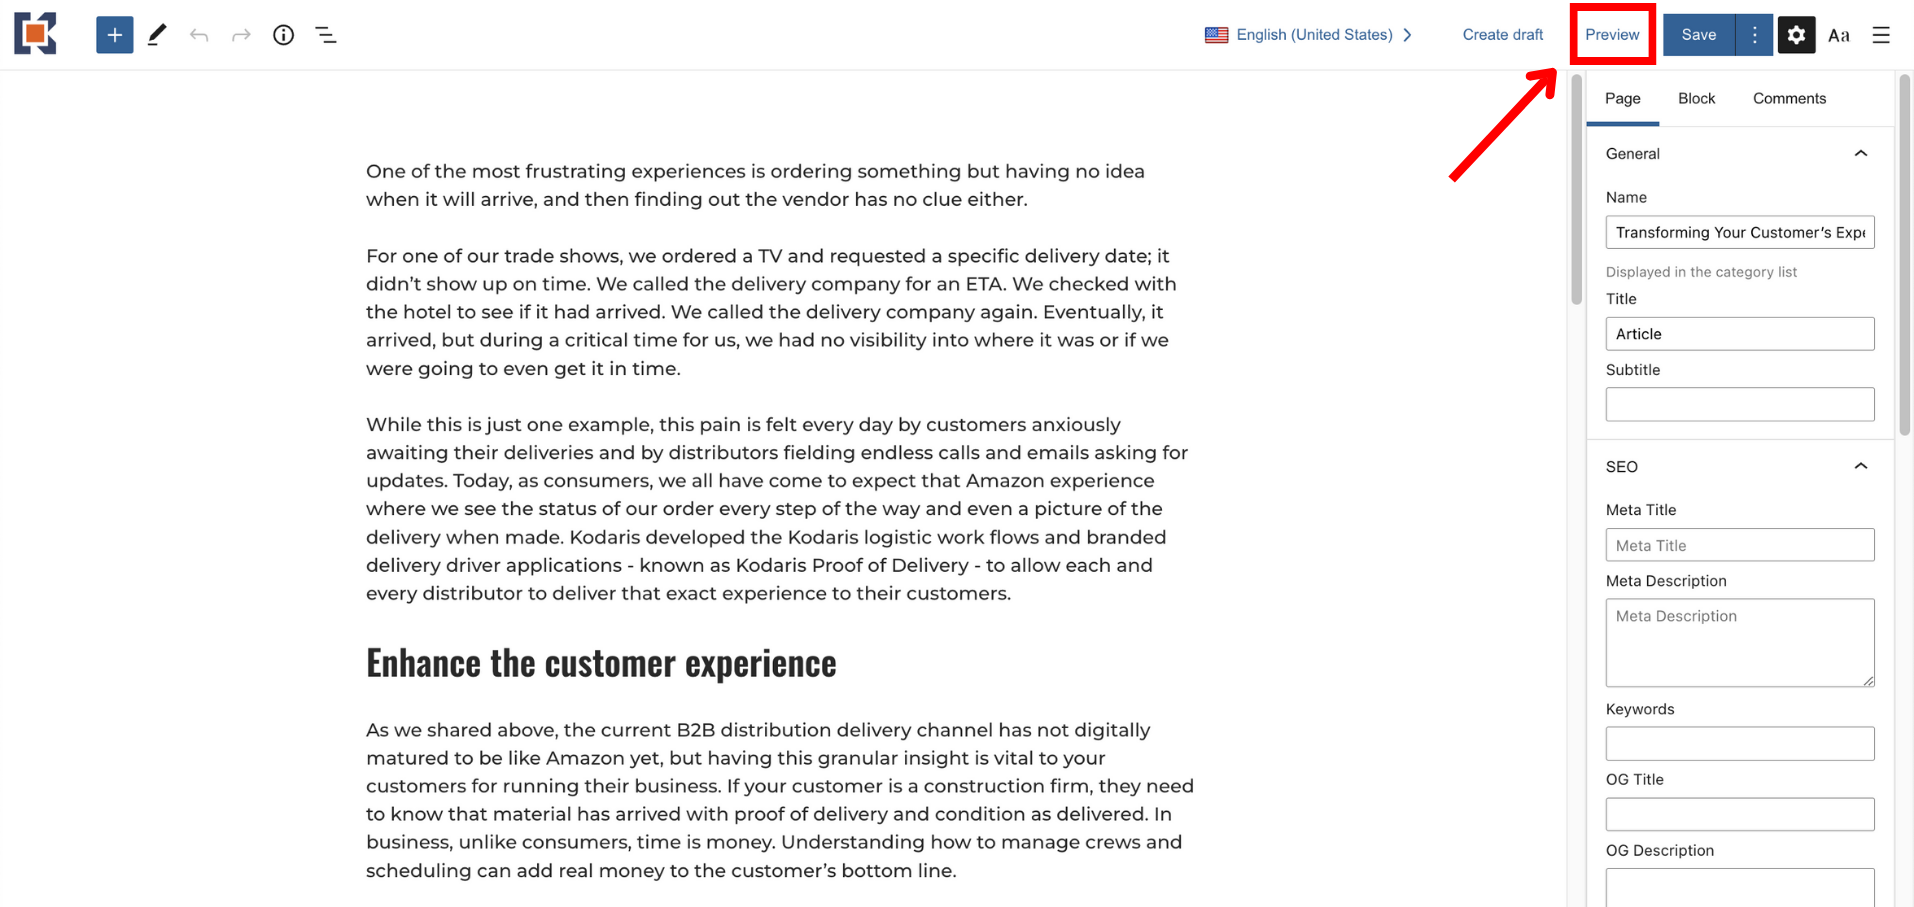
The “Preview” button located at the top right of the page editor allows you to see what the blog post looks like on your site while you’re in the process of creating or editing it. The preview feature can come in handy when you want to test what certain features or blocks might look like on your live website.
To preview a blog post, select the “Preview” button in the upper right-hand corner of the editing screen.
This will open a new tab with a preview of the page. You can review, scroll through, and interact with the blog post on your test site just as a customer would. This allows you to understand what your customer would experience, providing you the opportunity to make any necessary adjustments.
