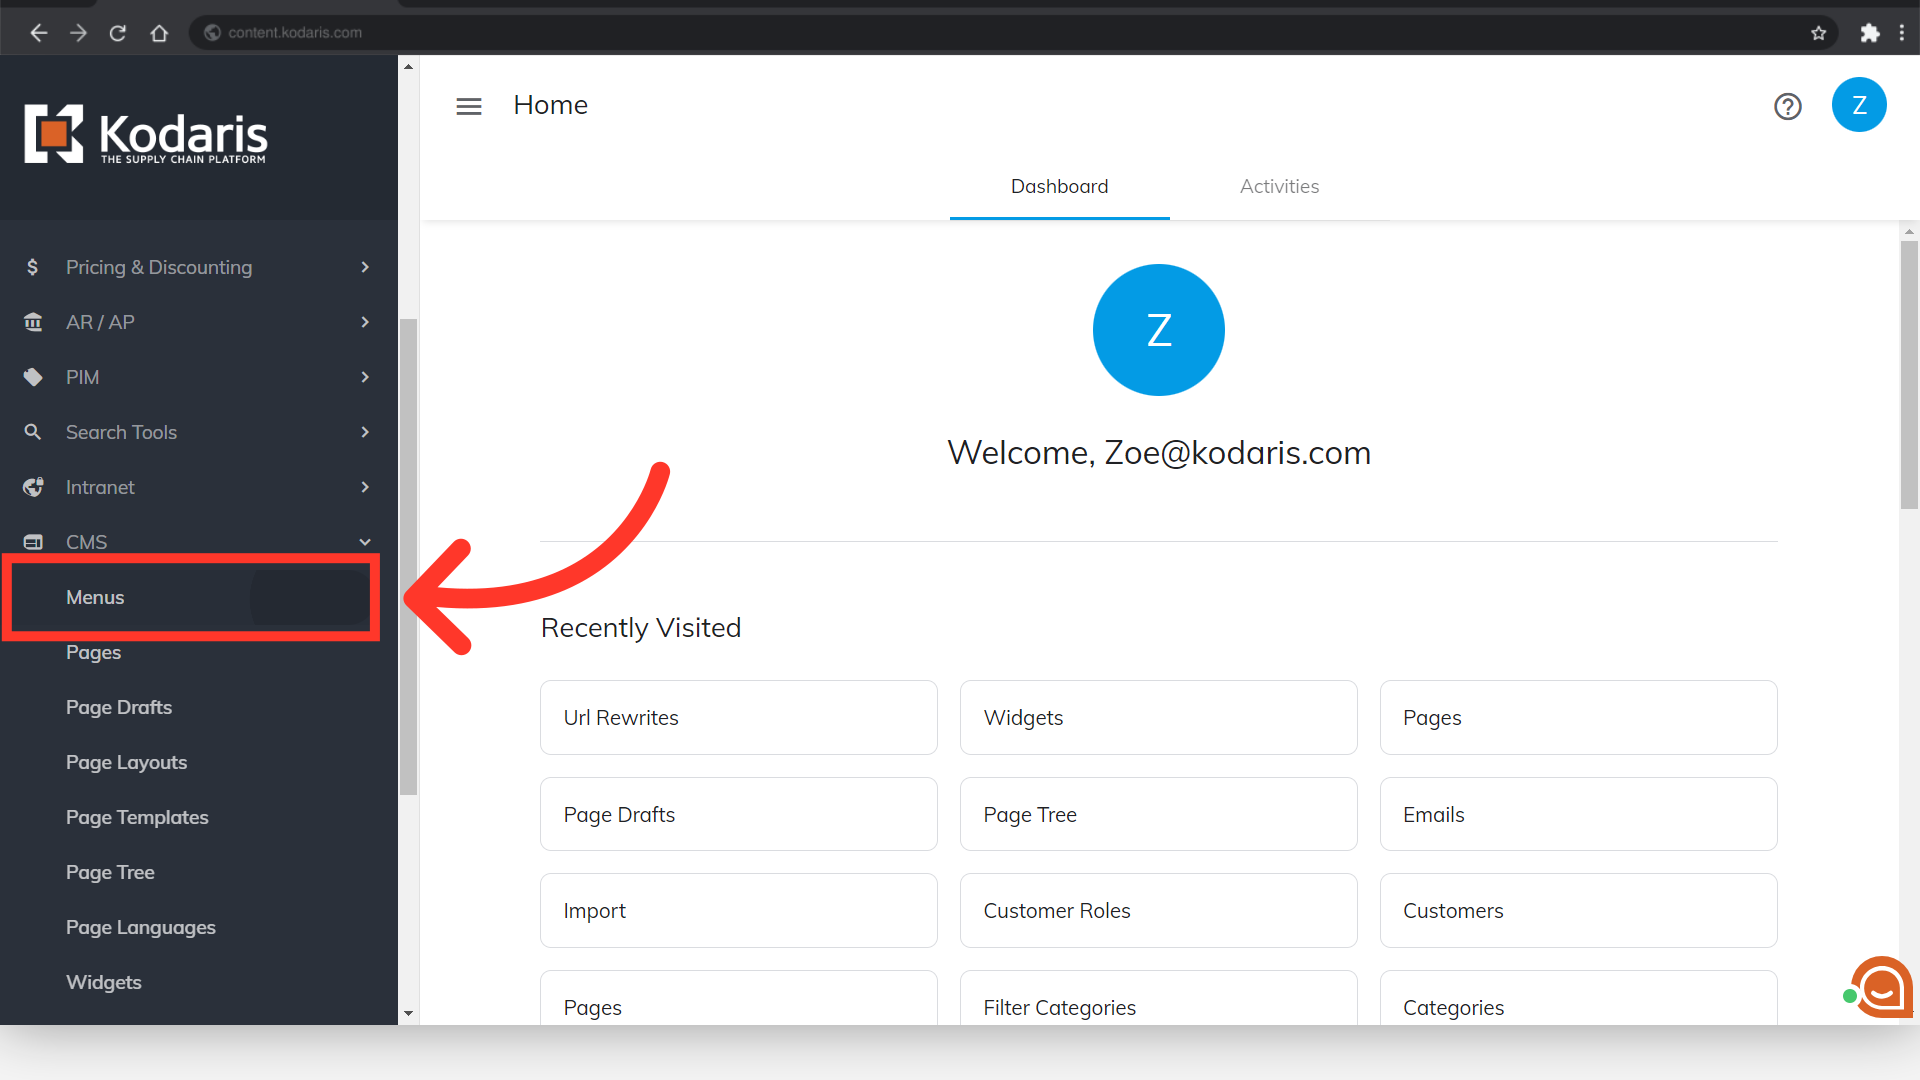
To add a page to your website menu, navigate to "CMS" section in the Operations Portal.

Then, click "Menus". In order to access and edit Menus, you will need to have the role of: "administrator" or "superuser", or have the roles of: "contentEdit" and "cmsEdit".
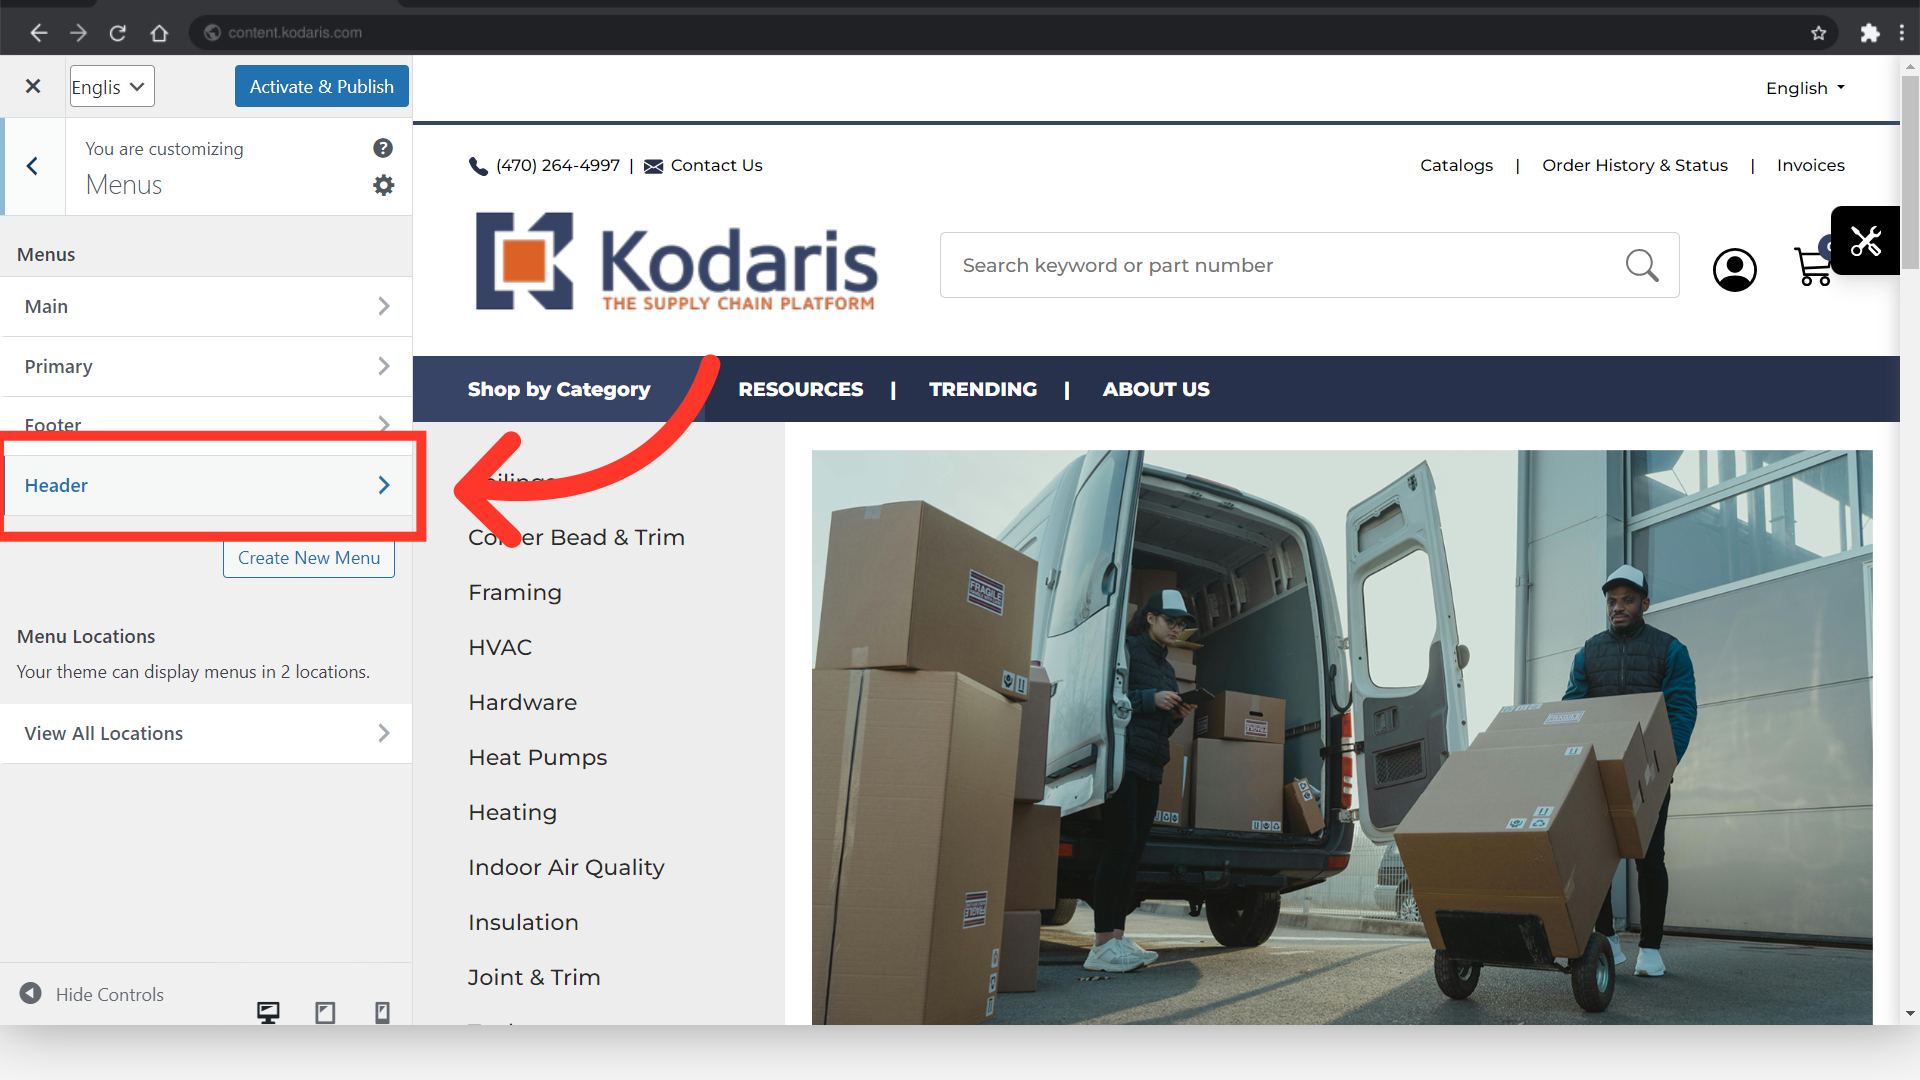
If you don't see your website in the screen when you access this page, click on the "Activate & Publish" button.

Click "Menus".

Select the menu from which you would like to add a page. In this example, we are going to ad a page to the header menu. Click "Header".
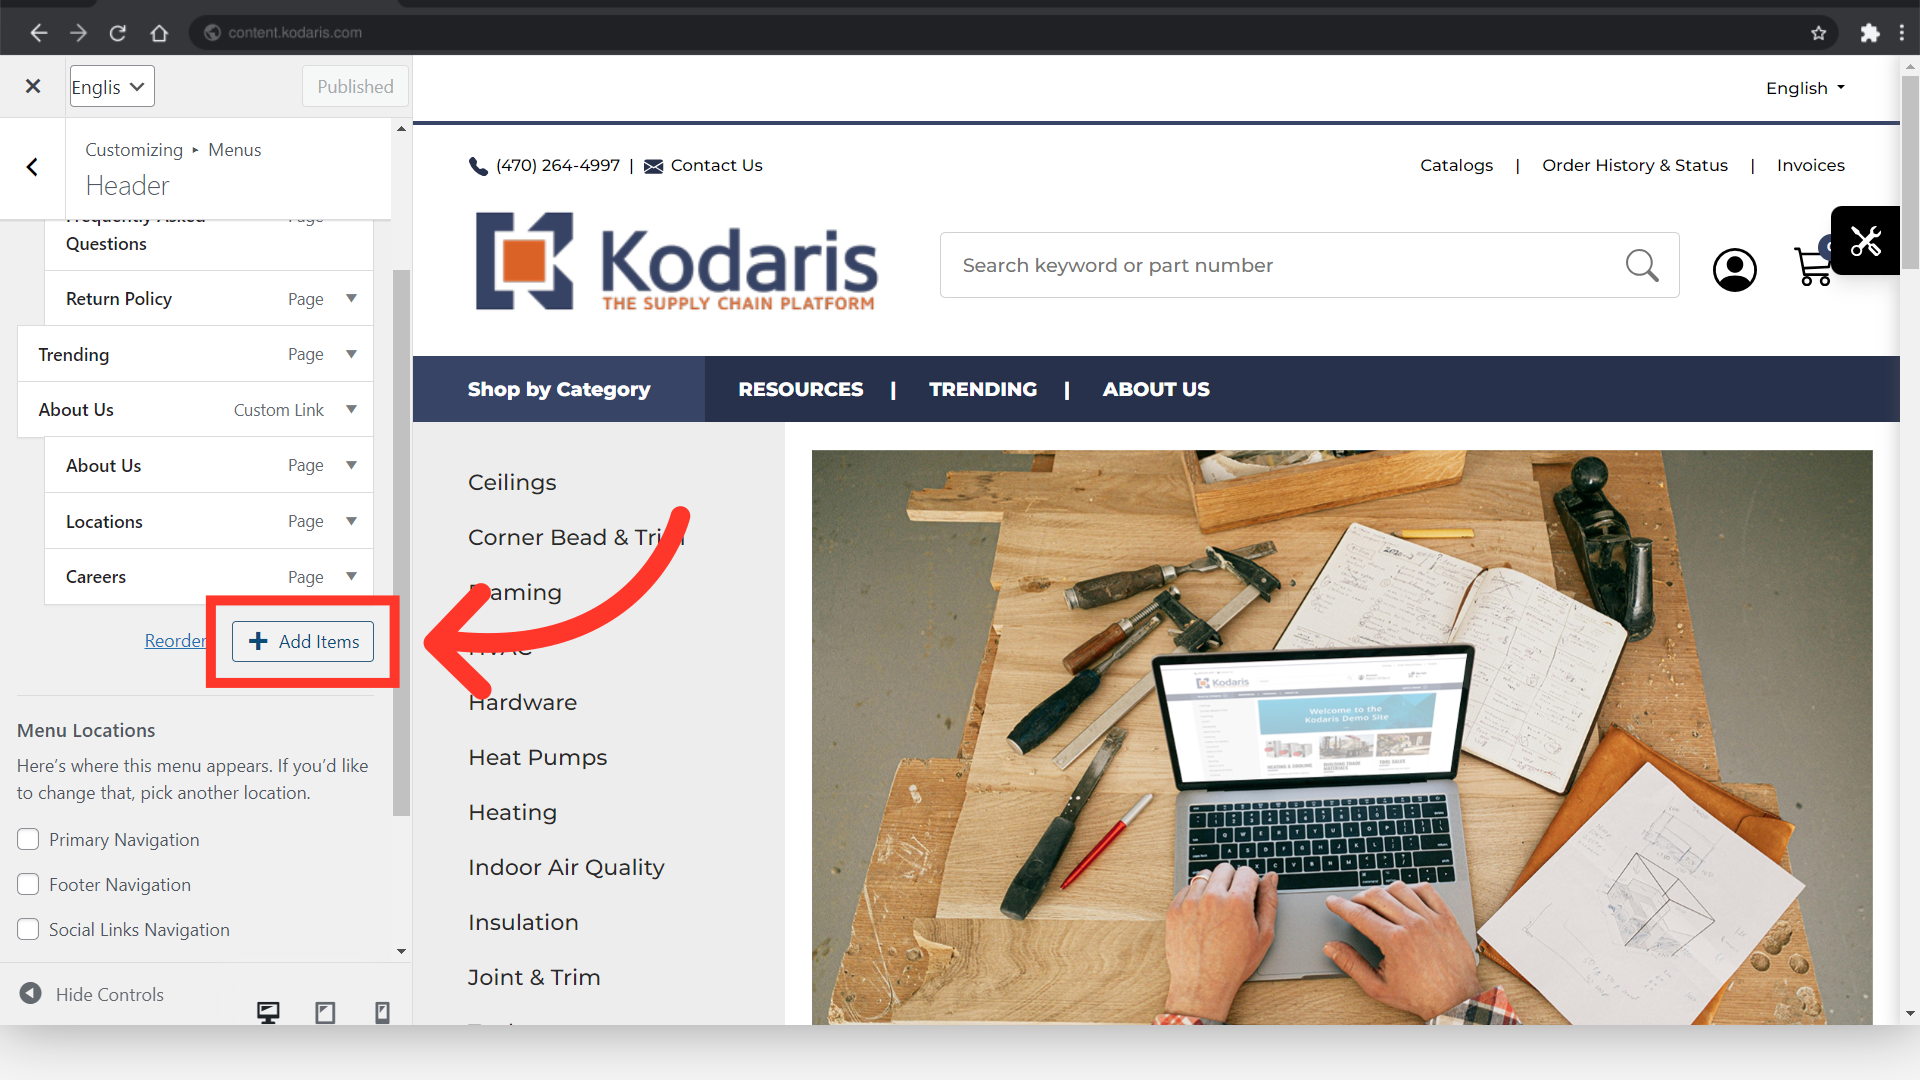
Click the "Add Items" button to add content.
Another panel will appear. Click into the "Search menu items..." field.
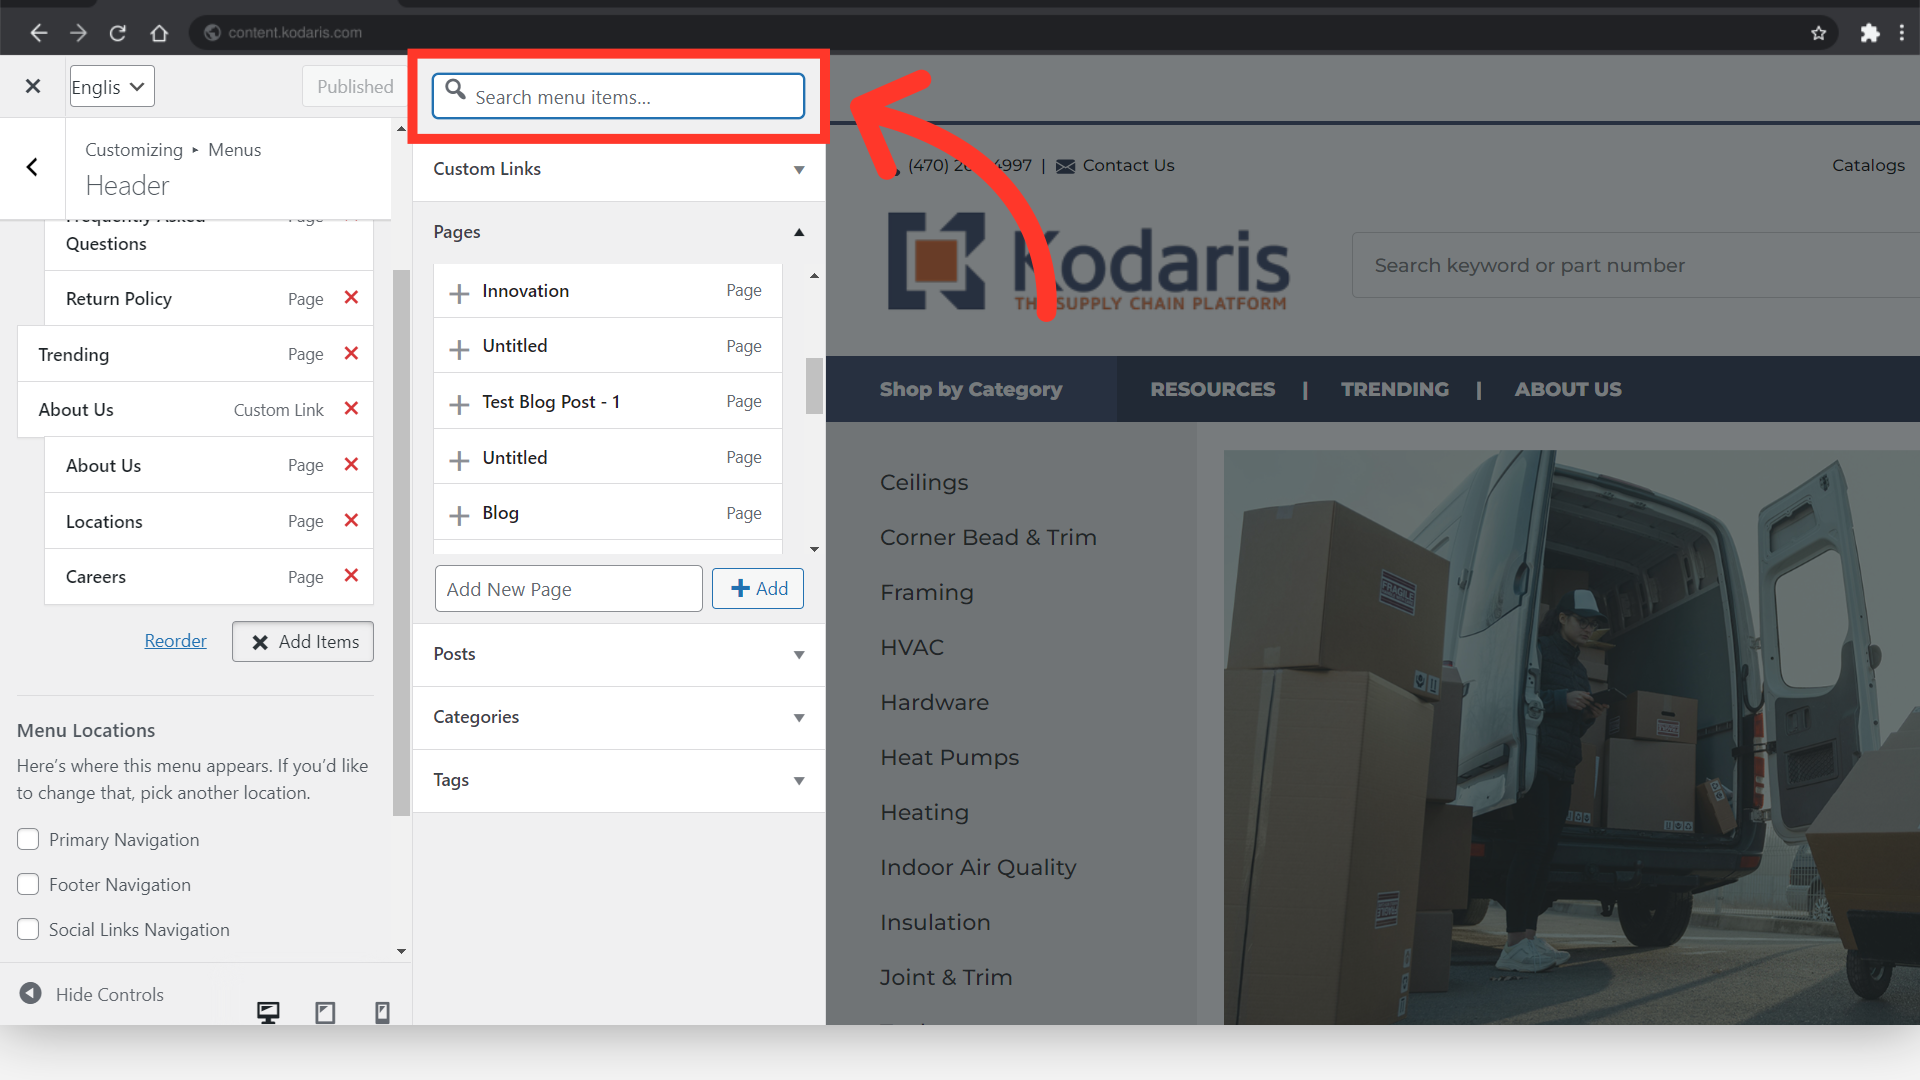
Type in the page name that you would like to add.

Click the "+" icon to add the page to the menu.

The page will be added to the menu.

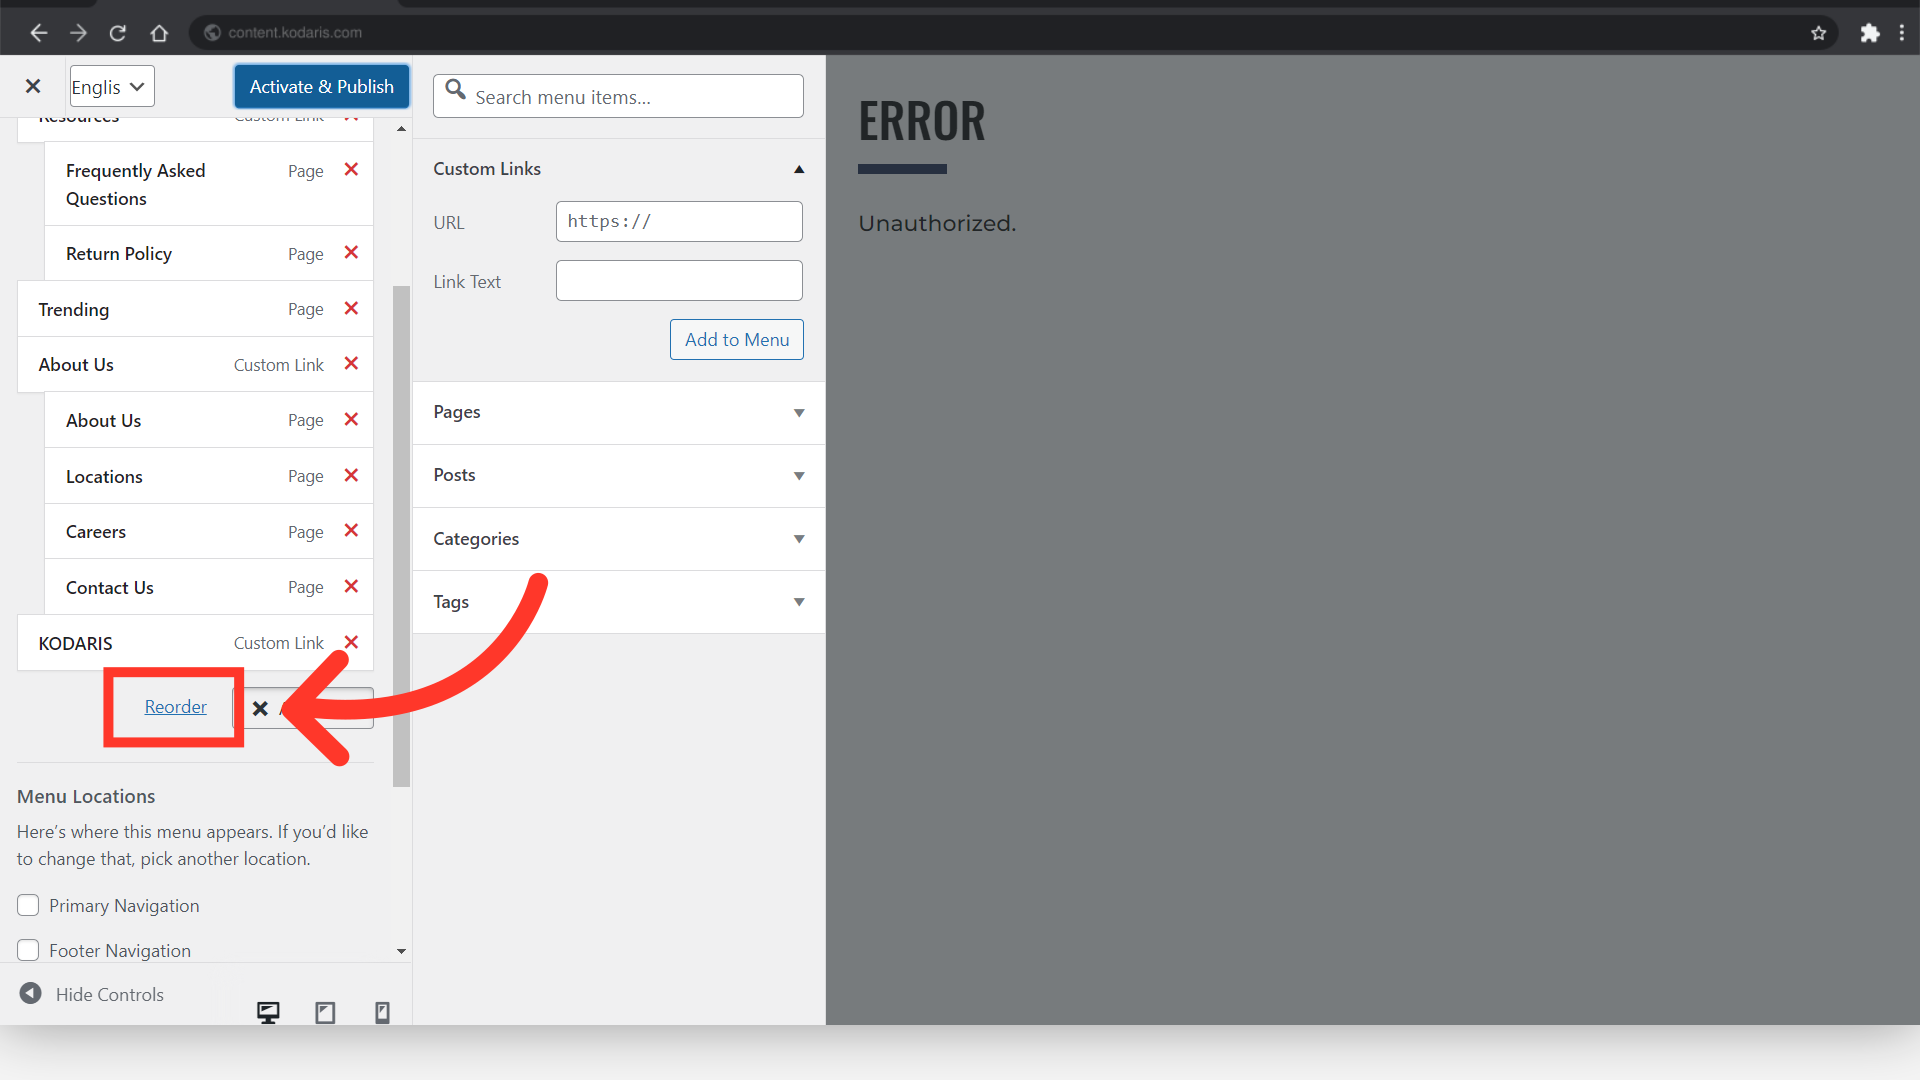
You can reorder pages by simply dragging the page to where you want to place it, or, you can also use the "Reorder" button for easy placing.
Click on "Activate & Publish" button to make your changes live.

The website will reload and you can verify that the items have been added to your menu.
