To update the display field on products by using the data grid, navigate to the "PIM" section in the Operations Portal. Using the data grid will allow you to quickly update multiple products.
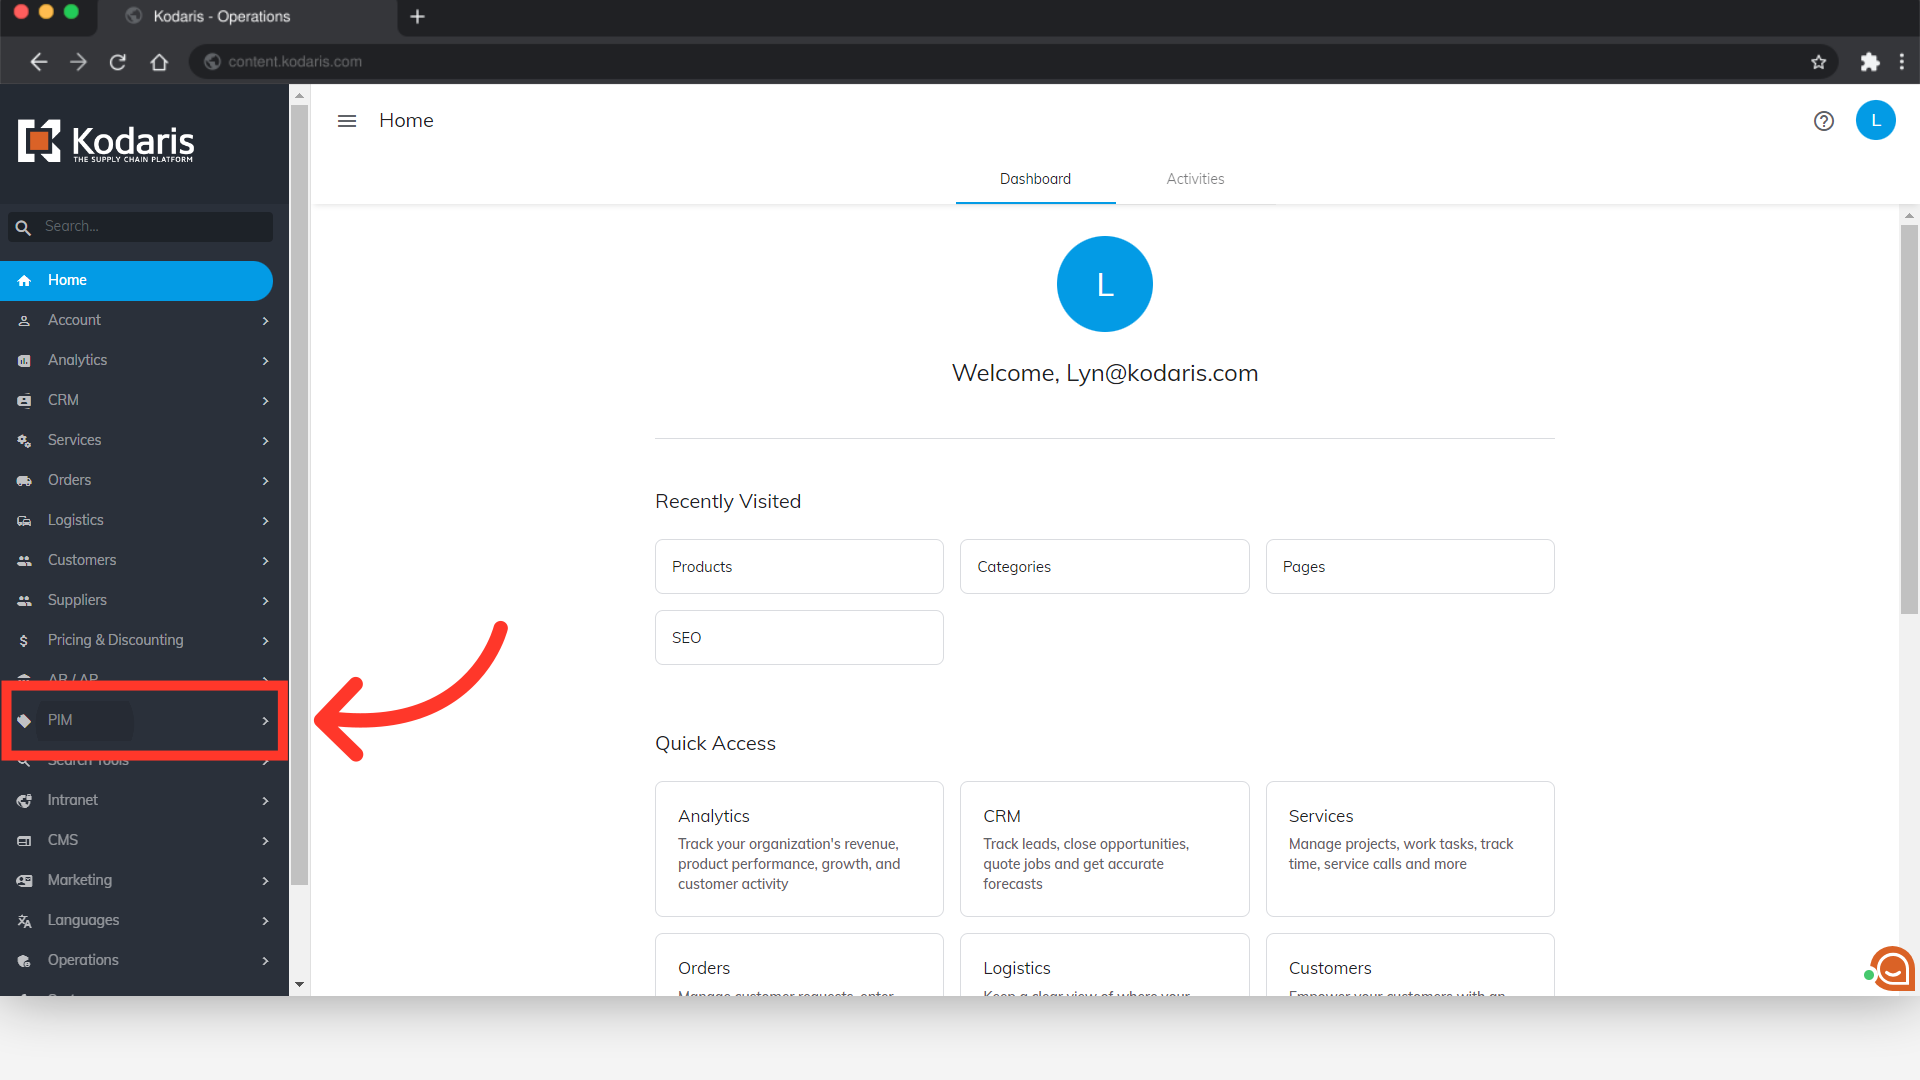
Then, click "Products". In order to access and update “Products” you will need to be set up either as an “administrator” or a “superuser”, or have the roles of: “productView” and “productEdit”.

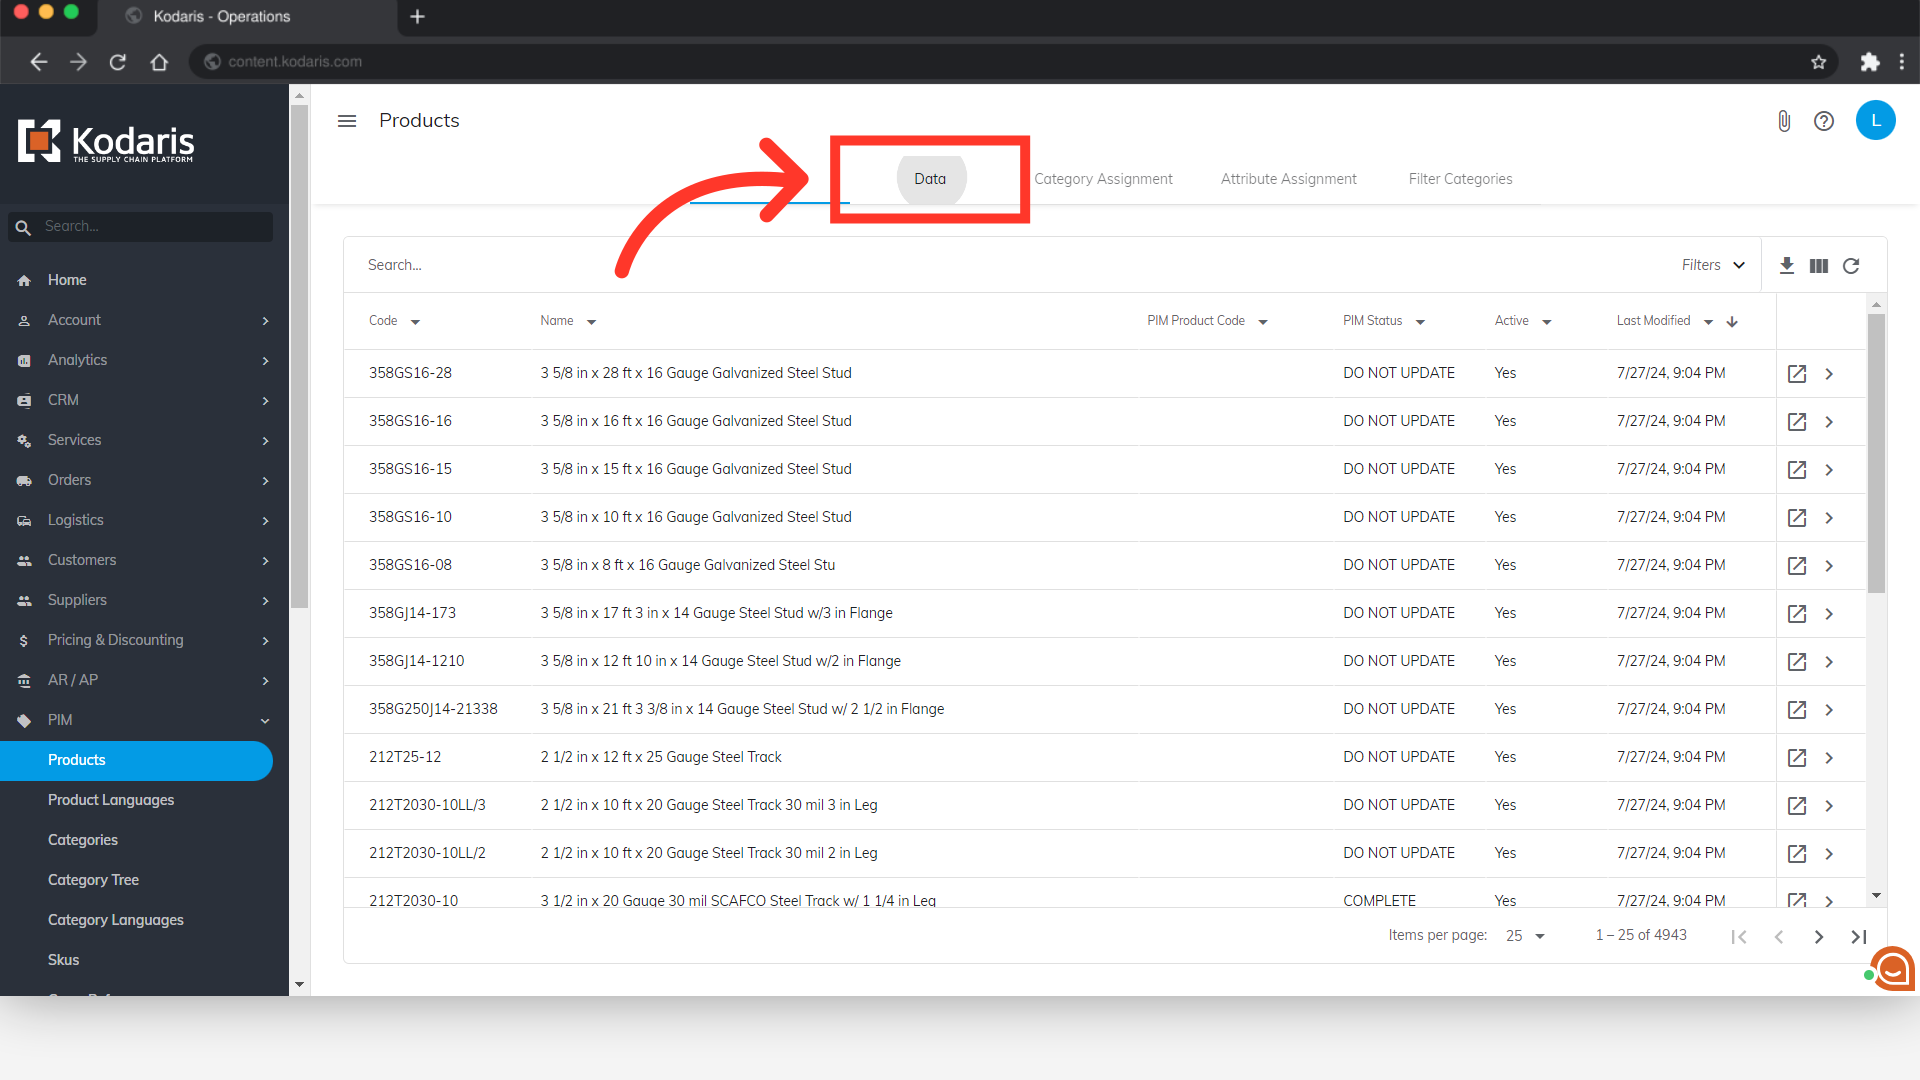
Select the "Data" tab.
Click the "Show/Hide Columns" icon.
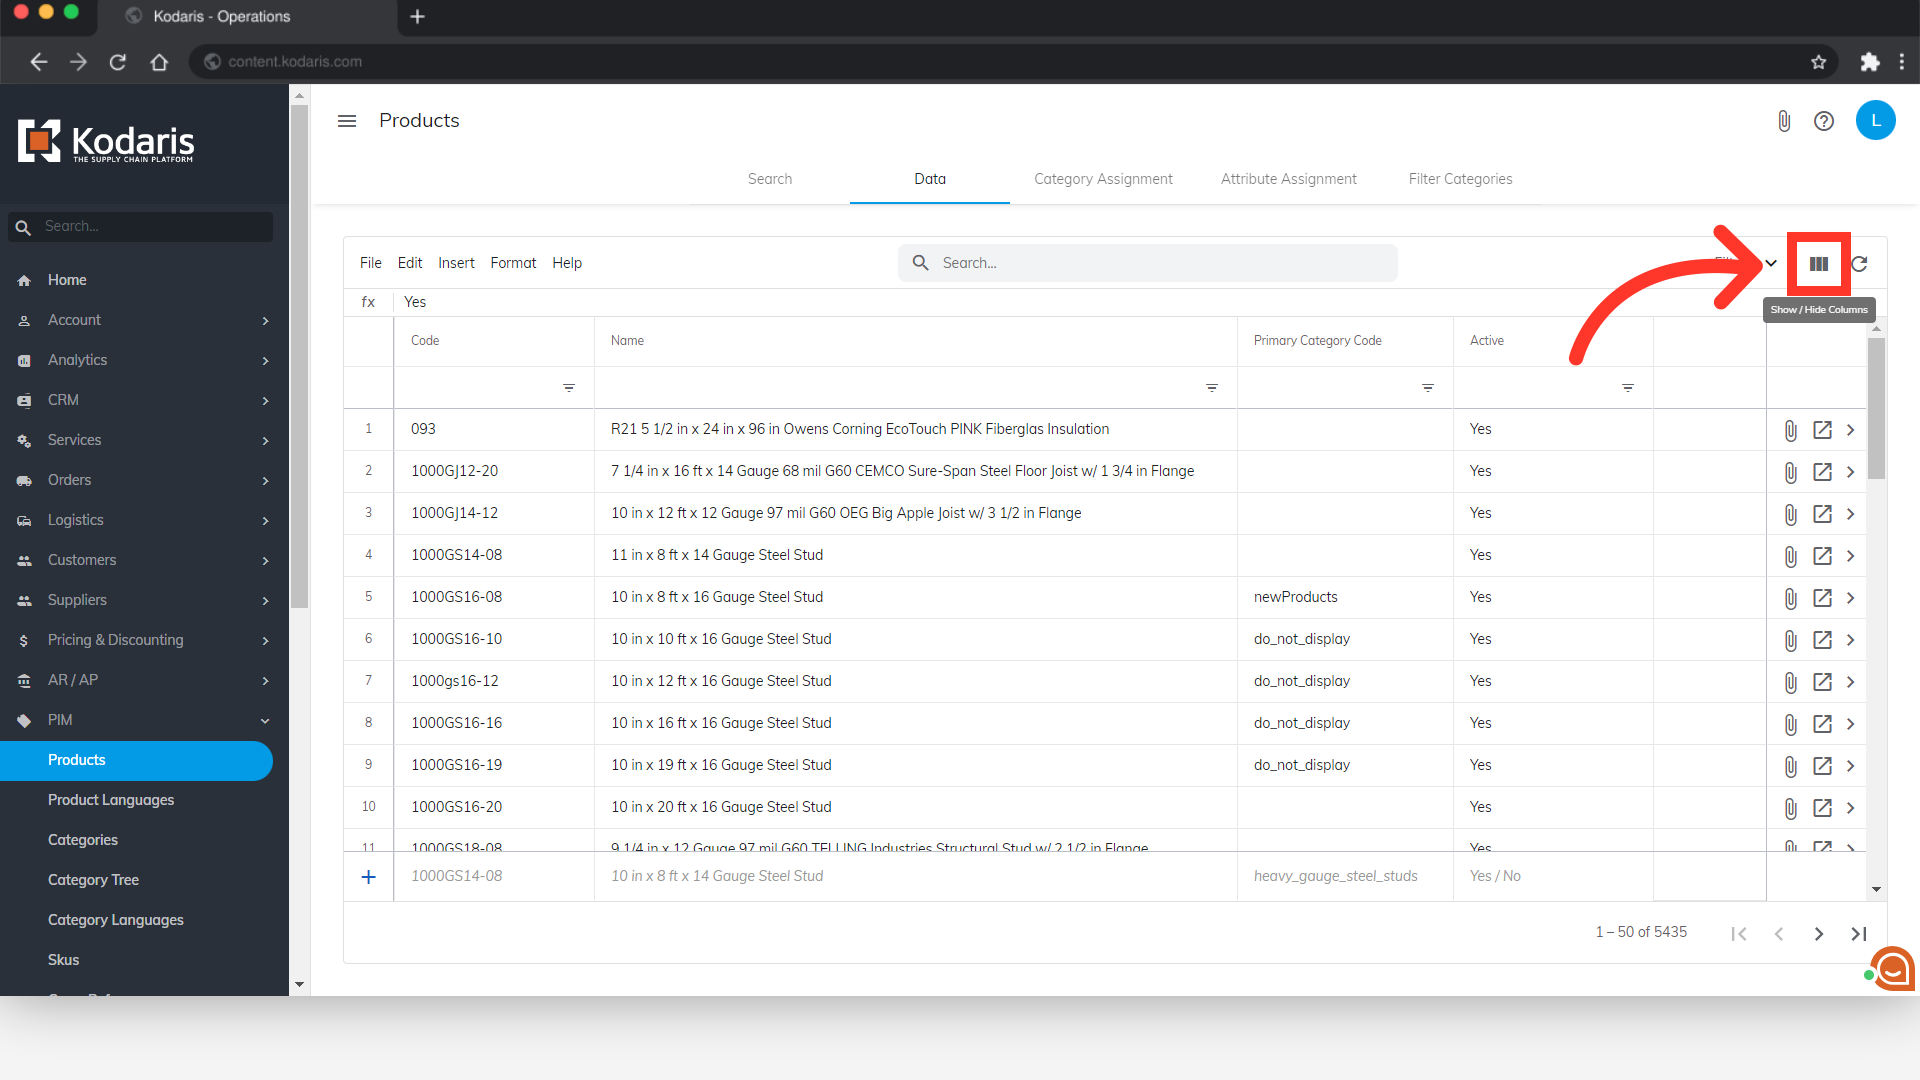
In order to update the display field, you will want to add the "Display" column on the grid. You can also add any other columns you need updated, or unselect any columns that you do not need. If you will be accessing this view often, it may be helpful to save this view with a sticky filter.

Search for the products you need to update by entering a search term in the "Search..." field. Then, hit "Enter".

You can also use the column filters to find products.

Once you find the products you would like to update, double-click into the "Display" field. A dropdown will appear with "Yes" or "No".

Select the "Yes" or "No" from the dropdown options.

To update multiple products in the grid, copy the value that you want to set for the products. Press "Ctrl+C" on your keyboard or "Cmd+C" if you're using Mac. In this example we are copying the value of "No".

Select the "Display" fields of the products to update.

Then, paste the value by pressing "Ctrl+V" on your keyboard or "Cmd+V" if you're using Mac. The display field has now been updated for these products.
