To add, view, and delete internal files on vendors, navigate to "AR/AP" section in the operations portal.

Click "Vendors". In order to access and update “Vendors” and "Vendor Internal Files" you will need to be set up either as an “administrator” or a “superuser”, or have the roles of: “vendorView”, “vendorEdit”, "vendorInternalFileView", and "vendorInternalFileEdit".

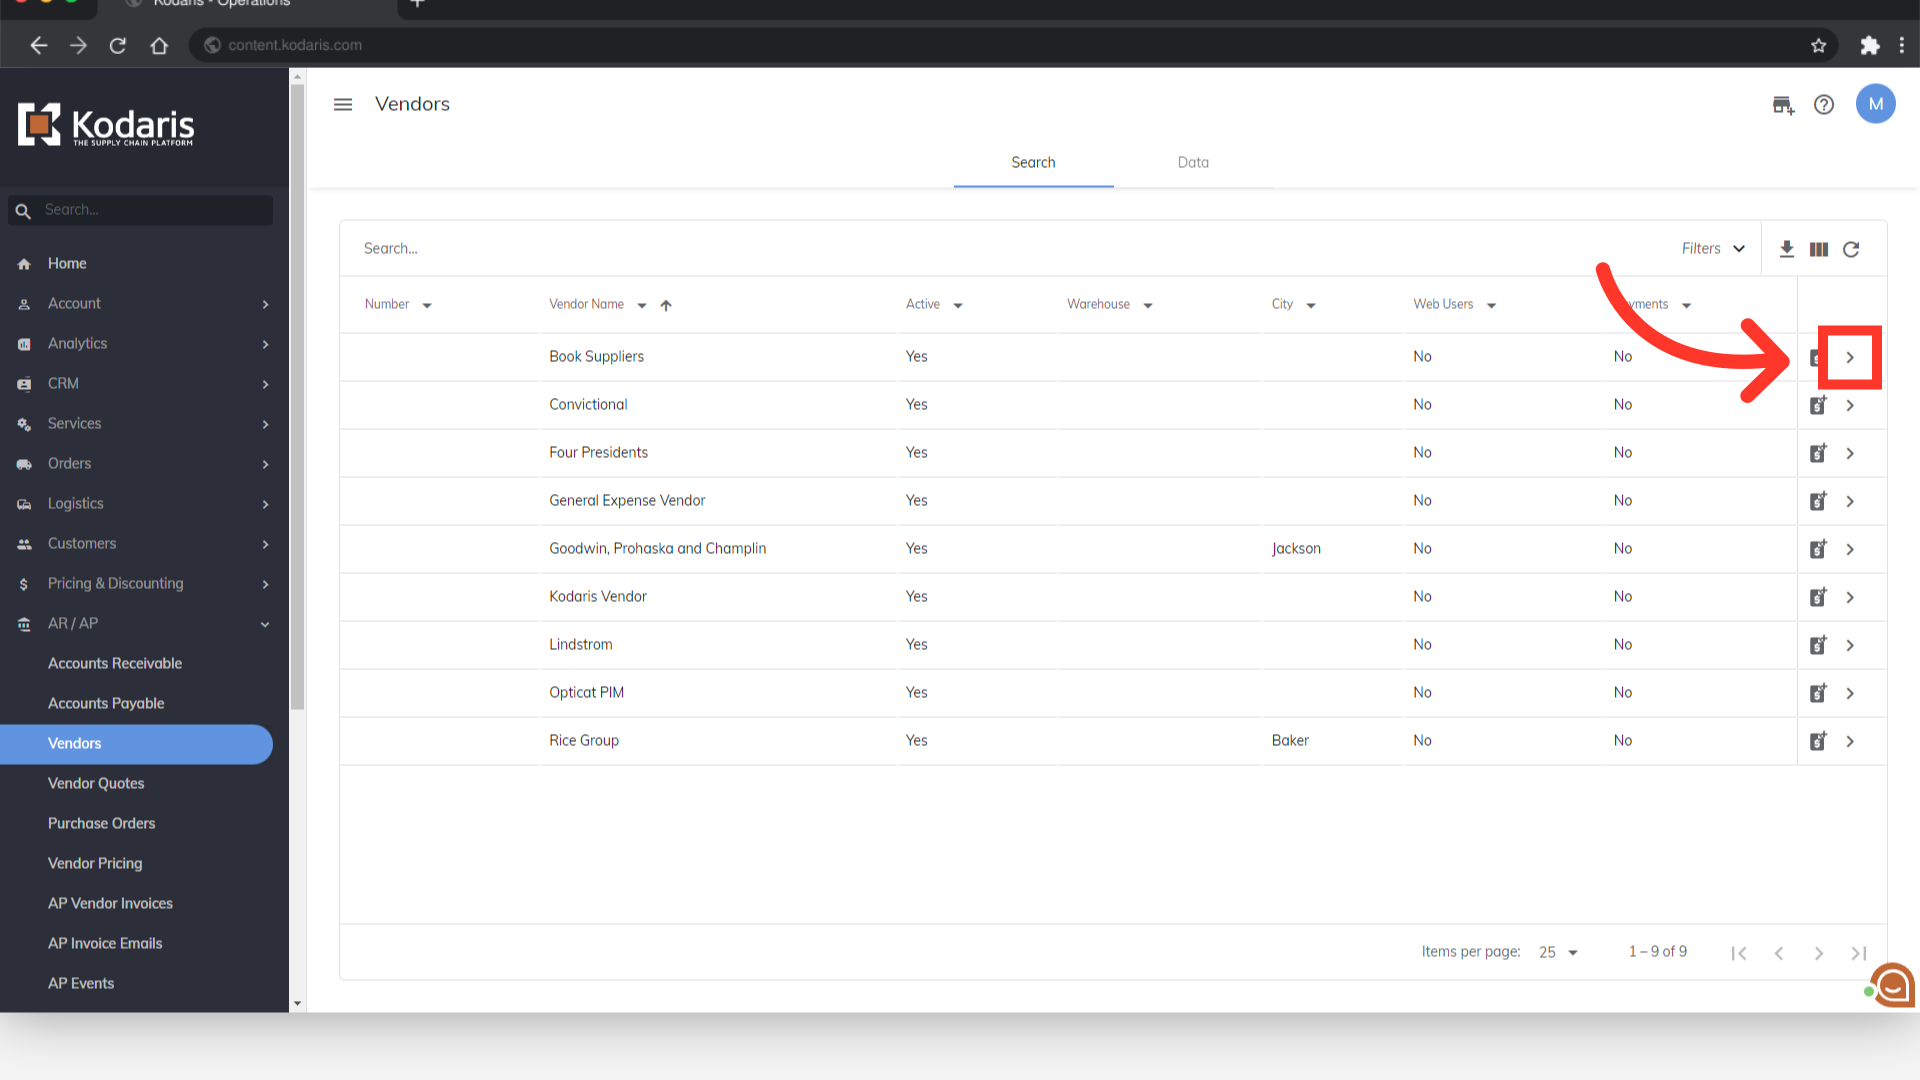
Search for the vendor you would like to view by typing a keyword in the "Search..." field.

Go to the vendor detail screen by clicking on its more details icon.
To add internal files to vendors, click the "Attach file" icon and you will be prompted to upload a file from your computer.

Once you have uploaded a file, it will be seen on the "Internal File" screen.

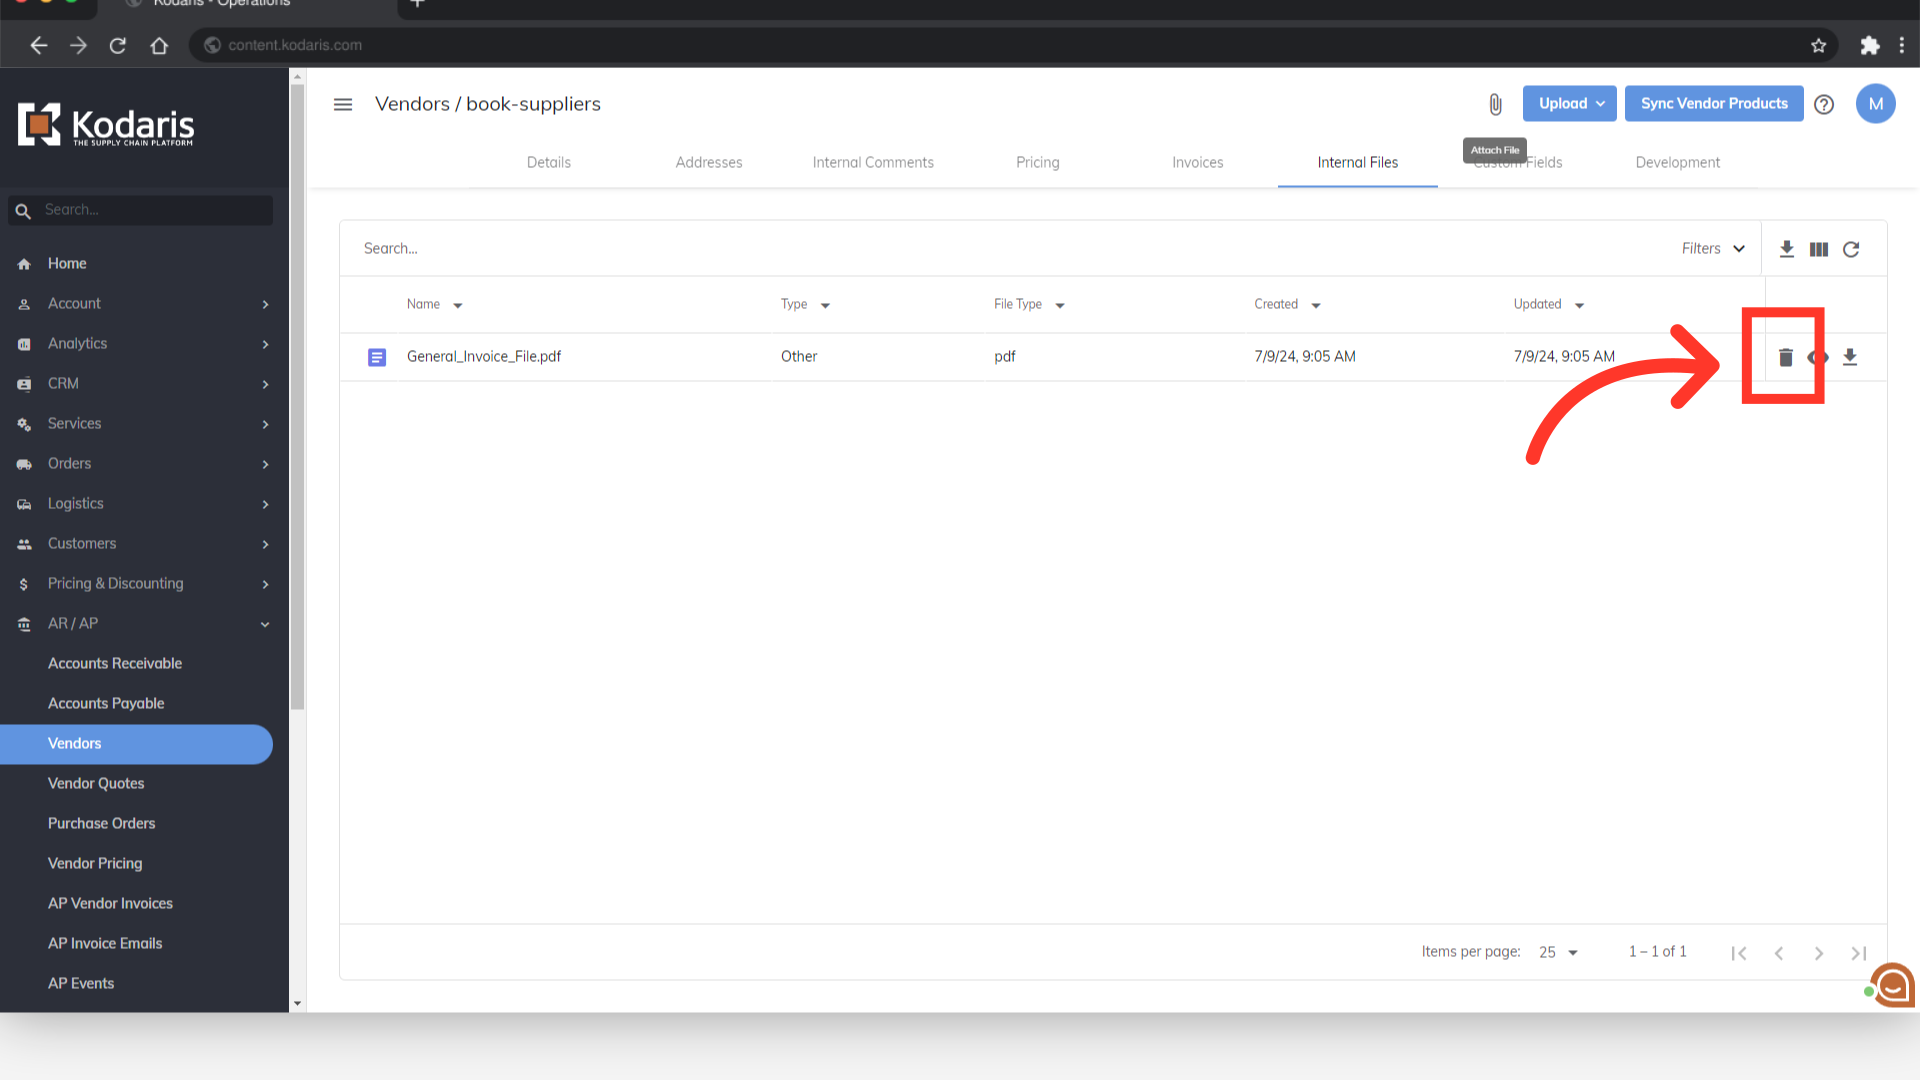
If you would like to delete a file, click the "Delete" icon.
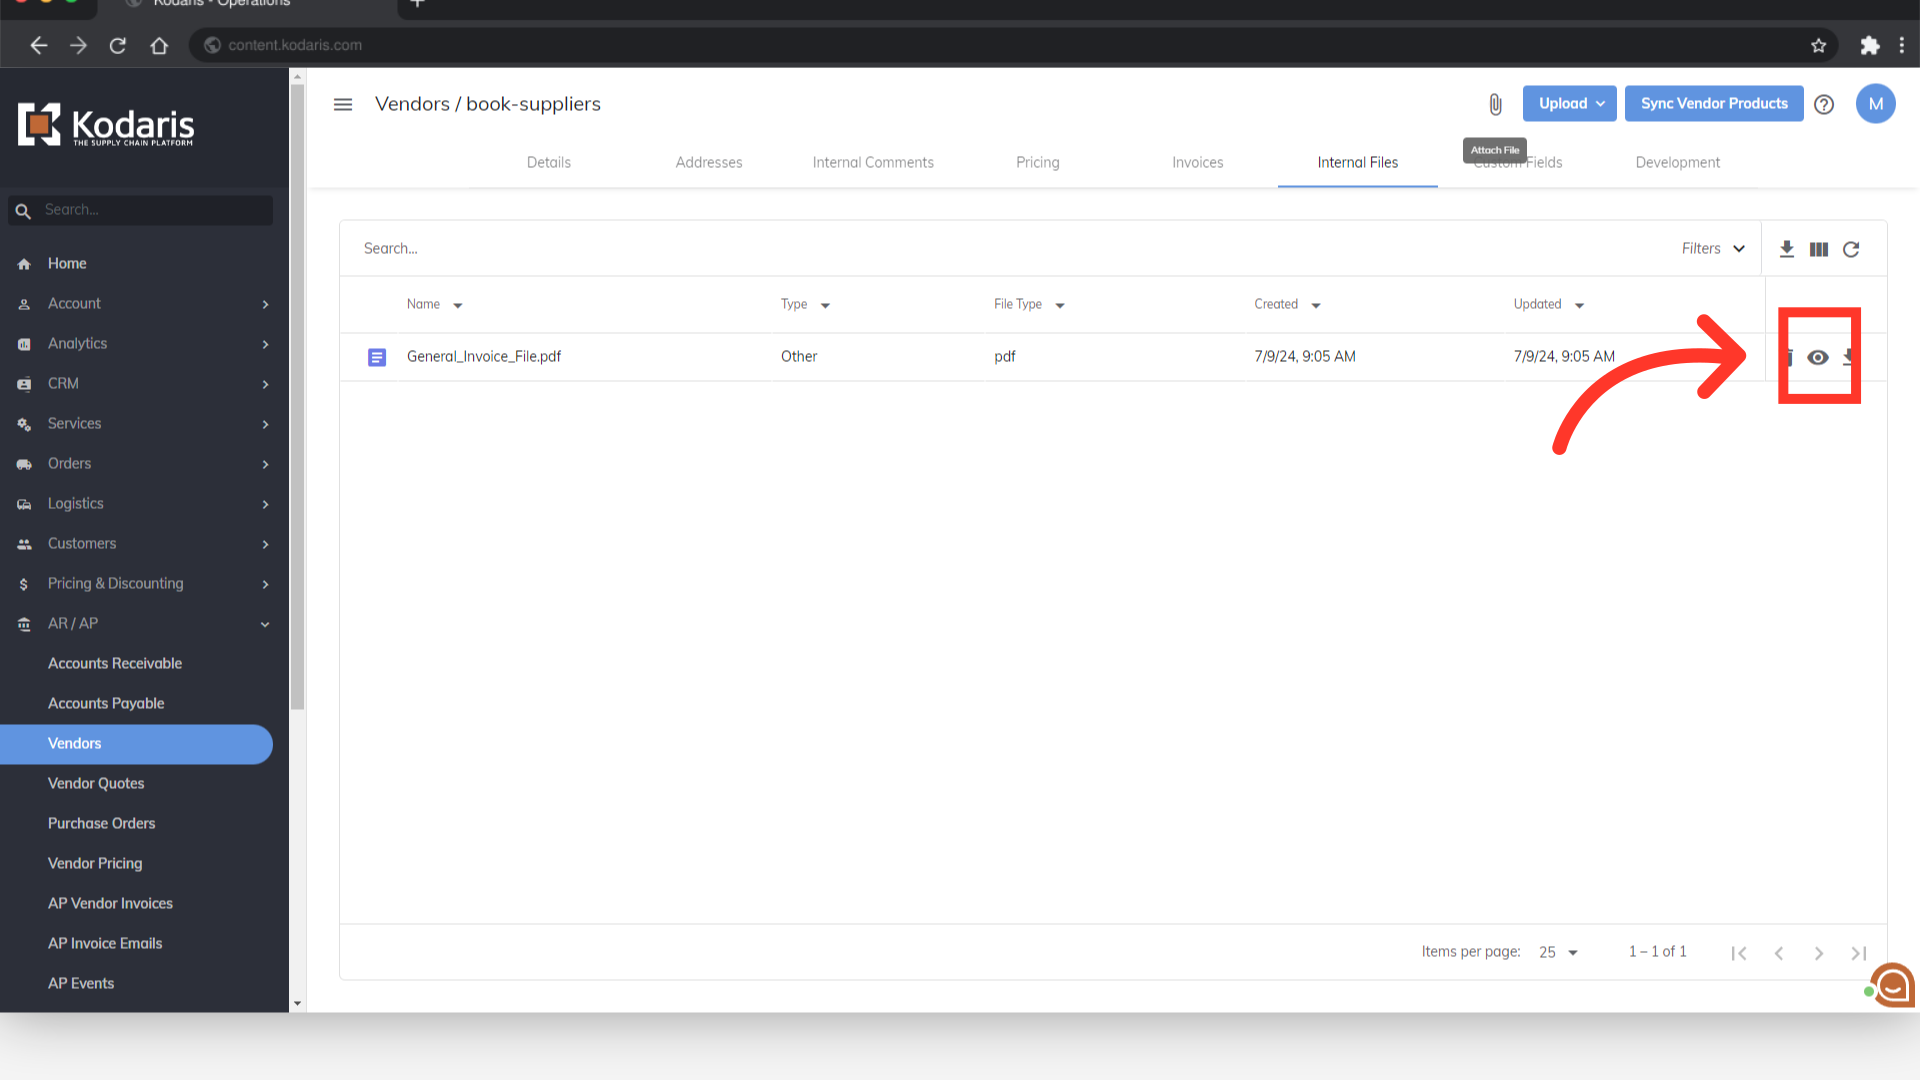
If you would like to preview a file, click the "Preview" icon.
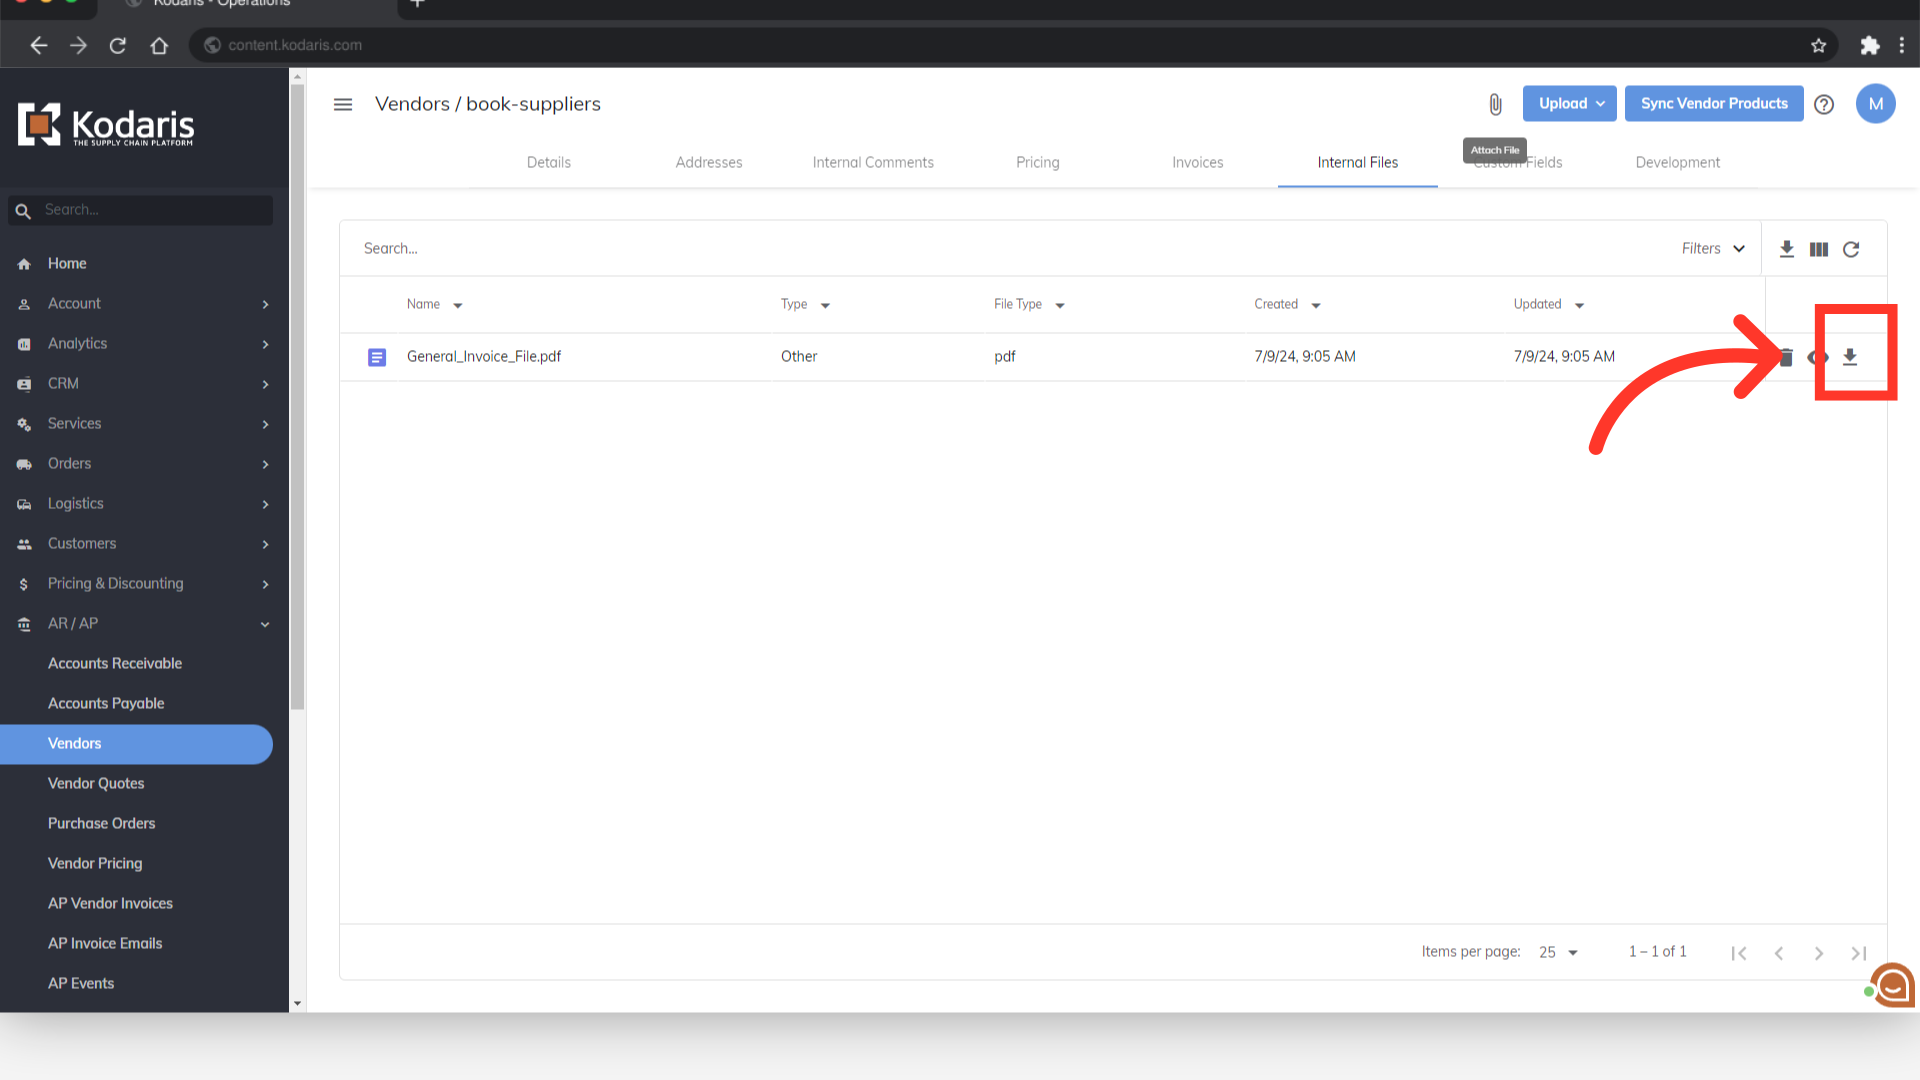
And if you would like to download a file, click the "Download" icon.