You can save and edit filters when using the ticket screen in the employee mobile app. Tickets can be viewed on the main ticket screen. Similar to all other grids in the Kodaris system, you can search, filter, and sort the data. To further customize the data that you can see, you can also add or remove columns from your grid view, rearrange the columns, and save your grid filters for future use. Tap the "Menu" icon to start.

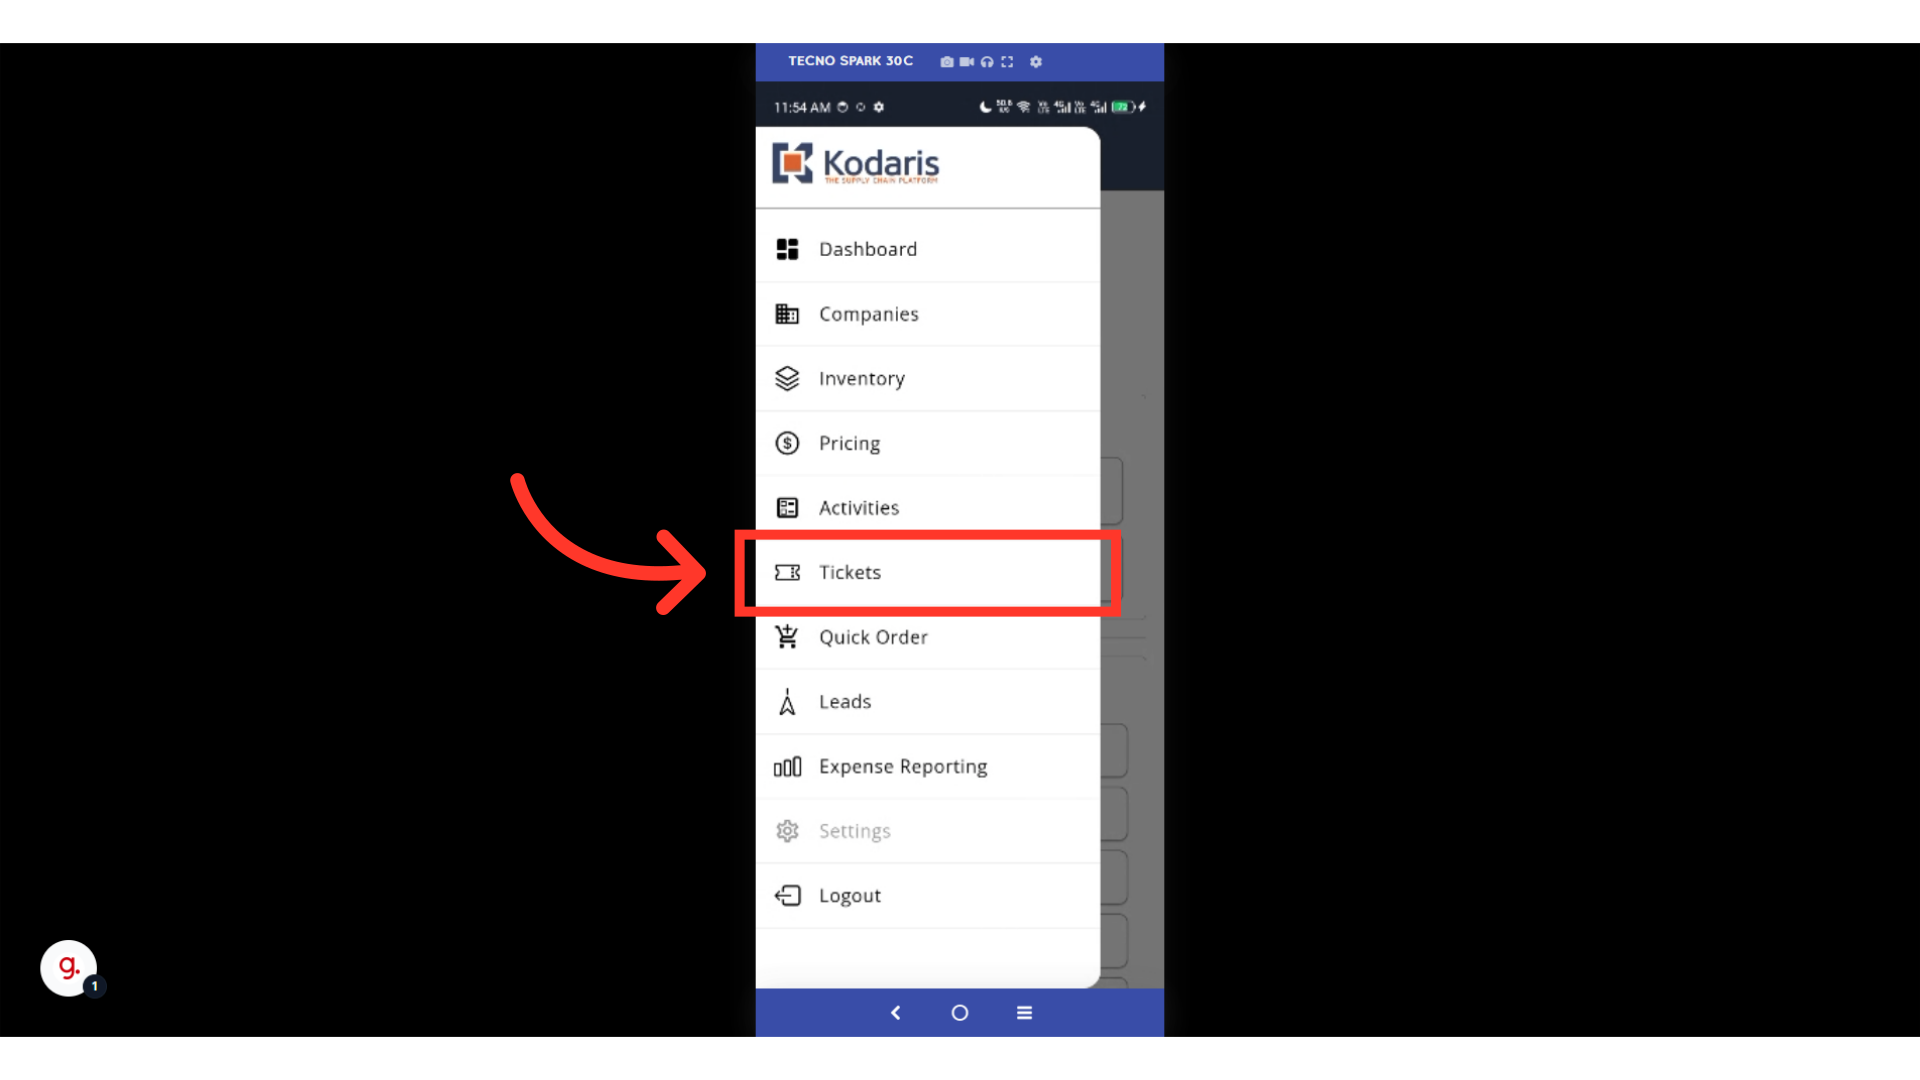
Then, navigate to "Tickets". In order to access and update "Tickets" you will need to be set up either as an "administrator" or a "superuser", or have the roles of: "ticketView" and "ticketEdit".
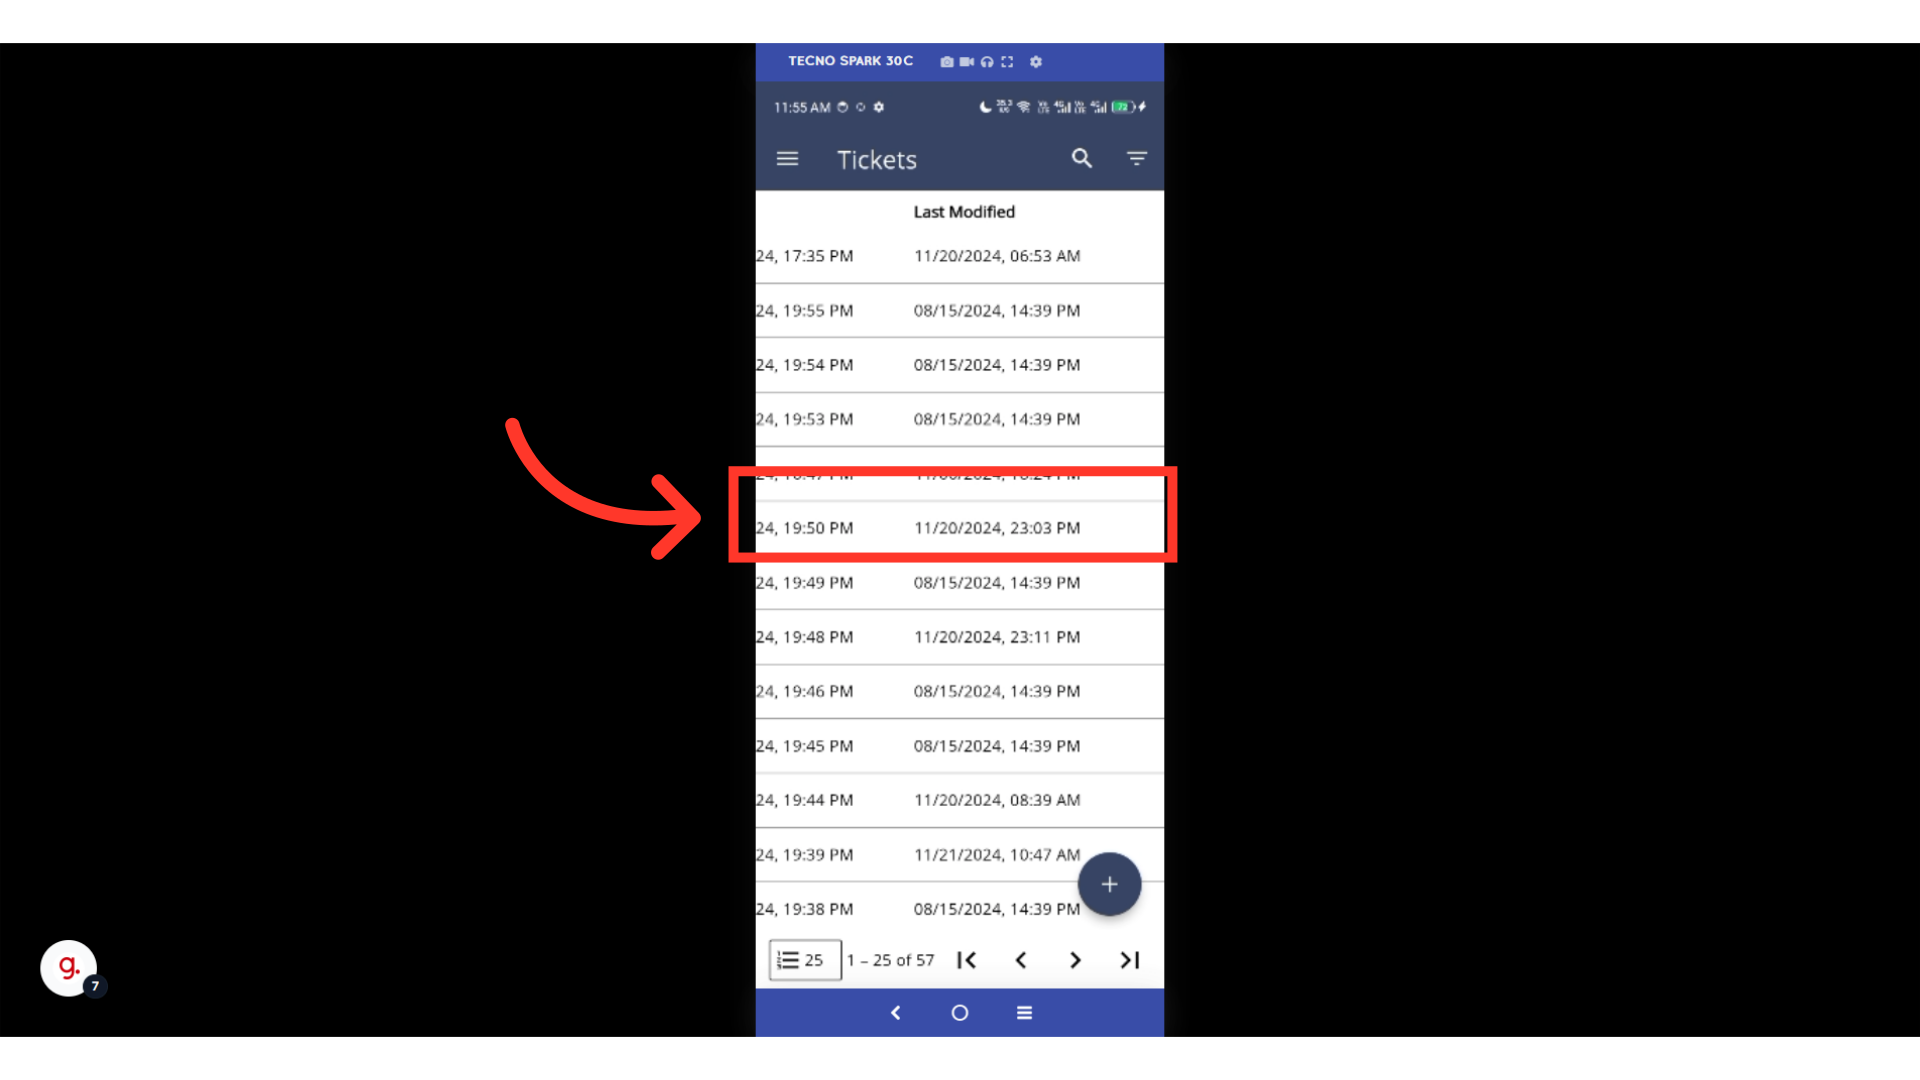
Swipe left and you will see all other columns available in the grid. The intuitive grid setup of the tickets screen helps you to easily filter and sort all your existing tickets.
Tap on the "Show/Hide Columns" icon if you would like to customize the columns in the grid.

Tap on the eye icon next to the column title to toggle column visibility in the grid. A blue icon indicates visible columns, while a gray icon indicates hidden ones.

You can also drag and drop the column names to rearrange them.

Tap on a column name to expand it and view the fields available for filtering data in that column.

Tap on the operations dropdown to view and select how you want to filter the data in the column.

Enter the keyword in the text field.
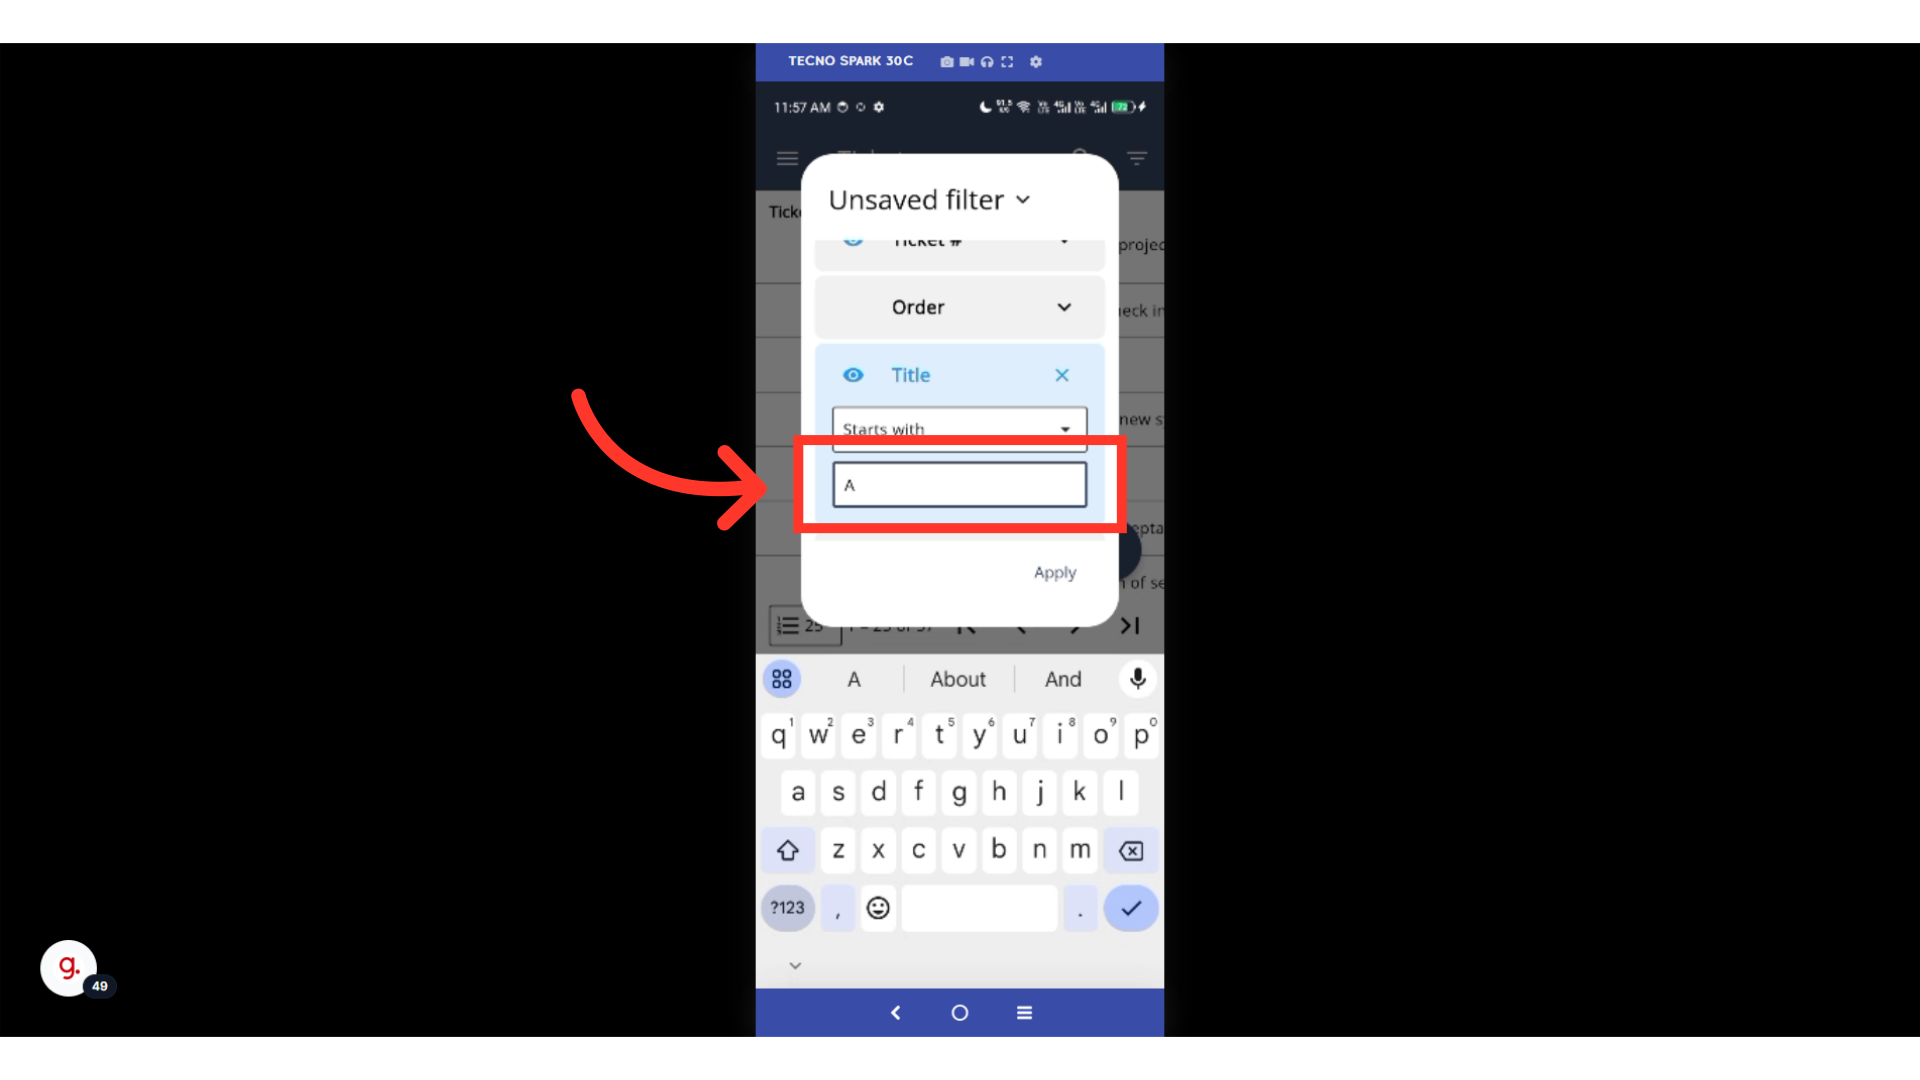
Then, tap "Apply" to apply the filter.

To apply all your changes, tap the "Apply" button at the bottom of the filters panel.

If the filters you've applied to the grid are ones you use frequently, you can save them for easy one-click application later. To save this grid layout, tap the "Filters" dropdown.
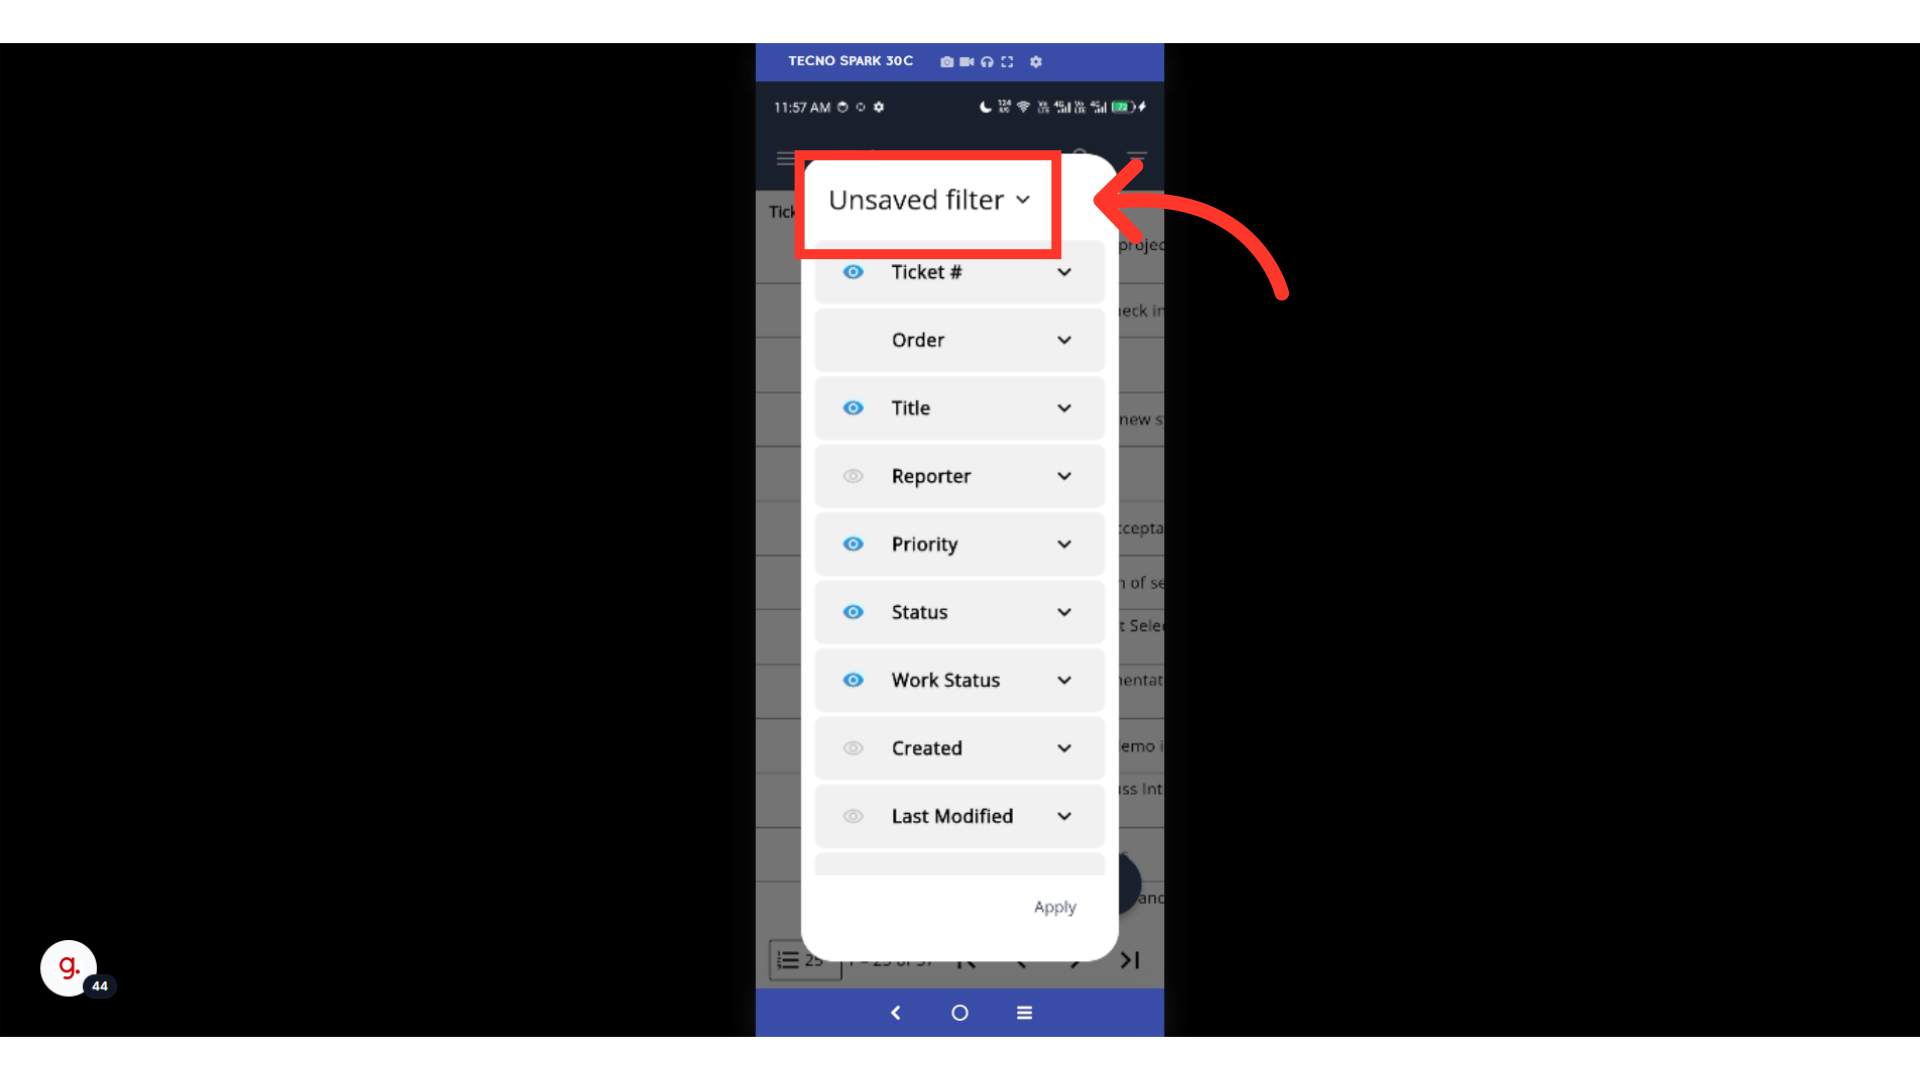
Select the "Save as" option to create a new filter. Select "Save" if you only want to update your currently selected filter.

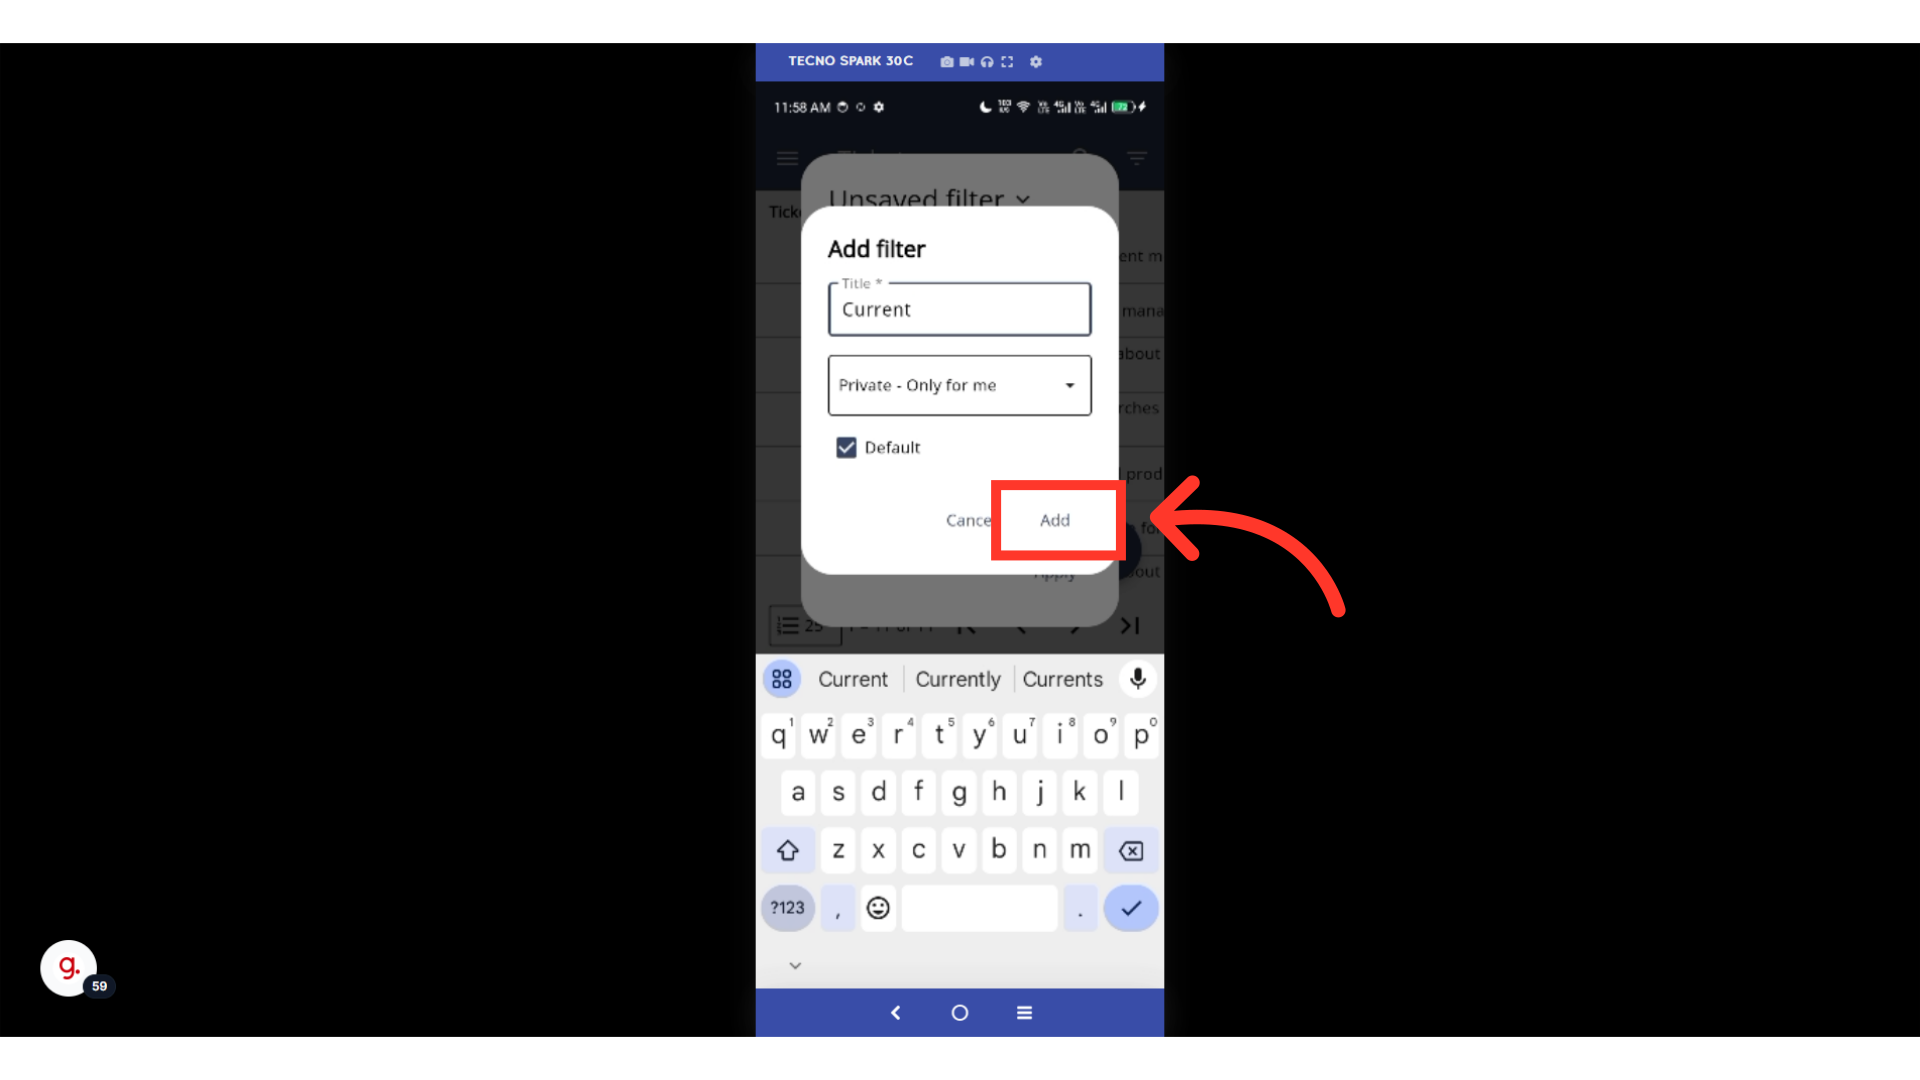
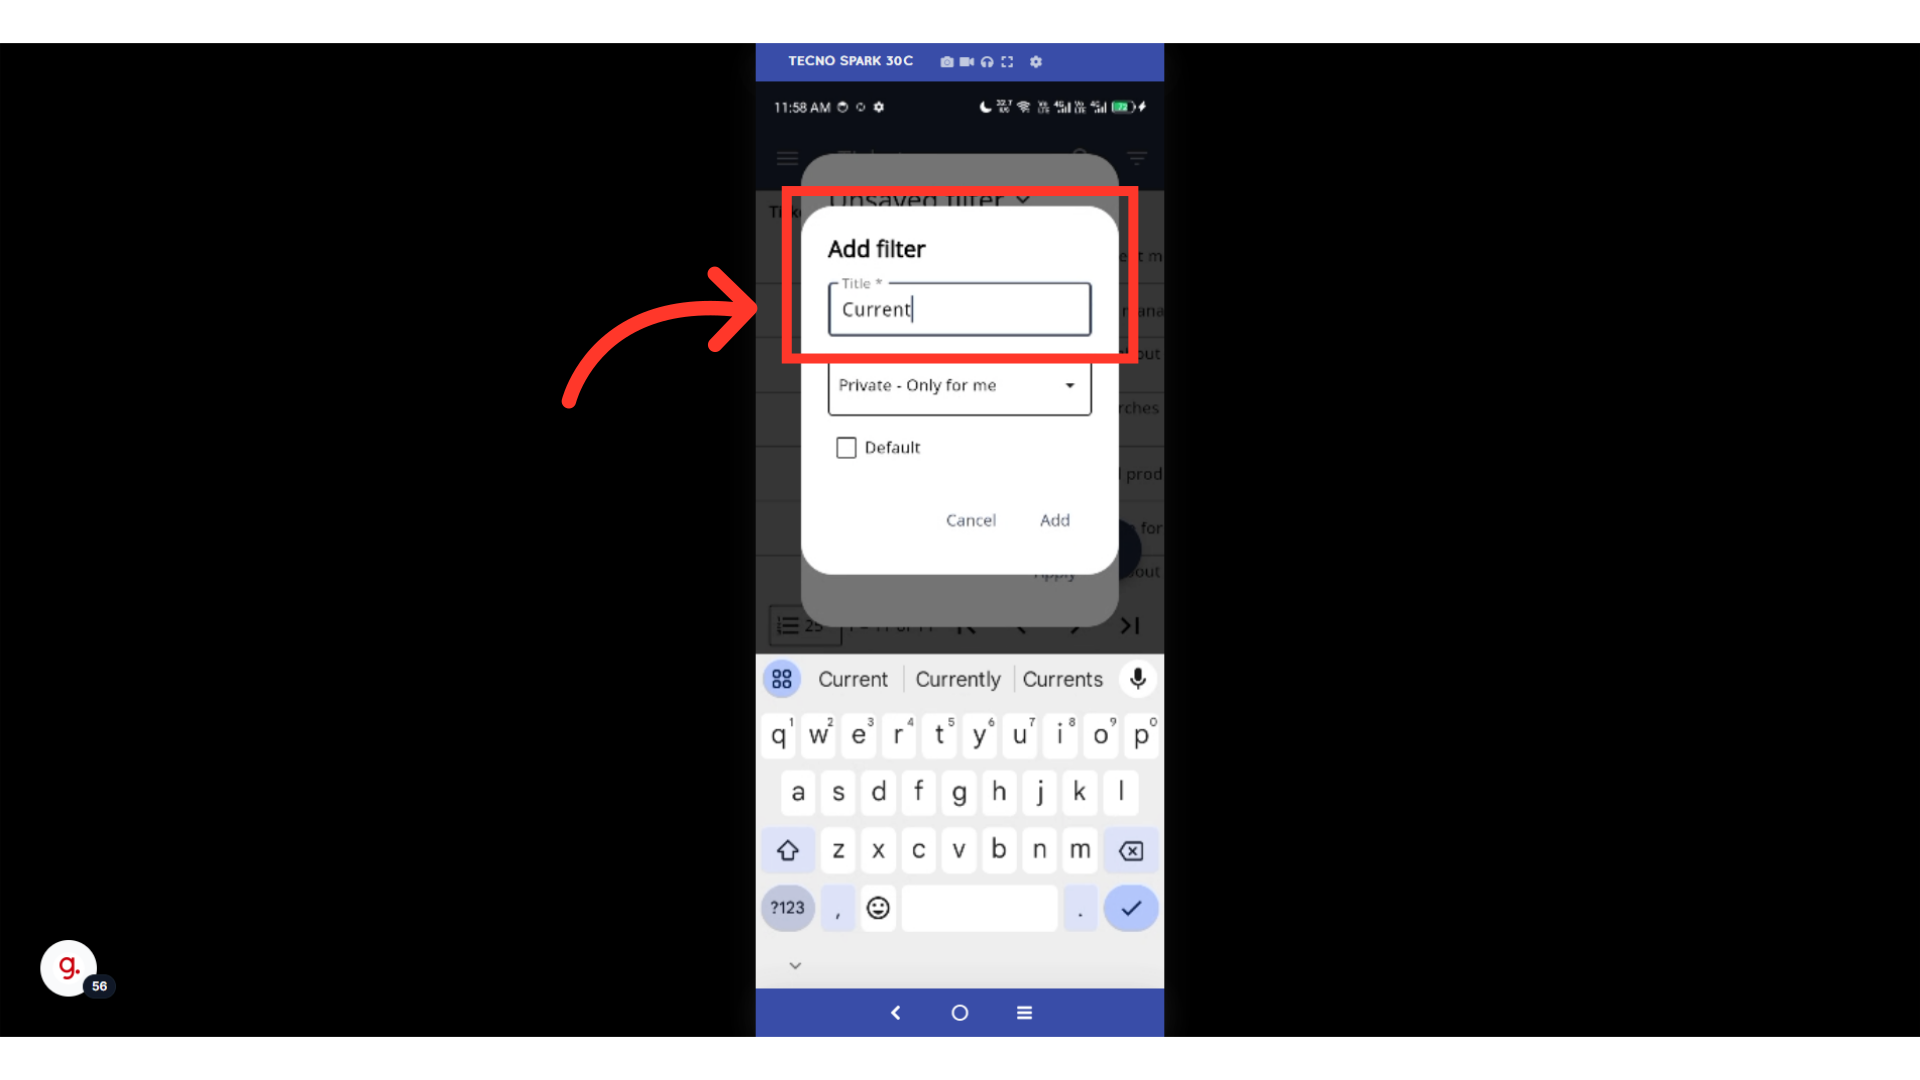
"Add filter" dialog box will appear. Type the filter name in the "Title" field.
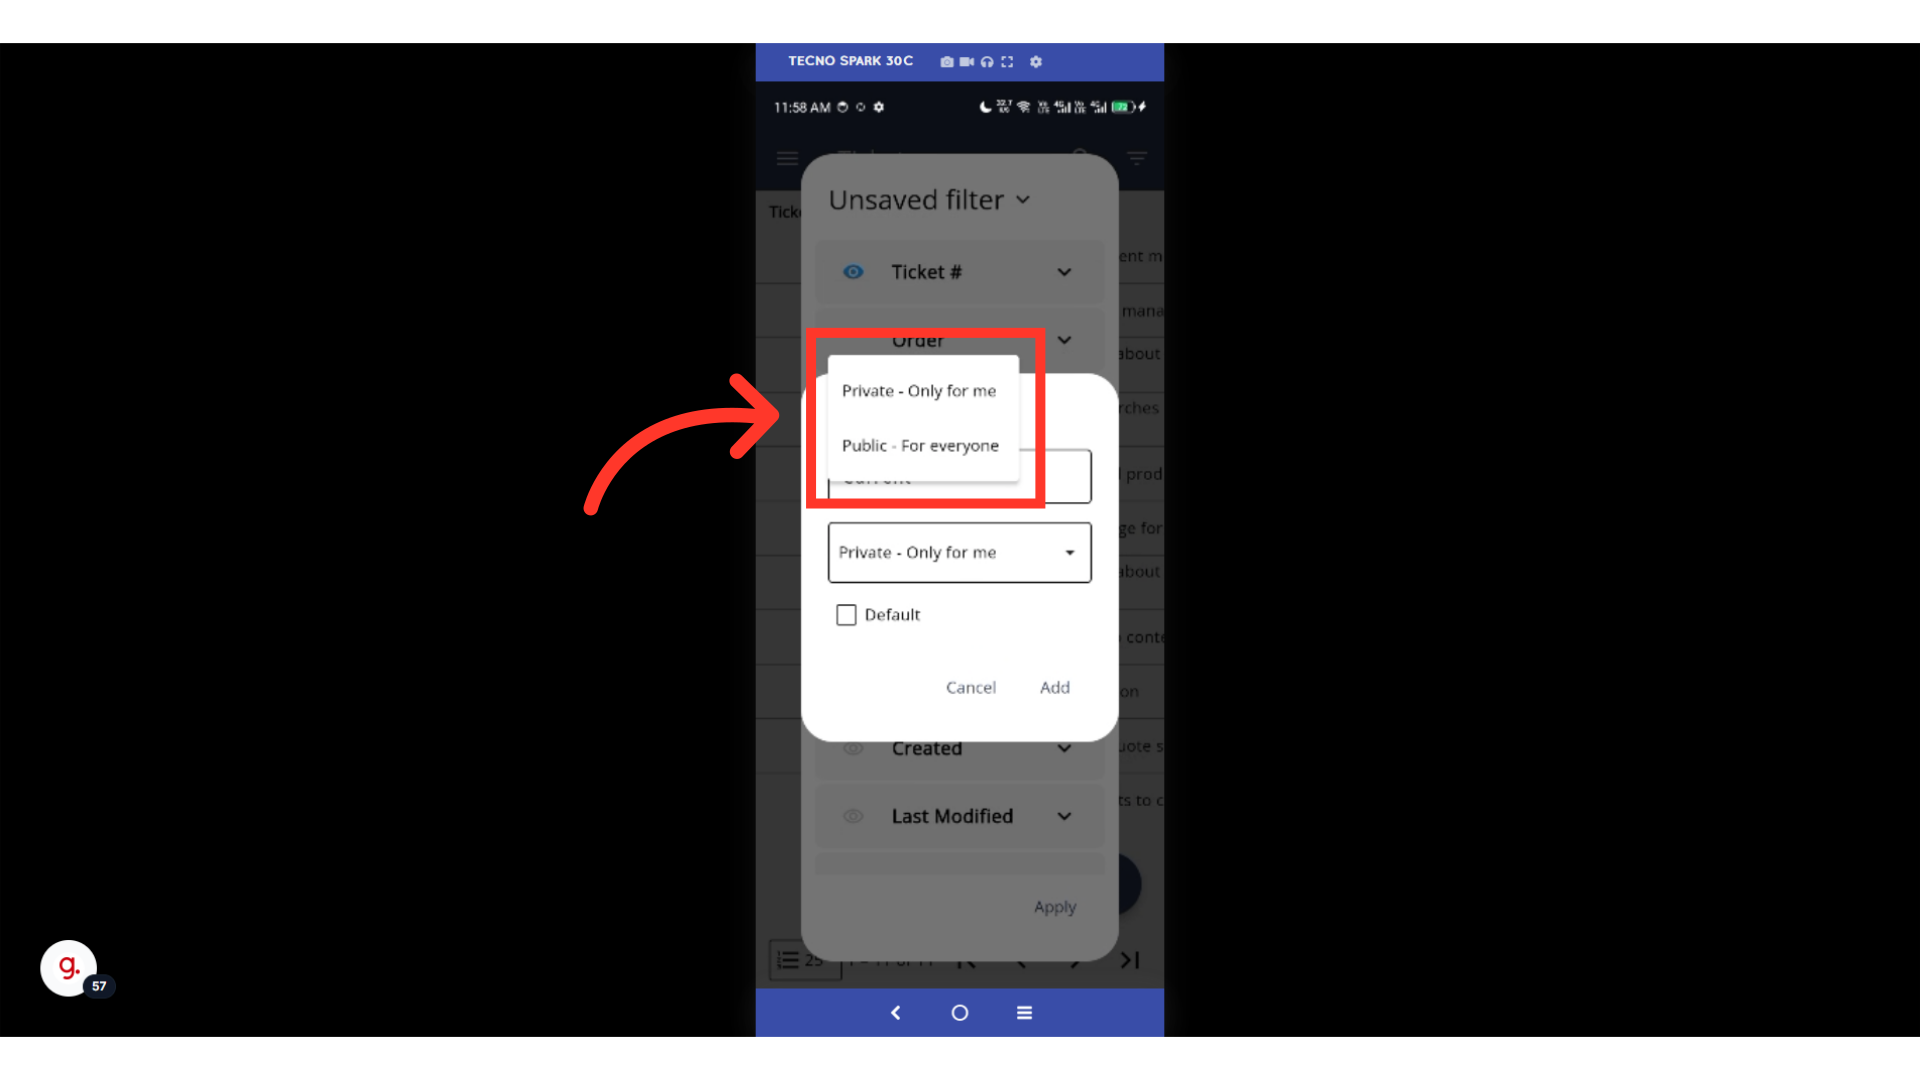
You can choose whether you want to make the filter private, or public which is available for everyone.
You can check the "Default" box to set this as your default filter. This will become the default view on your tickets screen. If the filter has been set to "Public" and the "Default" option is selected, it will become the default view for all users.

Finally, tap on the "Add" button to save the filter.