In order to add a customer to a "Company" in the operations portal, navigate to "Customers".

Then, click "Companies". In order to access "Companies" you will need to be set up either as an "administrator" or a "superuser", or have the appropriate roles: "companyView and companyEdit", or "crmCompanyView and crmCompanyEdit". Just a reminder, "crmCompanyView and crmCompanyEdit" access only allows employees to view companies that are assigned to them.

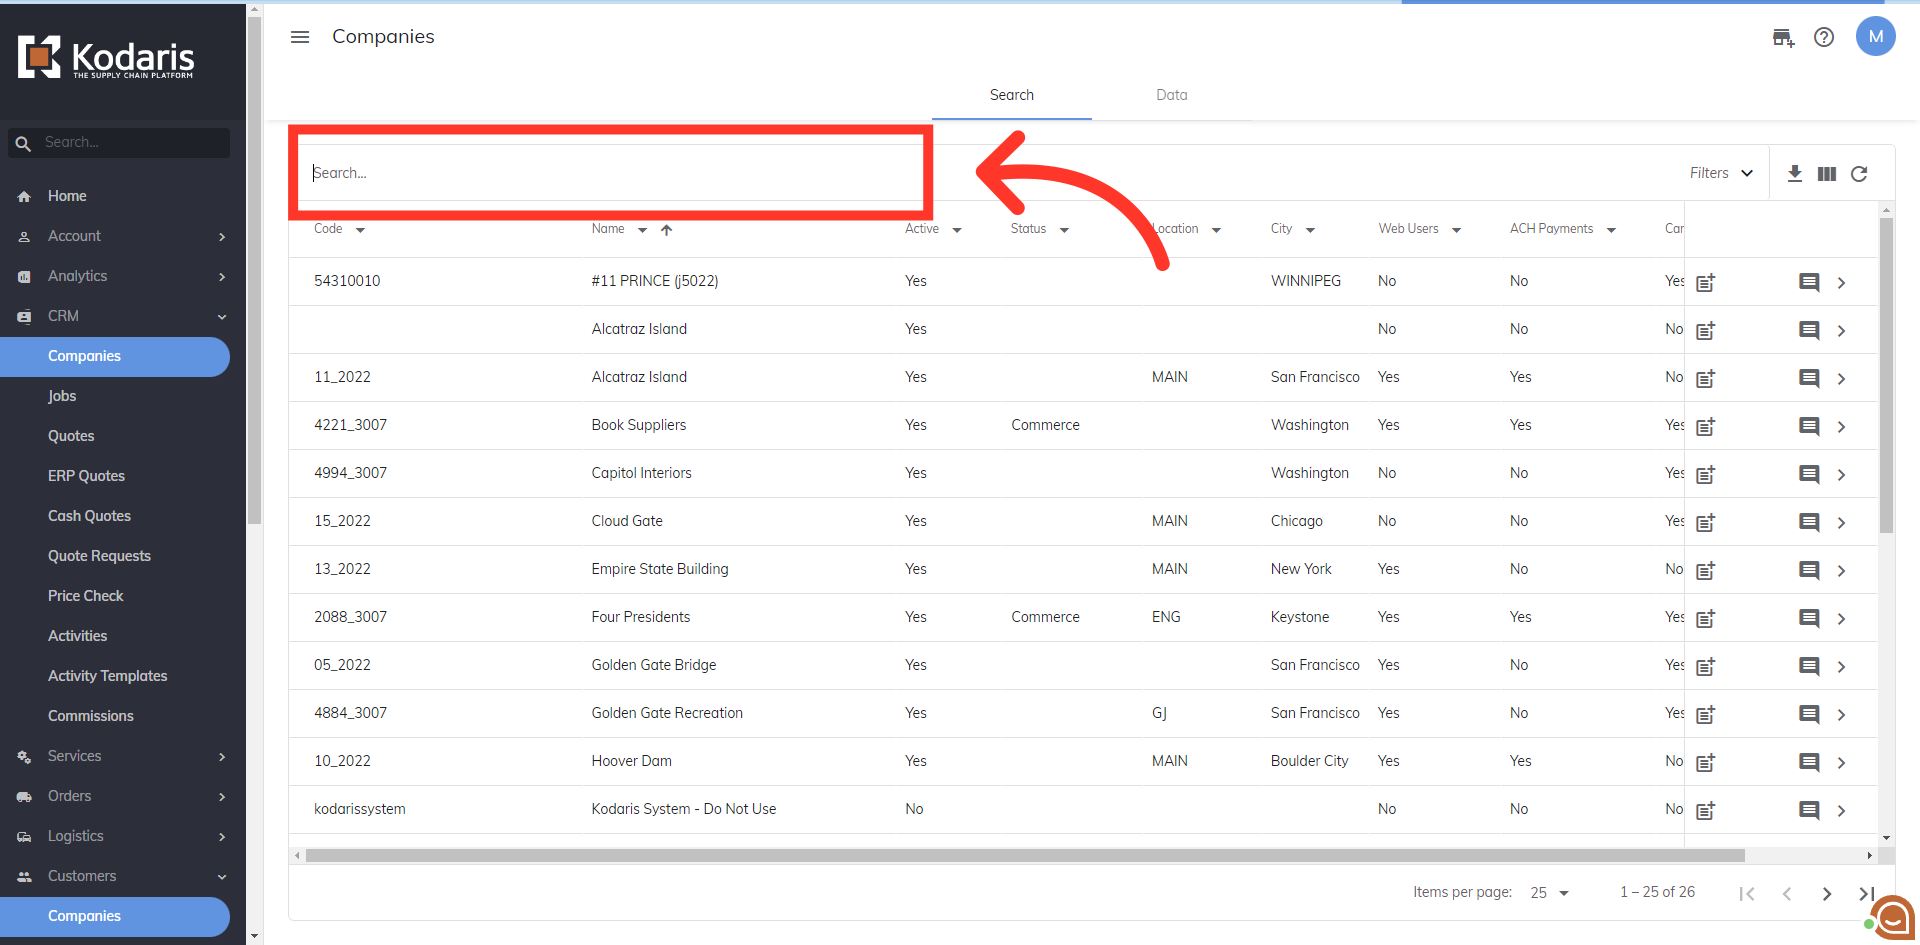
Search for the company you would like to assign the customer to in the "Search..." field.
Click the company's more details icon.

Now, click the "Add Customer" icon.

The "Add Customer" dialog box should appear.

Fill in the "Username" field. This field is required and it must be a valid email address. The customer will use this to log into their account.

You can assign a single role or multiple roles to a customer, or you can leave the role field blank and assign later on.

You can also choose an email template. Usually, you want to select "acccountActivation-EJS". This will be sent as a welcome email to the new user that will prompt them to activate their account and sign in for the first time.

Lastly, click the "Add" button to add the customer.

The customer is now assigned to a company. You can update the customer's profile and add or remove roles at any time.
