You have the ability to customize the price check and inventory screens in the Employee Mobile App. To do this, begin by opening the app.

Tap the "Menu" icon.

To customize the inventory screen, select "Inventory" from the menu items. In order to access and view inventory, you will need to be set up either as an “administrator” or a “superuser”, or have the following roles: “productView” and “wareHouseView”.

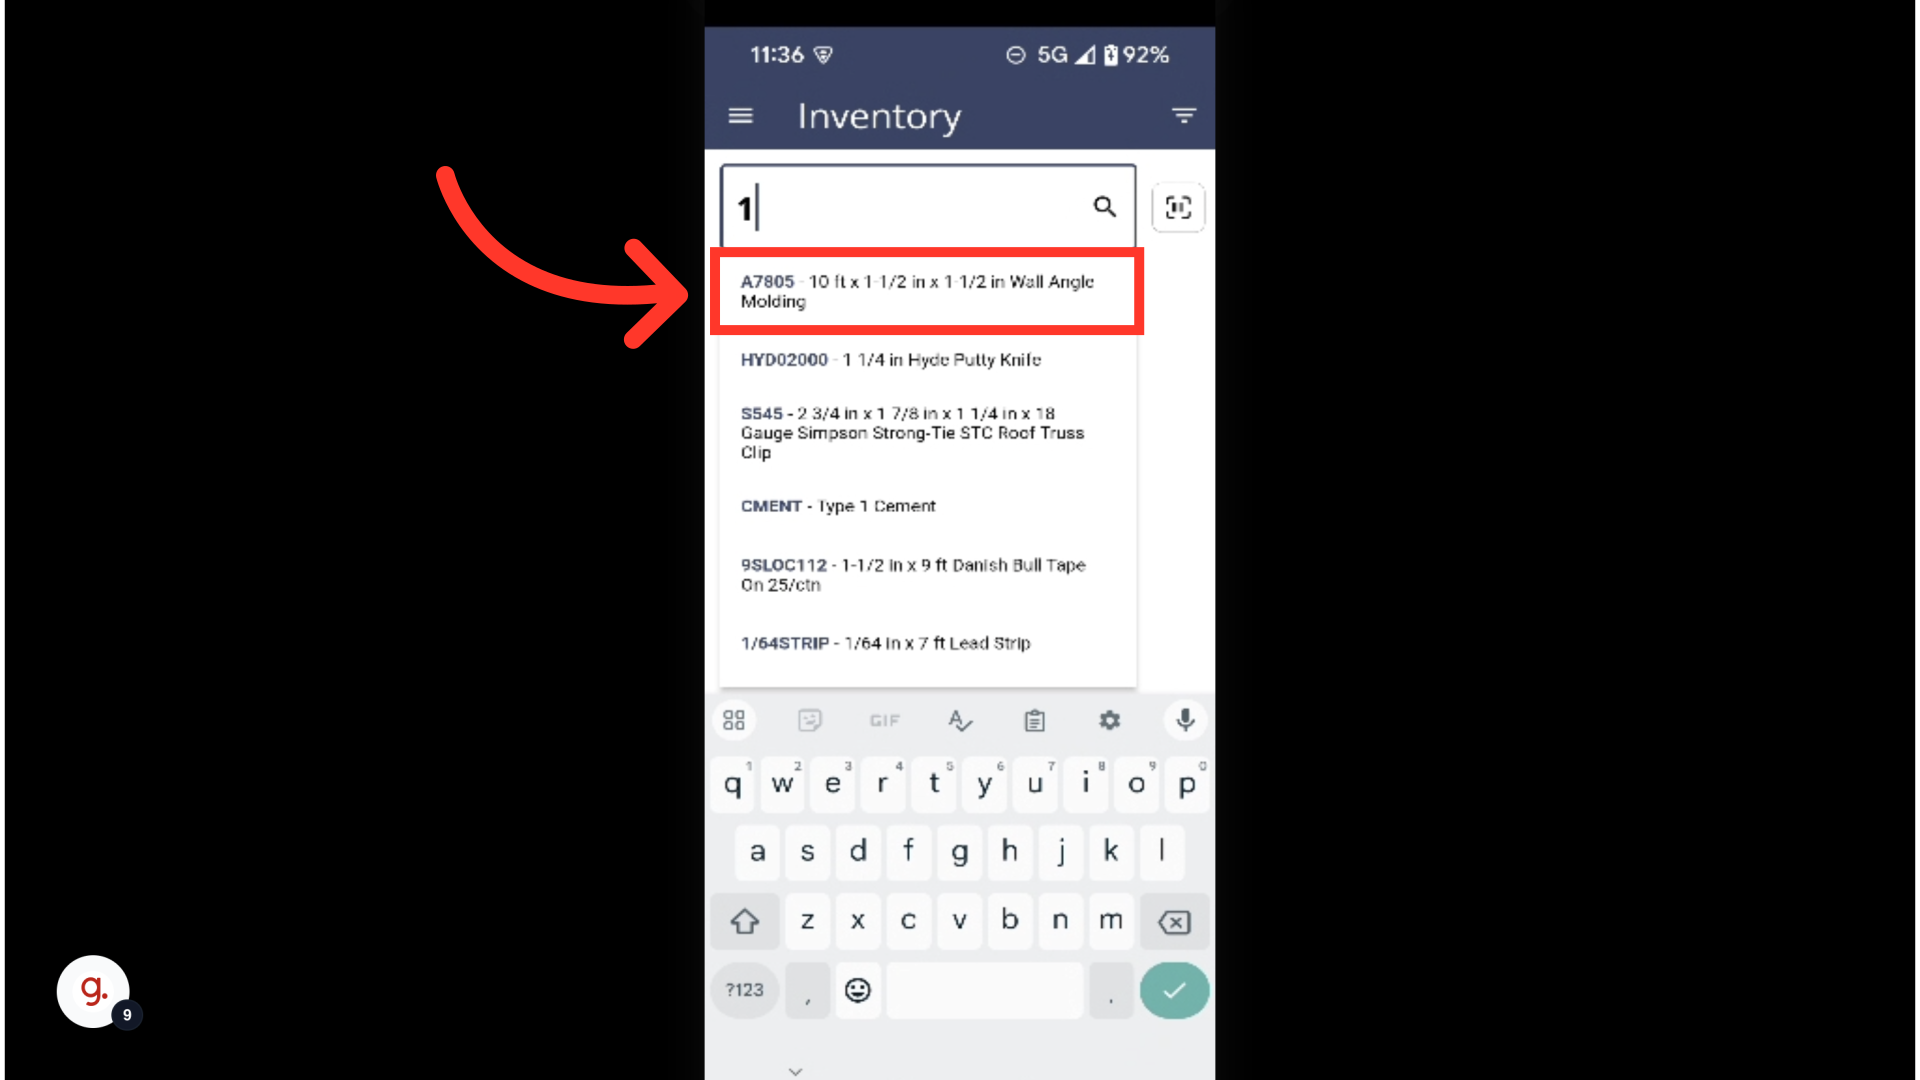
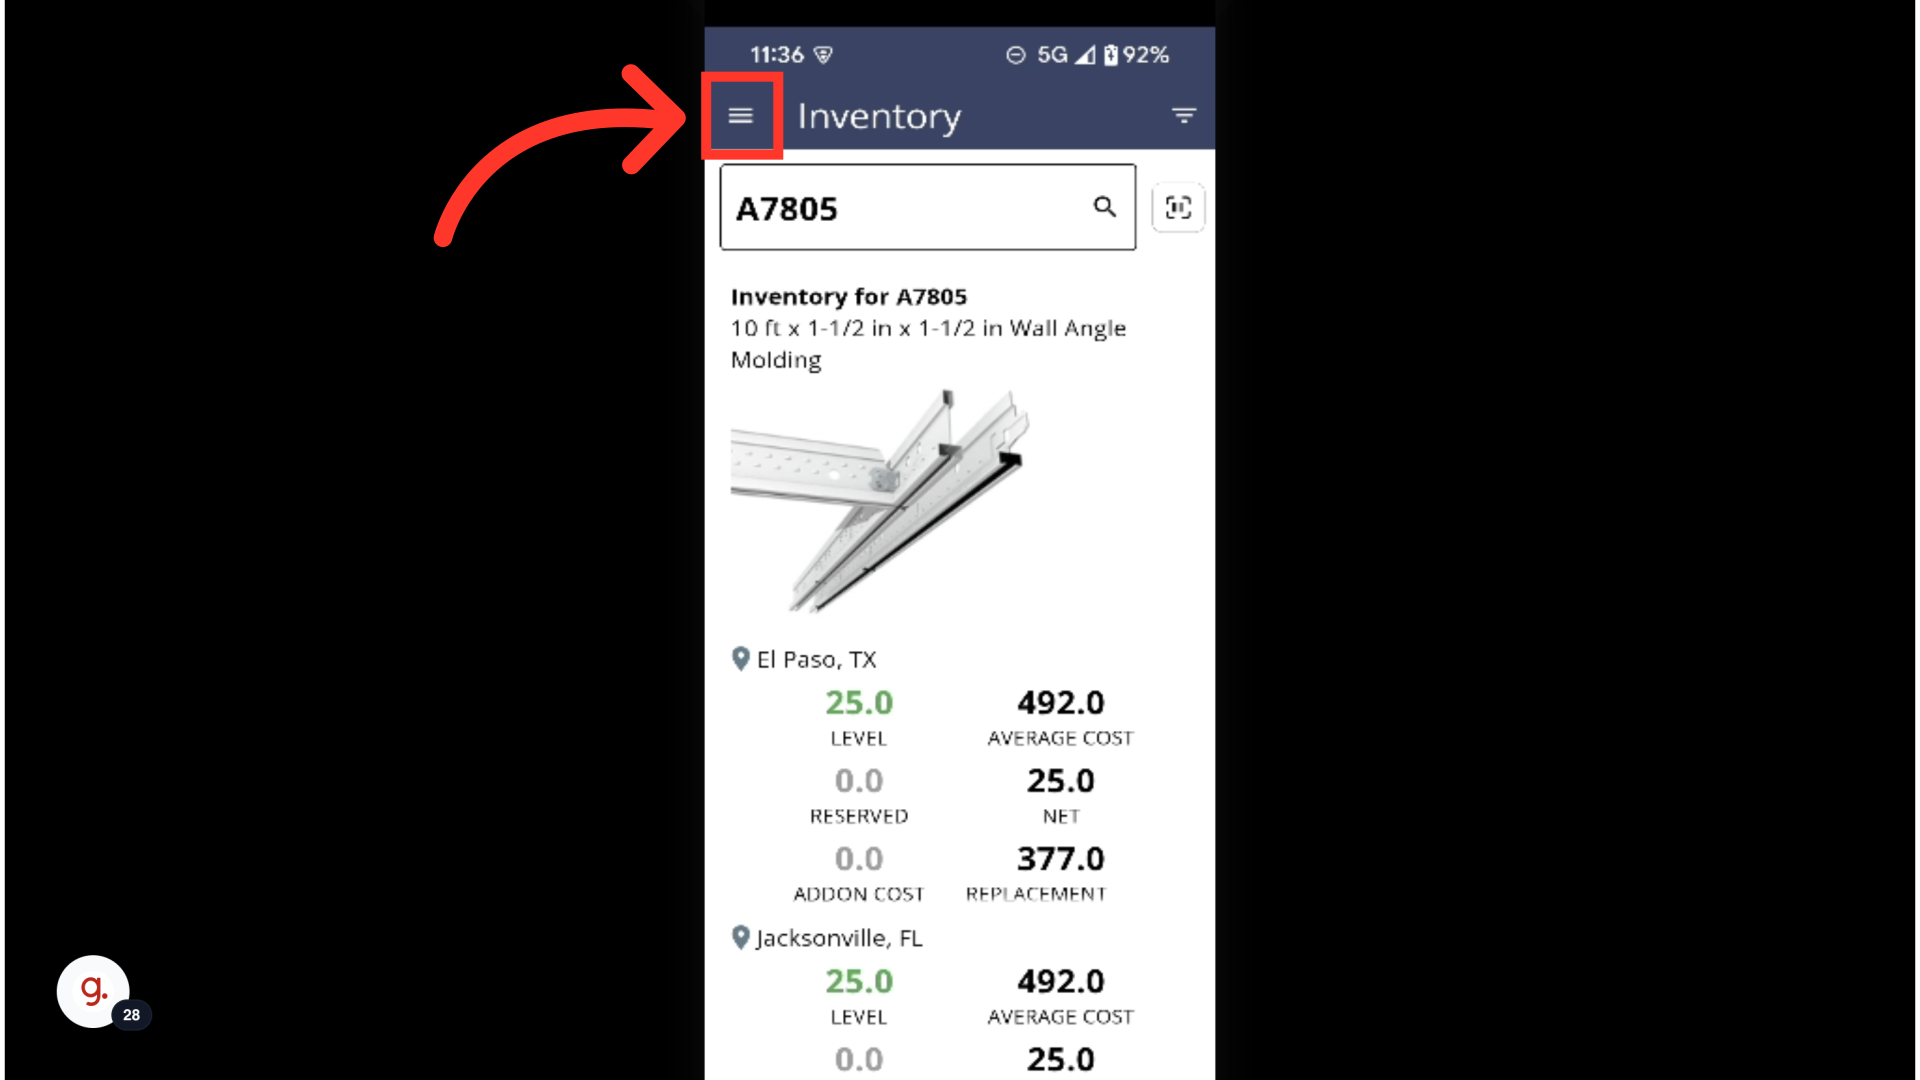
To locate a product, tap on the search bar and use your device's keyboard to search for a product name or SKU.

Once the product appears, select it.
To customize the Inventory screen, tap the "Filter" icon.

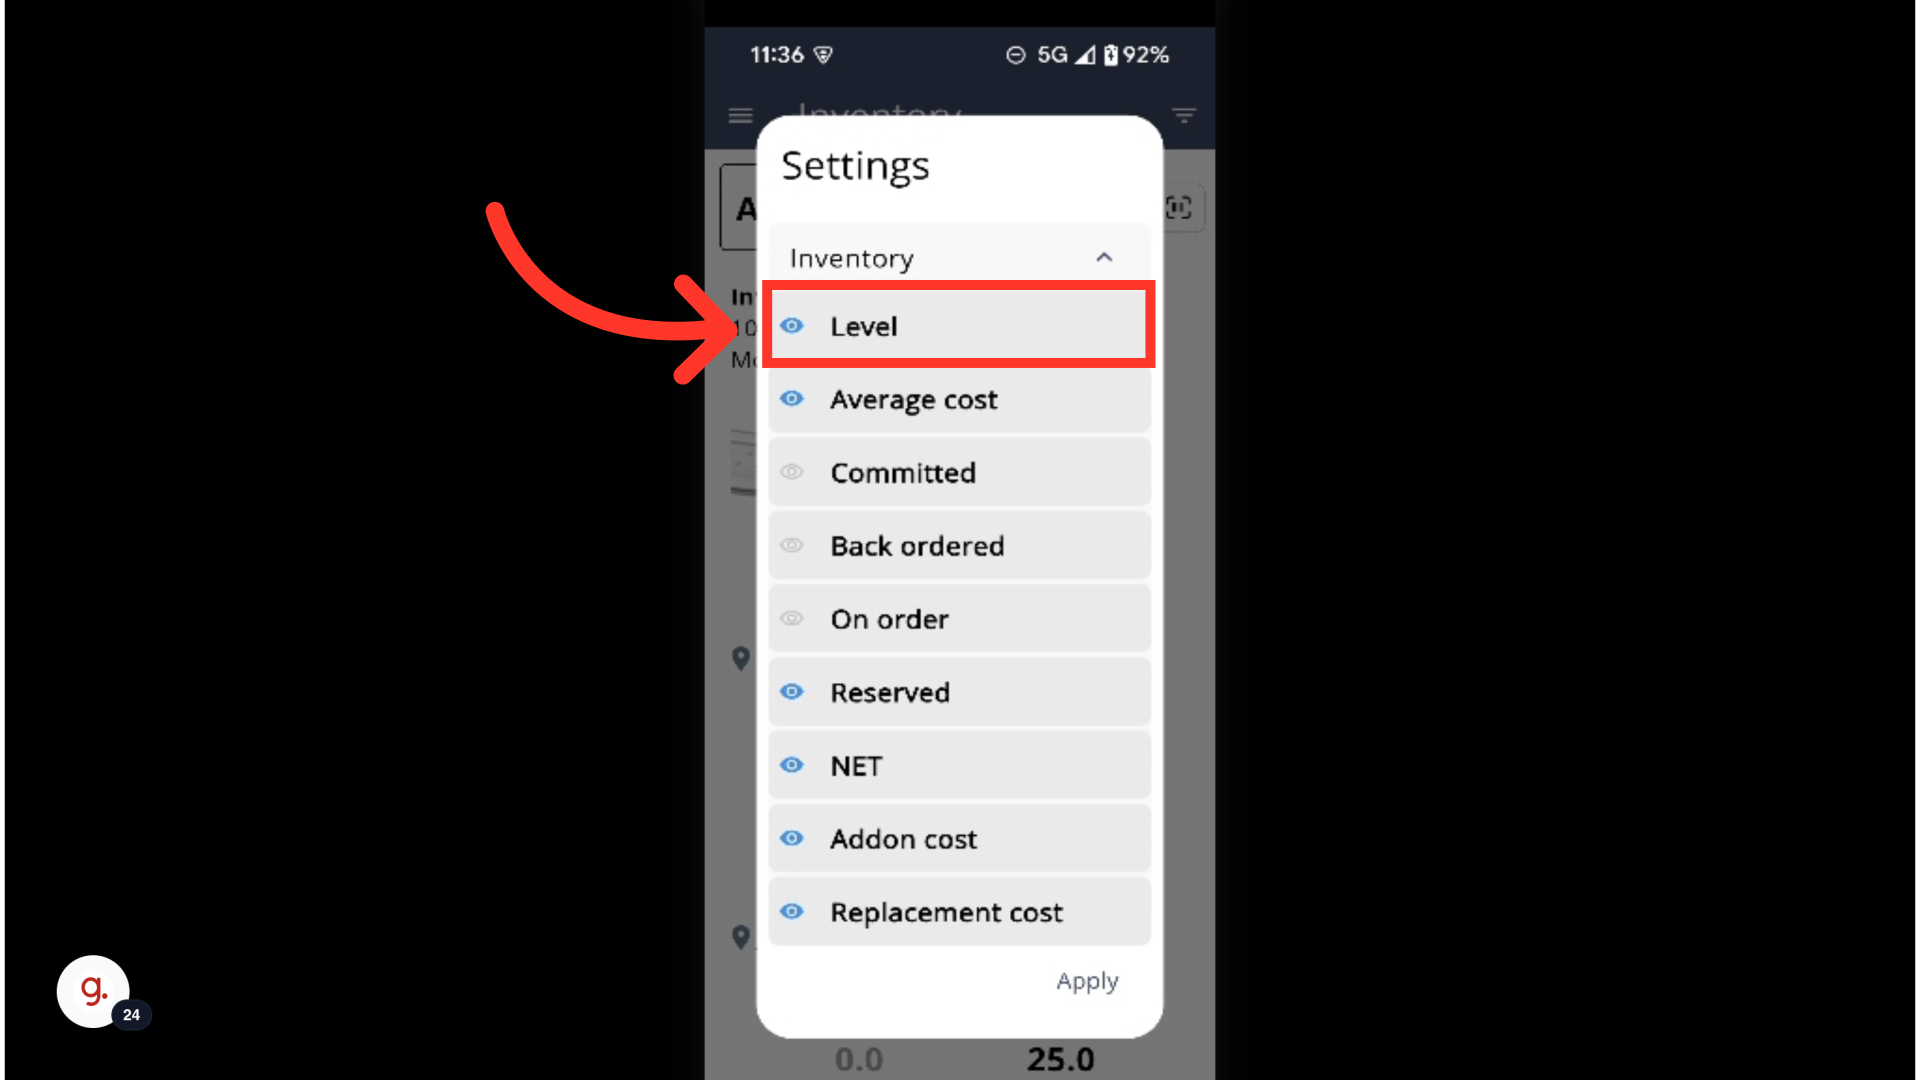
Use the fields on this screen to customize your view.
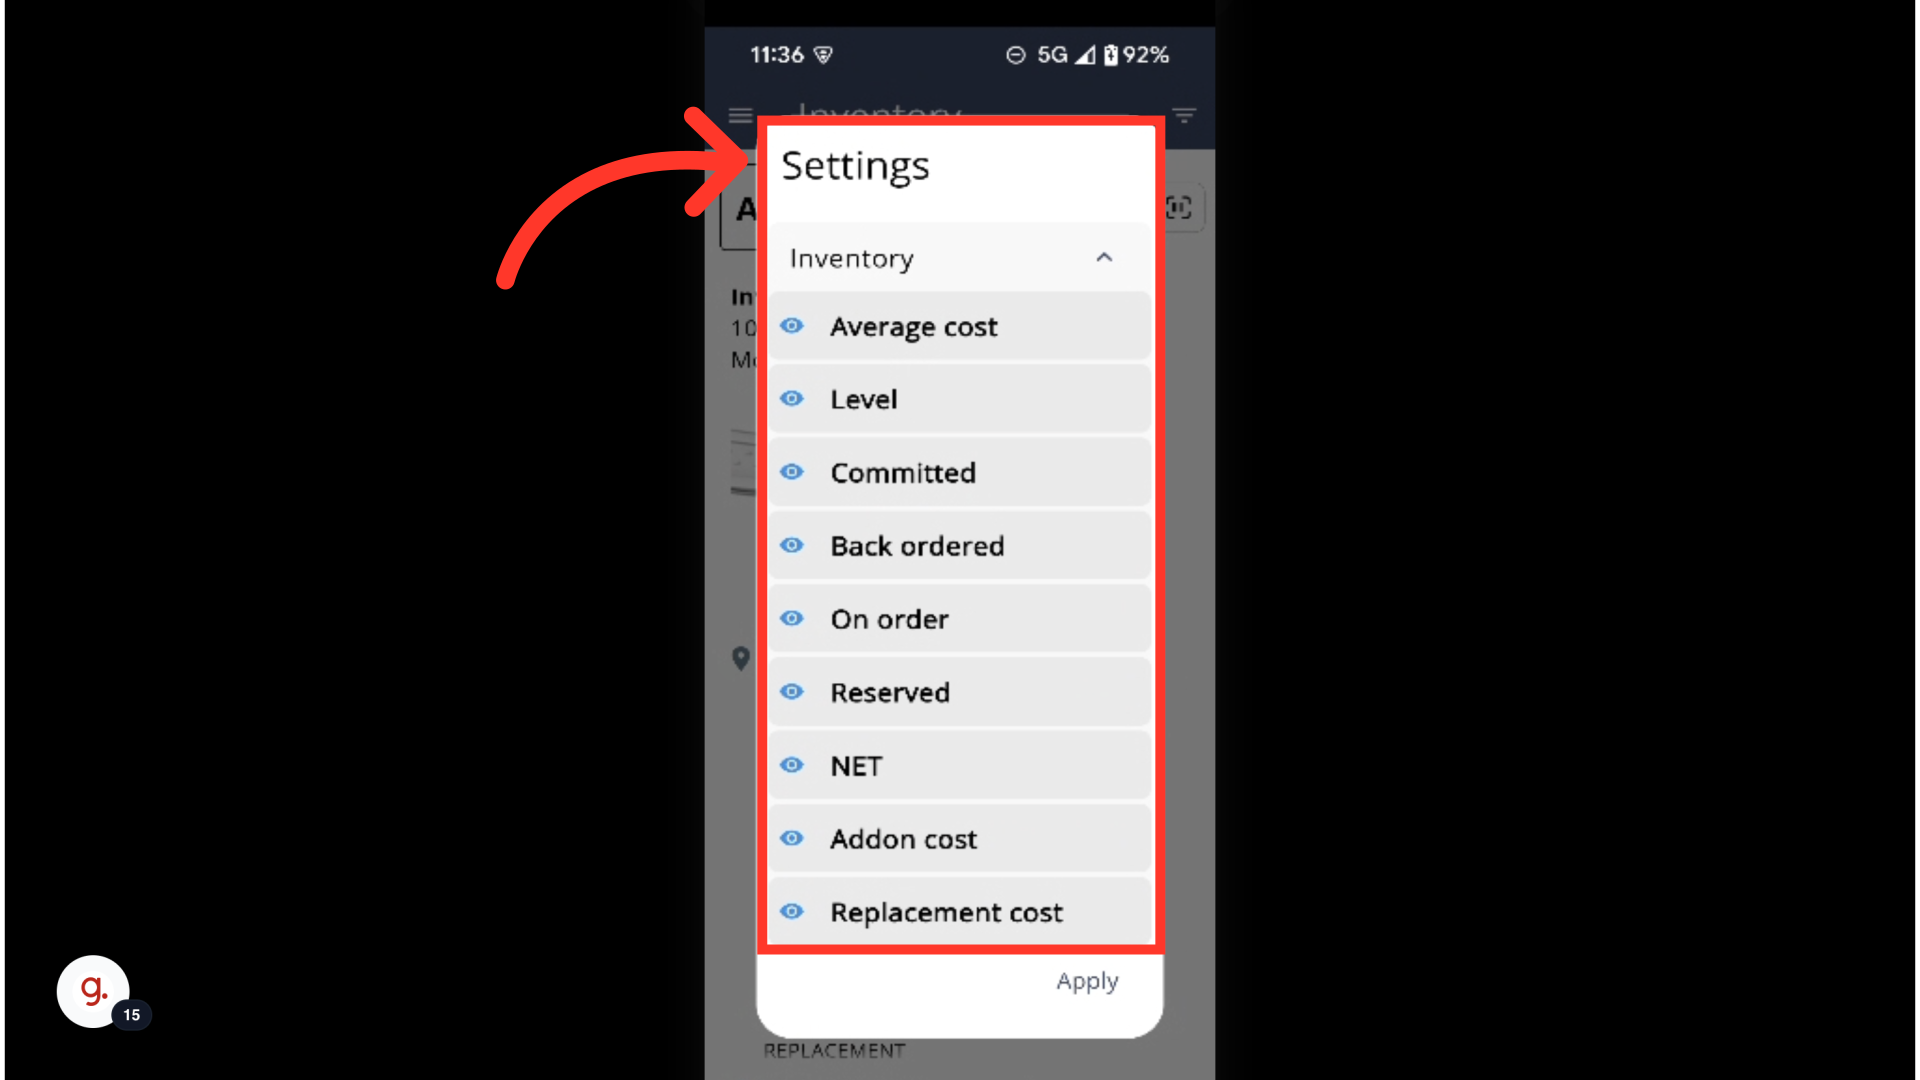
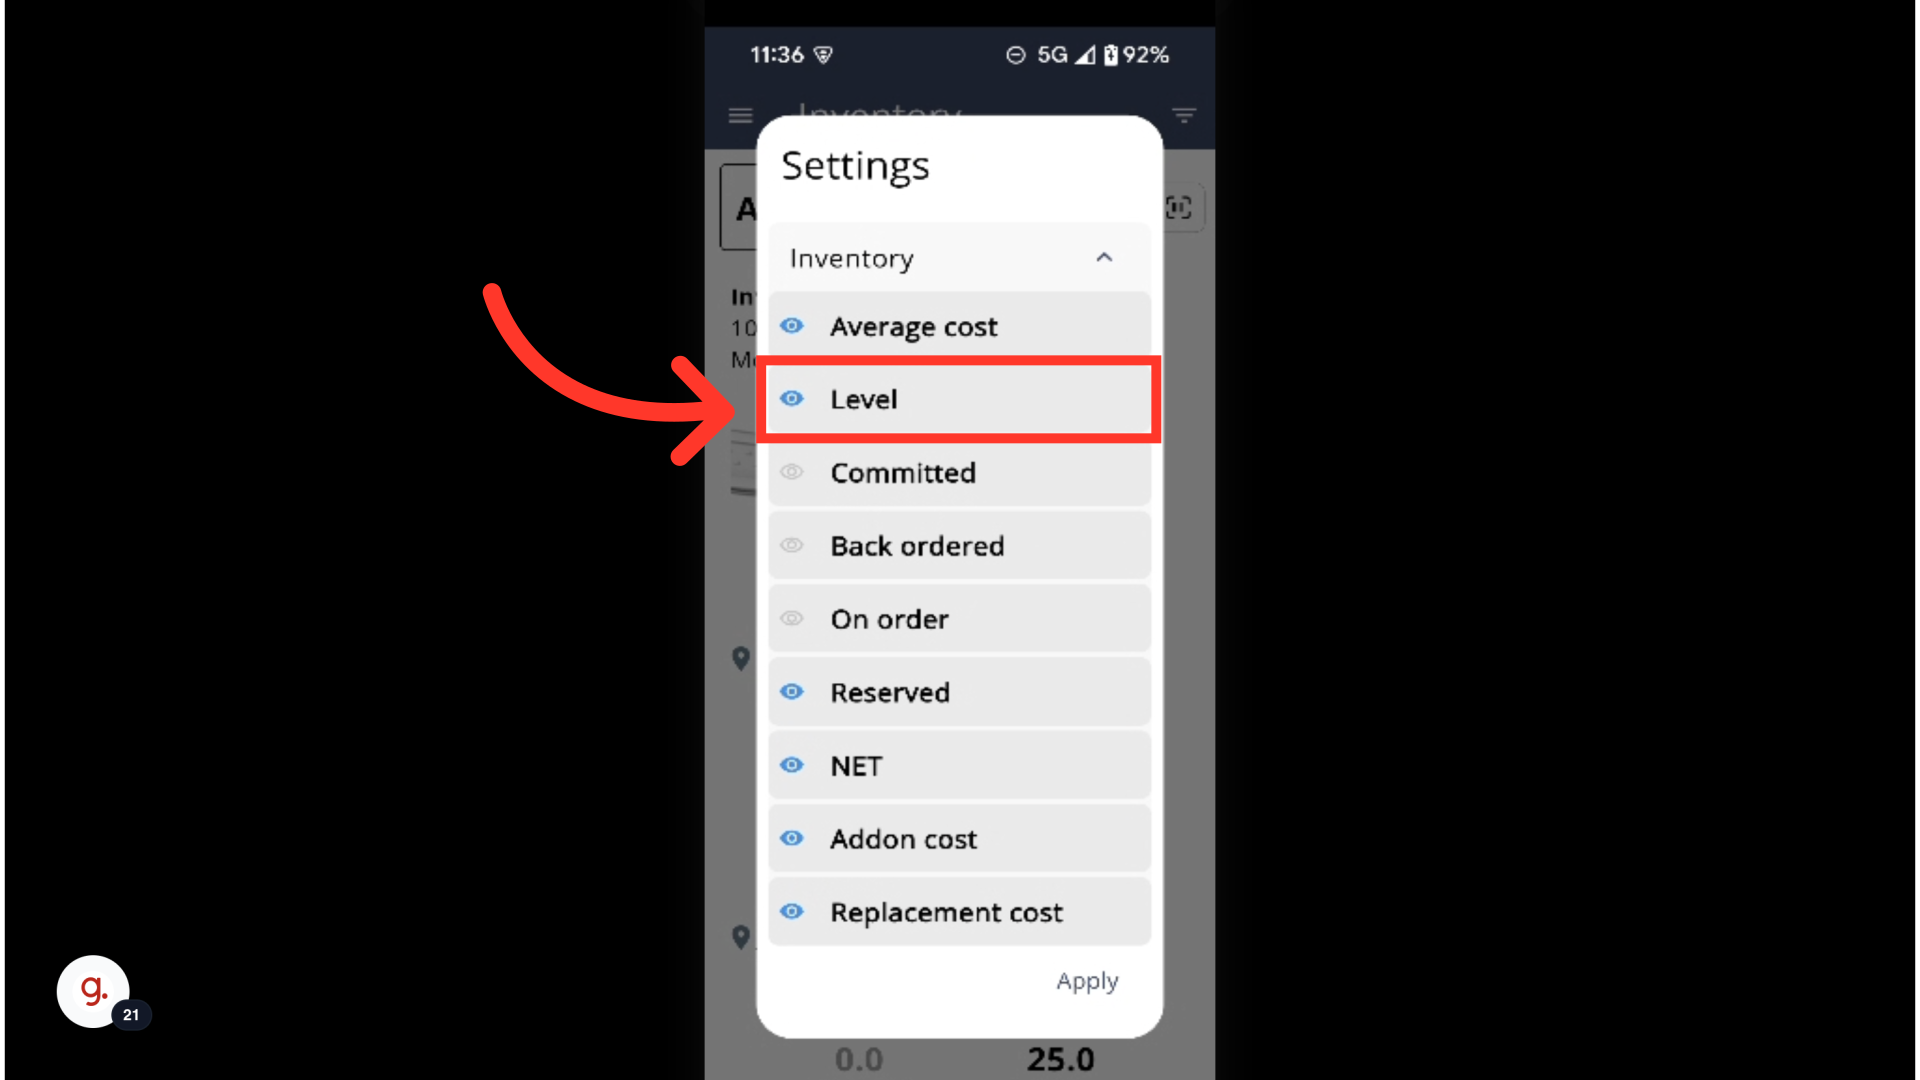
To add a field to your screen, tap on the "View" icon next to the field name so that it's highlighted and blue.

To remove a field from your screen, de-select the "View" icon next to the field name so that it's gray and no longer highlighted.

You can rearrange the order of the fields by selecting a field, holding it, and dragging it to a new position.
Once you've rearranged a field's position, confirm it's in the intended spot.
After you've finalized your new view, tap "Apply".
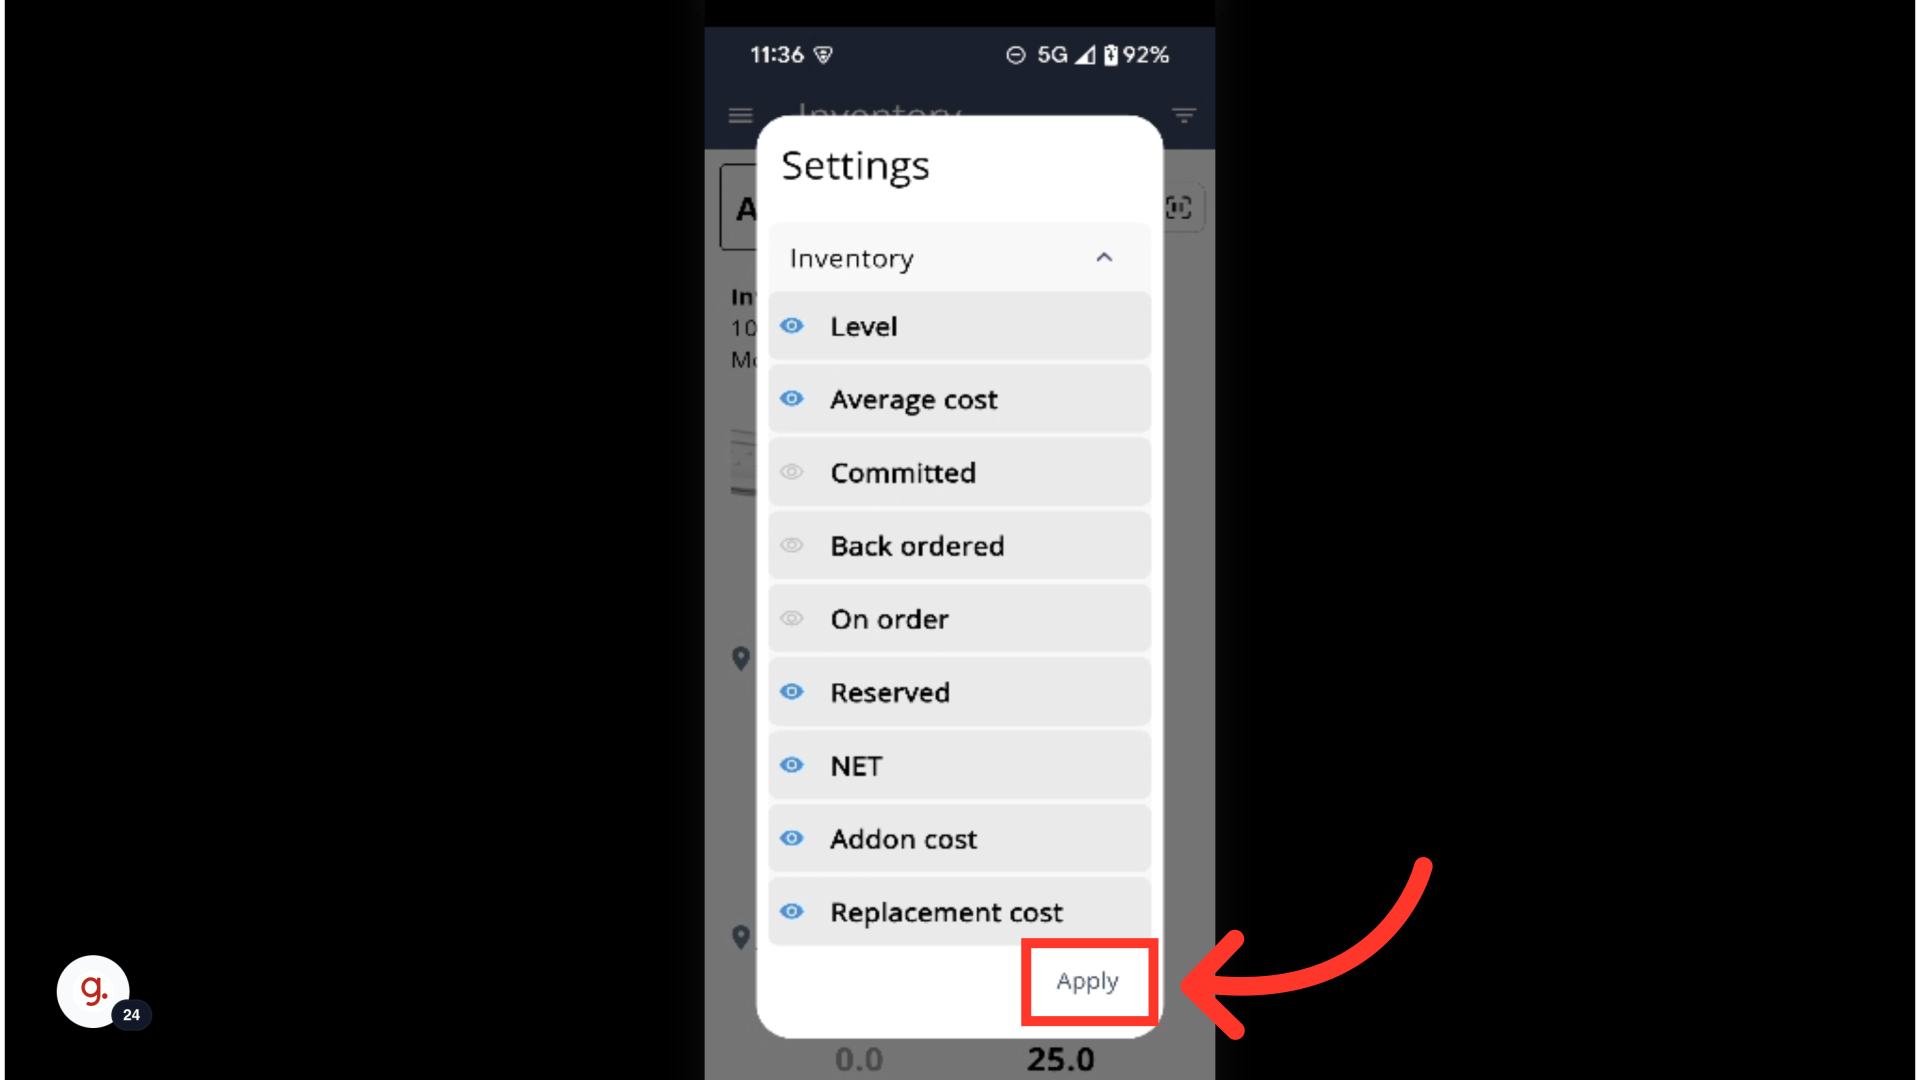
Once you select "Apply", the new view will apply to the Inventory screen. It will also apply to all locations or warehouses that are available.

This same process can be applied toward the Pricing screen. To access the Pricing screen, select the "Menu" icon.
Tap "Pricing" from the list of menu items. In order to view pricing and customize the pricing screen, you will need to be set up either as an “administrator” or a “superuser”, or have the following roles: “companyAddressView”, “companyView”, “productPriceView”, and “productView”.

To view pricing information, you will need to search under a company. To do so, tap on the search bar under "Company" and use your device's keyboard to type a company name.
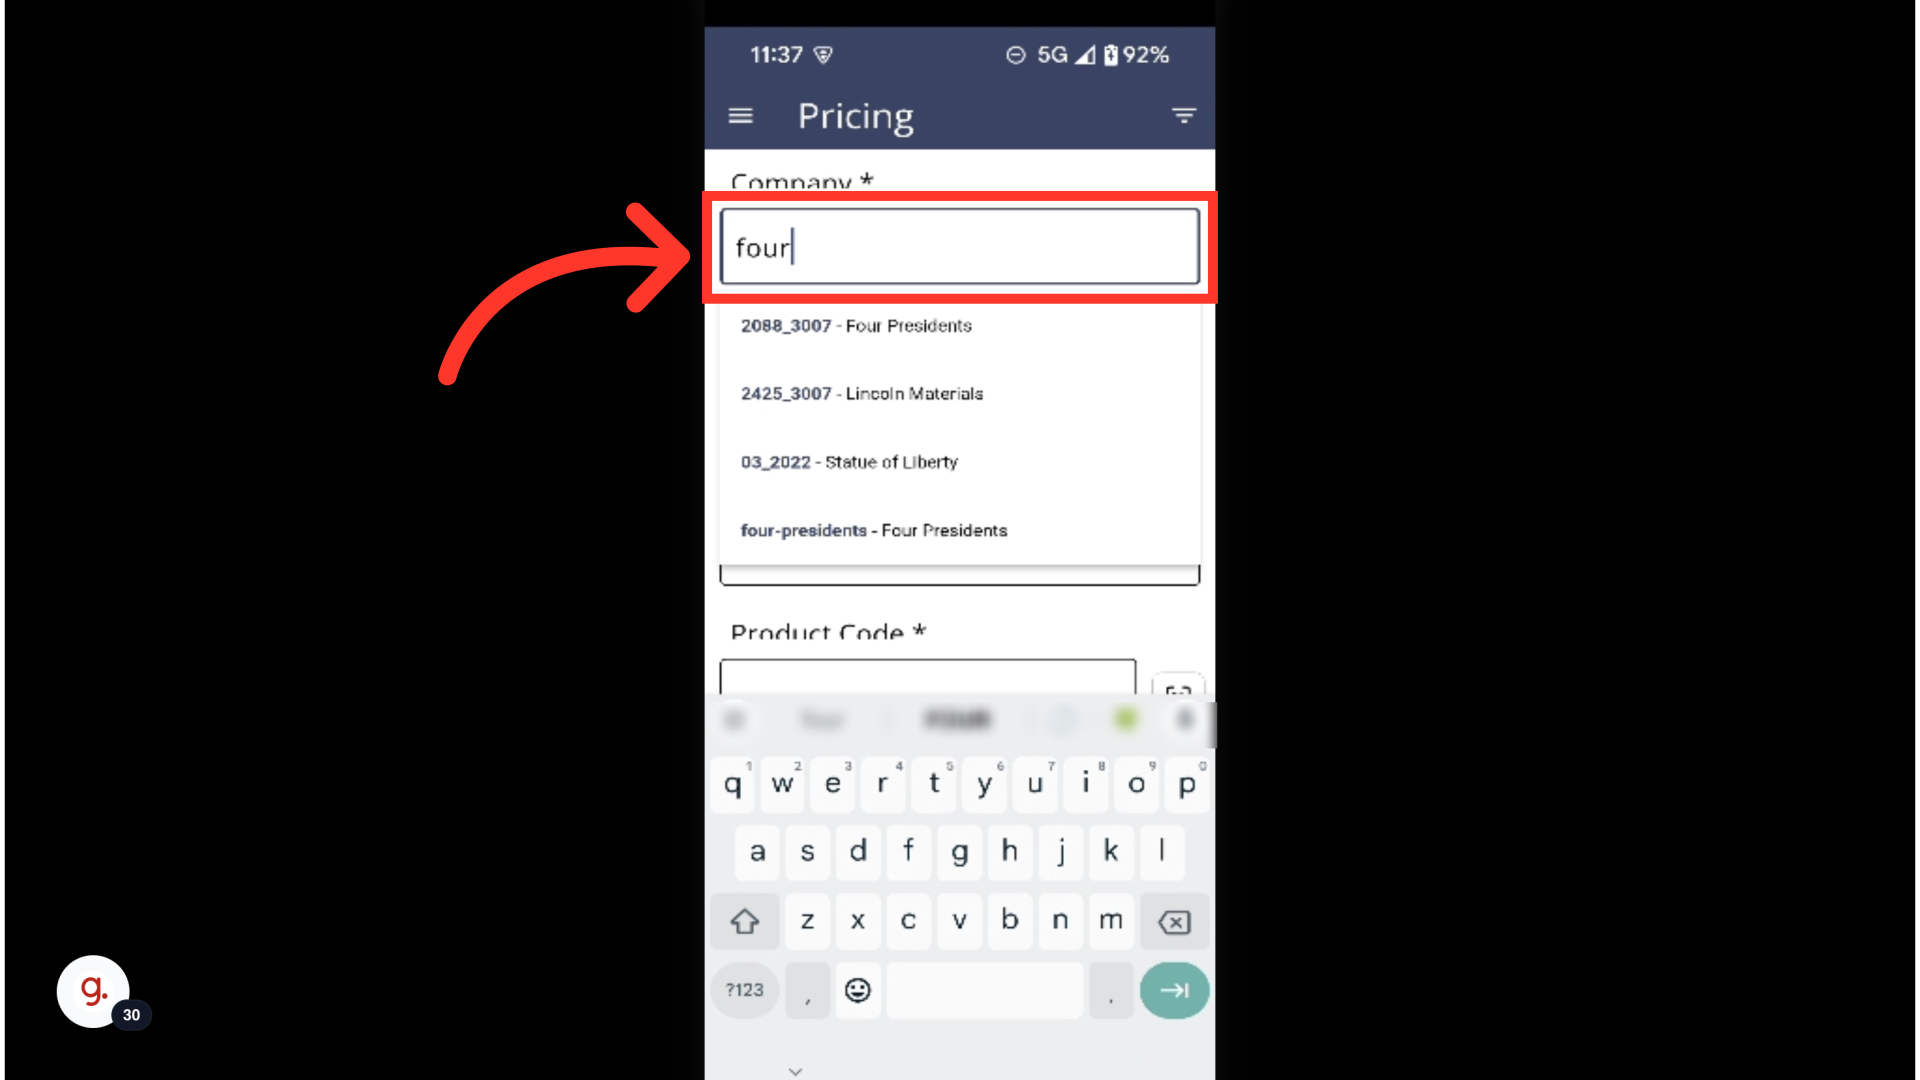
Once you've located the company, tap on it to select it.

Search for the product pricing information you want to view. Use your device's keyboard to begin typing the product name or SKU.

Once you've located the product, tap on it to select it.

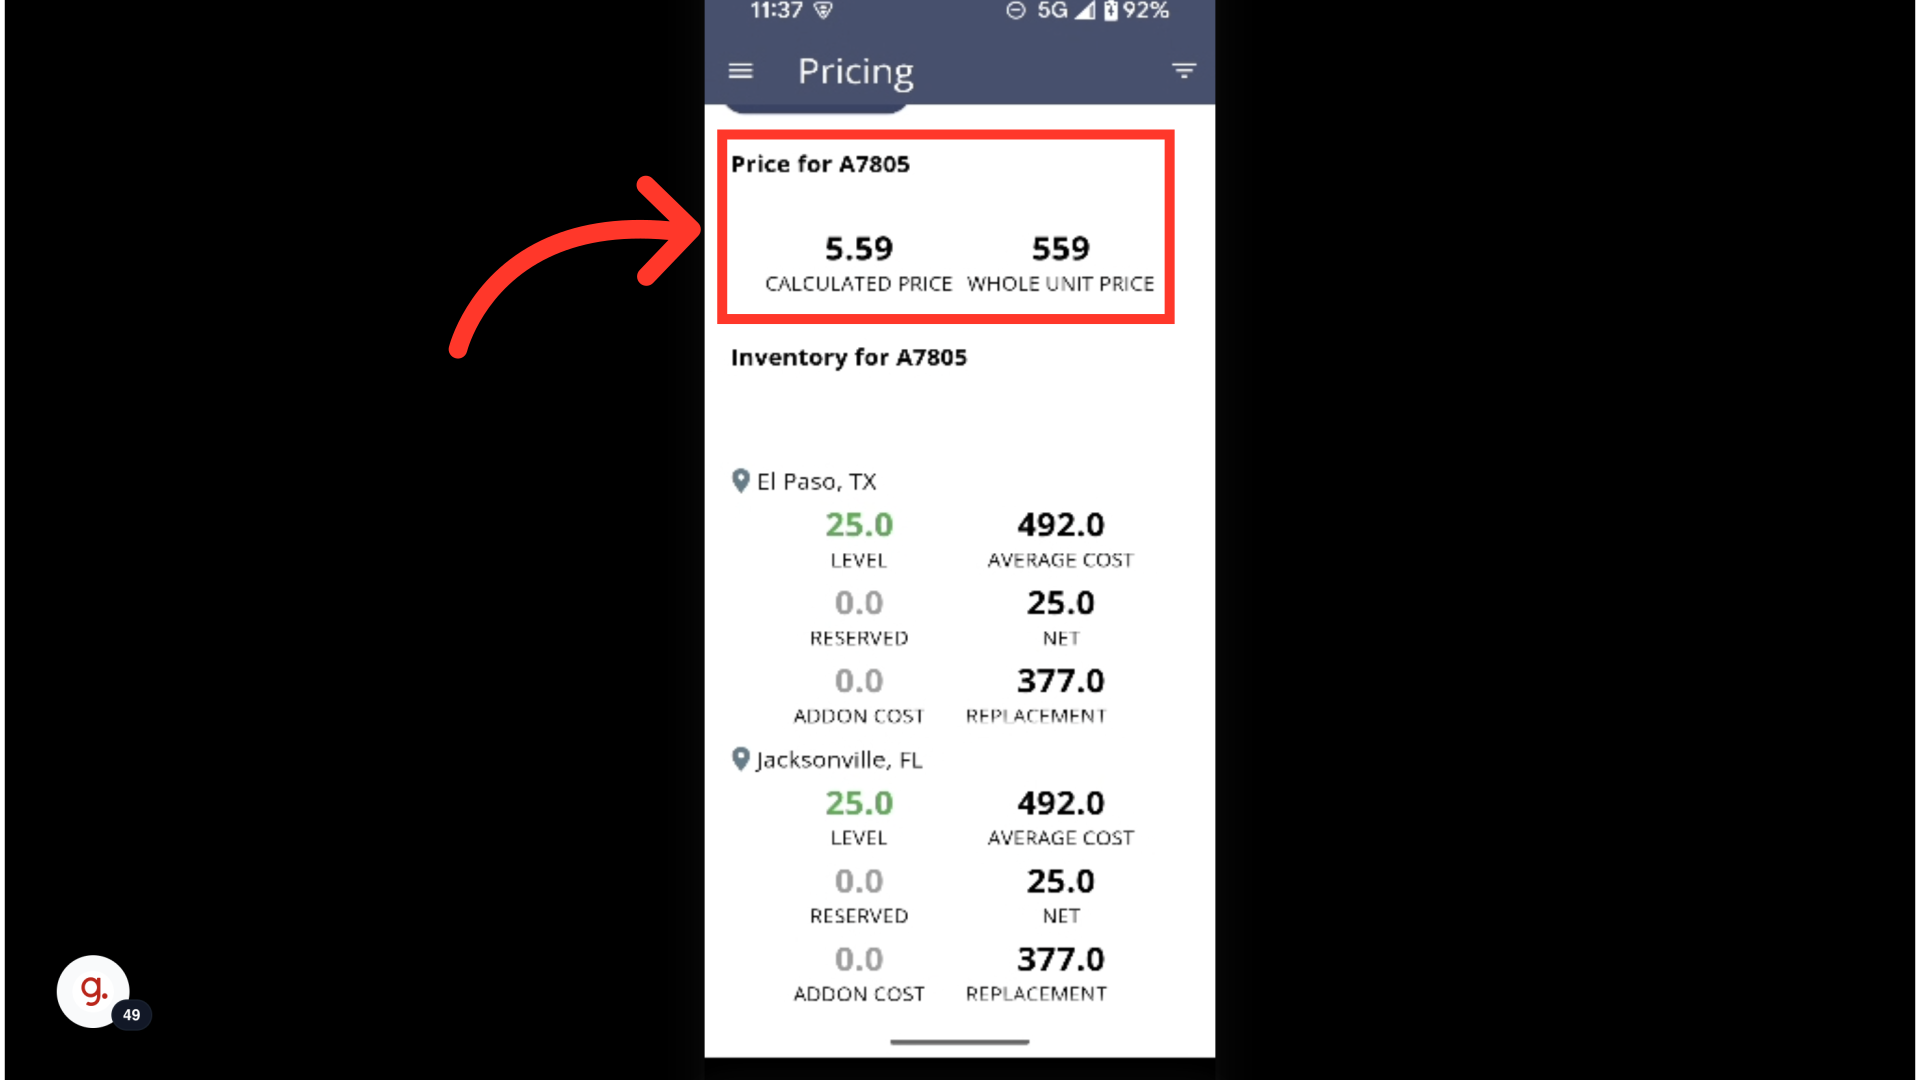
Tap the "Check prices" button to view the product's pricing information.

To customize the Pricing screen, tap the "Filter" icon.

Use the fields on this screen to customize your view.

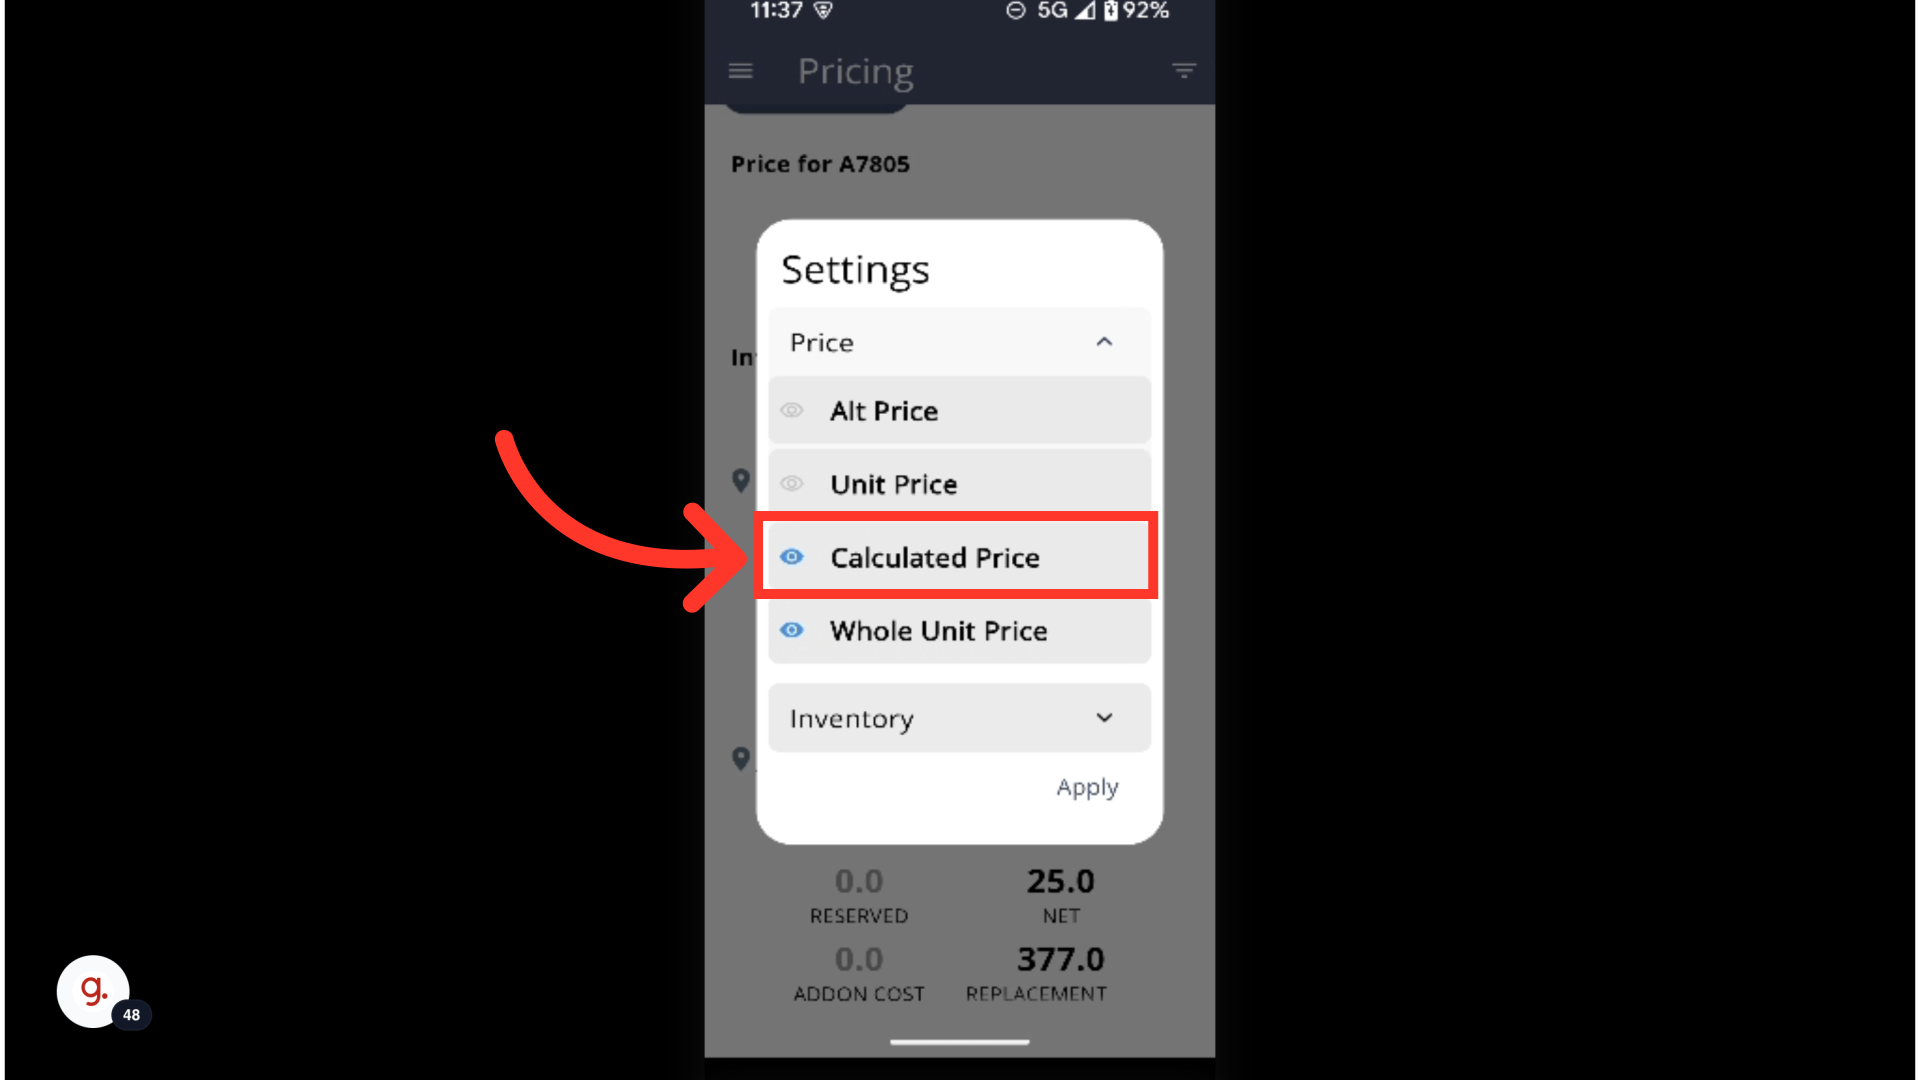
To add a field to your screen, tap on the "View" icon next to the field name so that it's highlighted and blue.

To remove a field from your screen, de-select the "View" icon next to the field name so that it's gray and no longer highlighted.

You can rearrange the order of the fields by selecting a field, holding it, and dragging it to a new position.

Once you've rearranged a field's position, confirm it's in the intended spot.
After you've finalized your new view, tap "Apply".
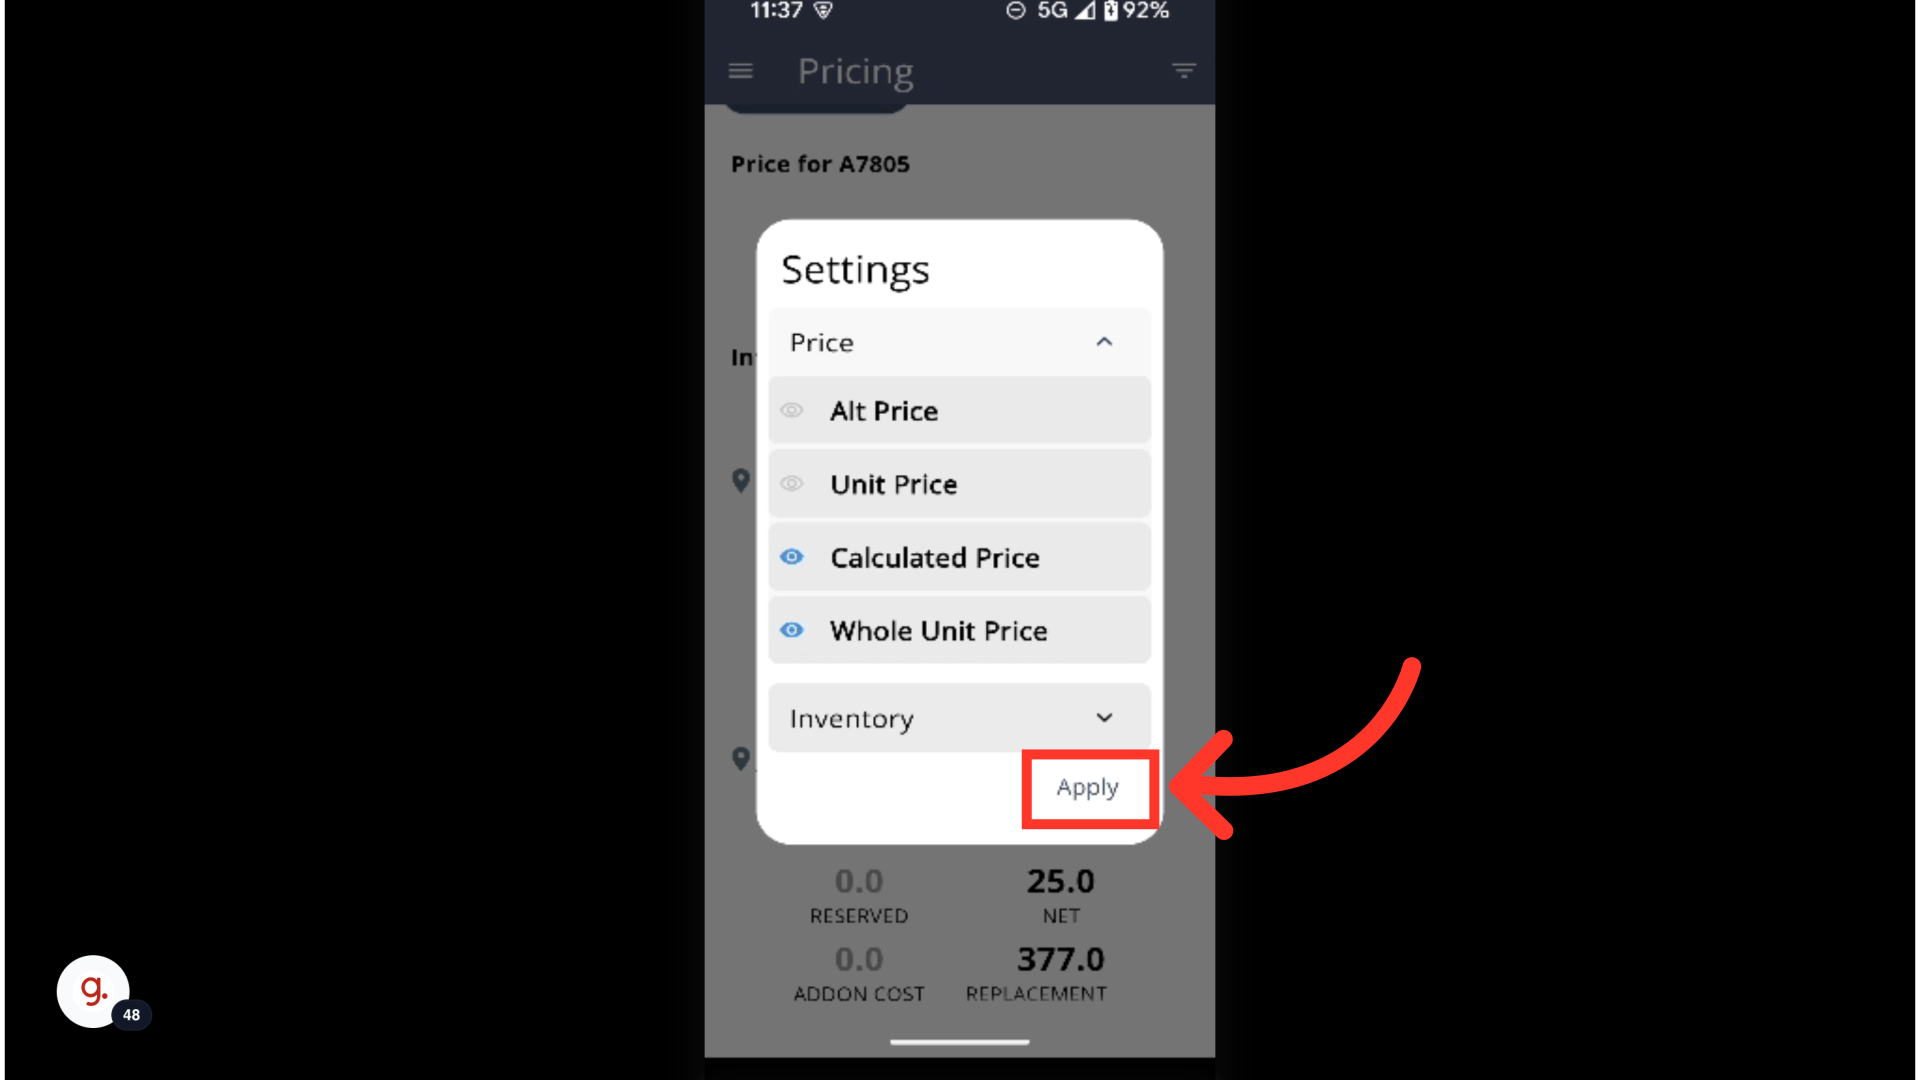
Once you select "Apply", the new view will apply to the Pricing screen.