Using your CMS, you can reorder your CMS pages in the operations portal. In this example, we will demonstrate how to reorder the pages on this parent page of our website titled "Trending". This "Trending" page is similar to a blog where there are multiple articles listed on a single page.

To reorder the CMS pages that are under a parent page, begin by logging into the Operations Portal.

Click on "CMS".

To access a list of your CMS pages, select "Pages".

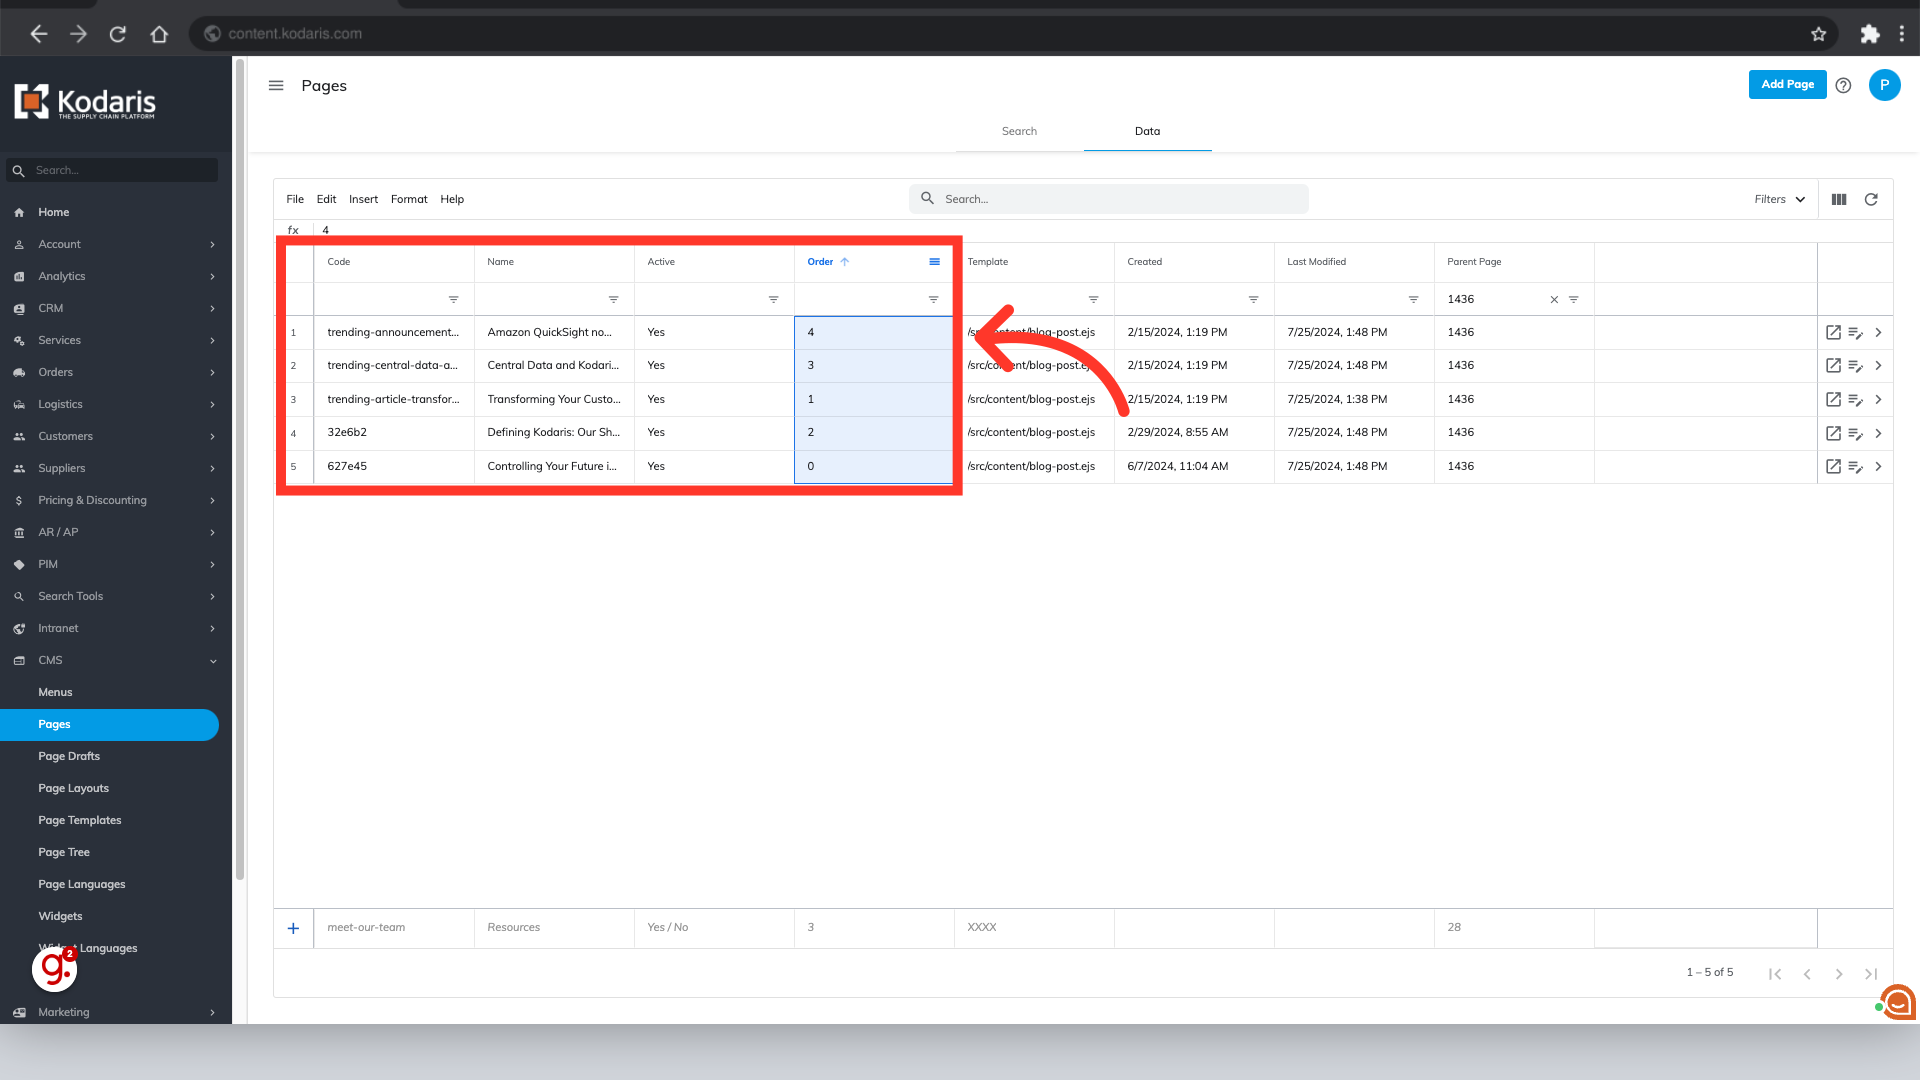
Once you've pulled up the pages you wish to reorder in the "Data" tab, locate the "Order" column. This is the column you will use to reorder your pages.

The way in which the ordering feature works is that it sorts the pages in numerical order. The number "0" will place a page at the top of your list or parent page, "1" is next, "2" is after that, and so on. Currently, the article titled, "Controlling Your Future in the Cloud" contains "0" in its "Order" column, and the article titled, "Transforming Your Customer's Experience with Proof of Delivery" contains "1" in its "Order" column.
To confirm this page order, refer back to your website. As you can see in this example, the page order in the Operations Portal matches the order on the website as it should.

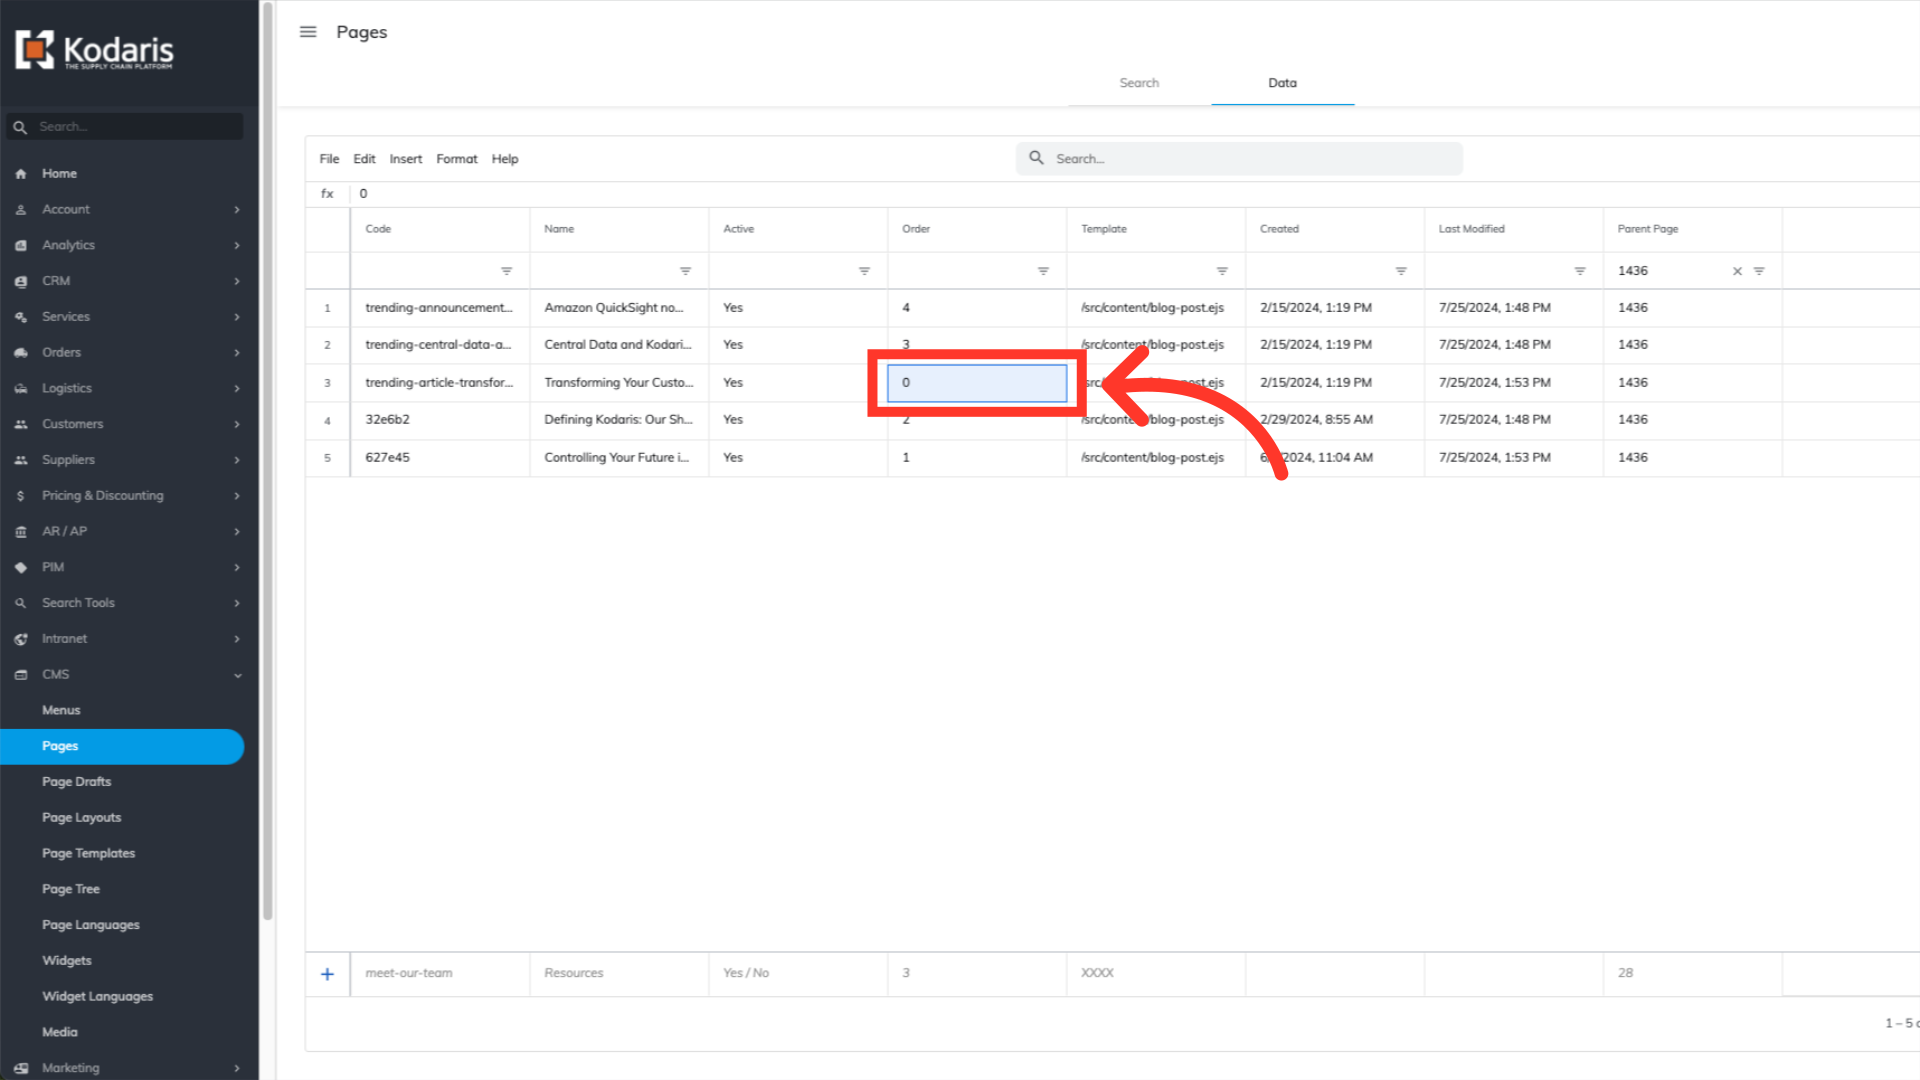
To reorder these pages, edit the "Order" column directly in the "Data" tab. Double-click into the "Order" cell within the row of the page you want to reorder, and then type your desired order number. Once you click out of a cell, the system will automatically save and update your live website. For this example, we will swap the order of those two articles by assigning the number "0" to the article titled "Transforming Your Customer's Experience with Proof of Delivery".
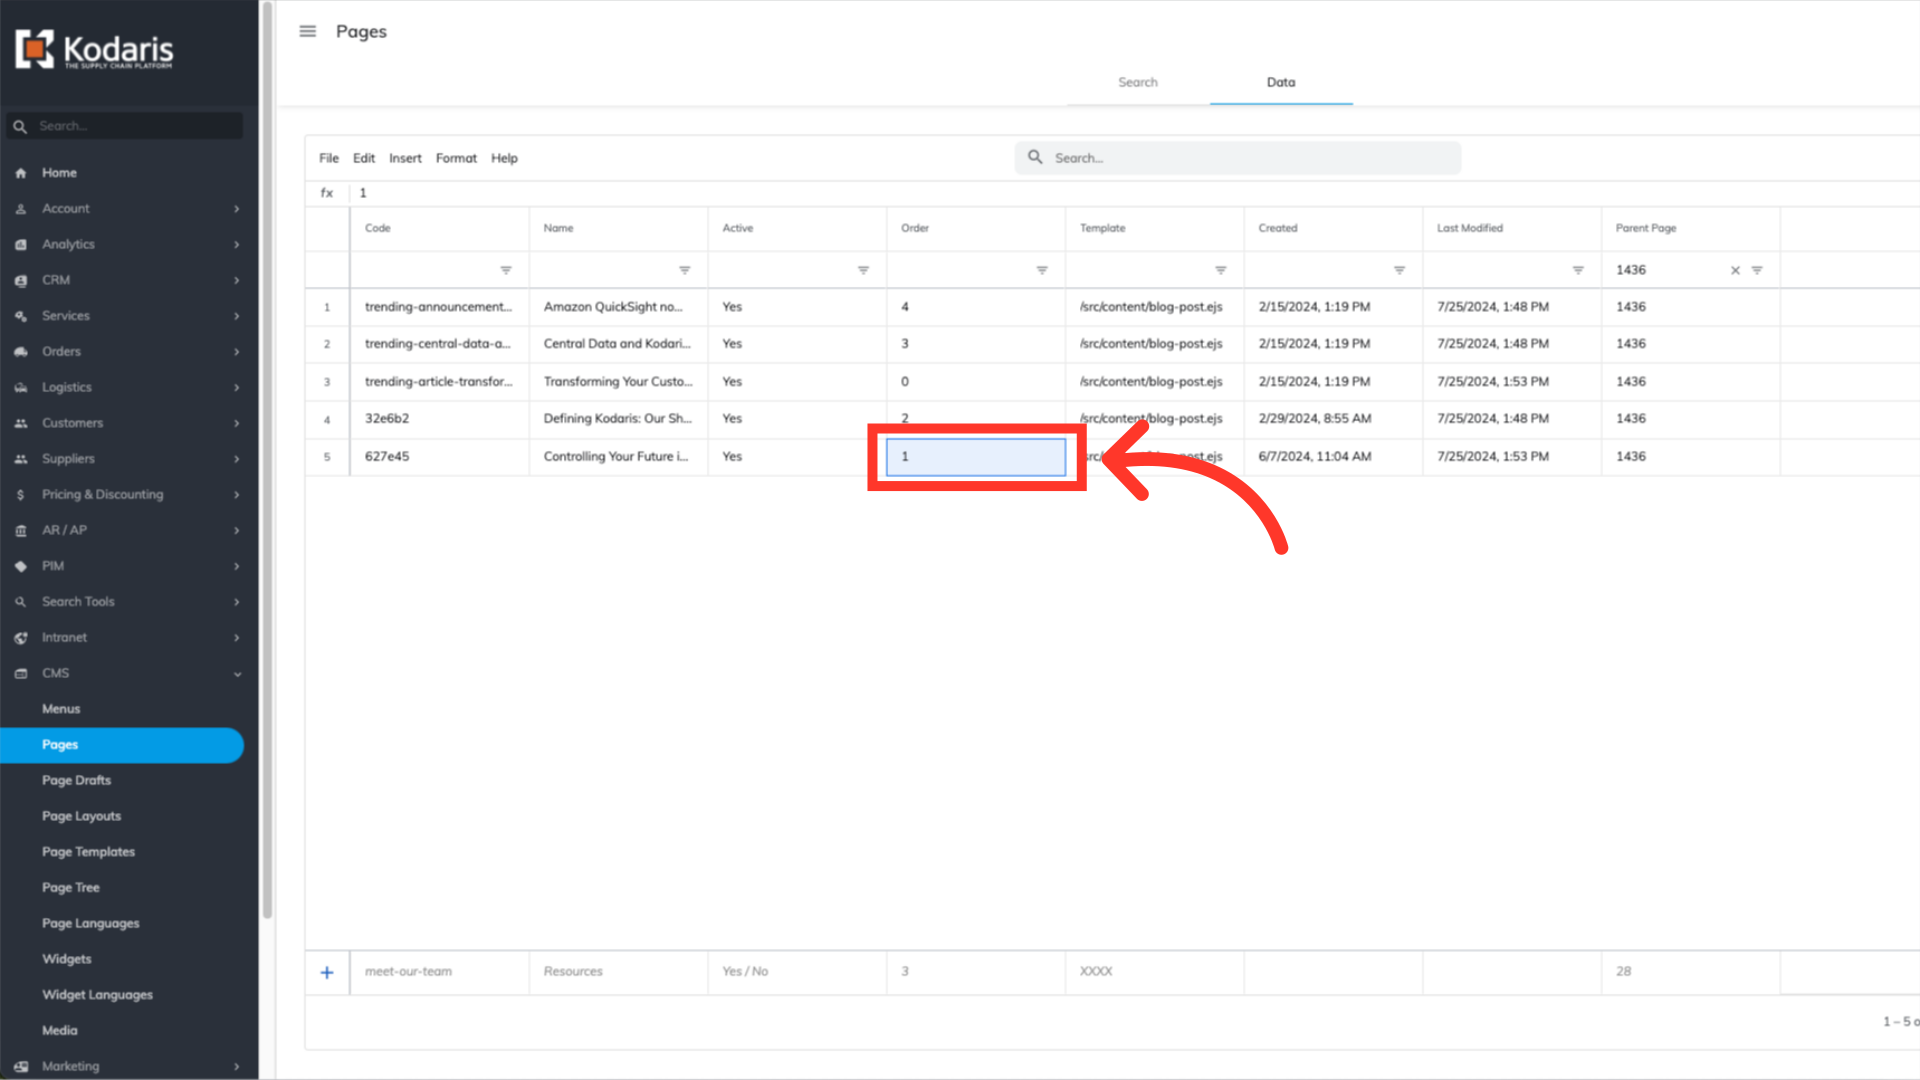
We will also assign the number "1" to the article titled "Controlling Your Future in the Cloud". At this time, you can also update any other pages and their "Order" columns.
Head back to your live site and navigate to the page where you made edits. You may need to refresh the page to see any updates. You'll notice, in this example, that the first two articles swapped positions due to the changes that were made.
