To create tickets using a ticket template, navigate to "Services" section in the Operations Portal.

Next, go to the "Tickets" screen. In order to access and update "Tickets" you will need to be set up either as an "administrator" or a "superuser", or have the roles of: "ticketView" and "ticketEdit".

Click the "Add Ticket" icon.

Enter a title for your ticket. If you'll be using a template with a pre-filled description, then you won't need to fill in the description at this step.

Click on the "Template" dropdown and you'll see a list of templates to choose from. Select your desired template from the list.
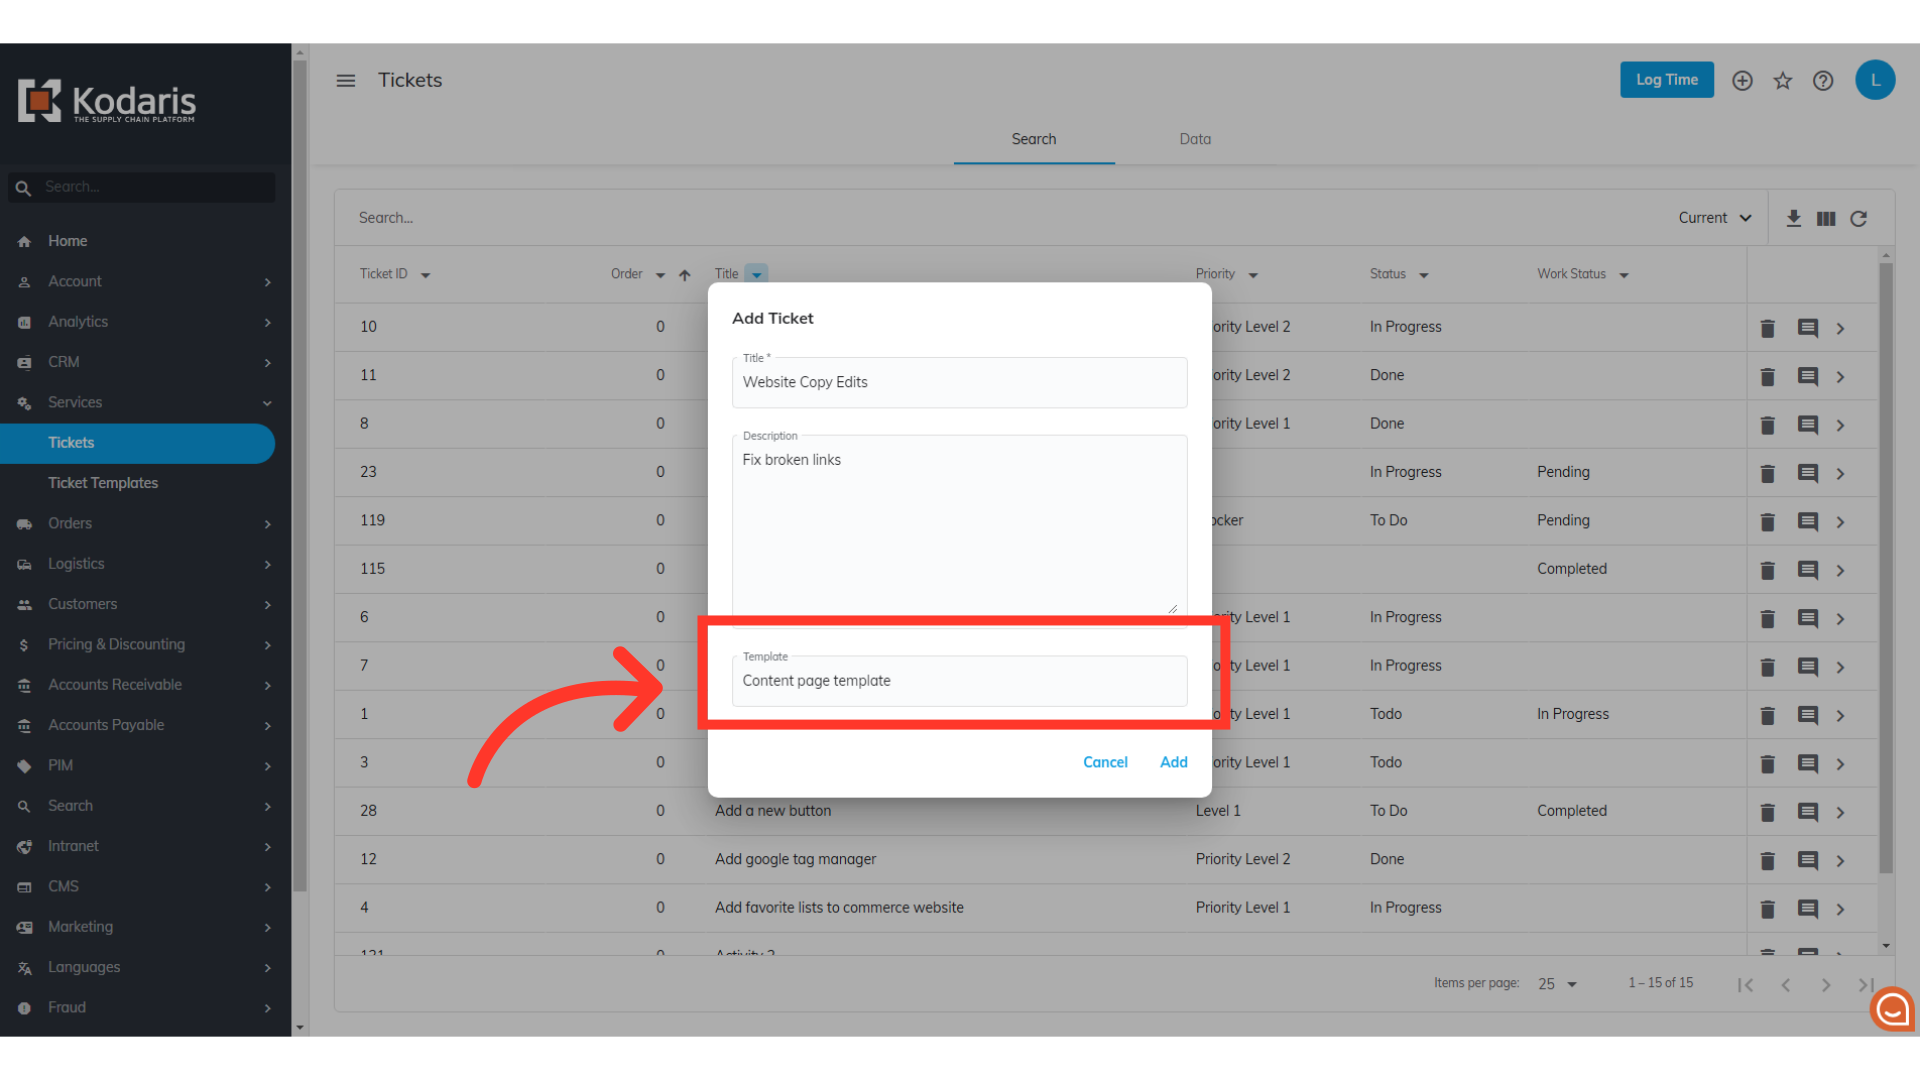
Then, click the "Add" button.

You'll be taken to the details screen of your new ticket, where the information from the template will already be filled in and ready to use. You can always update other fields if needed.
