In the Operations Portal, navigate to Customers.
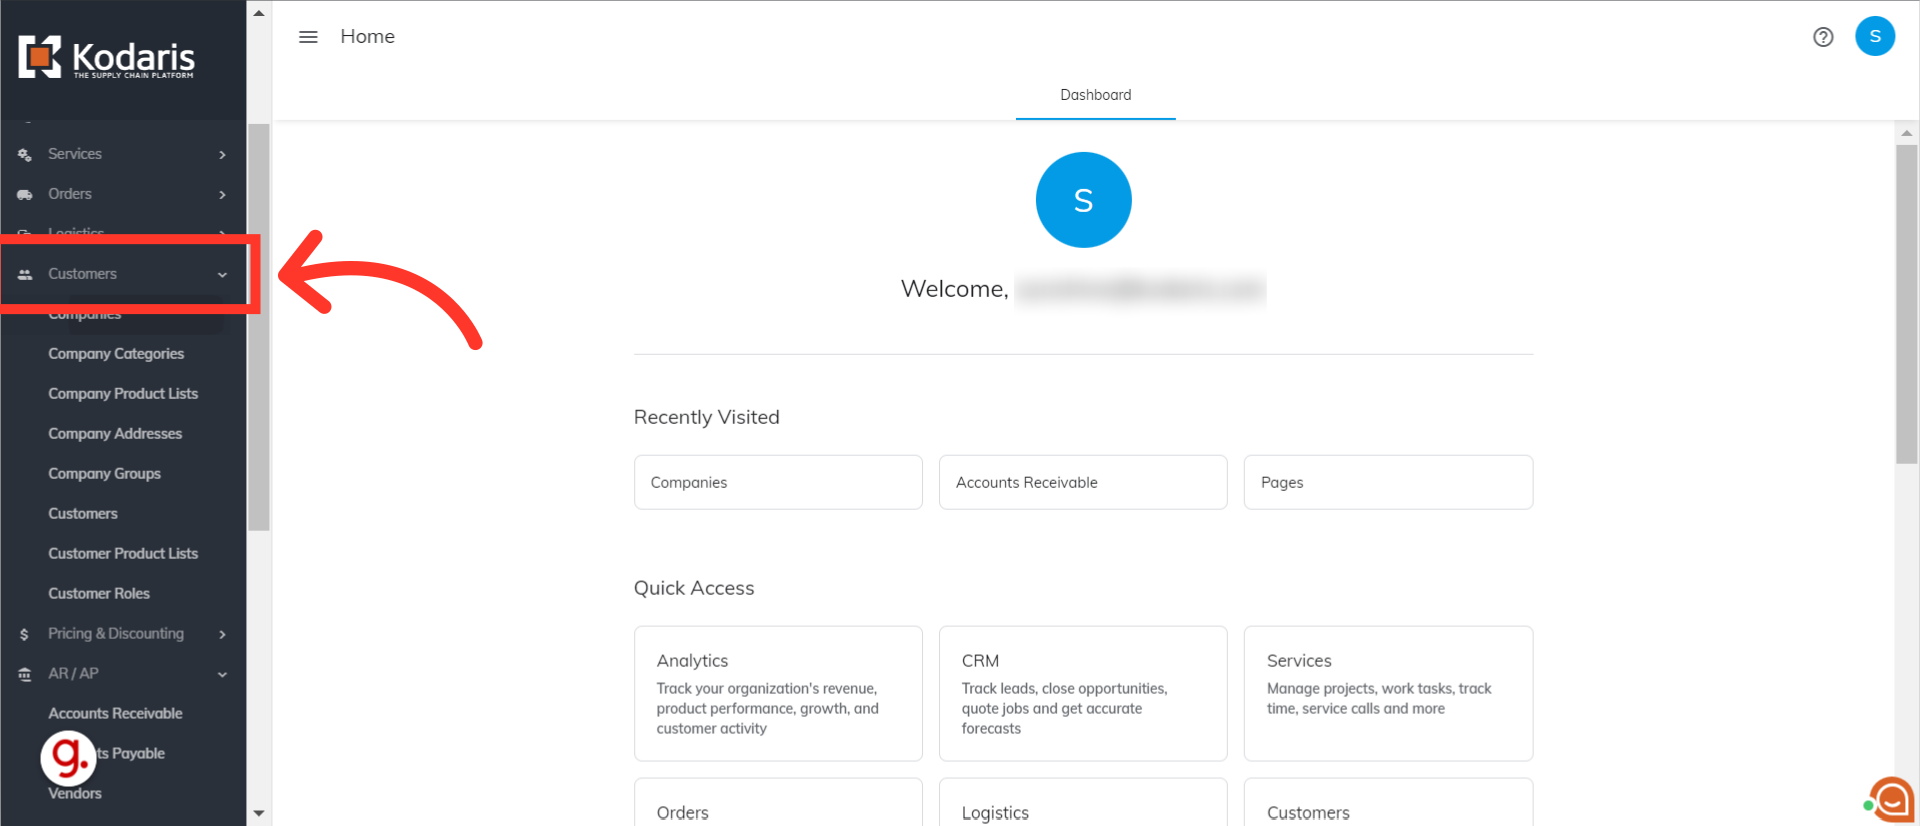
Then, select Companies.

On the Companies screen, you can browse the list of companies or search for the company using the Search field.
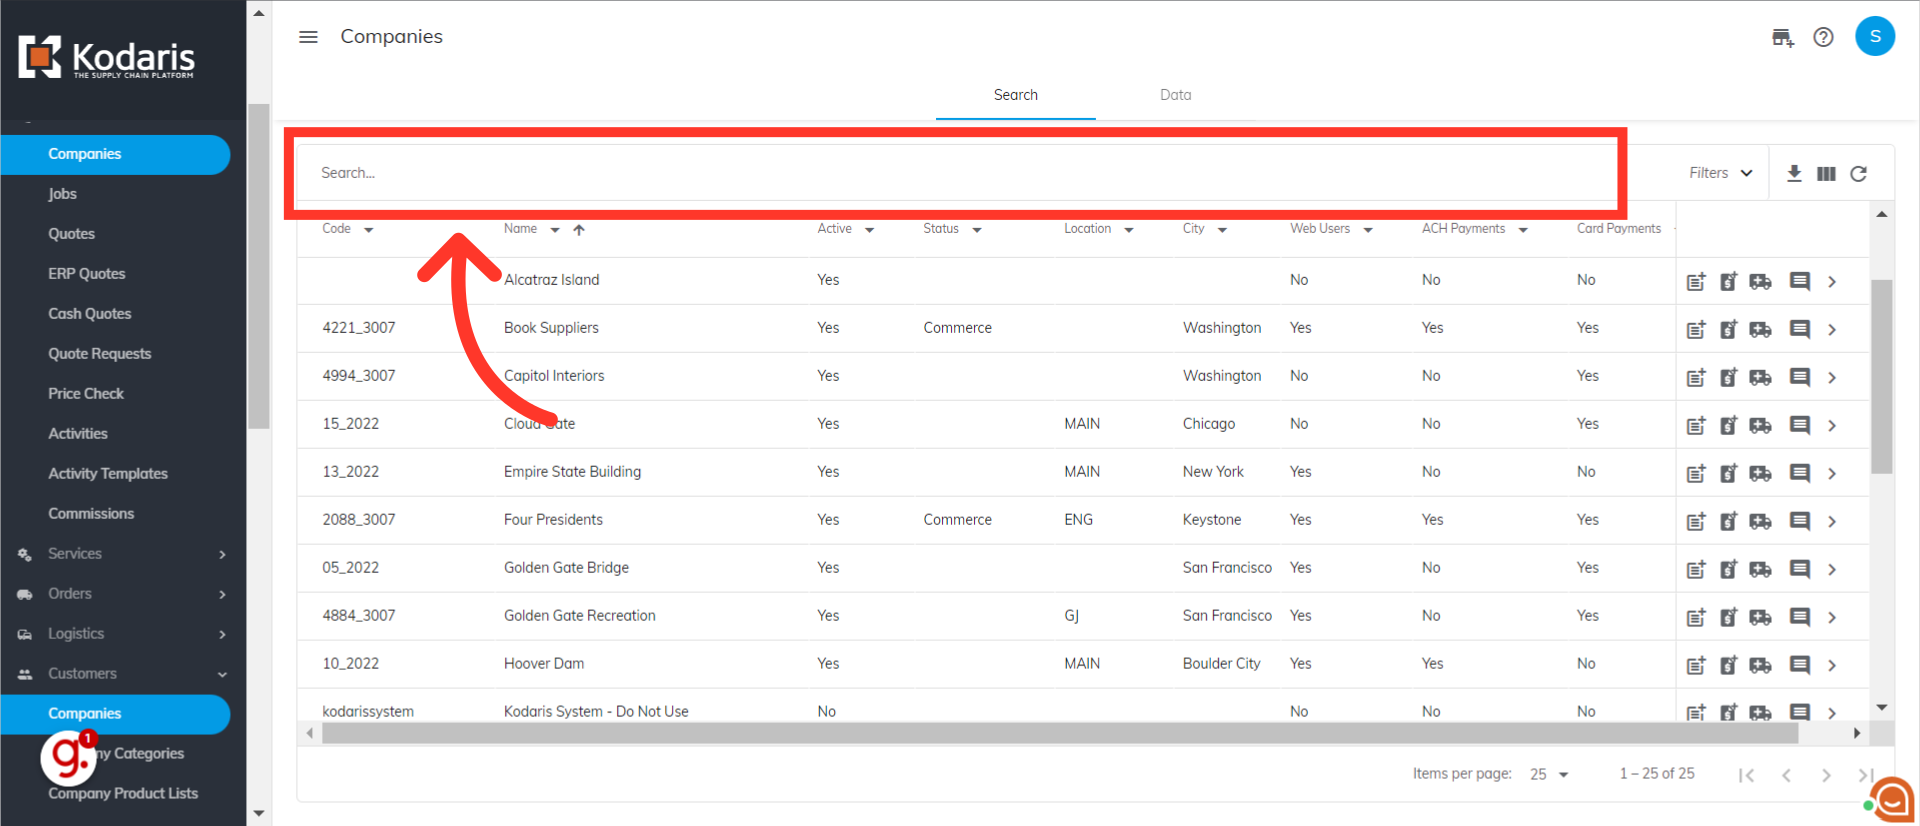
Once you have selected a company, click the details icon to view the company details.

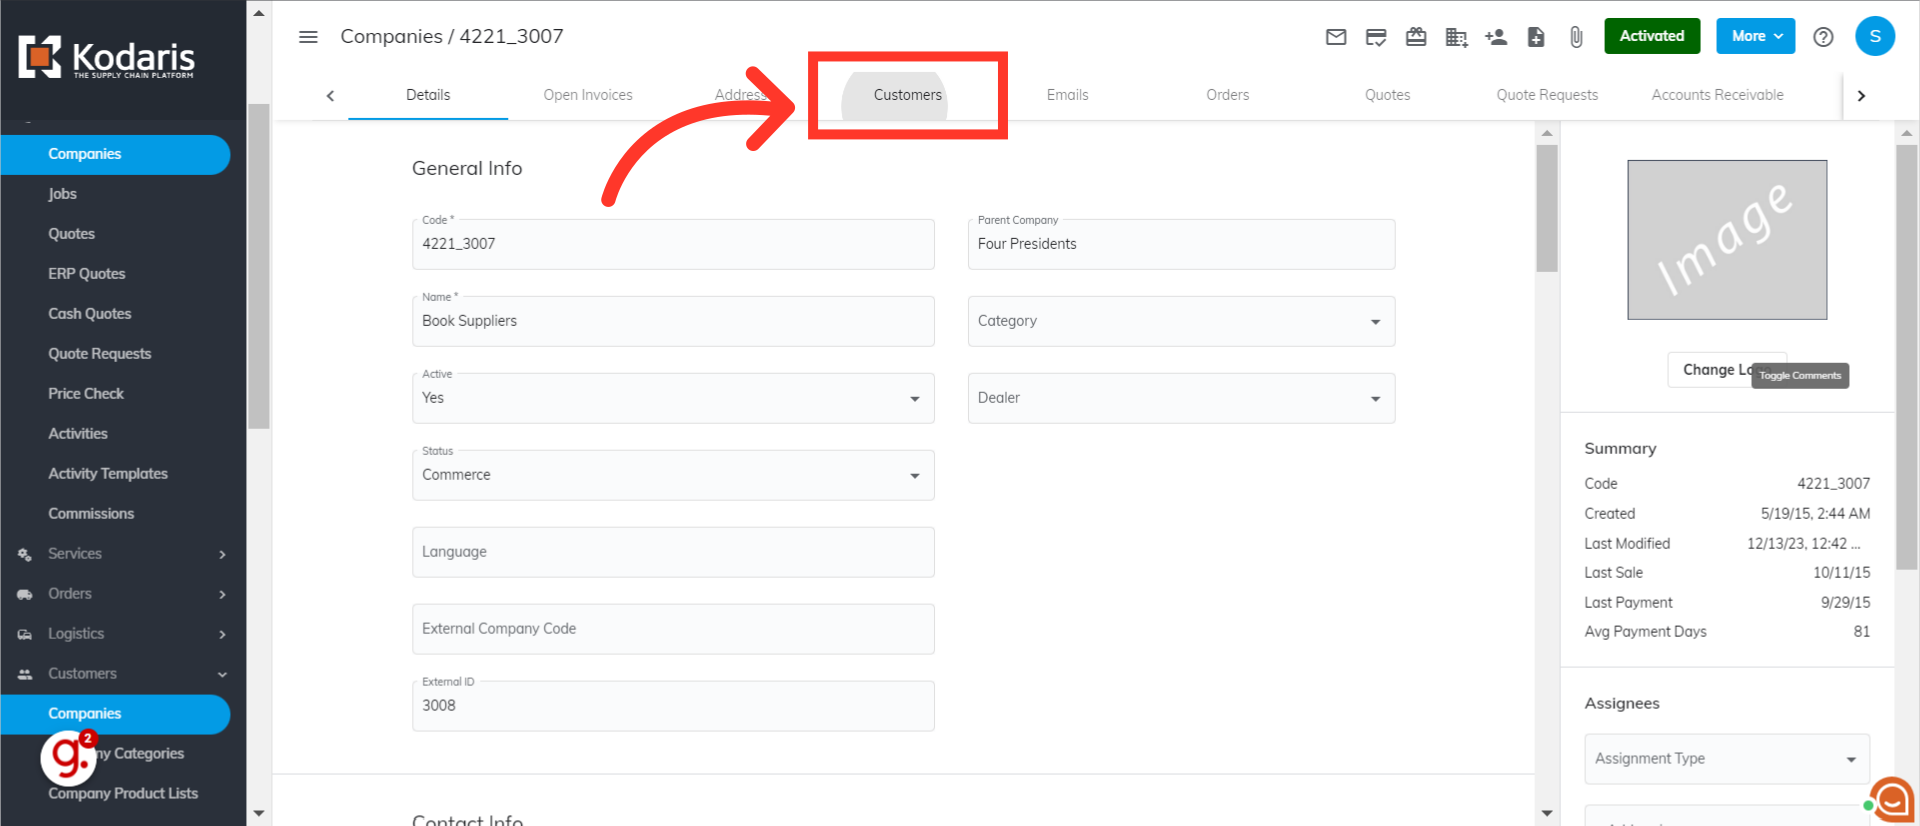
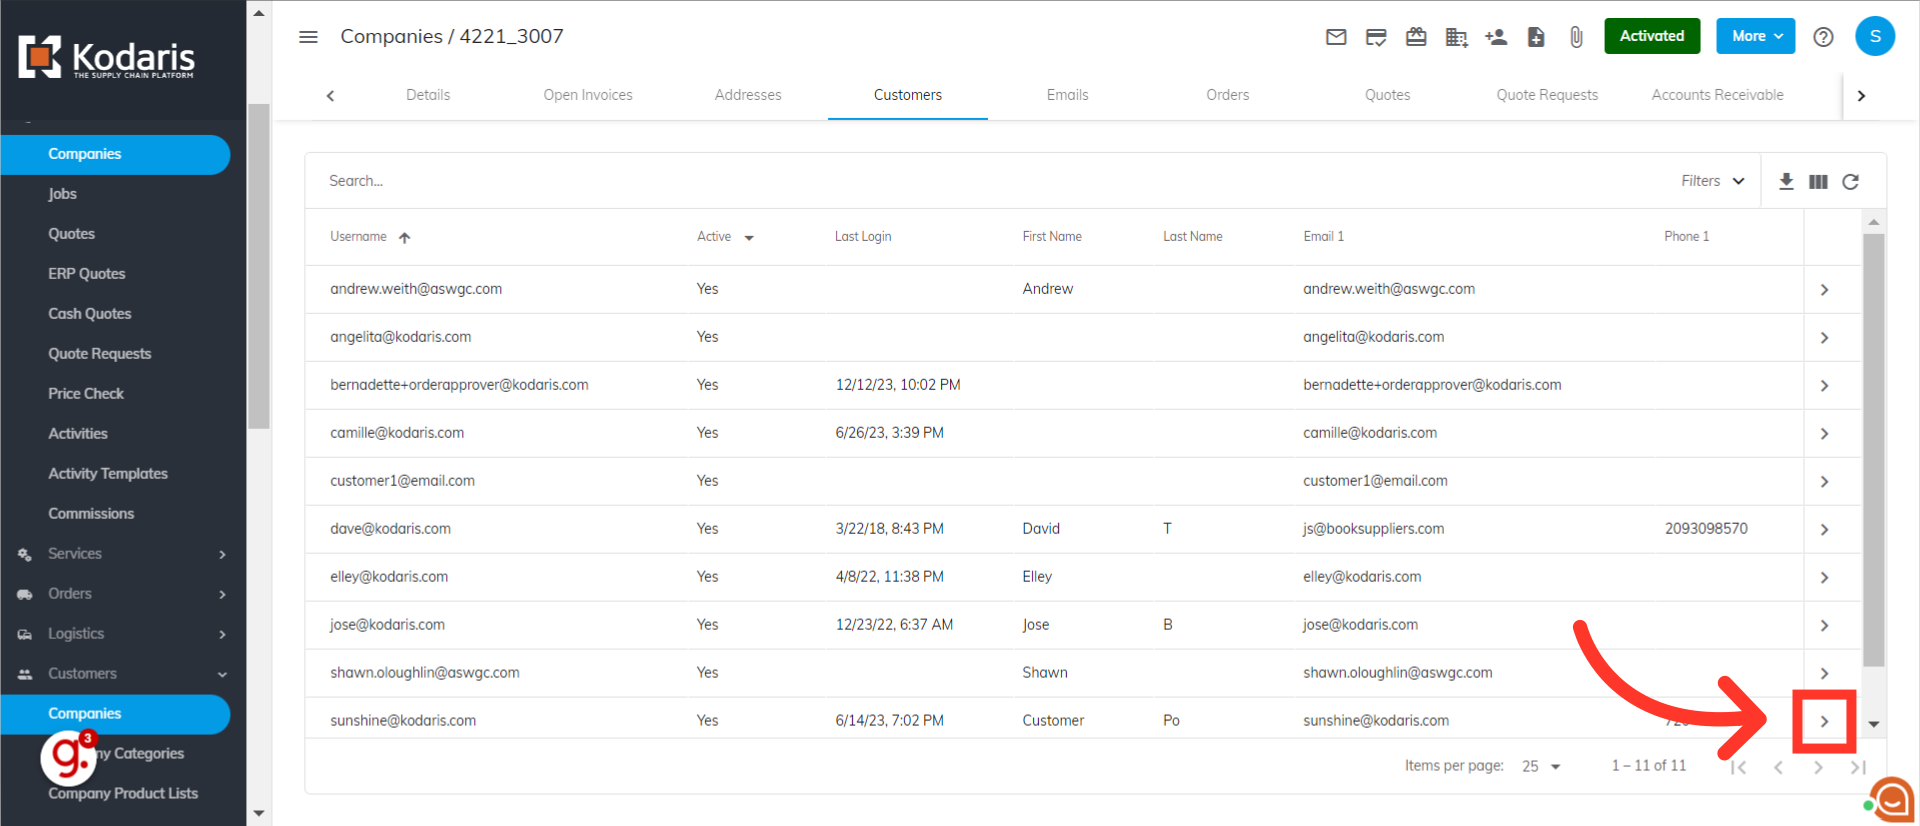
Click on the "Customers" tab.
You can browse the list of customers in the company, or search for a specific customer in the Search field.
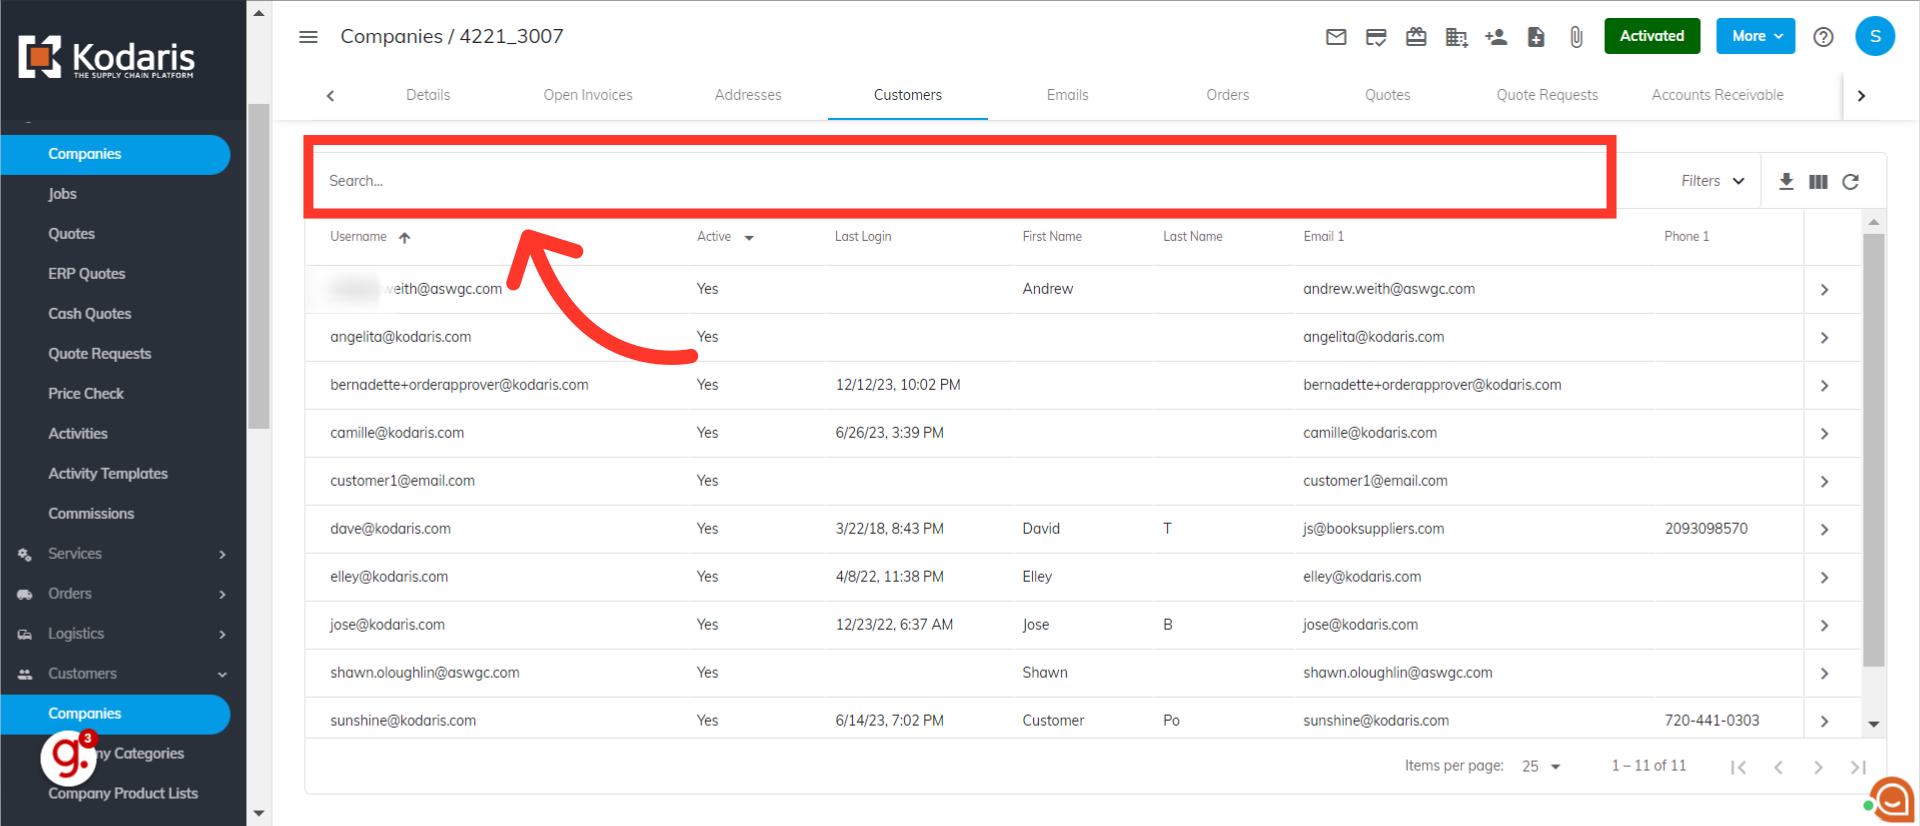
Once you have located the customer you want to add or delete a role, click the Details icon of the customer.
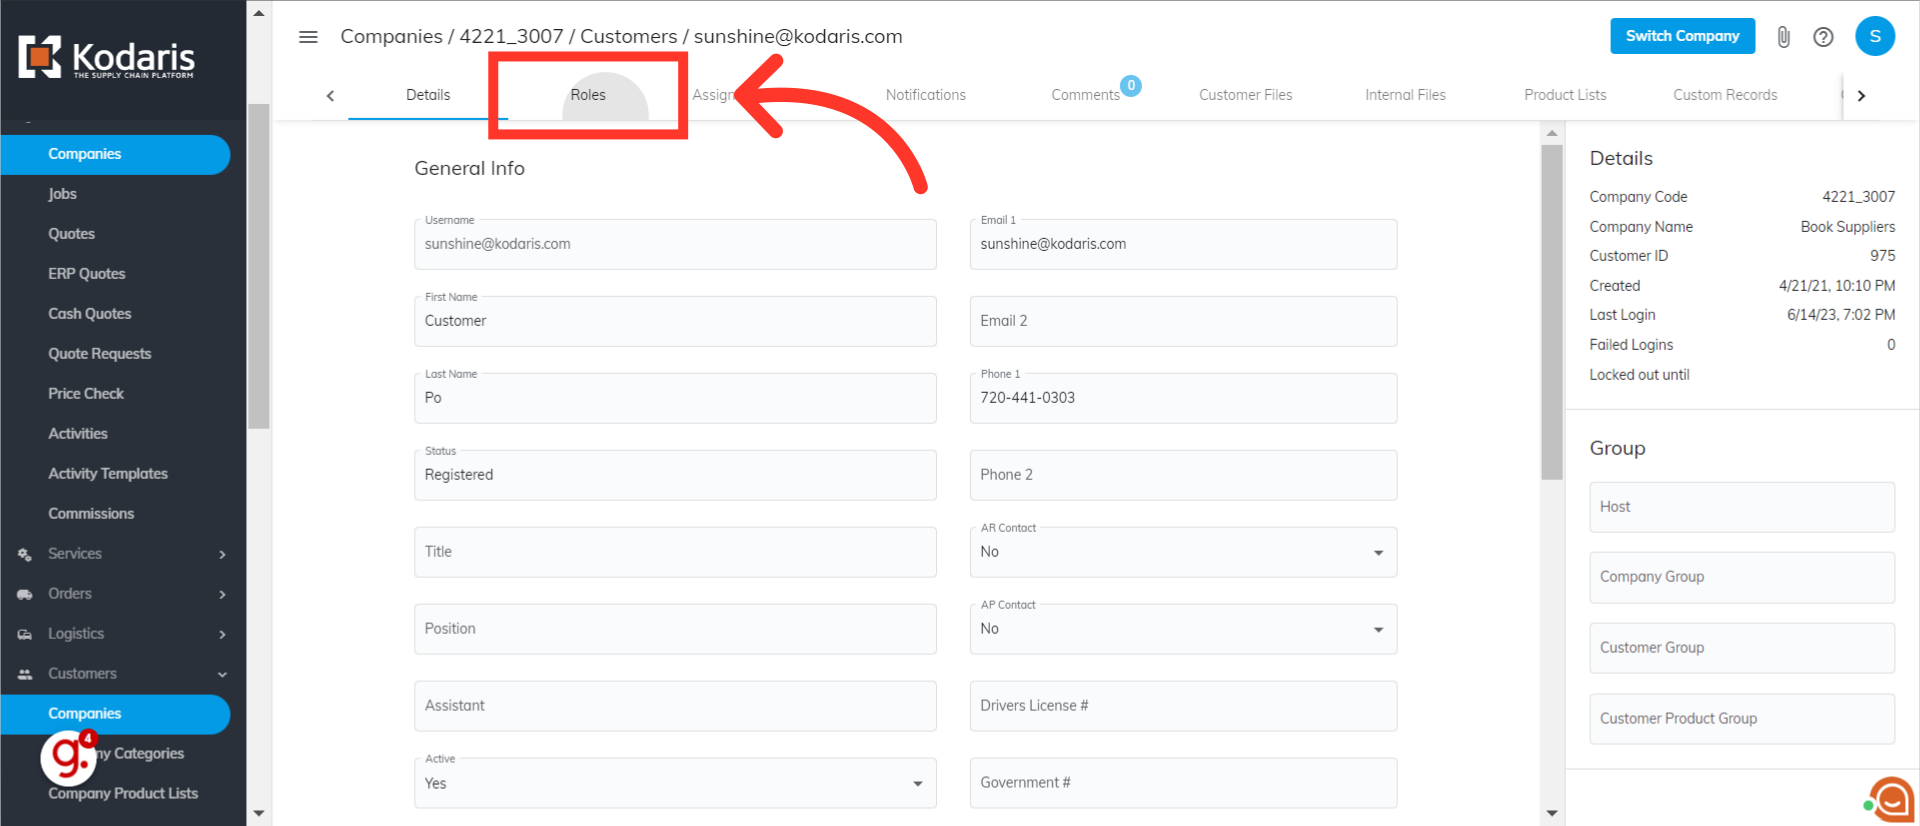
On the following screen, go to the Roles tab located beside the Details tab.
All the roles assigned to the customer will be shown on the Roles tab.

To add a role to the customer, click in to the "+ Assign role" field at the bottom of the screen.
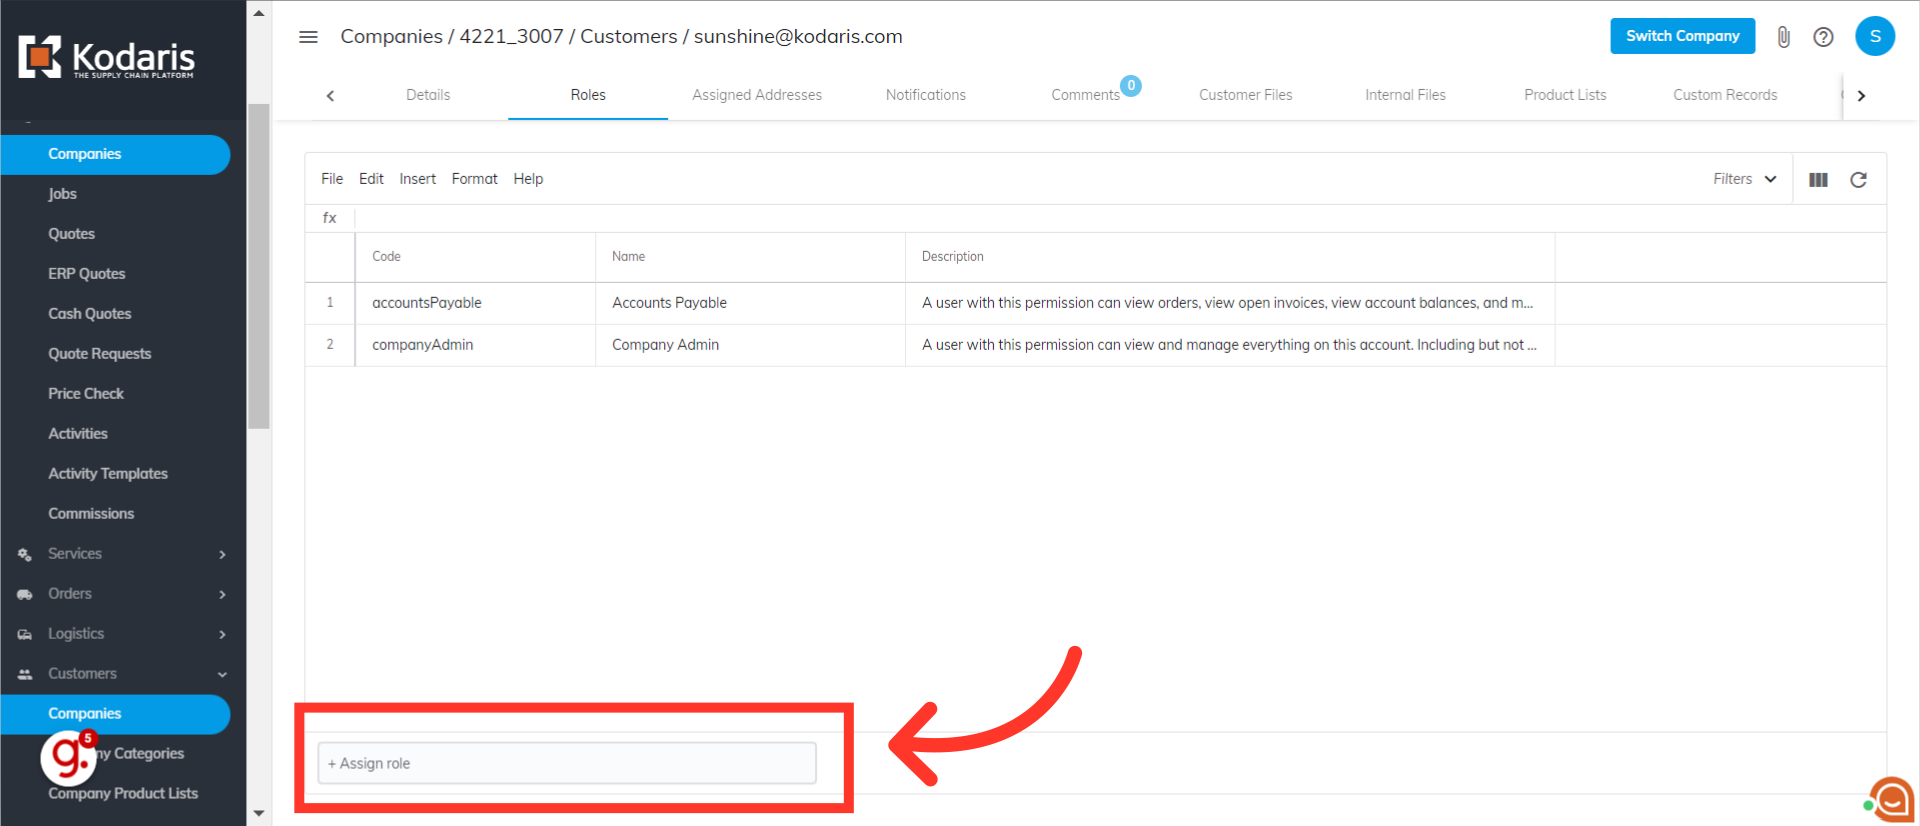
Start typing the name of the role you want to add to the customer.

Select the role you would like to add from the list.

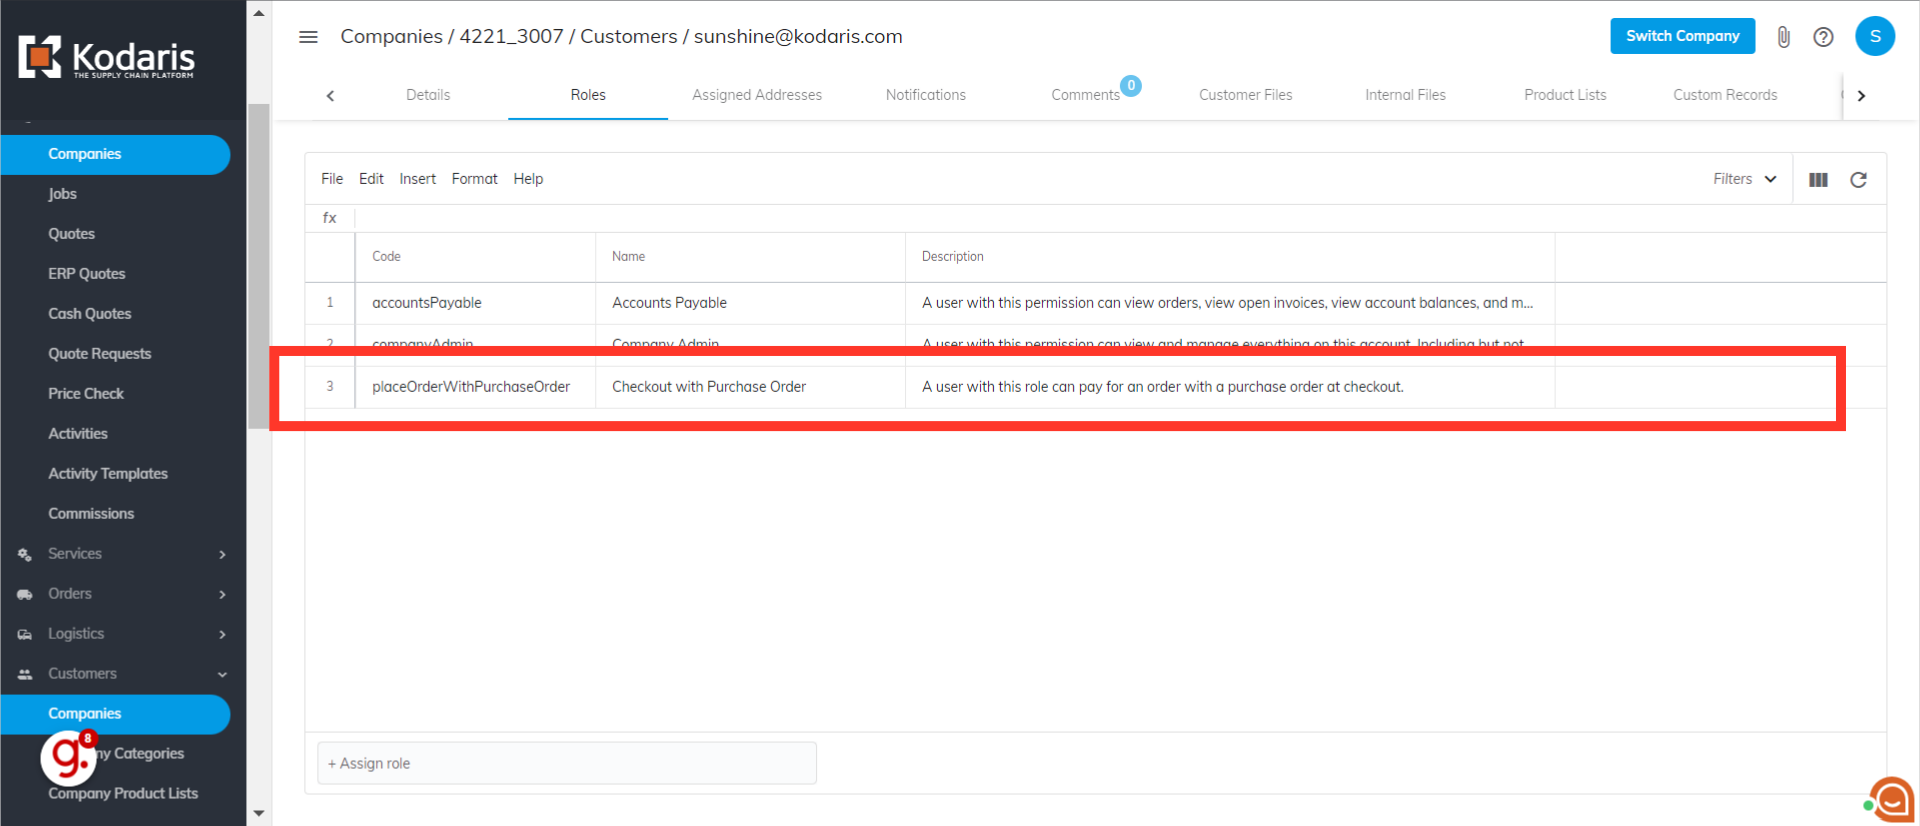
The added role will be shown on the list of roles assigned to that customer.
If you wish to unassign or delete a role from a customer, on the Customer Roles tab, select a role from the list.

Click "Edit".

Then, select "Delete selected rows" from the options.

The role is now deleted from the list.
