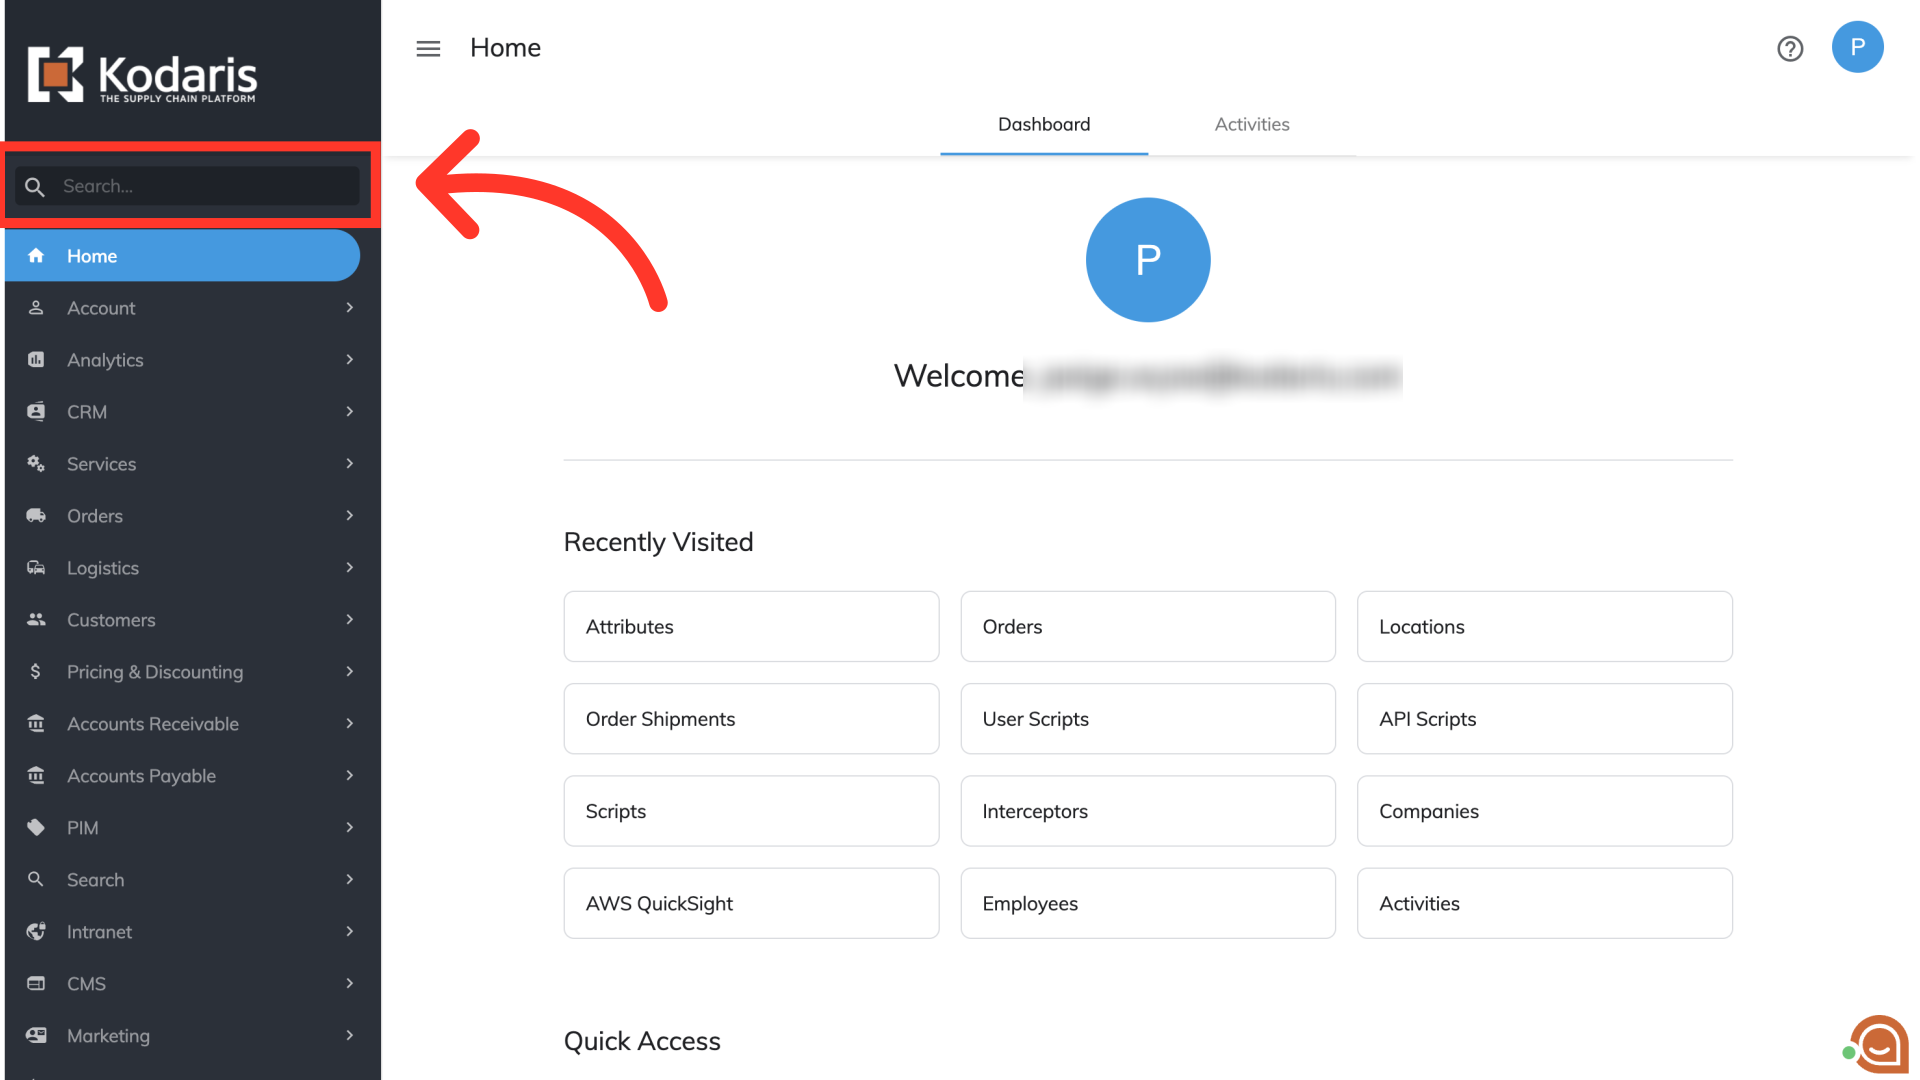
To upload a primary image to a product attribute, start by logging into the Operations Portal. Click on the search bar.
Locate the Attributes screen by typing "Attributes" into the search bar.

Select "Attributes" from the PIM menu options that appear. In order to access and update “Attributes” you will need to be set up either as an "administrator" or a "superuser", or have the roles of: "facetGroupView" and "facetGroupEdit".

Locate the attribute you want to assign a primary image to by using the attribute grid. You can utilize the search field or column filters to find the attribute.

Once an attribute has been located, click on the more details icon associated with it.

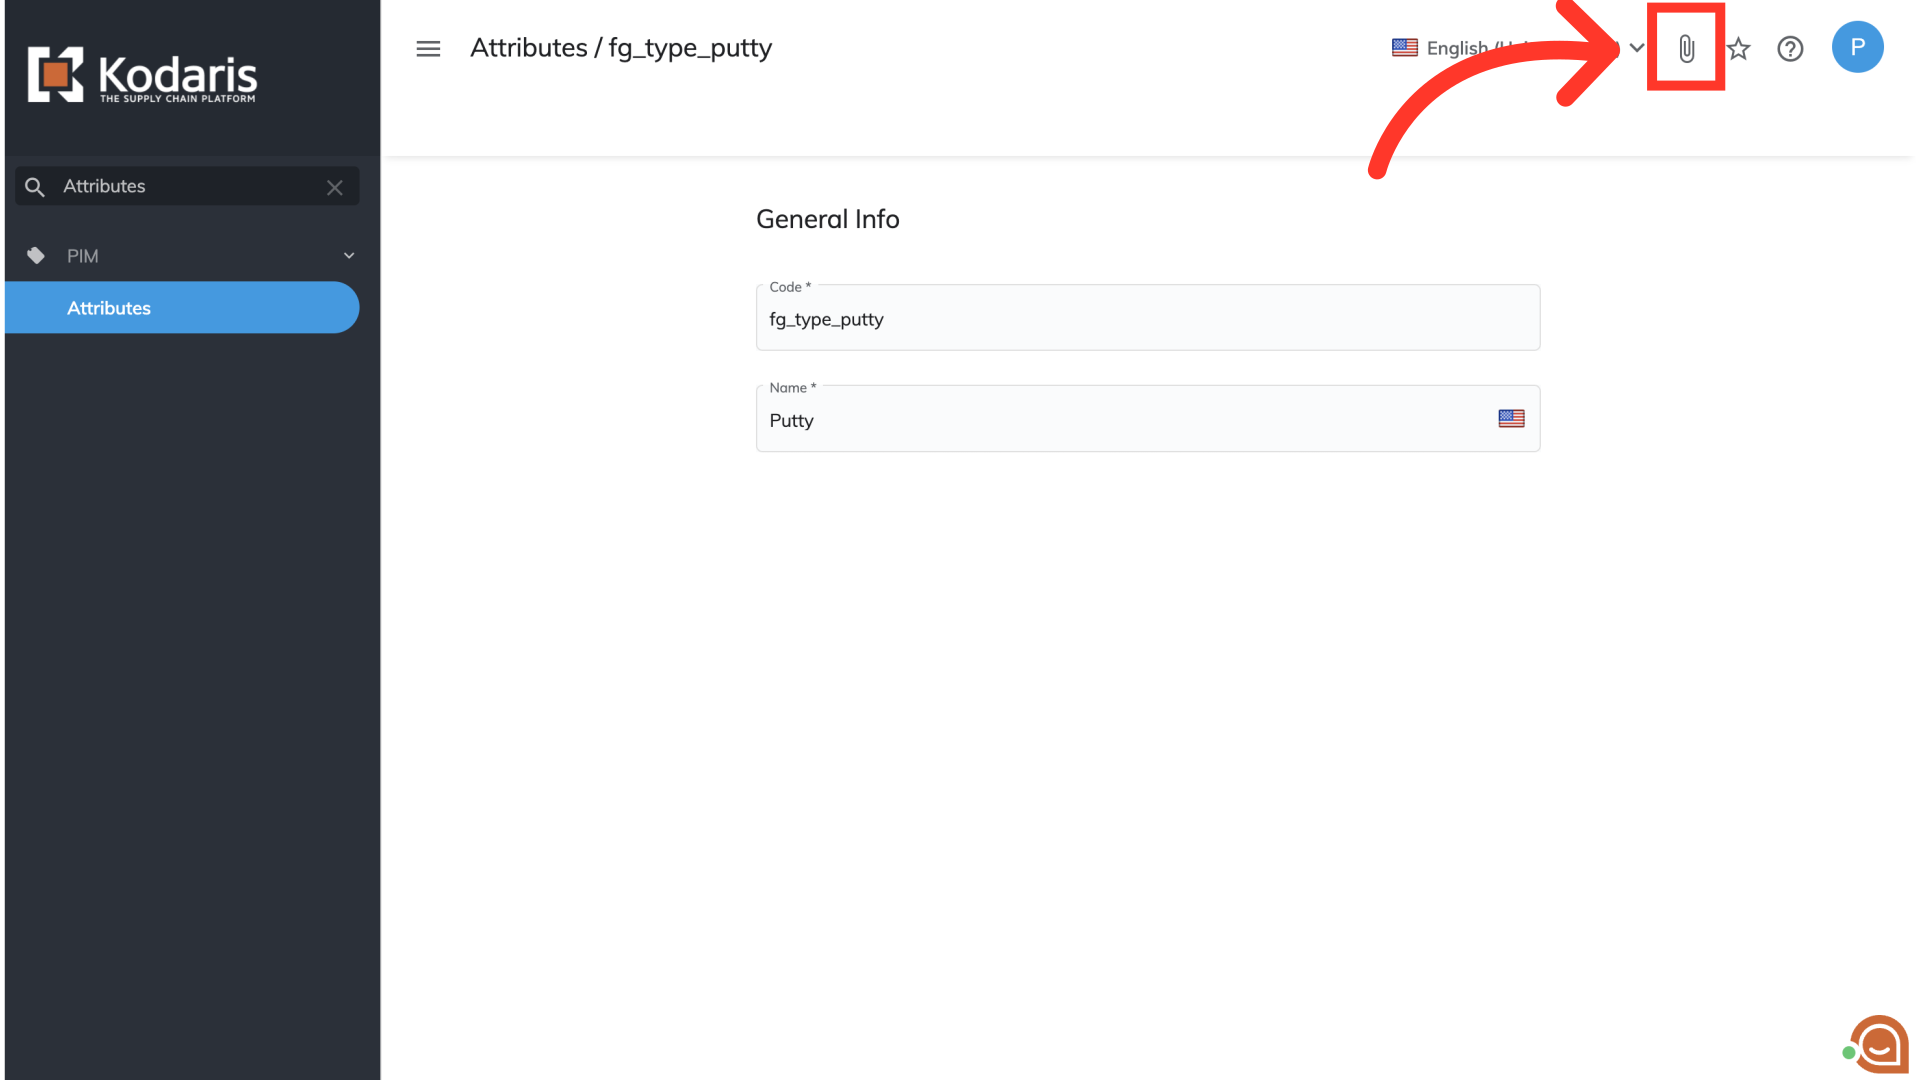
To upload a primary image to the attribute, click the paper clip icon.
A window will appear where you can choose the image file you want to upload. Select the file then click "Open". Alternatively, double-click on a file to upload.

Once a file is selected, you will see it appear under the "General Info" section of the attribute. After a primary image is selected, it will automatically save and update on your commerce website in real time.

You will be able to see the primary image on your website's "Brands" page slider. Please note that if there are more than twelve attributes with a primary image, the layout will randomize the primary images displayed.
