Once your parent blog page has been created, you can create and assign blog posts. To start, navigate to "CMS" section in the operations portal.
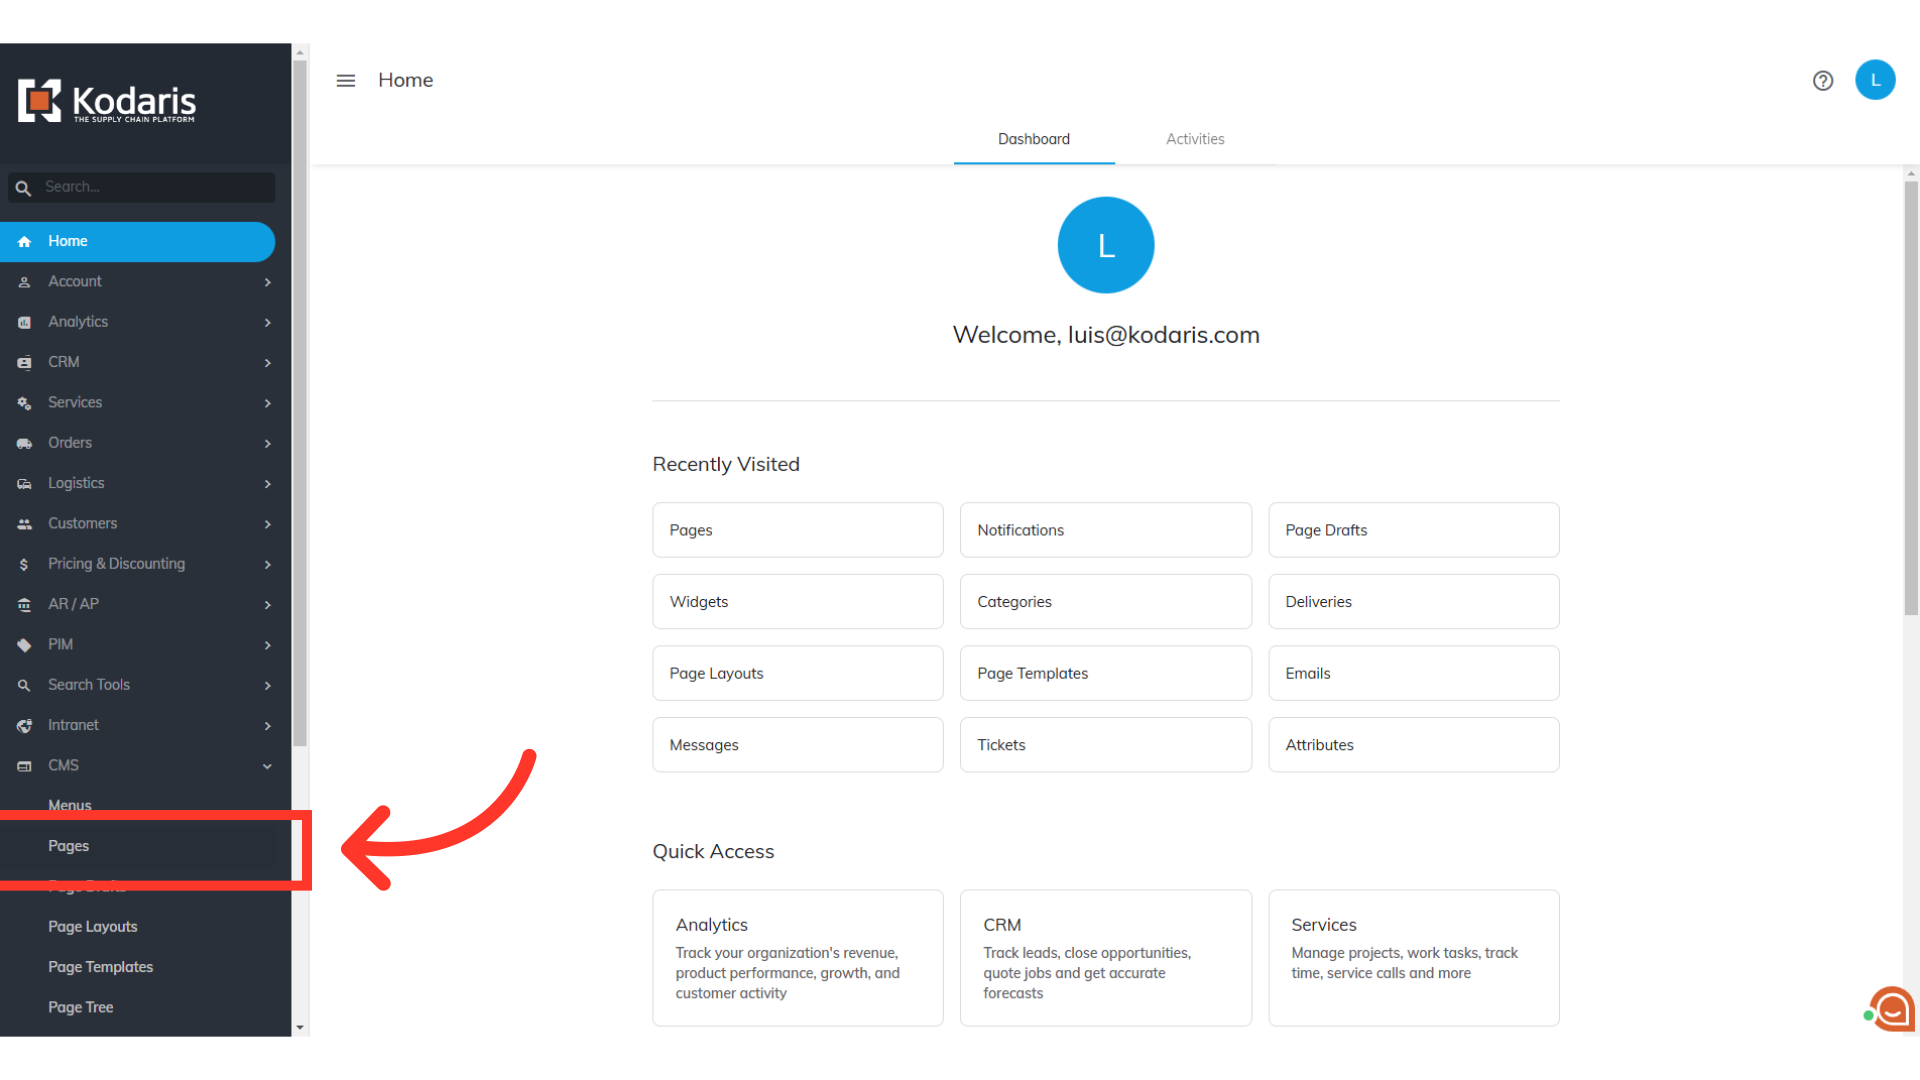
Click "Pages". In order to access, edit, and publish CMS pages, you will need to have the role of: "administrator" or "superuser", or have the roles of: "contentView" and "contentEdit" and “cmsView”.
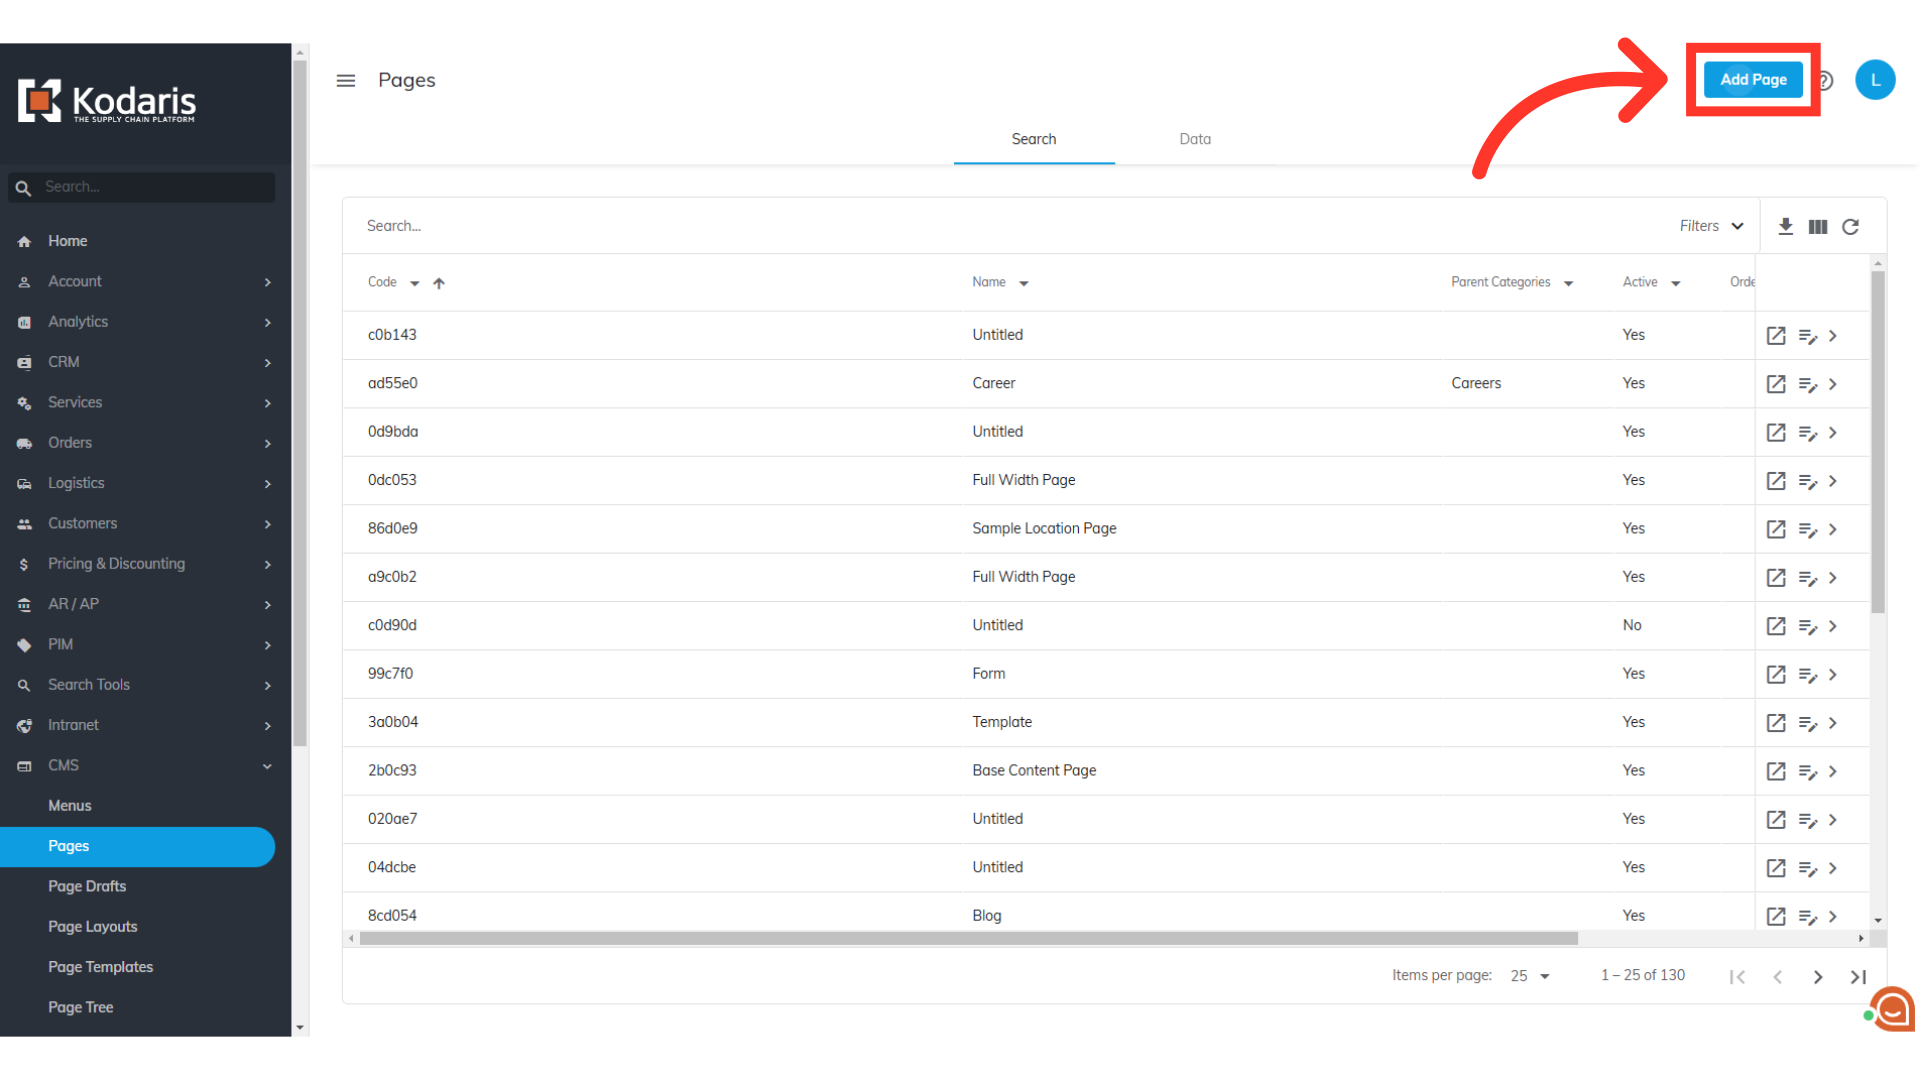
Begin adding a new page by clicking the "Add Page" button.
Now, select "Gutenberg" from the options.

If you are creating a blog post, you can select the "Blog Post" layout, or click the "x" icon to close the selection.
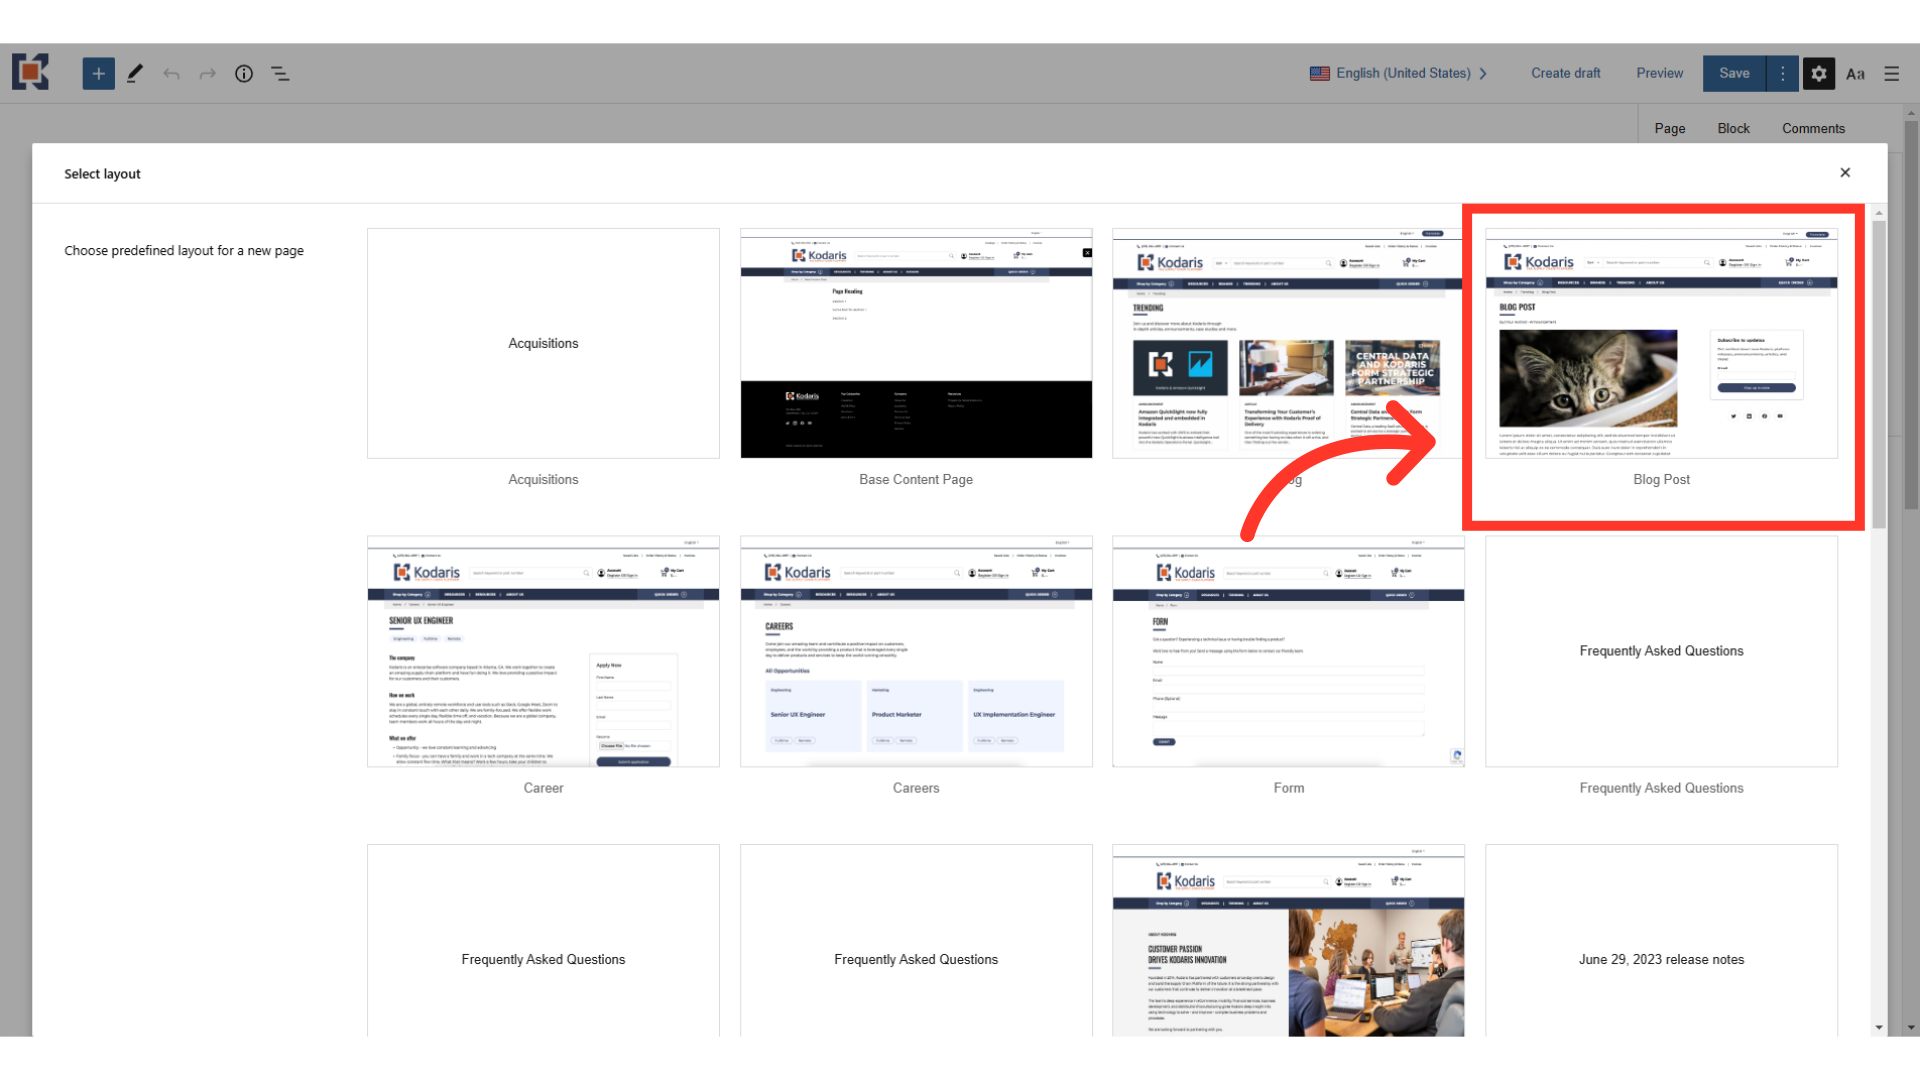
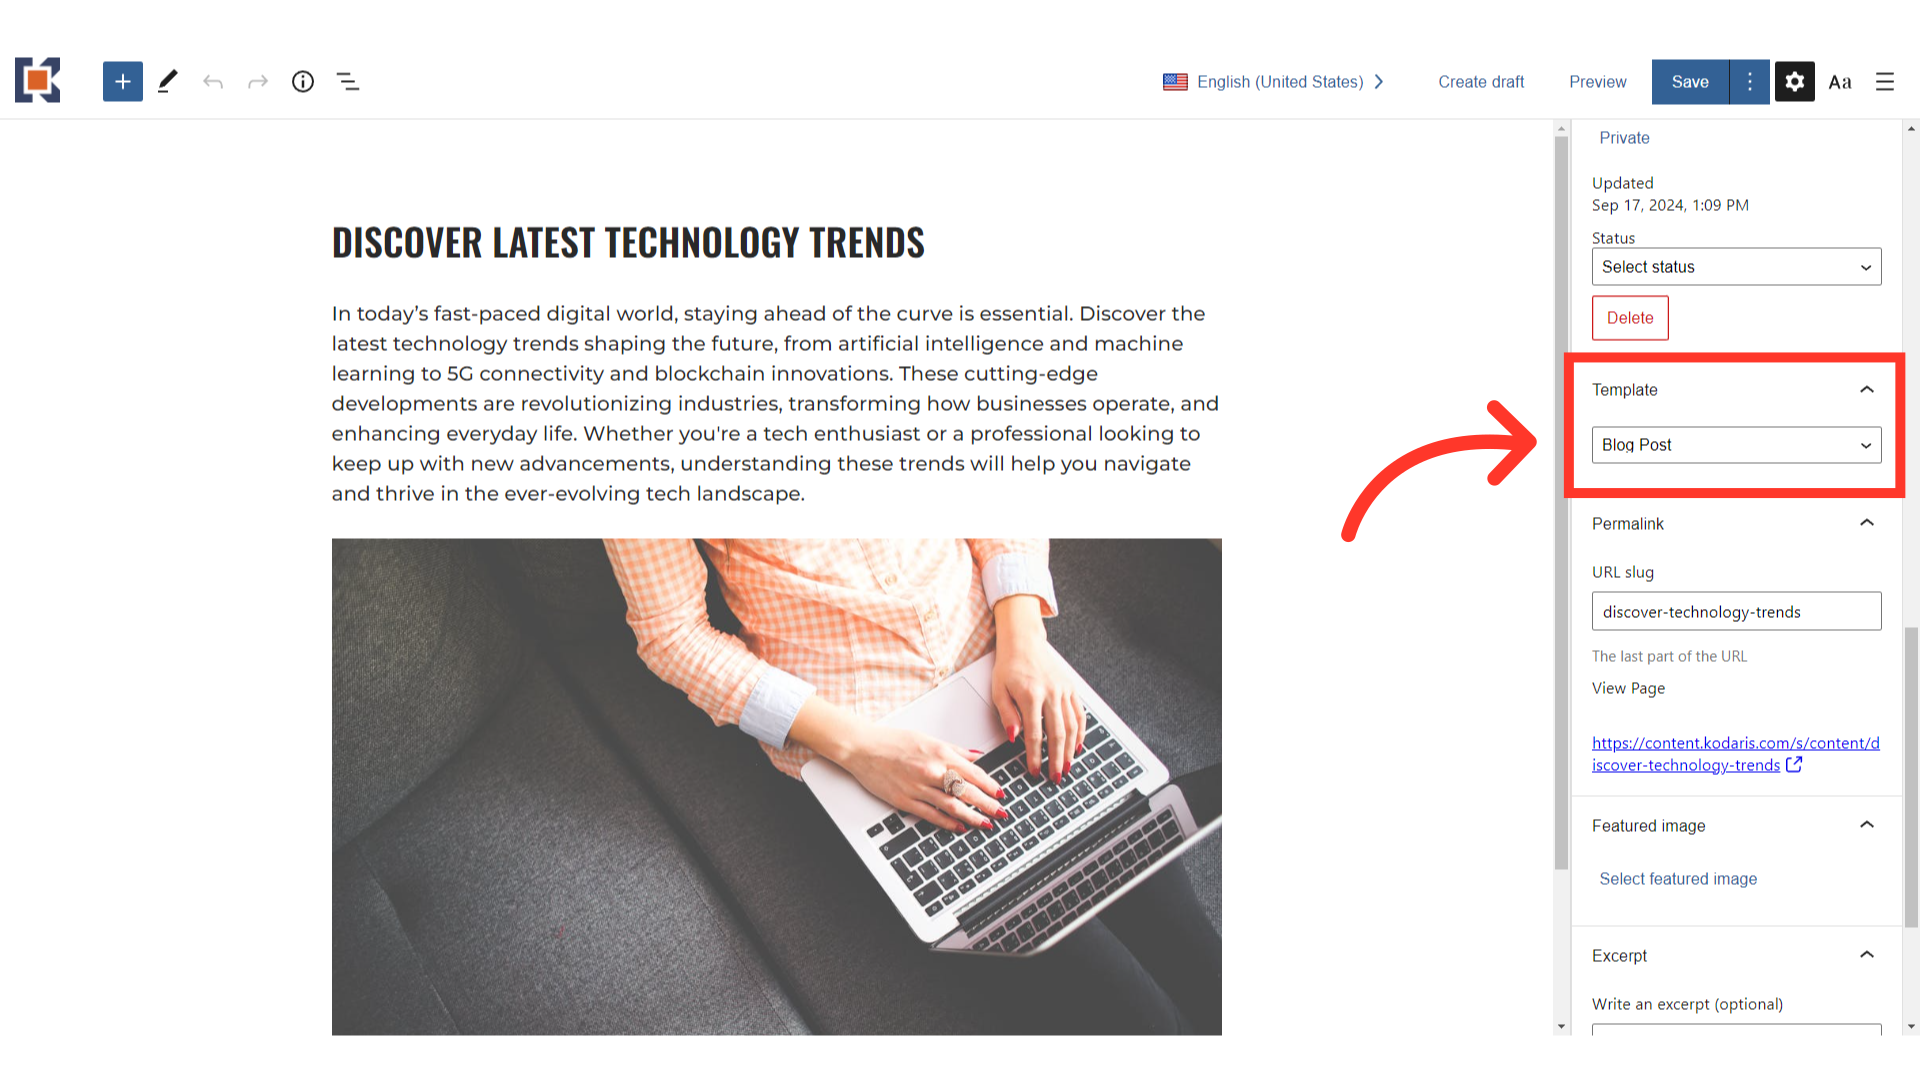
If you are building your own page, make sure to select the "Blog Post" template.
Add the name of the page to the "Name" field.

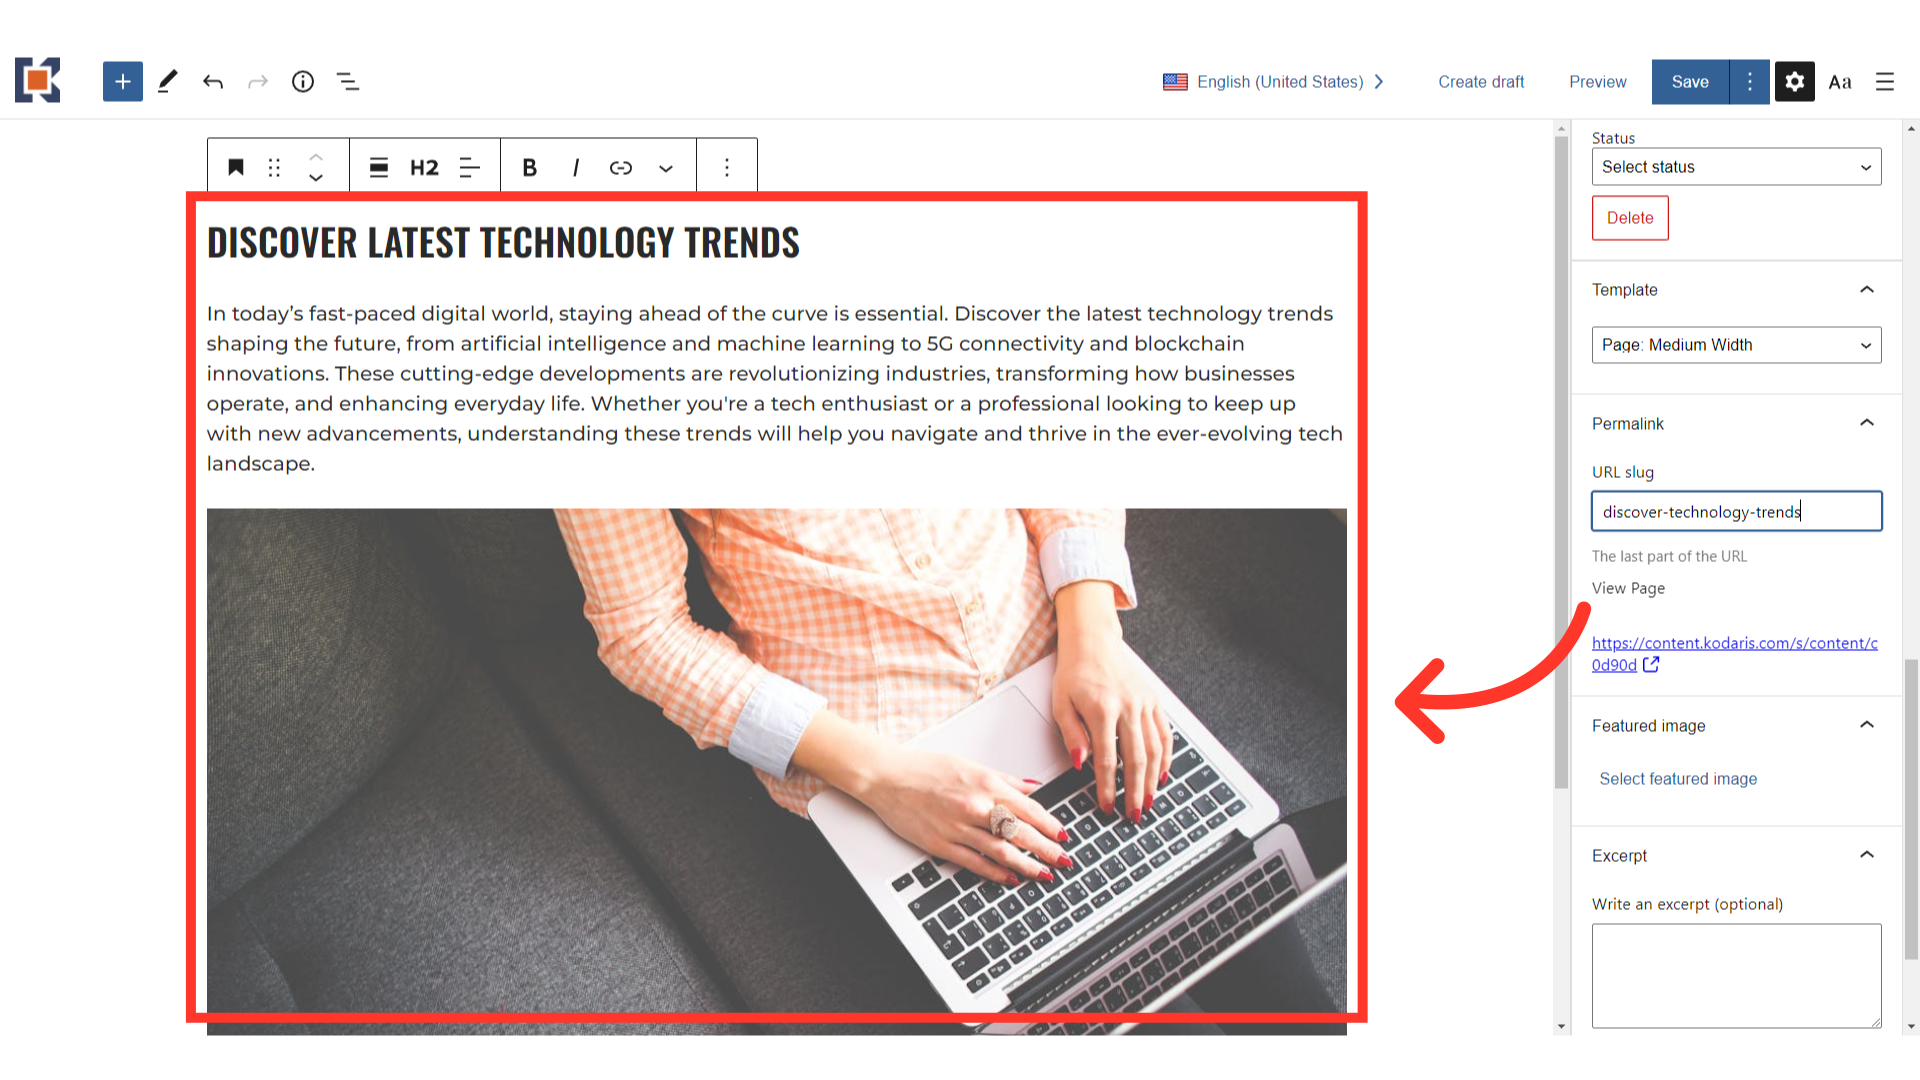
Next, enter the URL slug for the page in the "URL slug" field. The URL slug will need to be unique for each CMS page created. The URL slug will appear after your domain name, creating a unique link for the page.

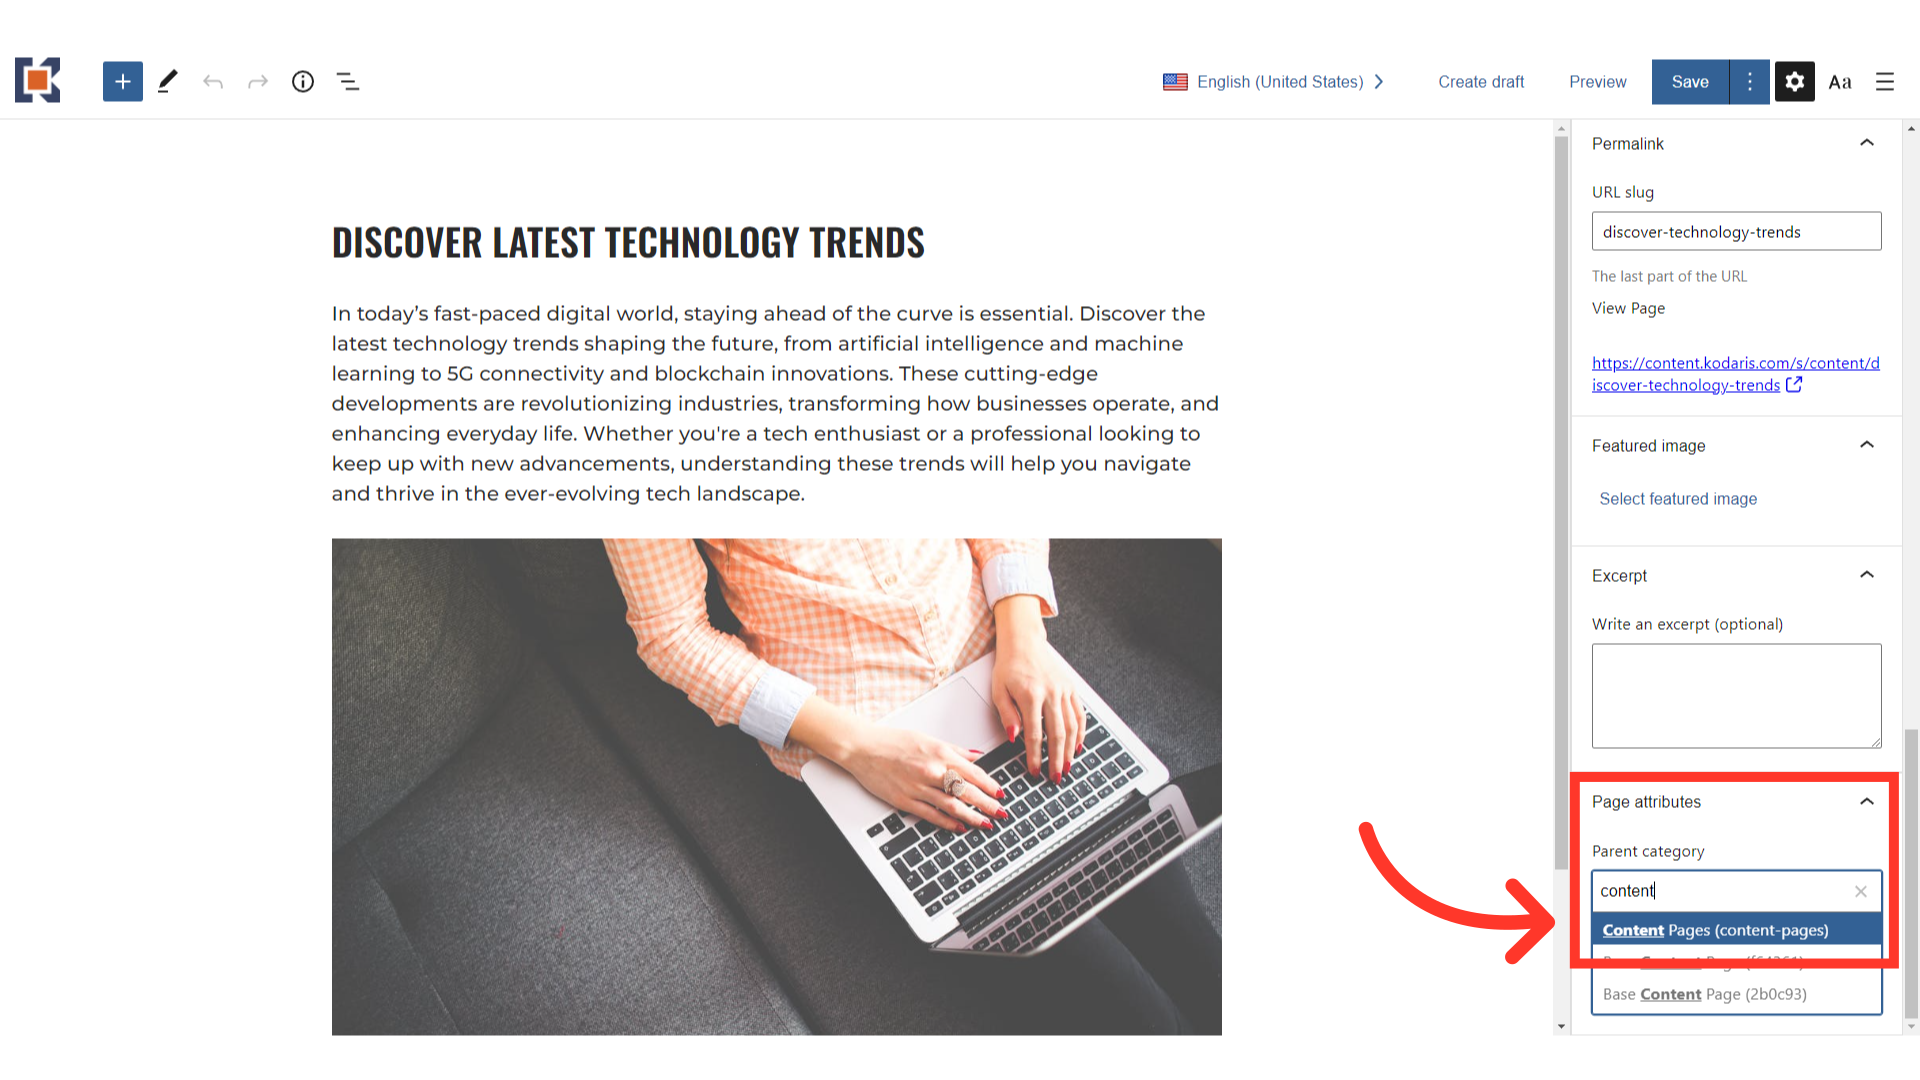
Assign a parent category. Type in the name or URL slug of your parent blog page.
Add content to your page.
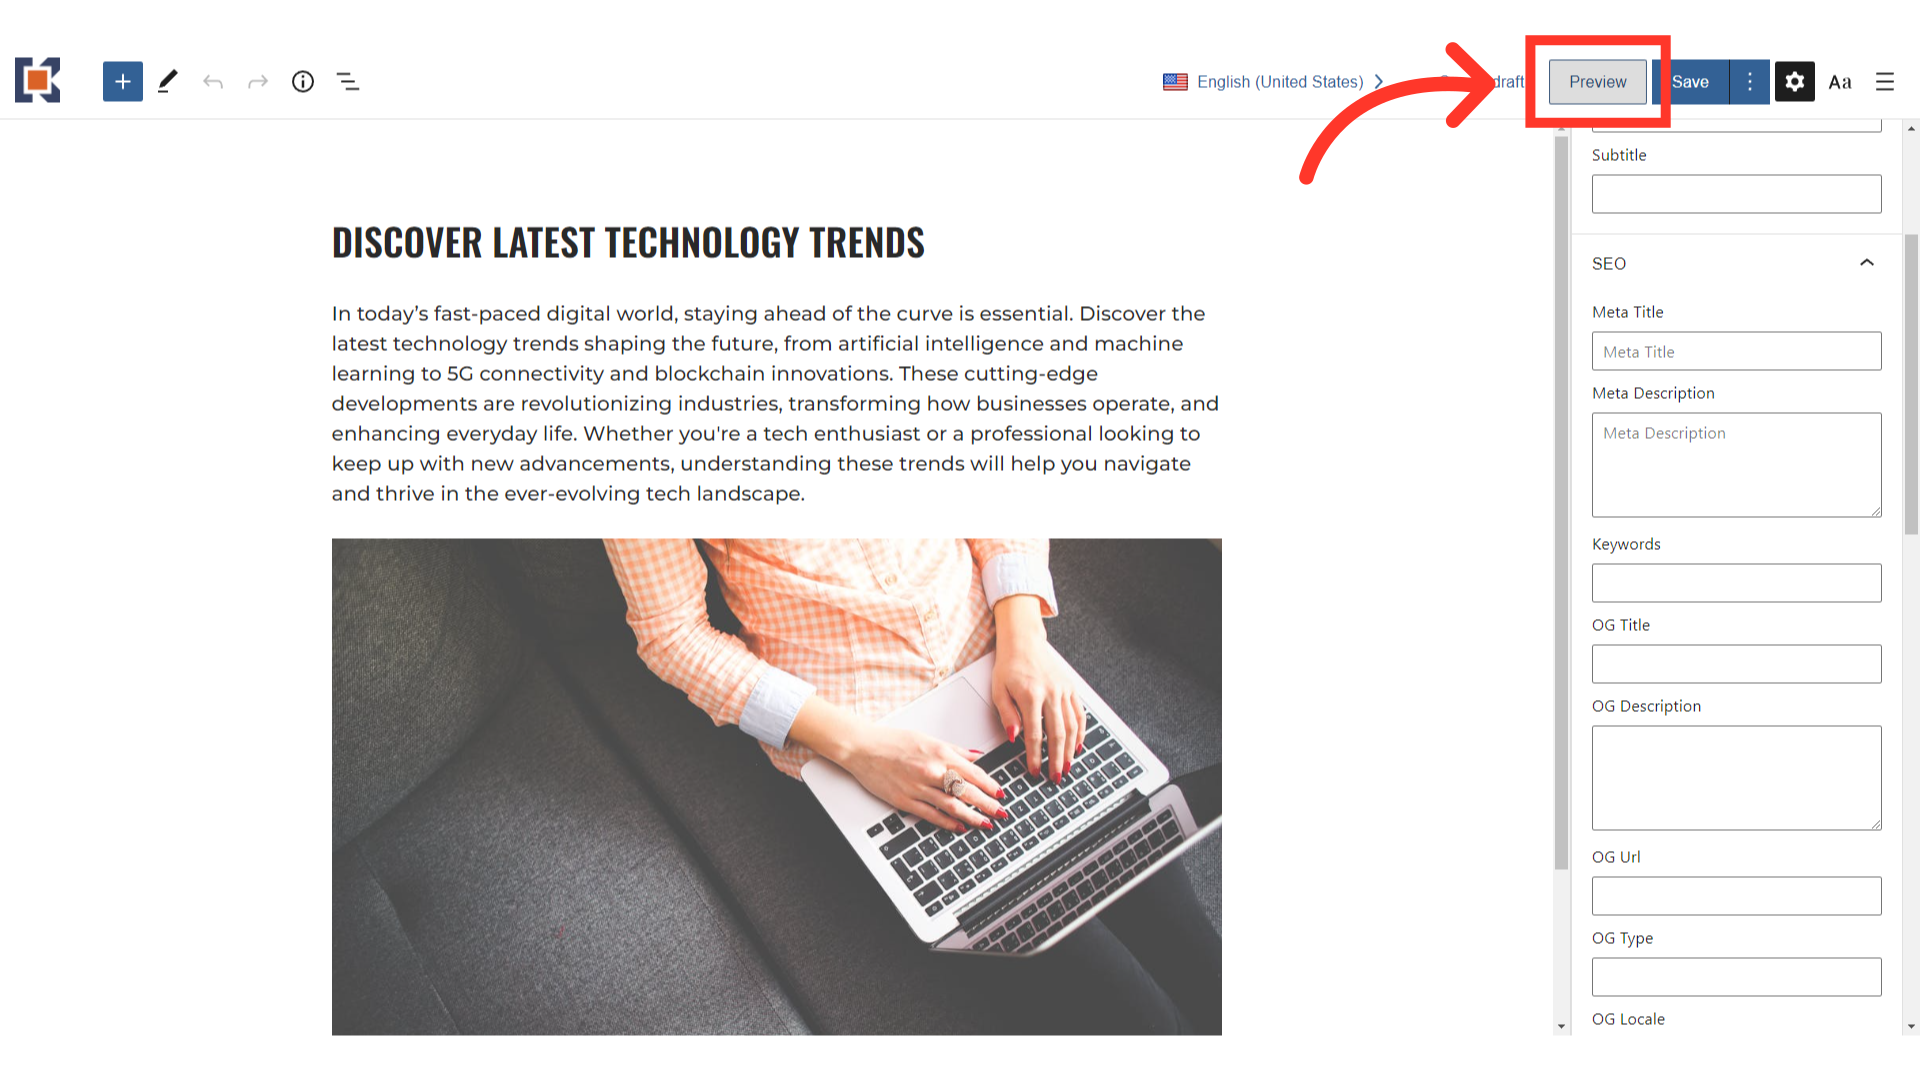
You can preview your page at any time by clicking the "Preview" button.
This will open a new tab with a preview of the page.
Click the "Save" button to save your data.

If you visit the parent page, you'll notice that the blog posts are displayed as tiles.
