Importing widgets can be handy when you would like to mass update widgets. To start, navigate to "CMS" section in the Operations Portal.

Then, go to the "Widgets" screen. In order to access, and edit widgets, you will need to have the role of: "administrator" or "superuser", or have the roles of: "cmsEdit" and "cmsView".

Each row on the grid represents individual widgets on your website. Now, click the "Show/Hide Columns" icon.

You will need to be sure that the spreadsheet you will be importing has the needed header row for importing data. You can do this by selecting any needed columns. Exporting with the added columns will give you the needed header row, along with data from the operations portal. Be sure to include the "Code" column. The "Code" is required as it is the identifying factor for matching information.

You can export all of the grid data or filter on a specific widget.

Select "File" from the menu.
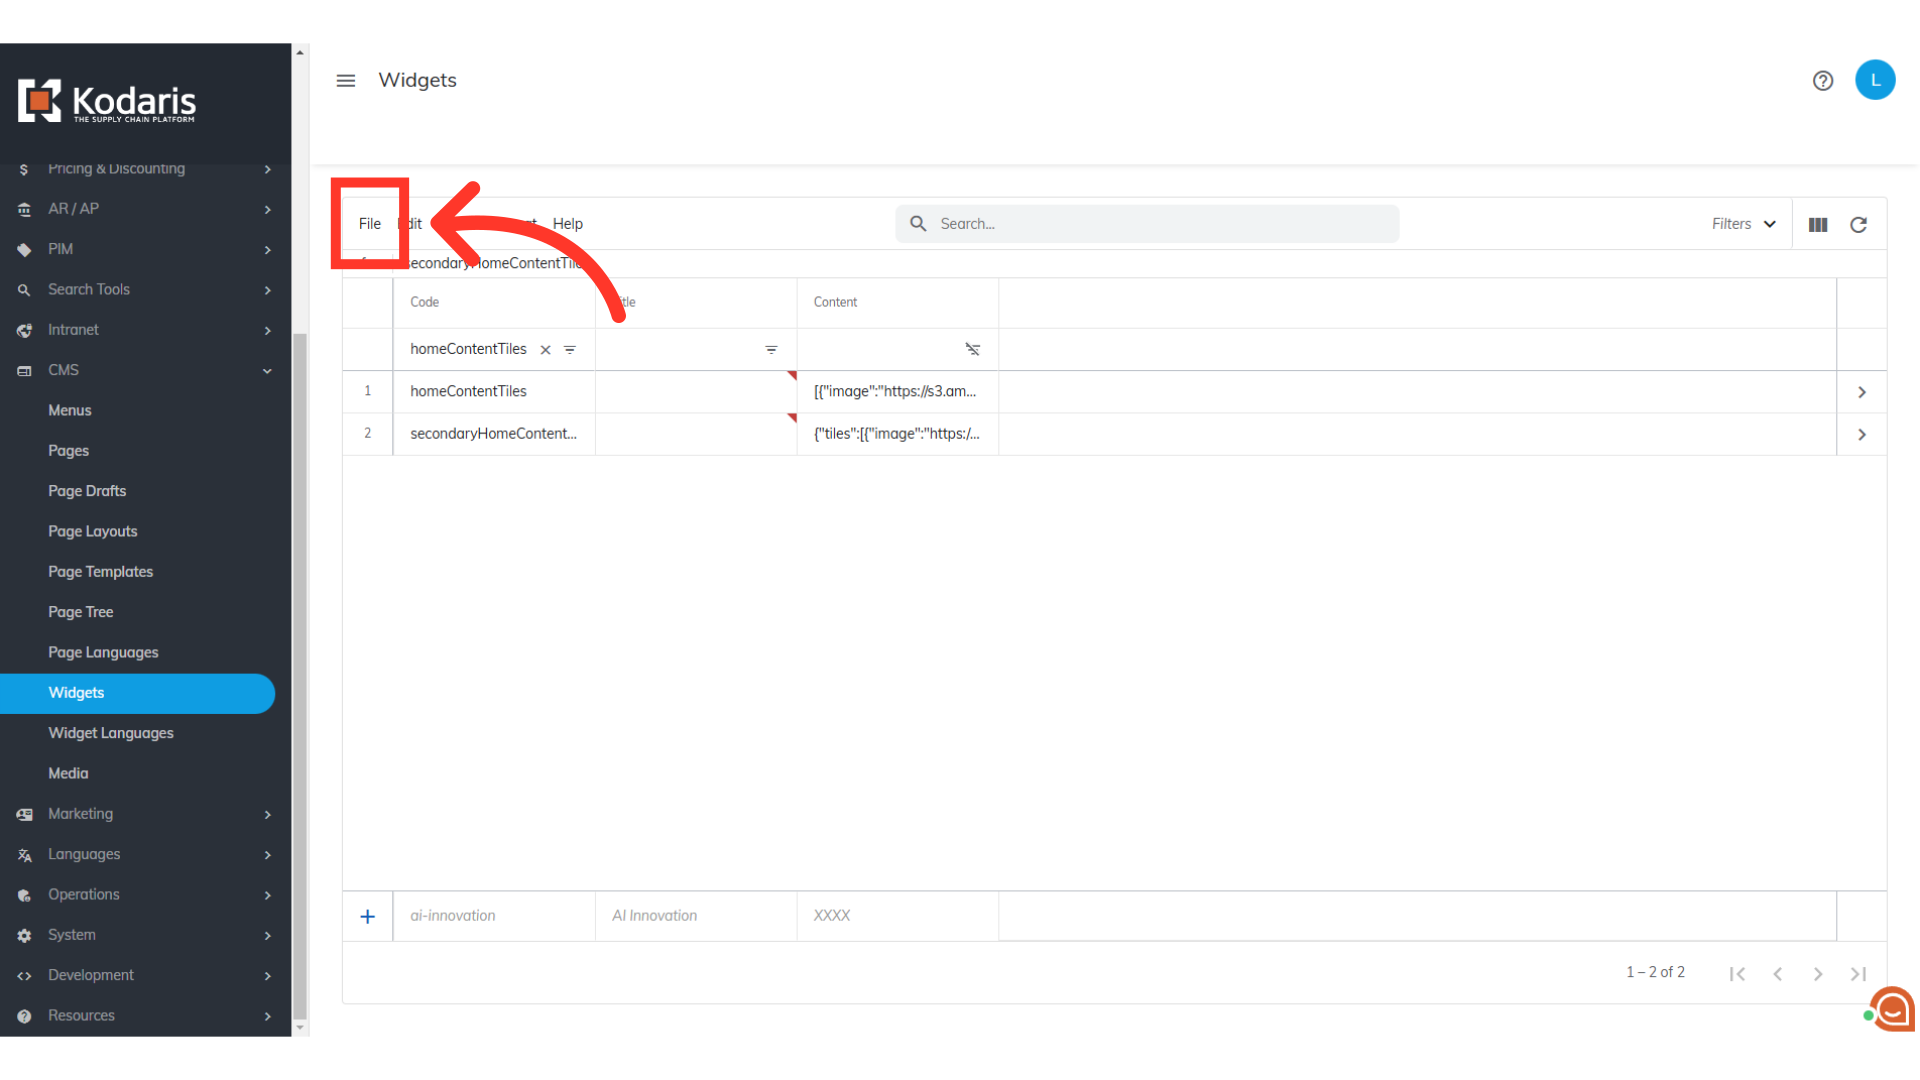
Then, click "Export".

You can rename the file, if needed.
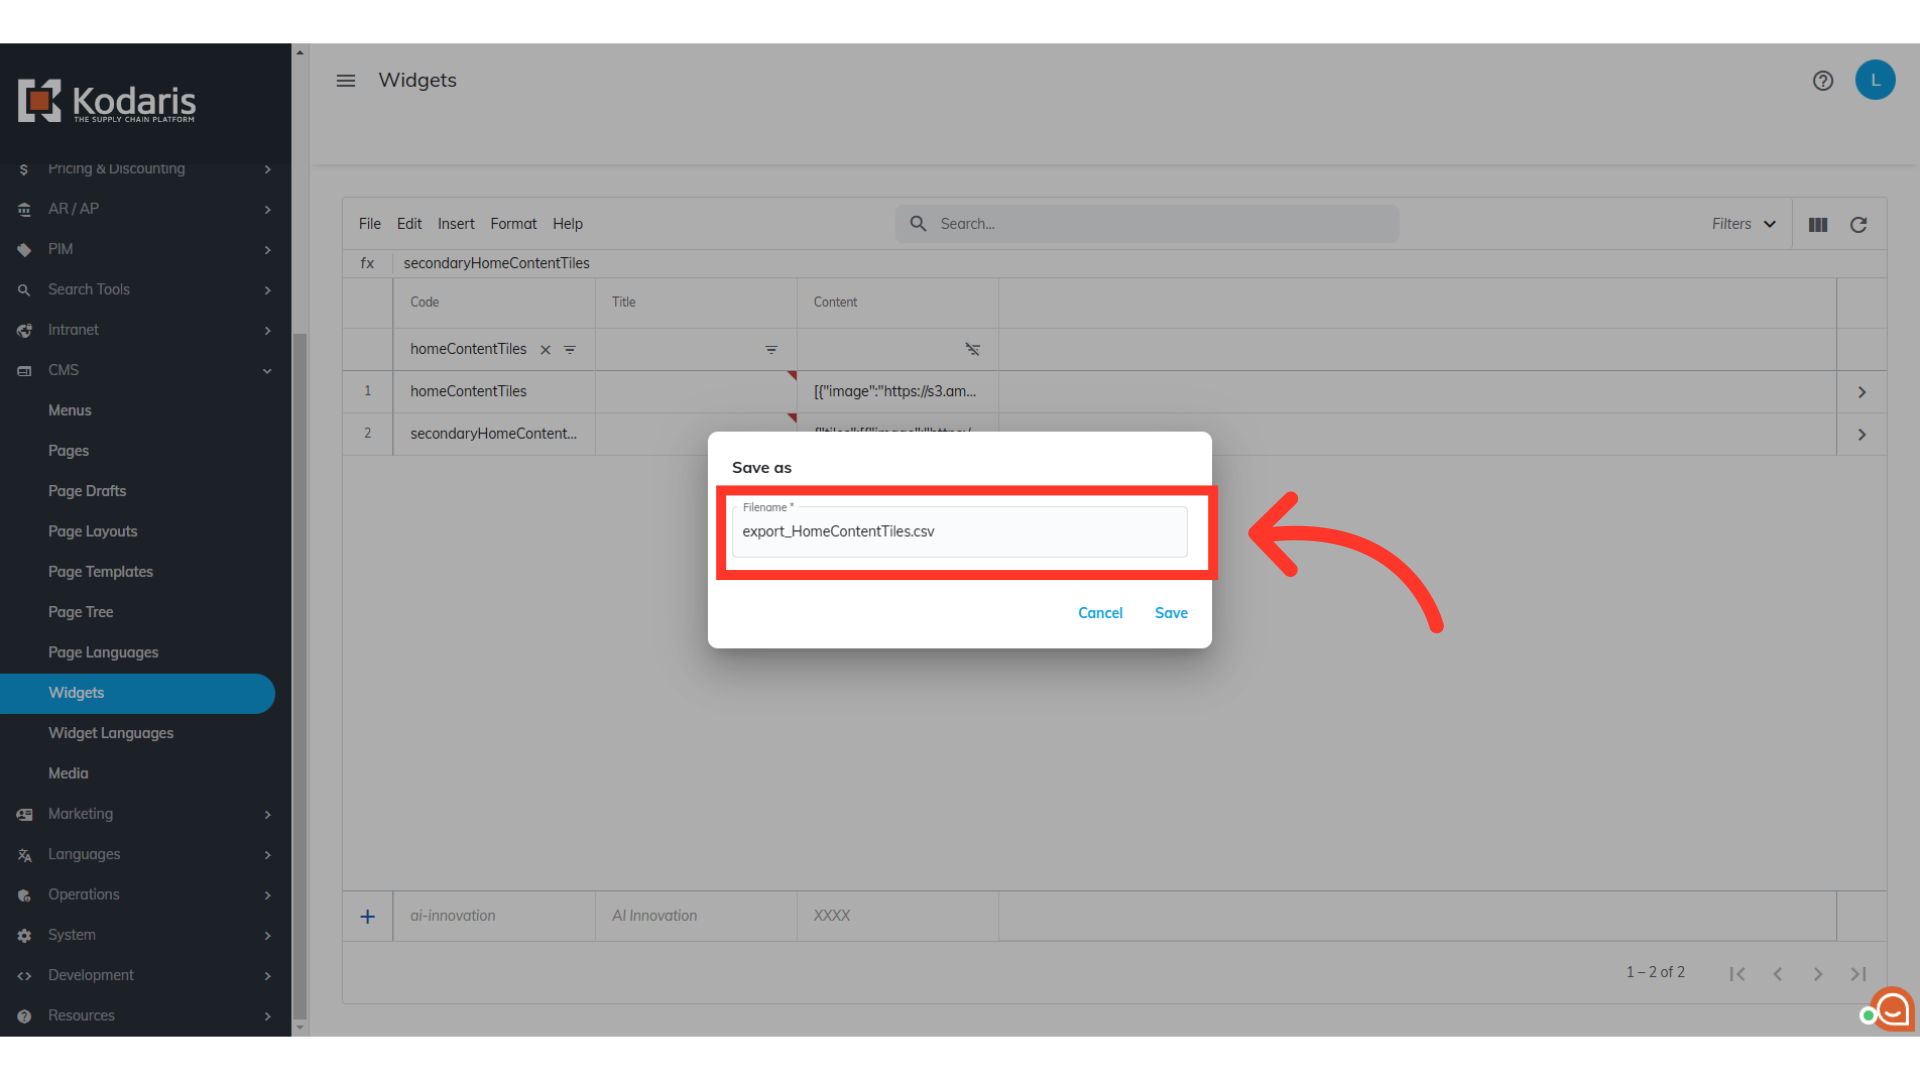
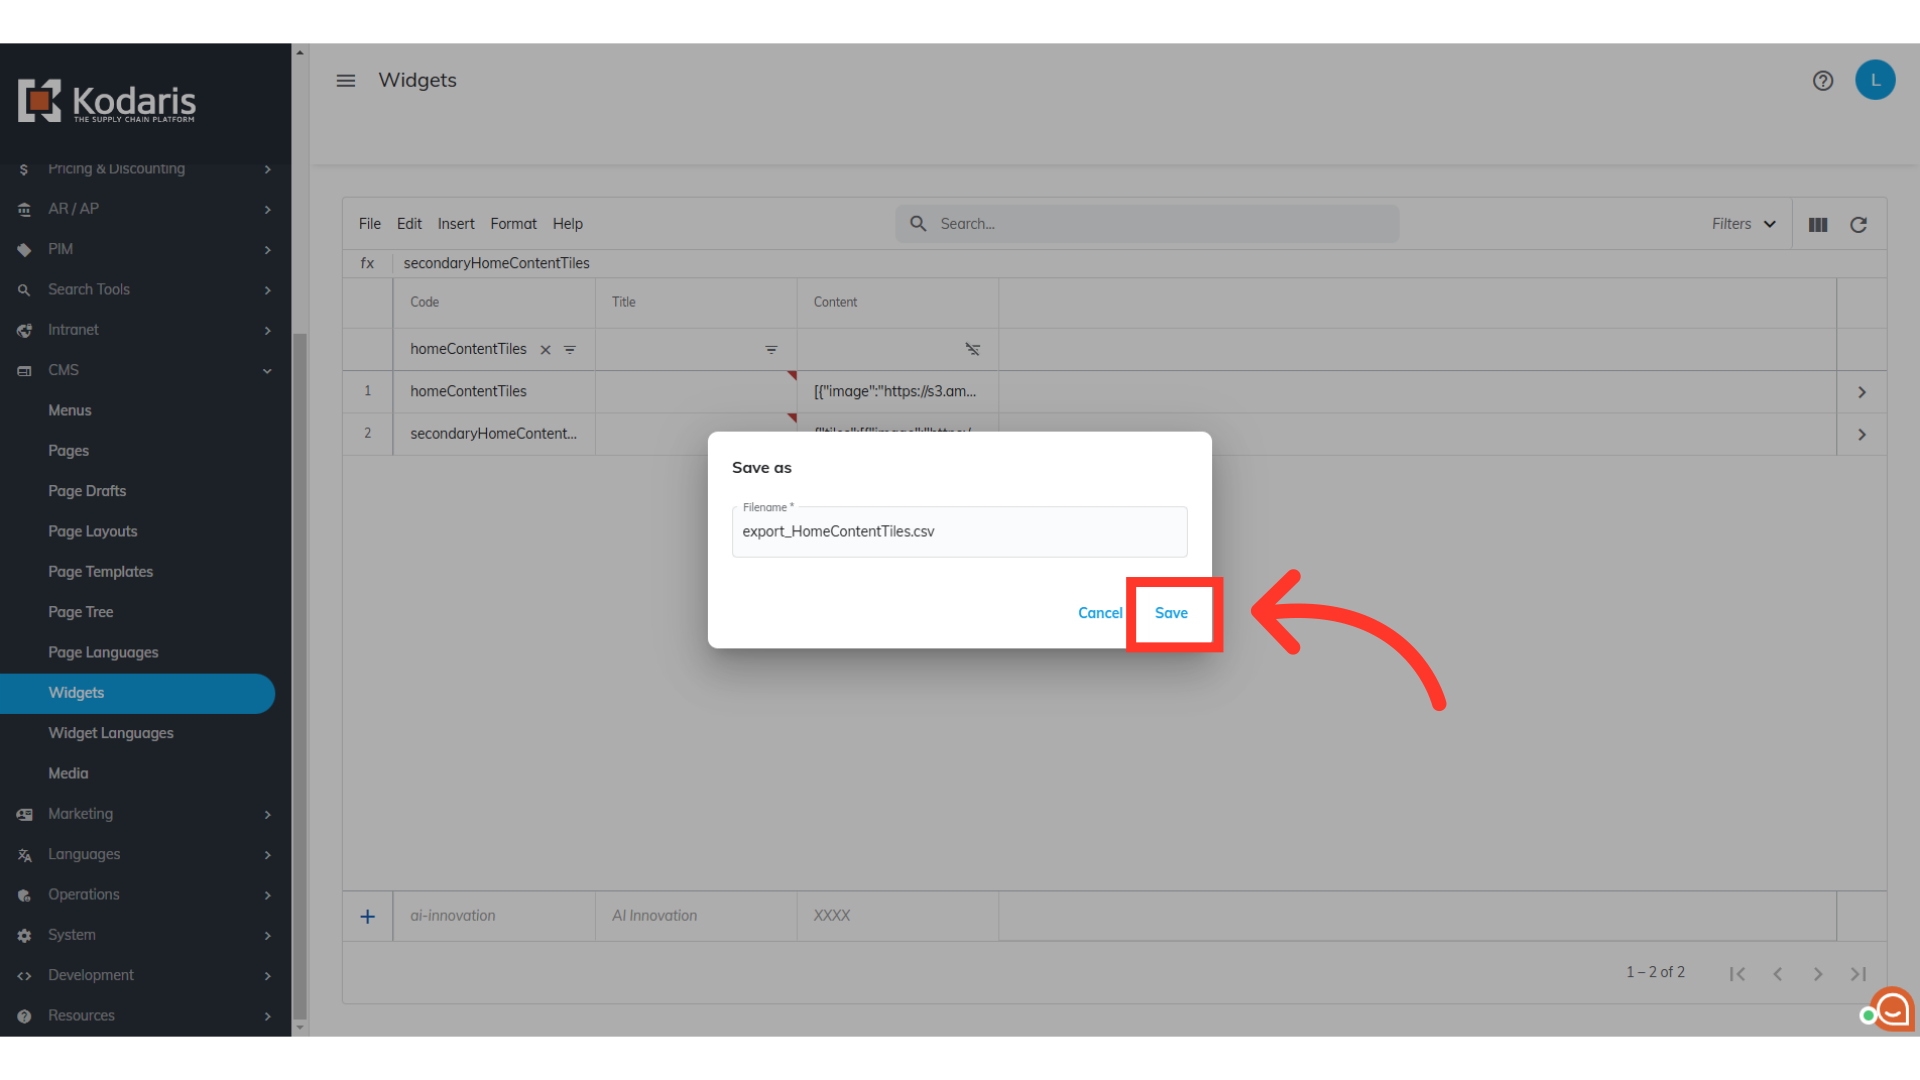
Click "Save" to export the file. If there is a large amount of data, it can take some extra time for the export to run. The file will be downloaded and saved to your computer.
You can see that this sample export includes the header row along with the data from the operations portal. Once the spreadsheet is ready to be used for importing, save your spreadsheet as CSV file which is spreadsheet compatible and your file is ready to import. Be sure the spreadsheet you are using only contains the data that you would like to update or add by import.

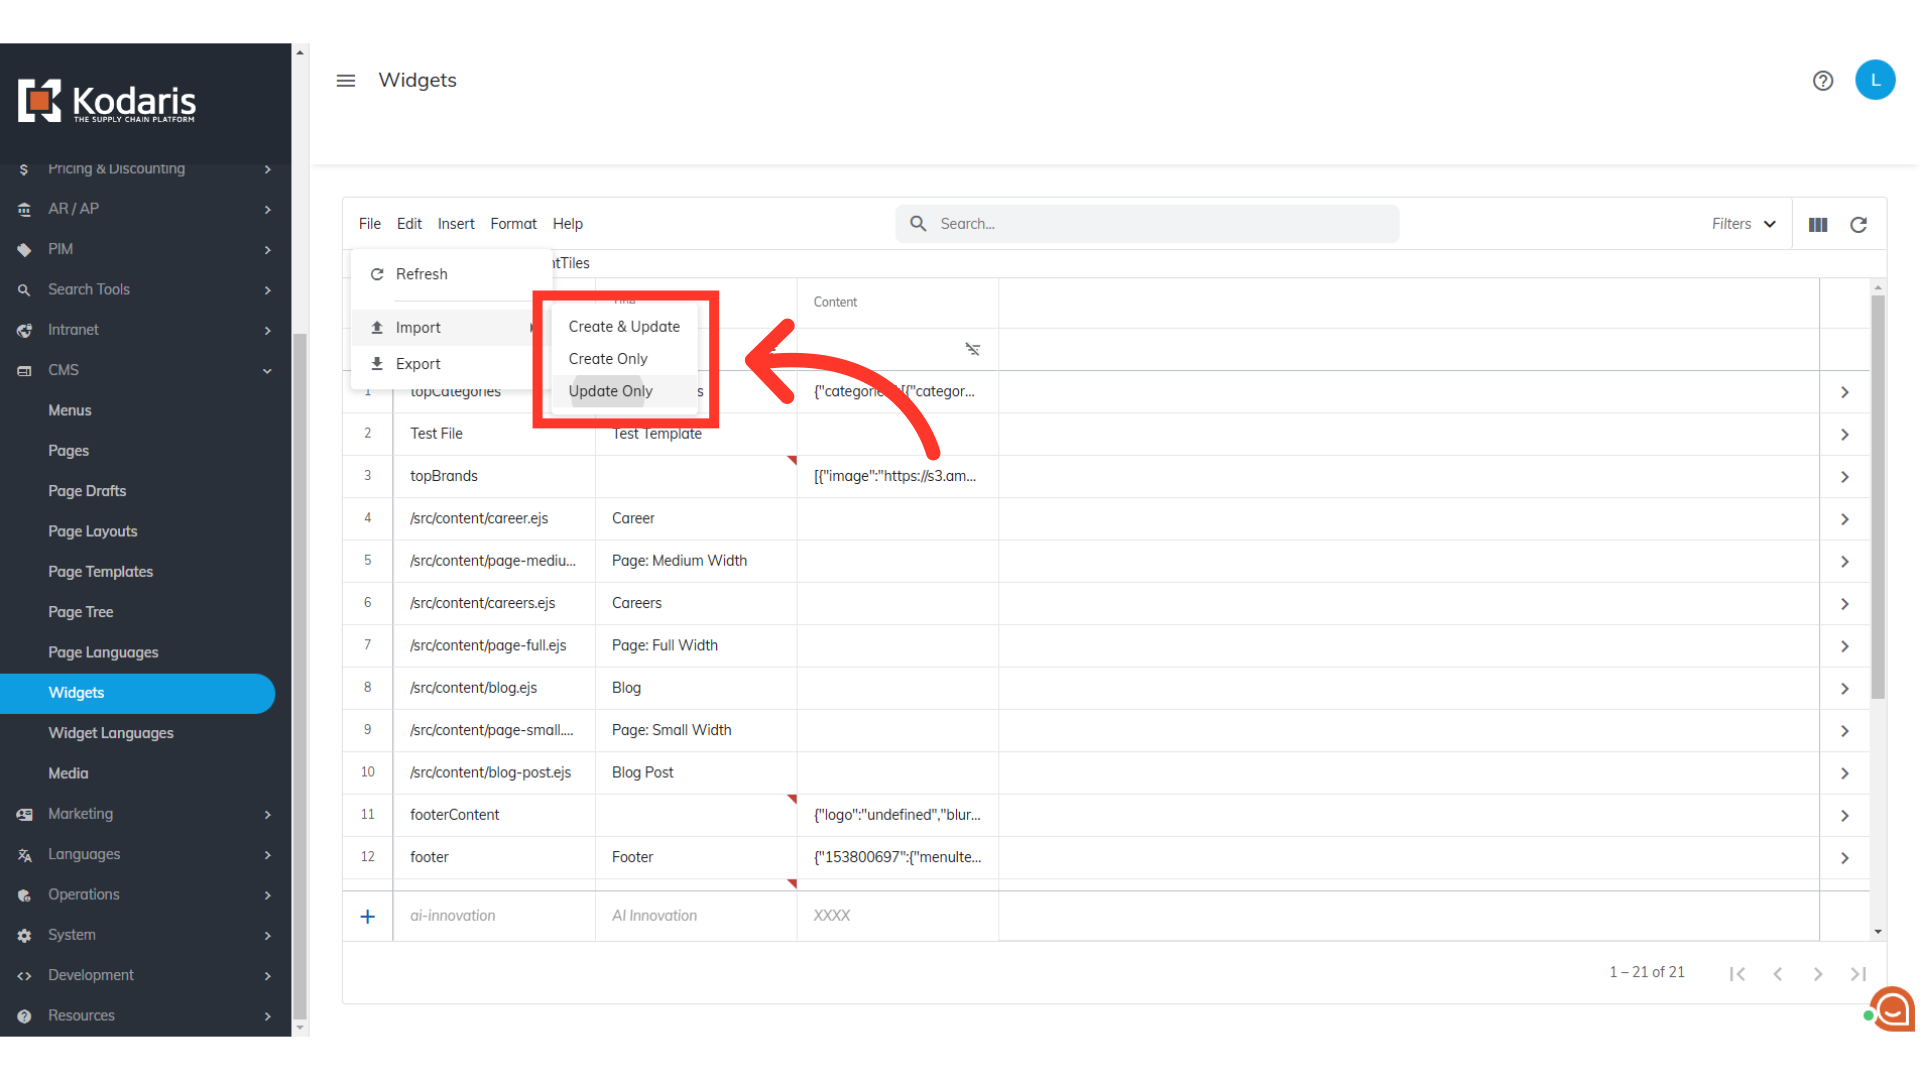
Go back to the "Widgets" screen and click "File".
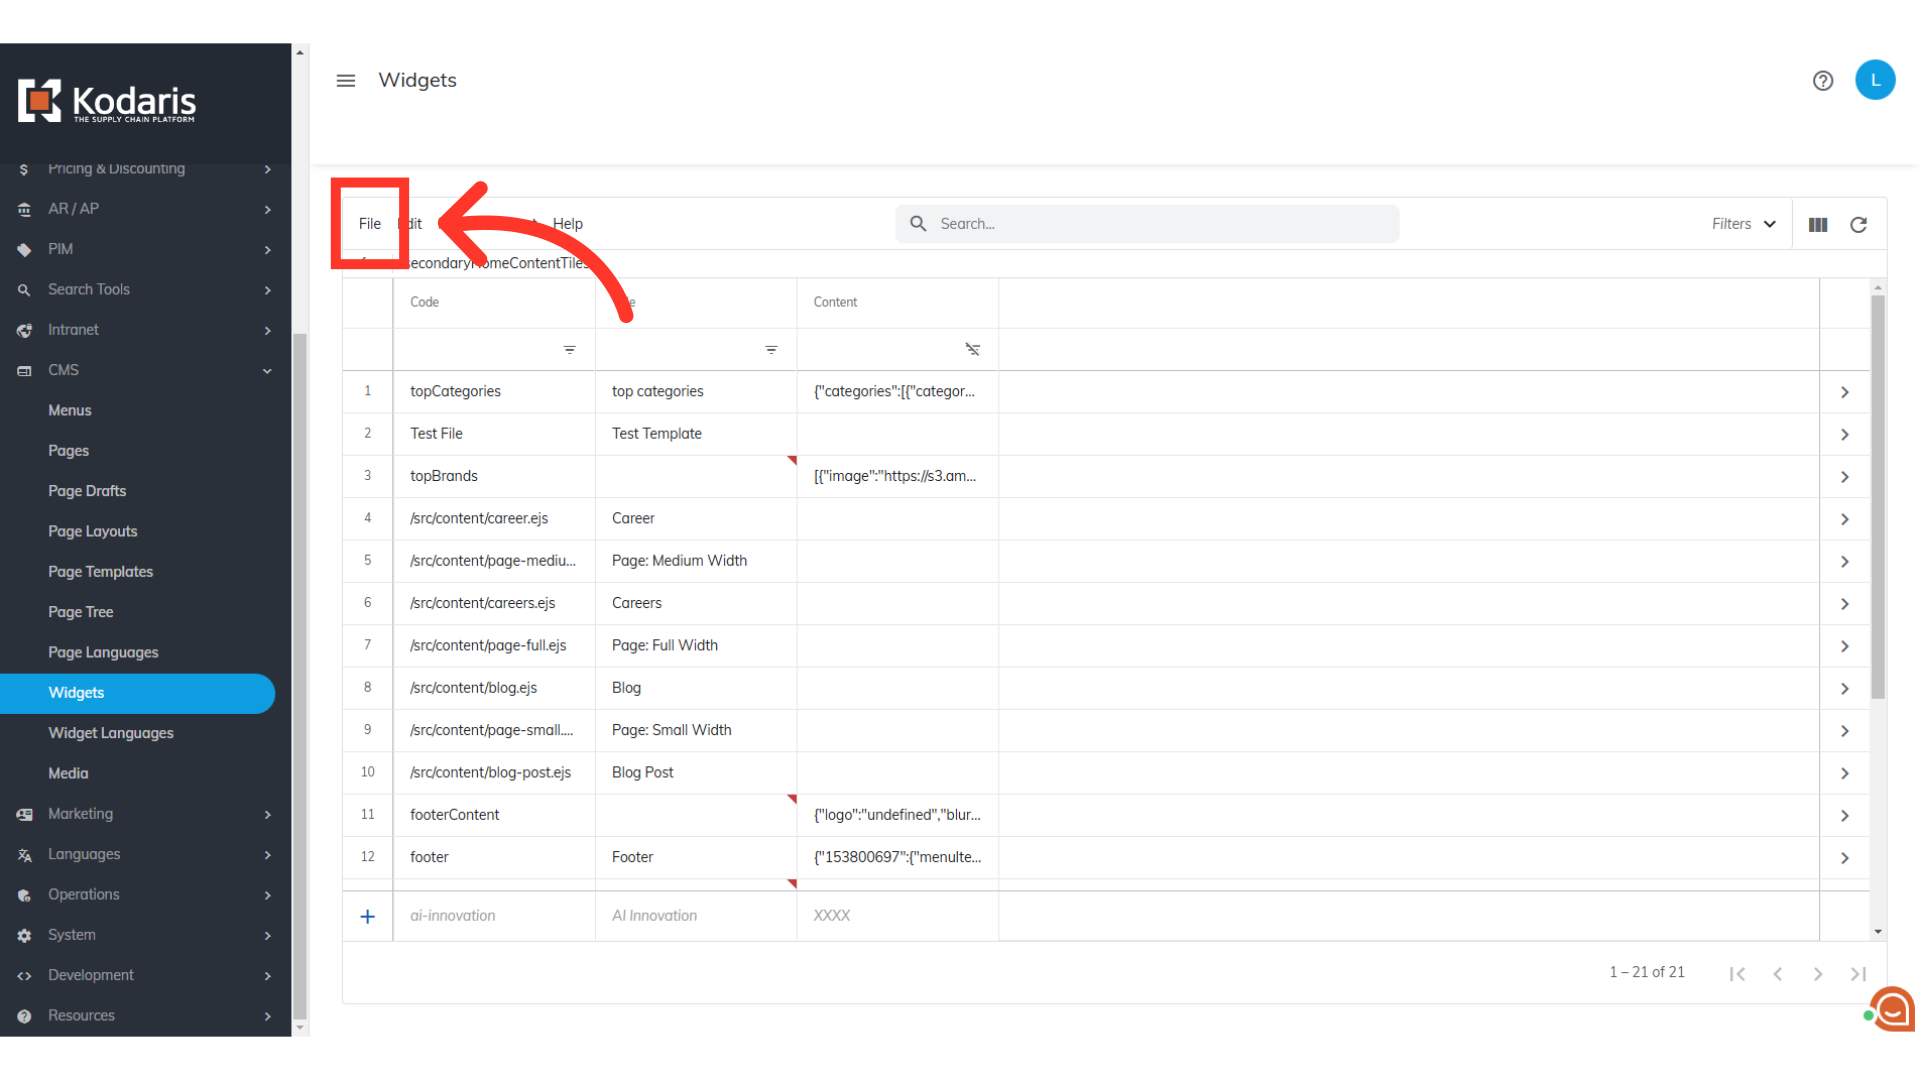
Select "Import".

Select from the options; Create & Update, Create Only, or Update Only.
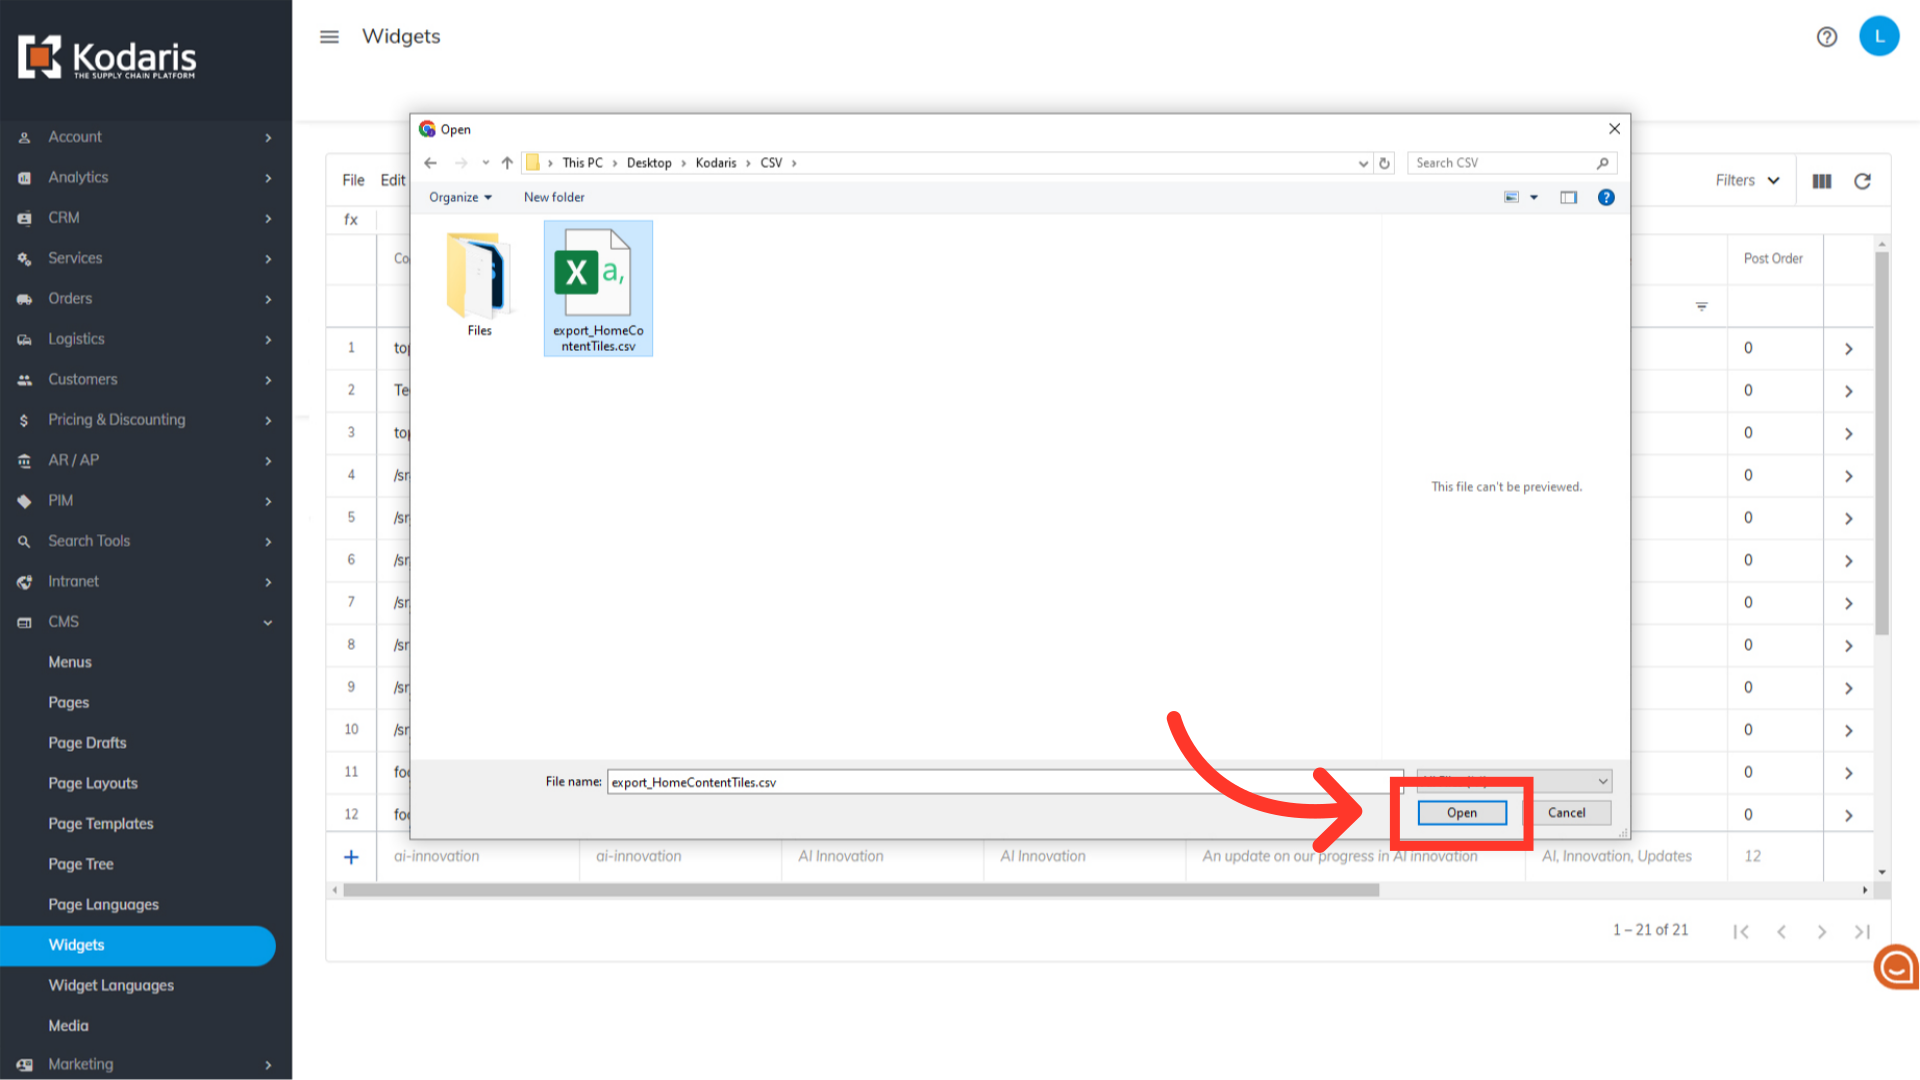
Locate and select your CSV file.
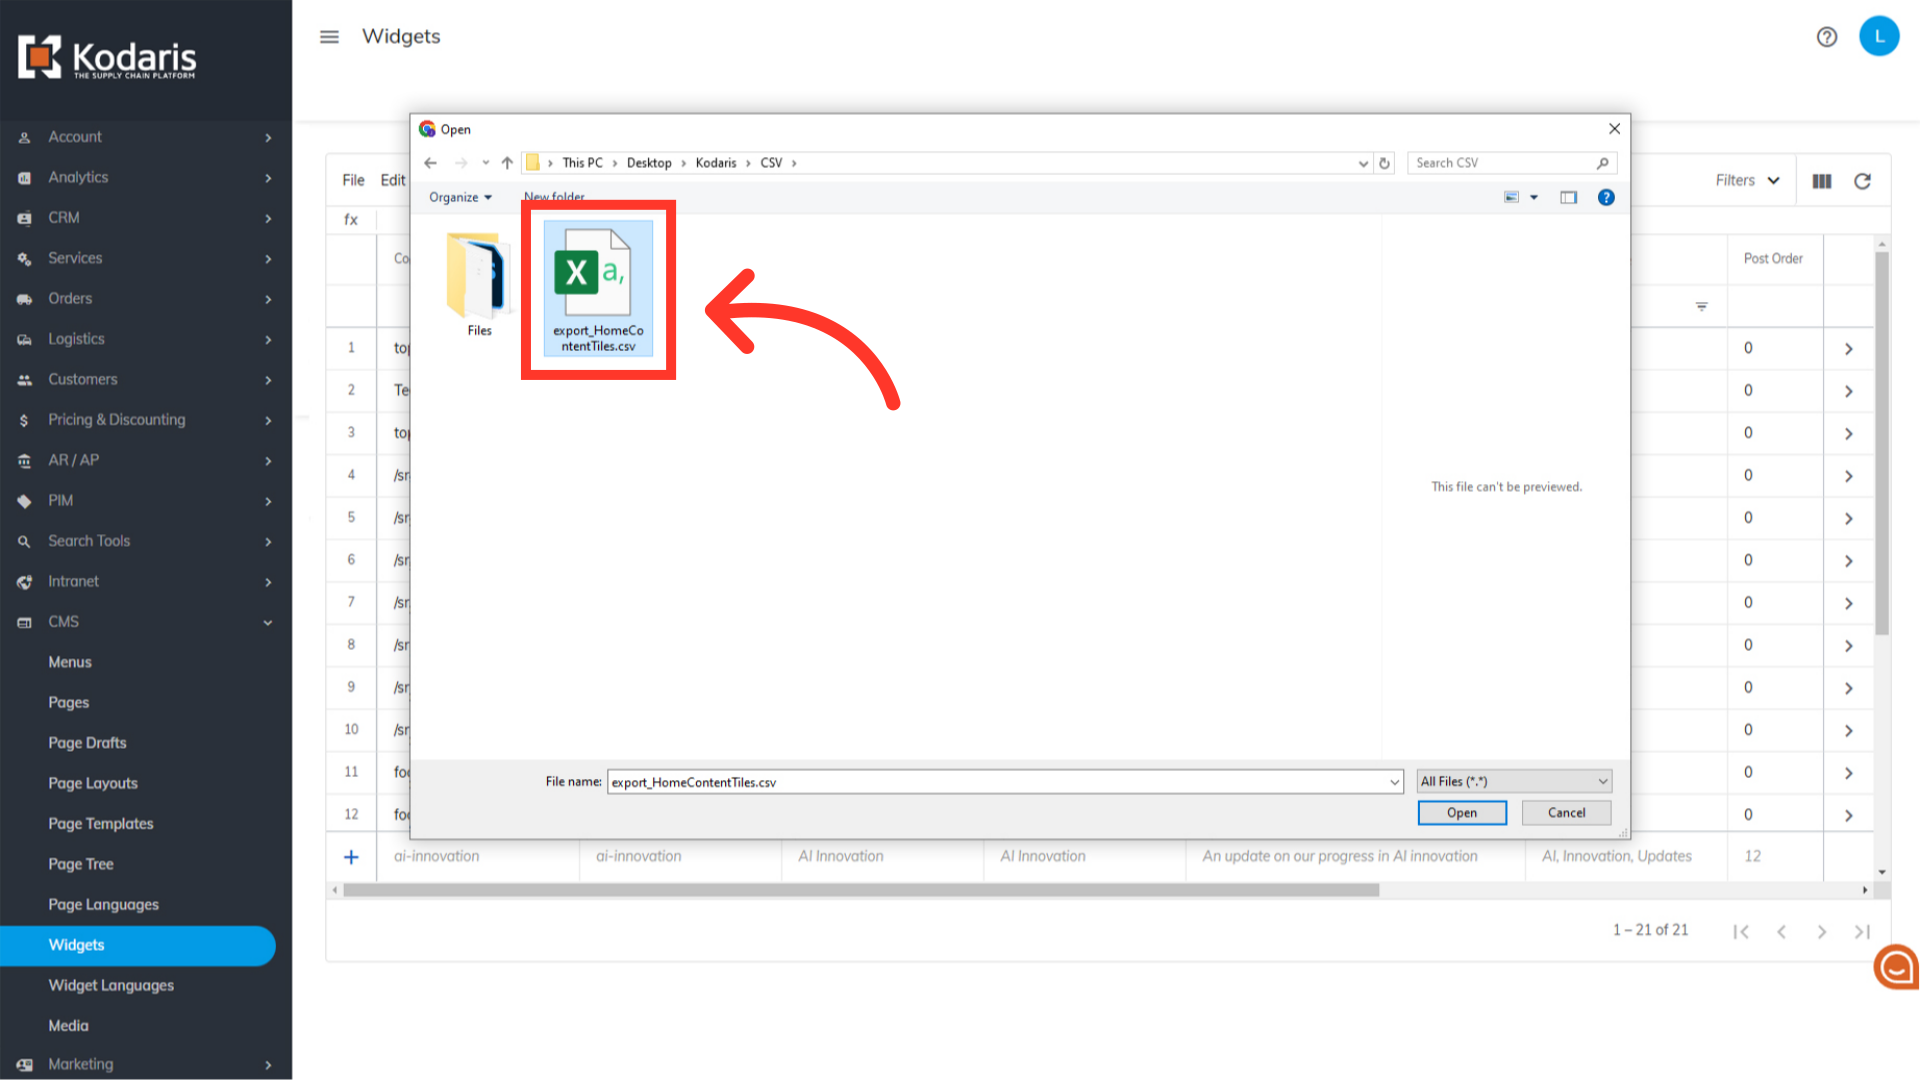
Click "Open" to import.
After the import, refresh your homepage and and see that the widget has been updated.
