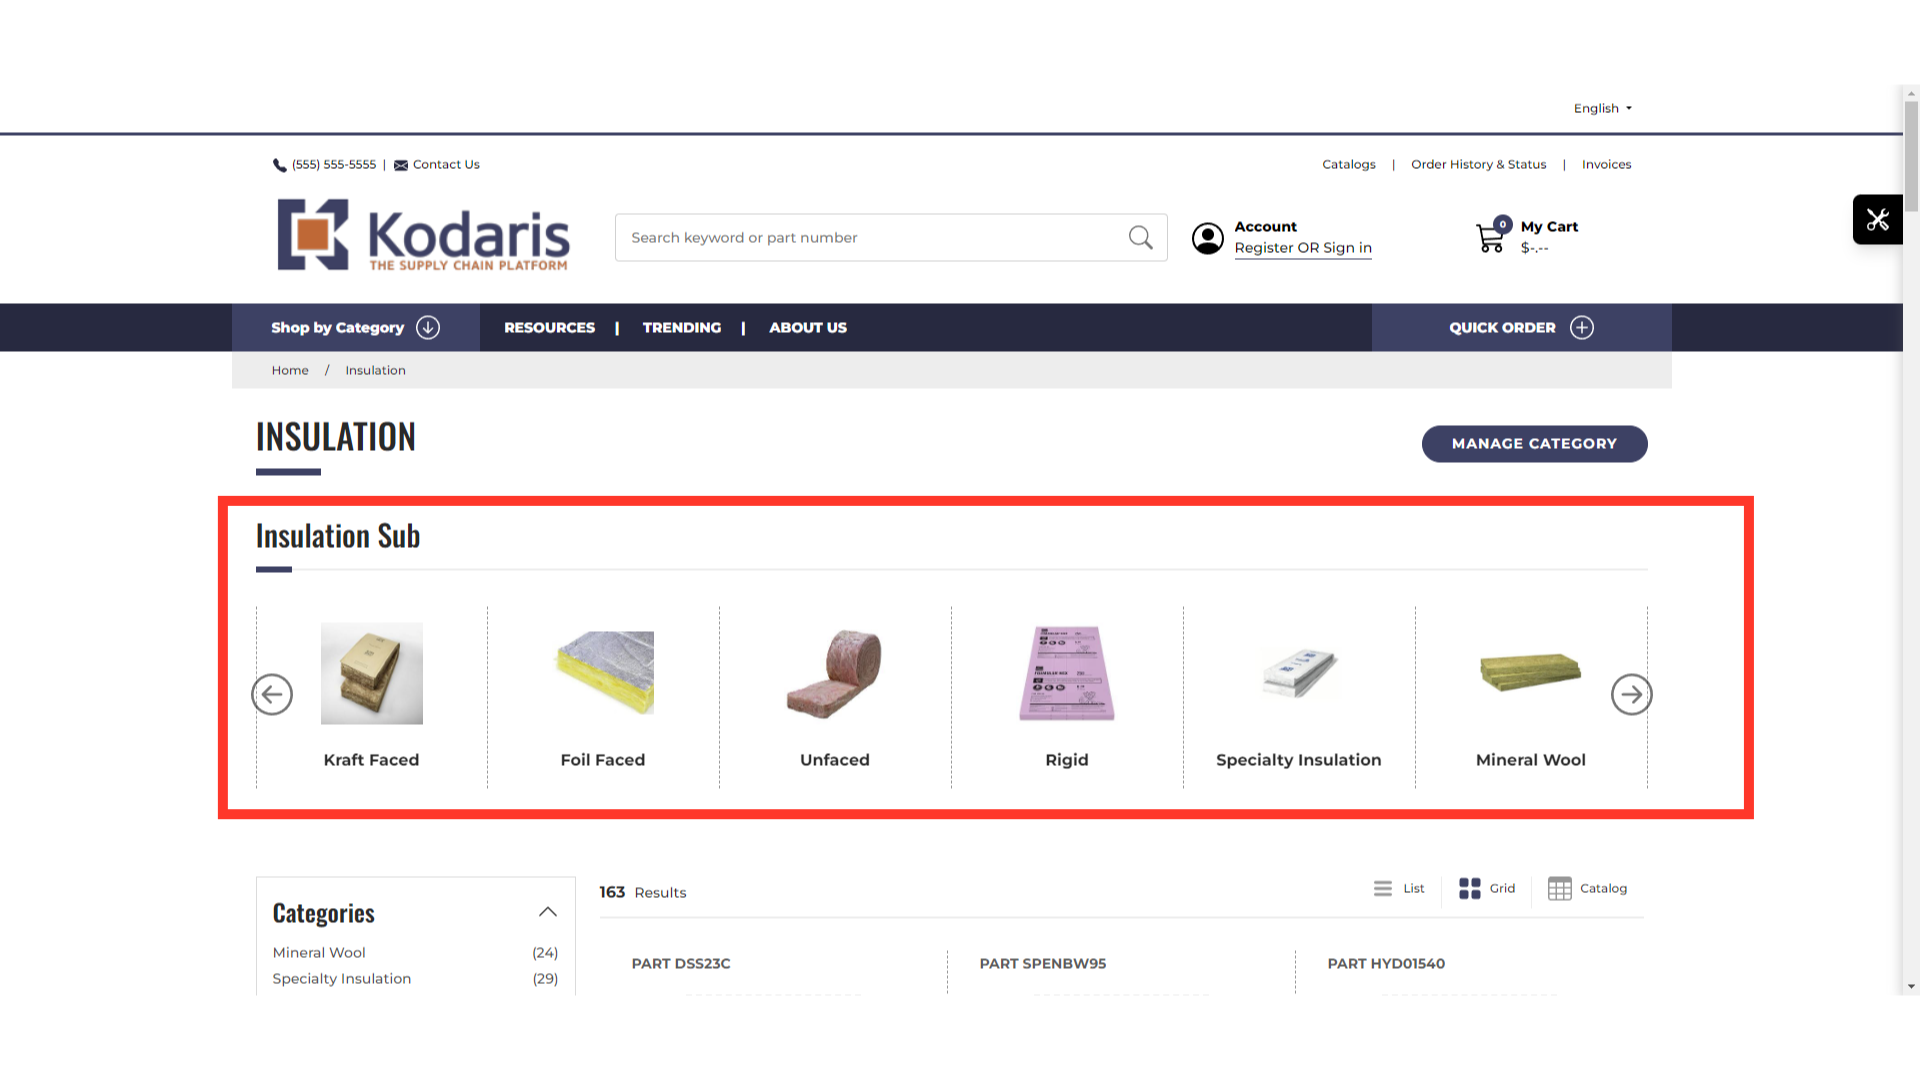
To display a subcategory slider on your commerce site, we will first need to navigate to a category page on your site. We will be demonstrating with the "Insulation" category.

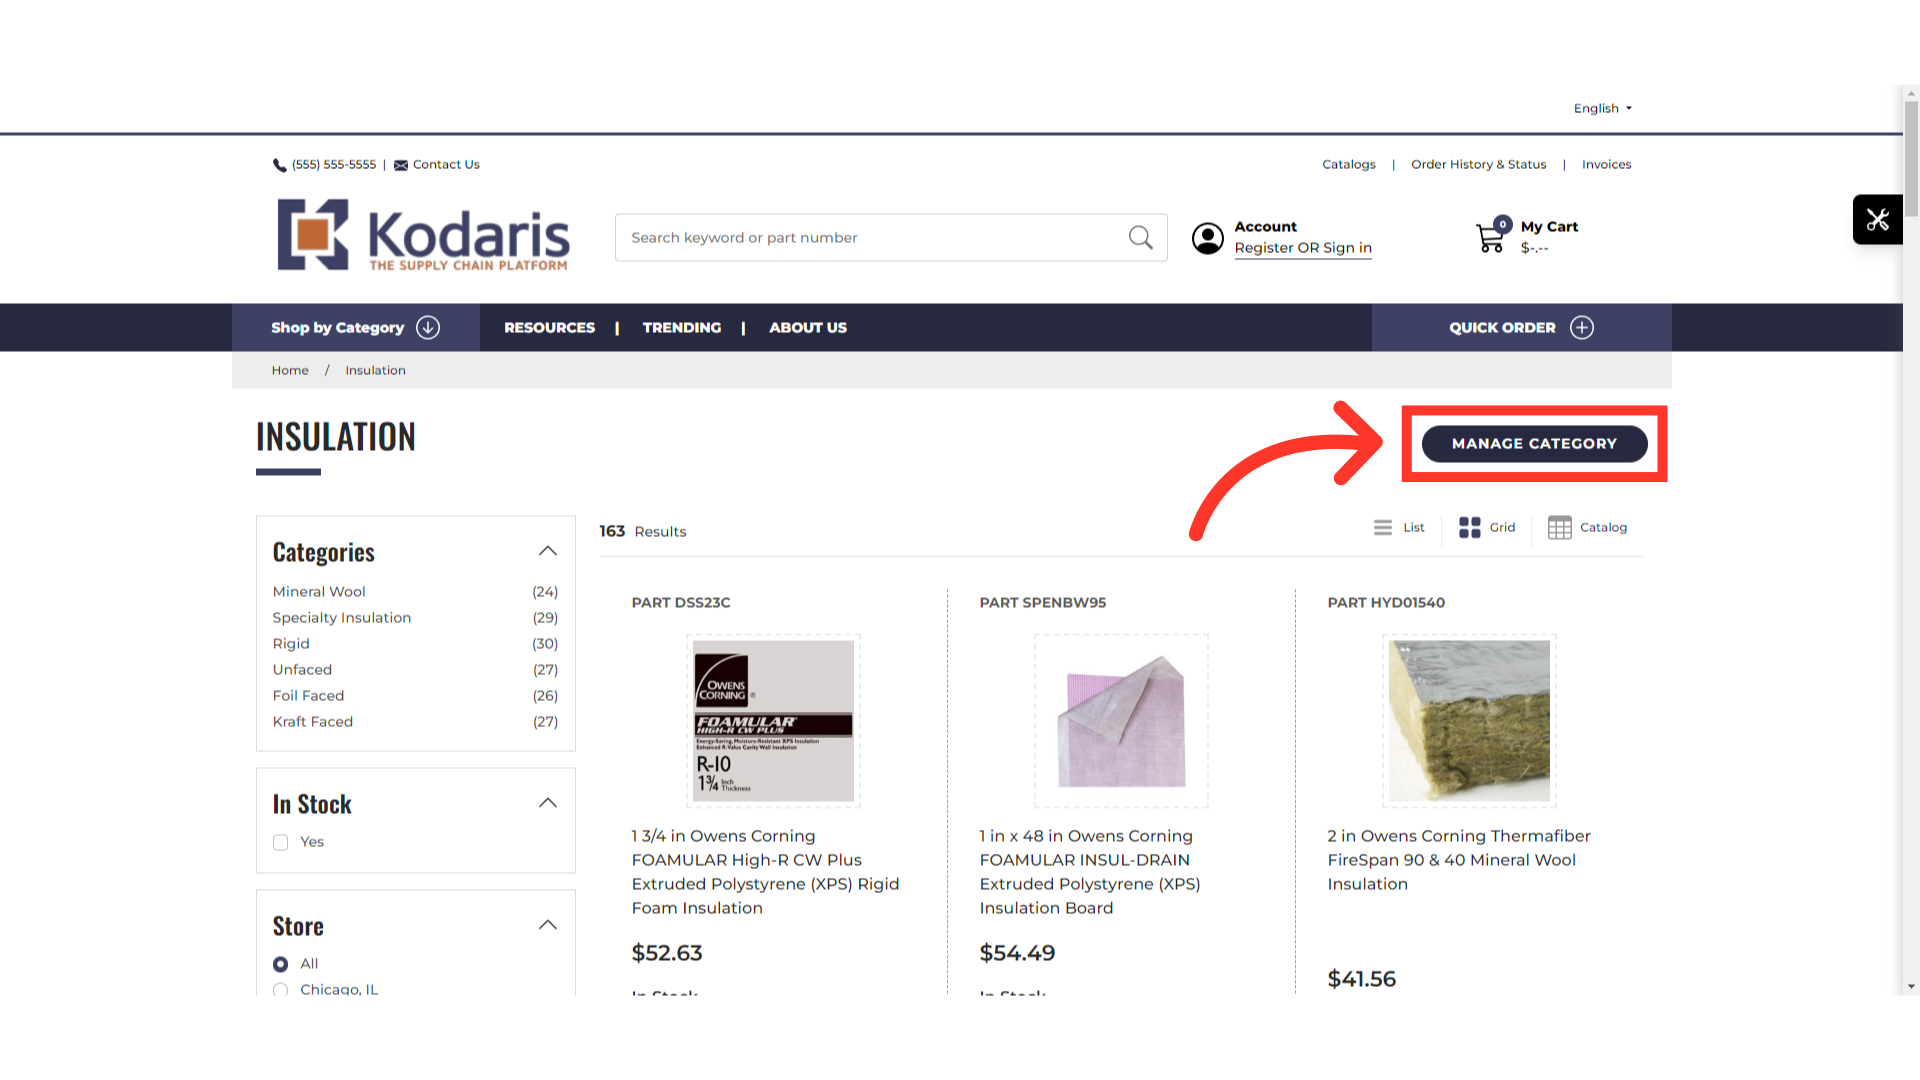
Click on "MANAGE CATEGORY" button.
The category slider is only shown if the slider title is set and the category has 6 or more subcategories each with a primary image. Let's make sure the subcategories have images.

Navigate to the "PIM" section in the Operations Portal.
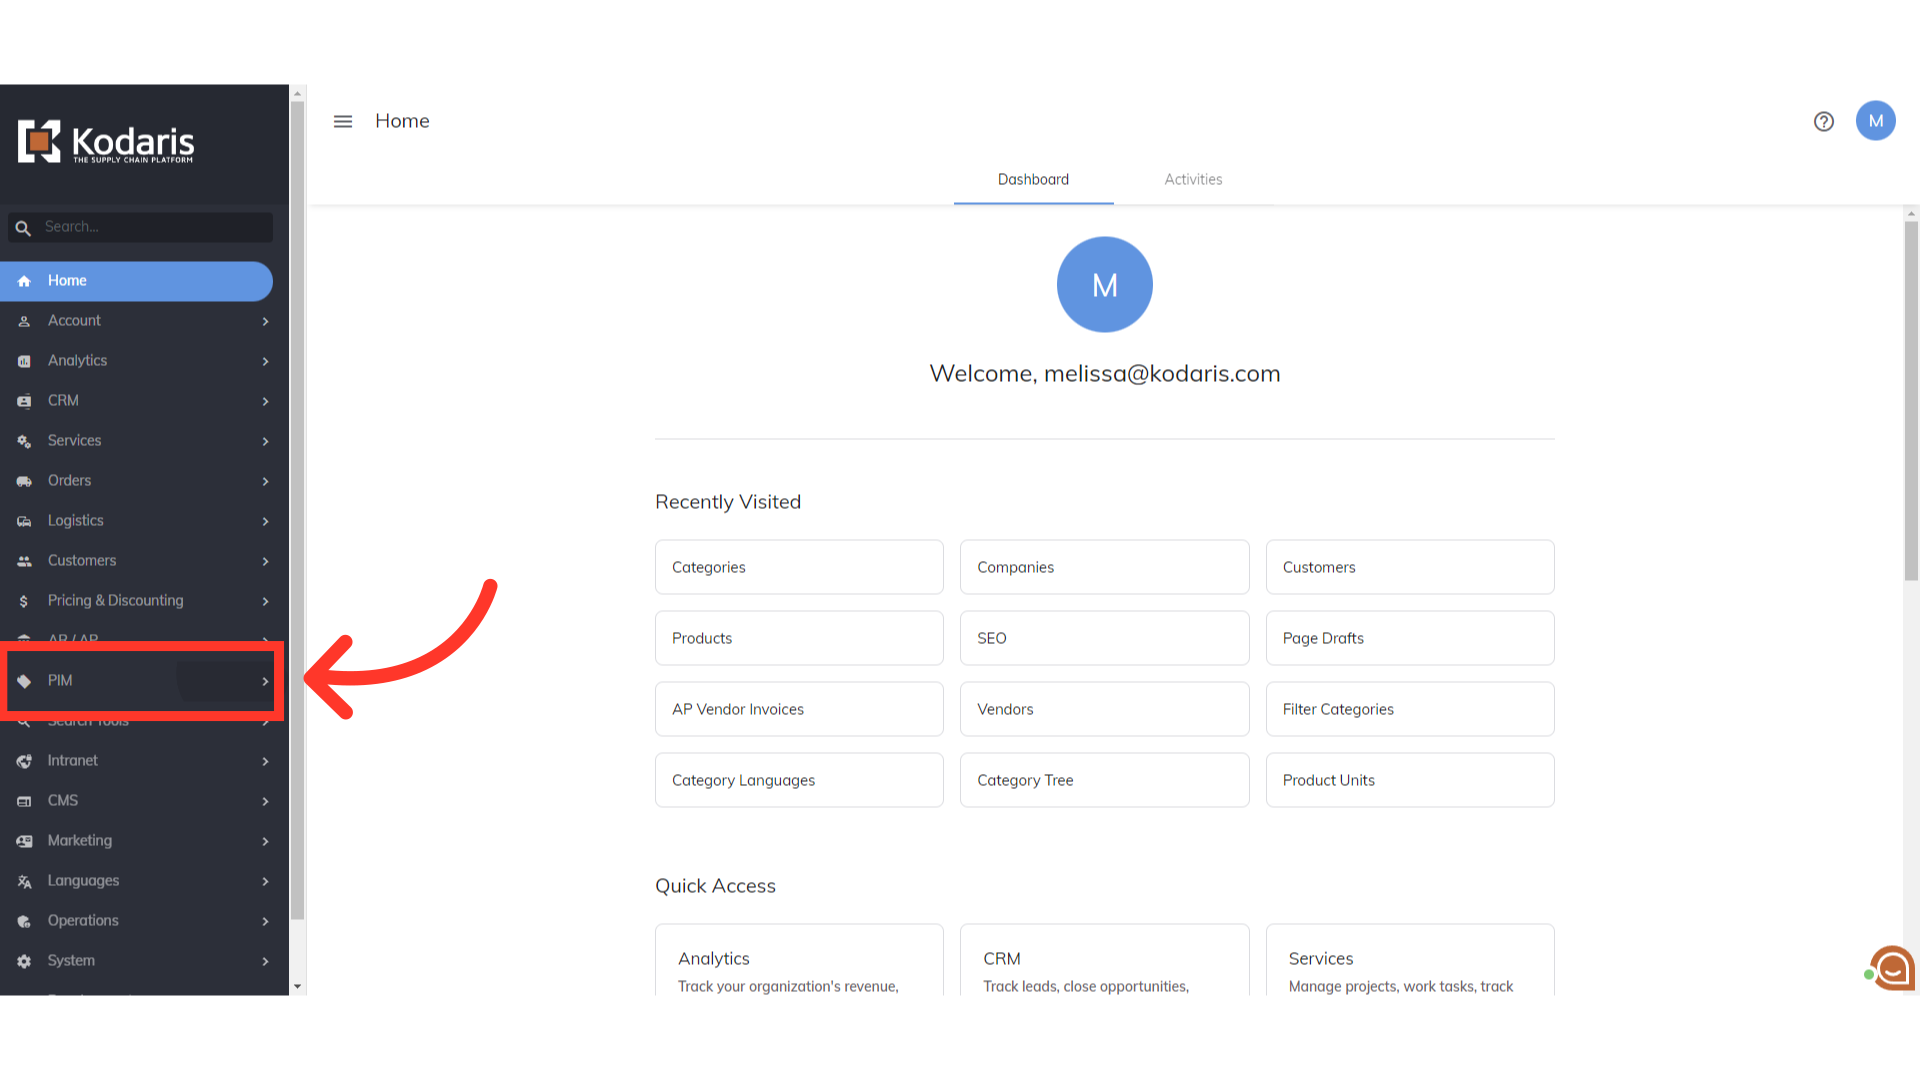
Click "Categories". In order to access and update “Categories” you will need to be set up either as an administrator or a superuser, or have the roles of: “categoryView” and “categoryEdit”.

Here on the "Data" tab, you can view your categories. To find the subcategories of a category, you can search in the "Code" column. For this example we are using "Insulation". This will show any codes with "insulation".
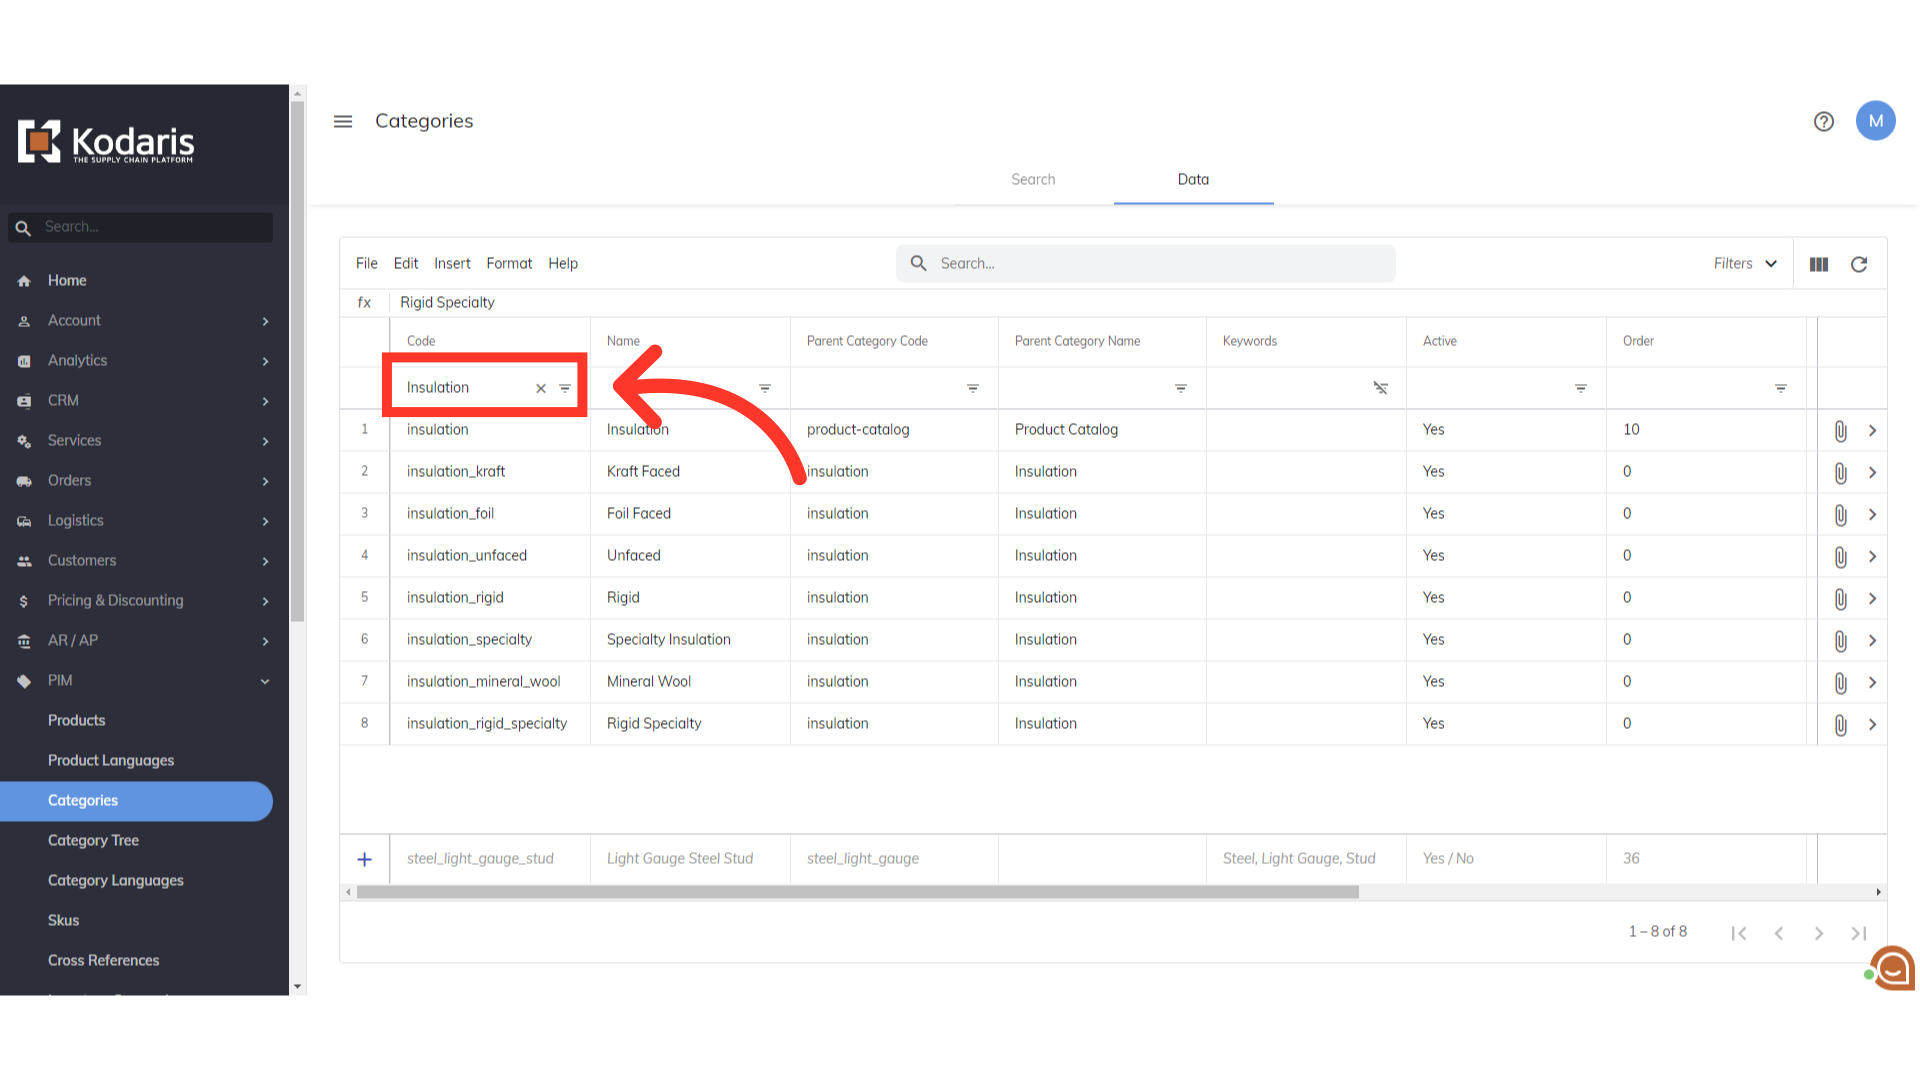
You can see that all of the "Insulation" subcategories have the parent code listed in the "Parent Category Code" column. You can also filter on "Insulation" in the "Parent Category Code" column to find all of the insulation subcategories.

Now, we need to add images to every insulation subcategory. Click the more details icon to go into the details.

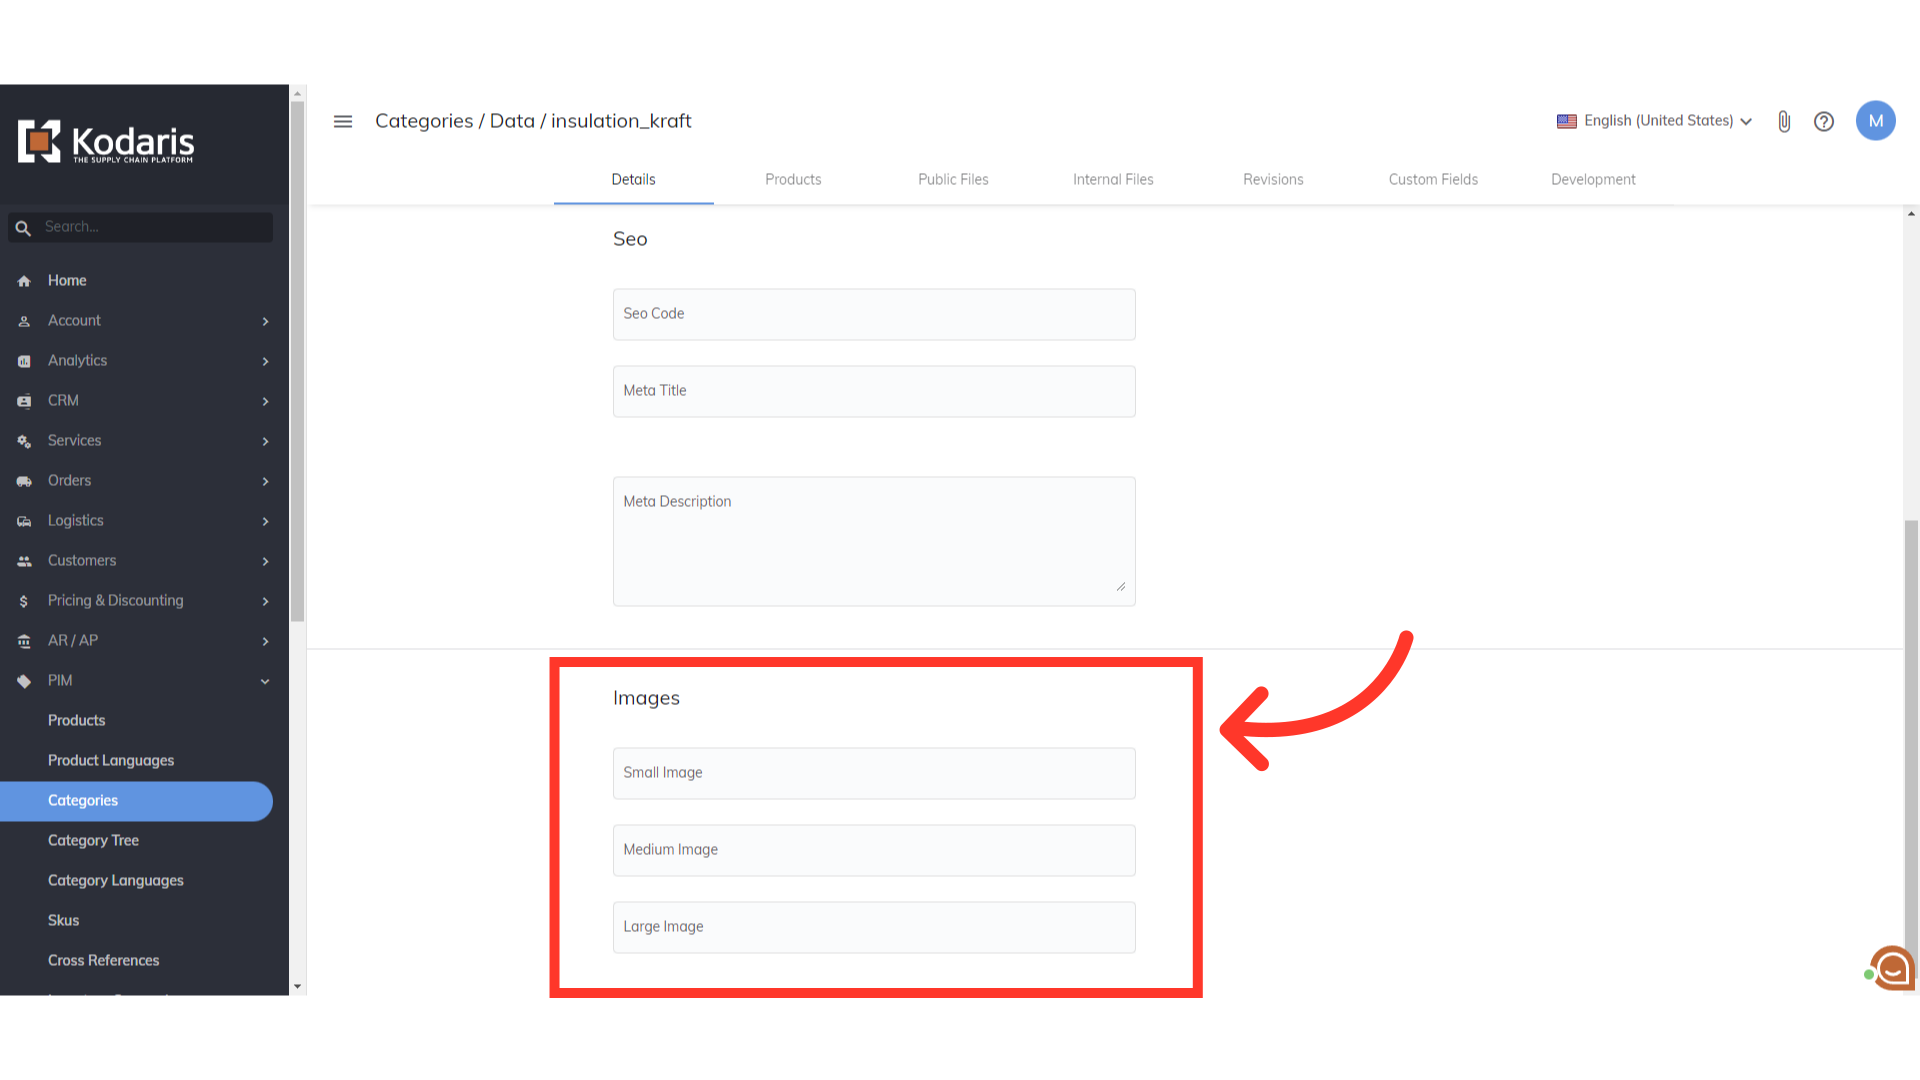
By checking the "Image" section, you can see that no images have been added to this category.
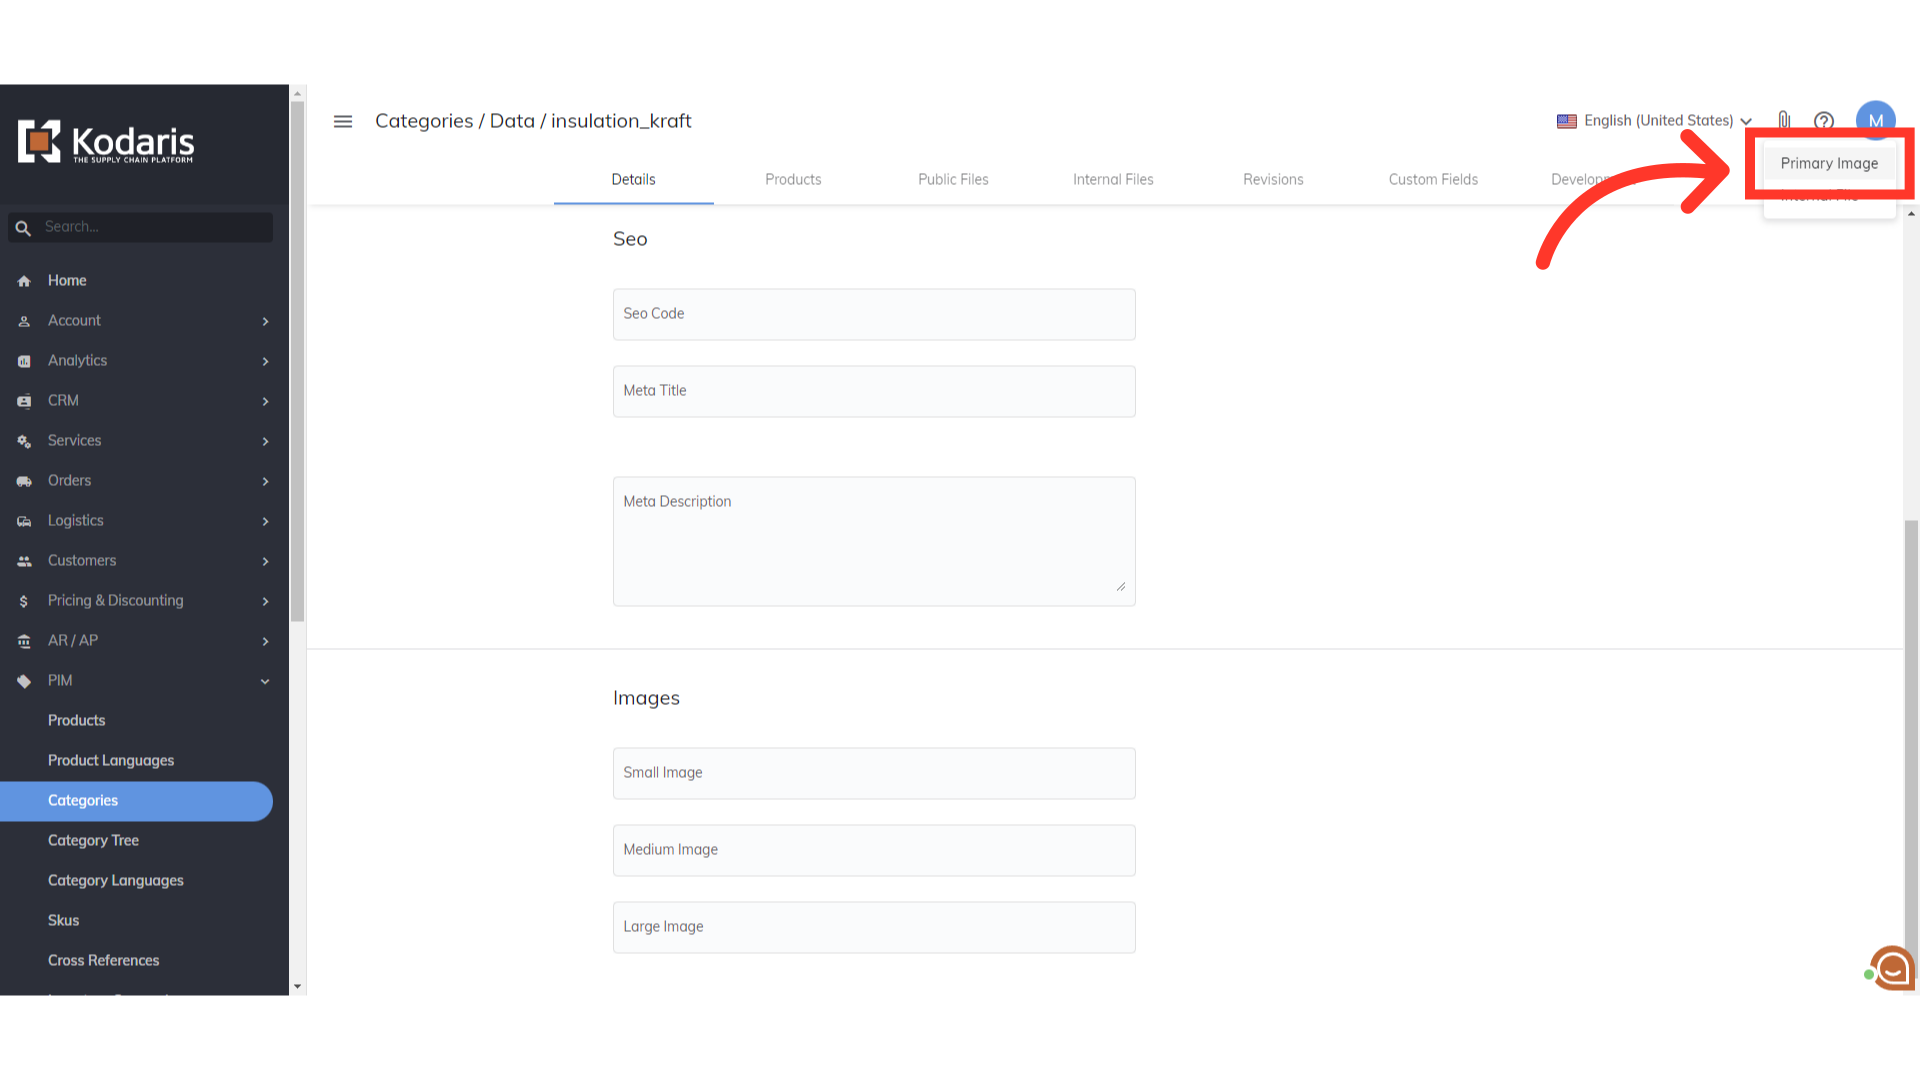
To add images, click the "Attach File" icon.

Then, click "Primary Image" and upload the desired image from your computer. Repeat the process to add images to the other subcategories.
Navigate back to the category page on the commerce site and click the "MANAGE CATEGORY" button.

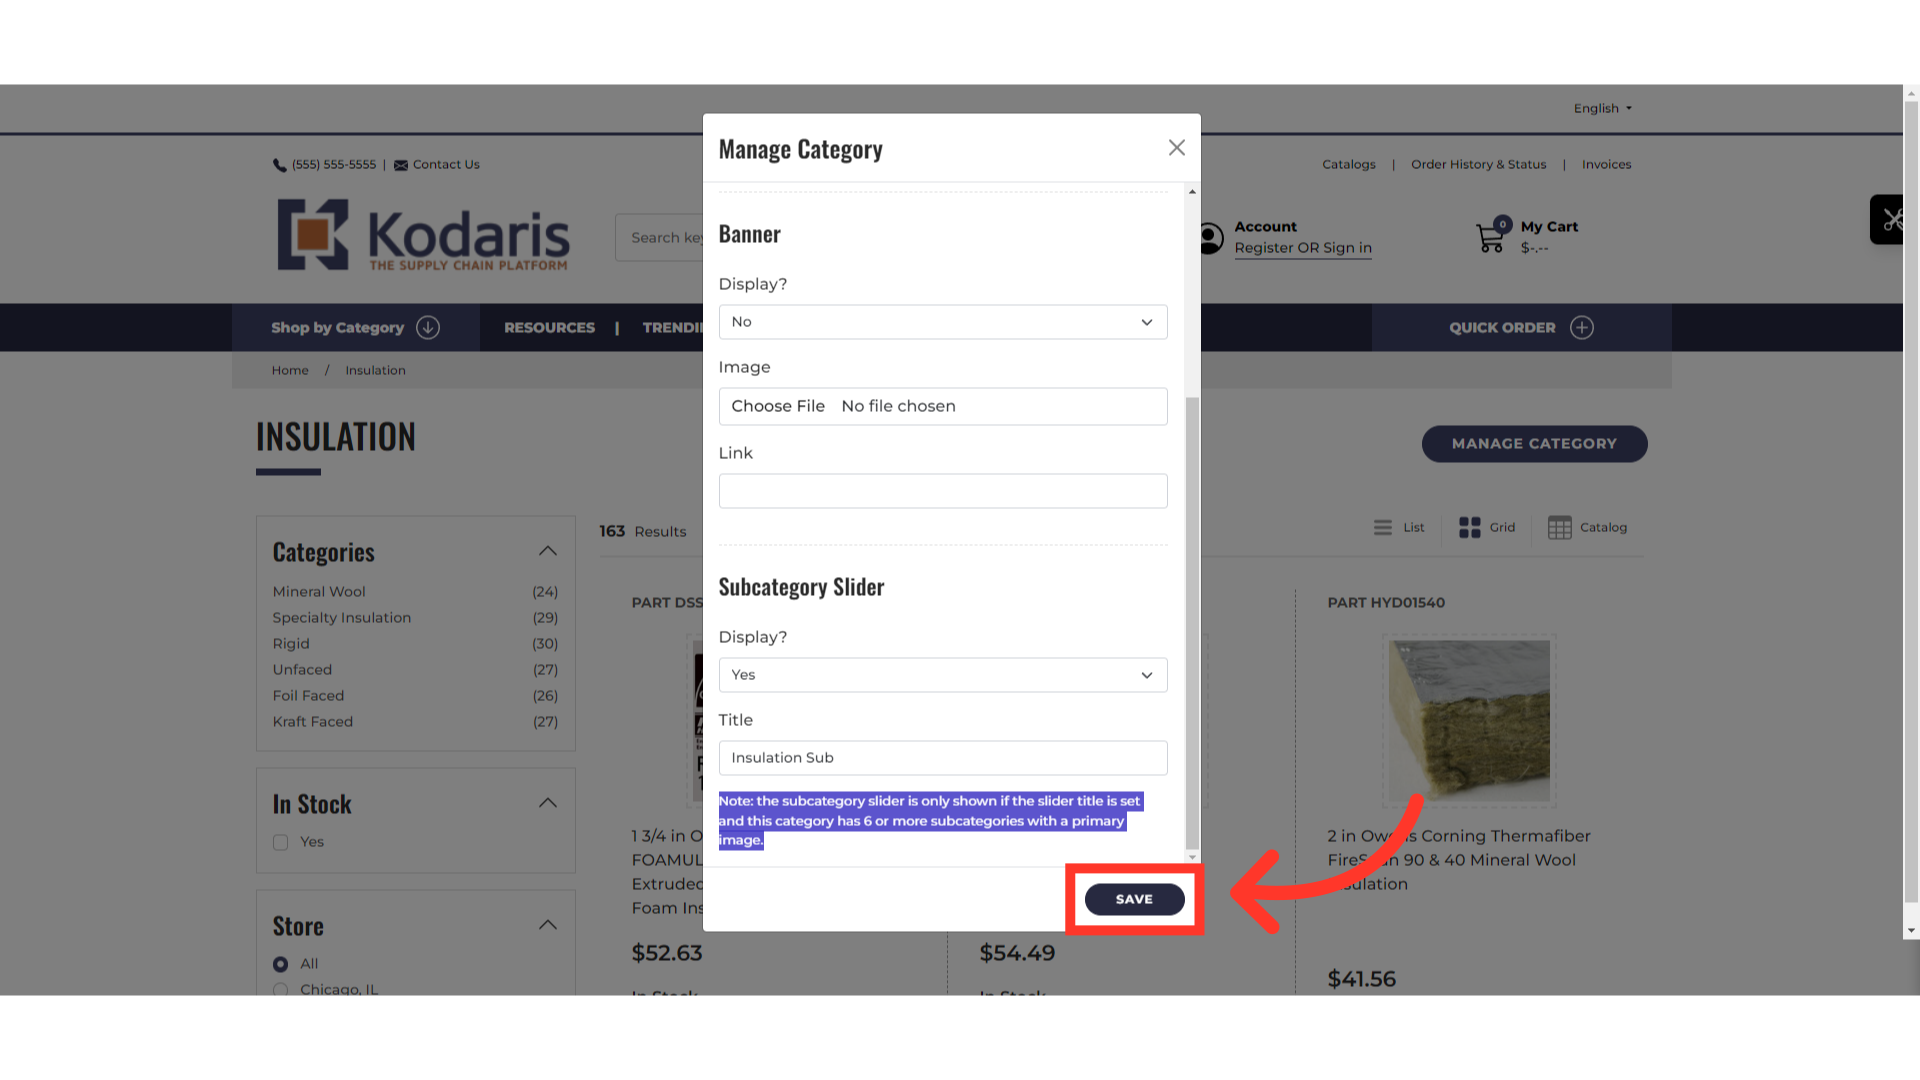
Scroll down to the "Subcategory Slider" section. Then set the slider to display to "Yes". If you would like, you can customize the slider name by updating the text in the "Title" field.

Save the changes made by clicking on the "SAVE" button.
The slider will now display on the category page showing the subcategories.