Let's walk through enabling the deposit feature by company in the customer portal. In order to do this - you will need to be sure that the deposit feature is enabled globally. We will start by navigating to the "System" section in the Operations Portal.
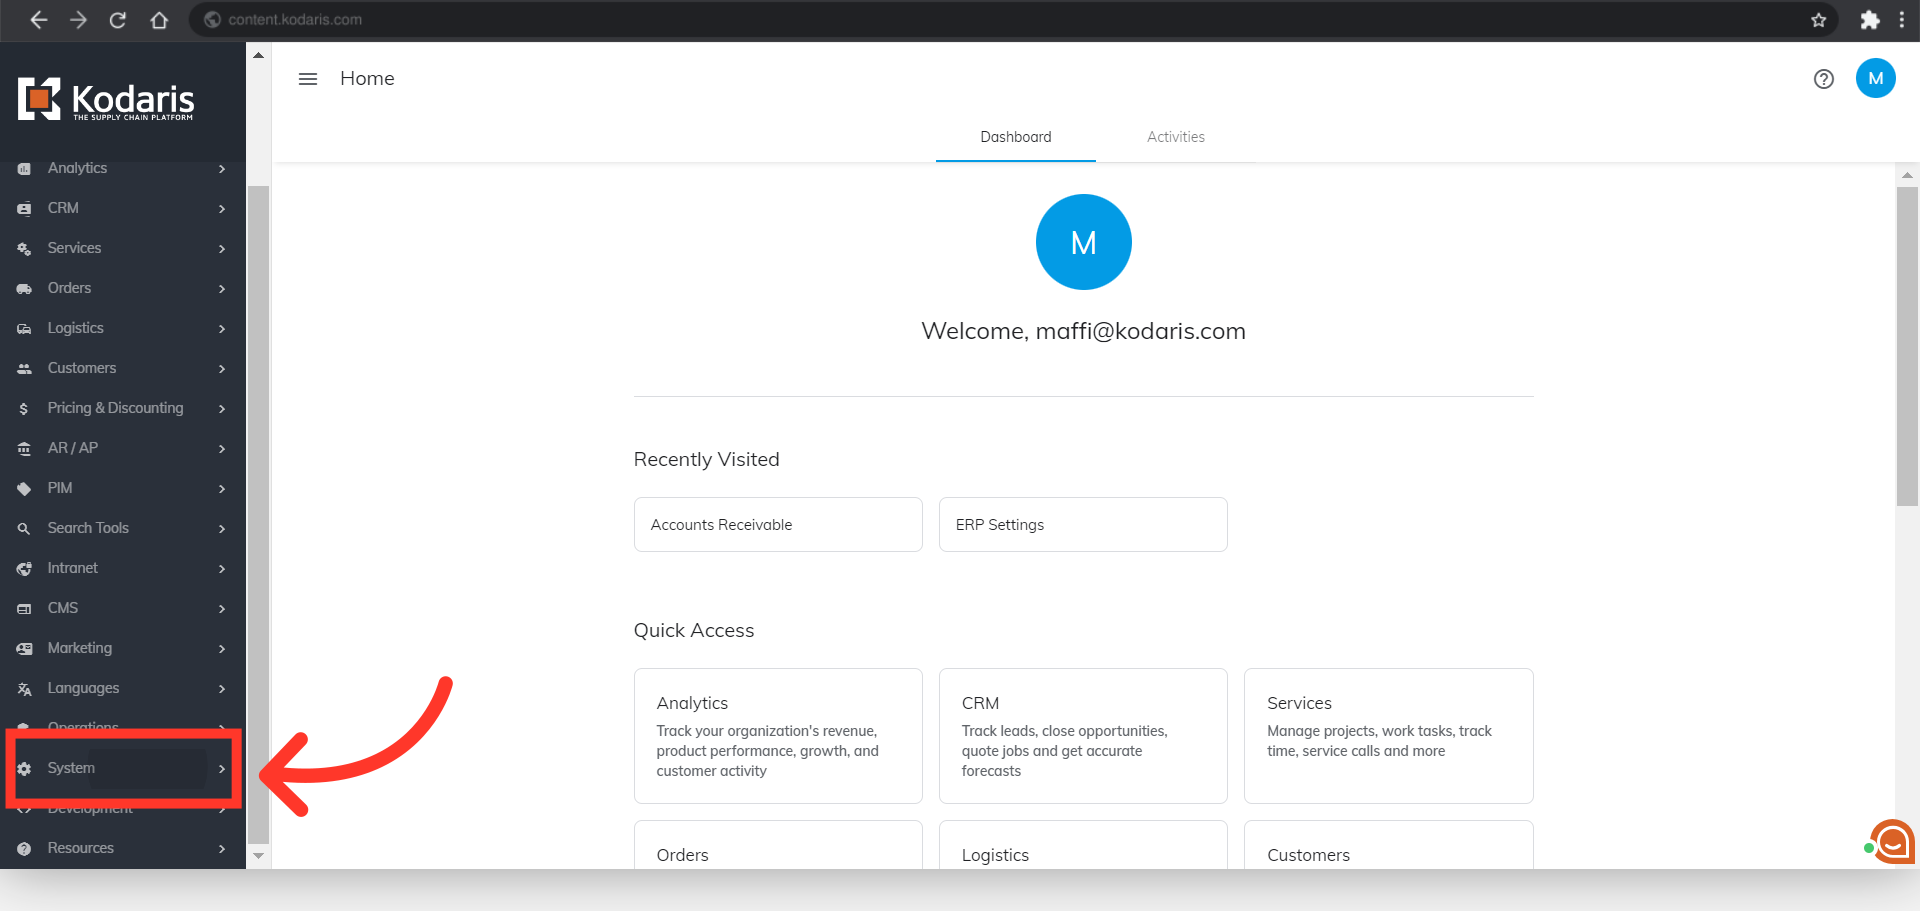
Then, click "Settings". To access and edit settings, you will need to be set up either as an “administrator” or a “superuser”, or have the following roles: “settingEdit” and “settingView”.

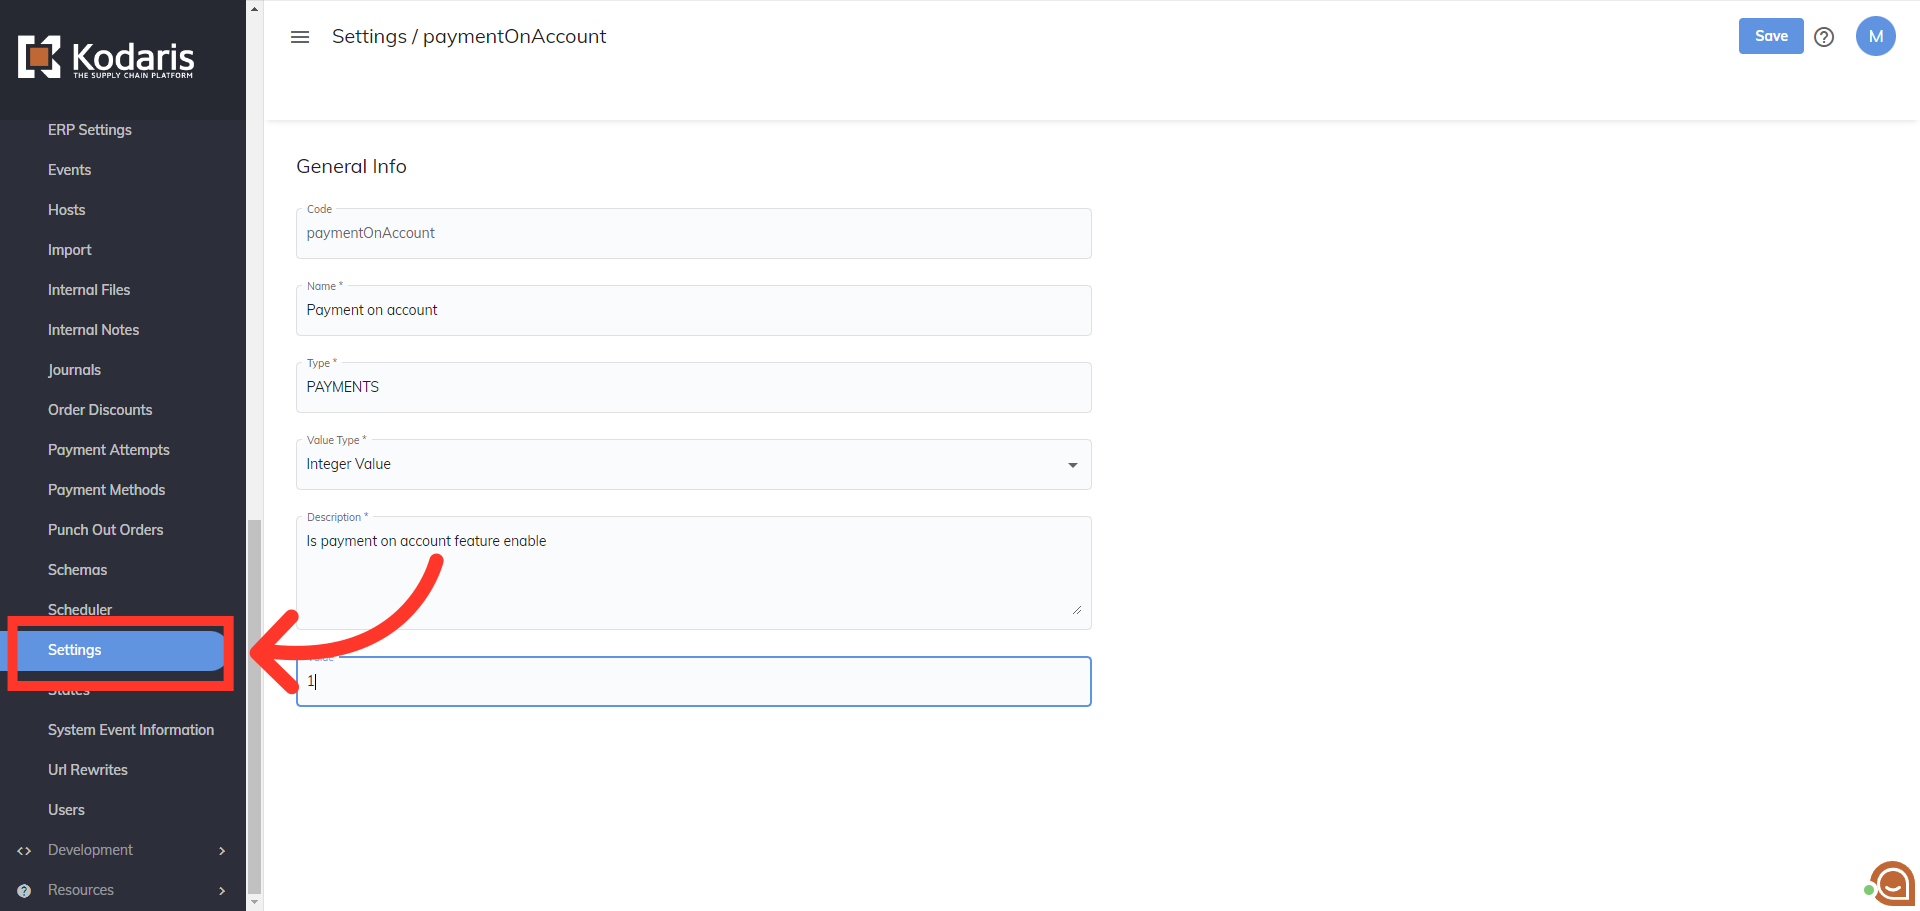
Search for the "paymentOnAccount" setting.

Click the more details icon to go into the setting's details.

Click the "Value" field and update the value to "1".

Then, click the "Save" button to save your changes.

The next setting that will need to be turned on is "enableCompanySpecificSettingForDeposit". Go back to the "Settings" screen.
Enter "enableCompanySpecificSettingForDeposit" in the "Search" field to search for the setting.

Click the more details icon to open the setting's details.

To turn on the setting, change the value to "1".
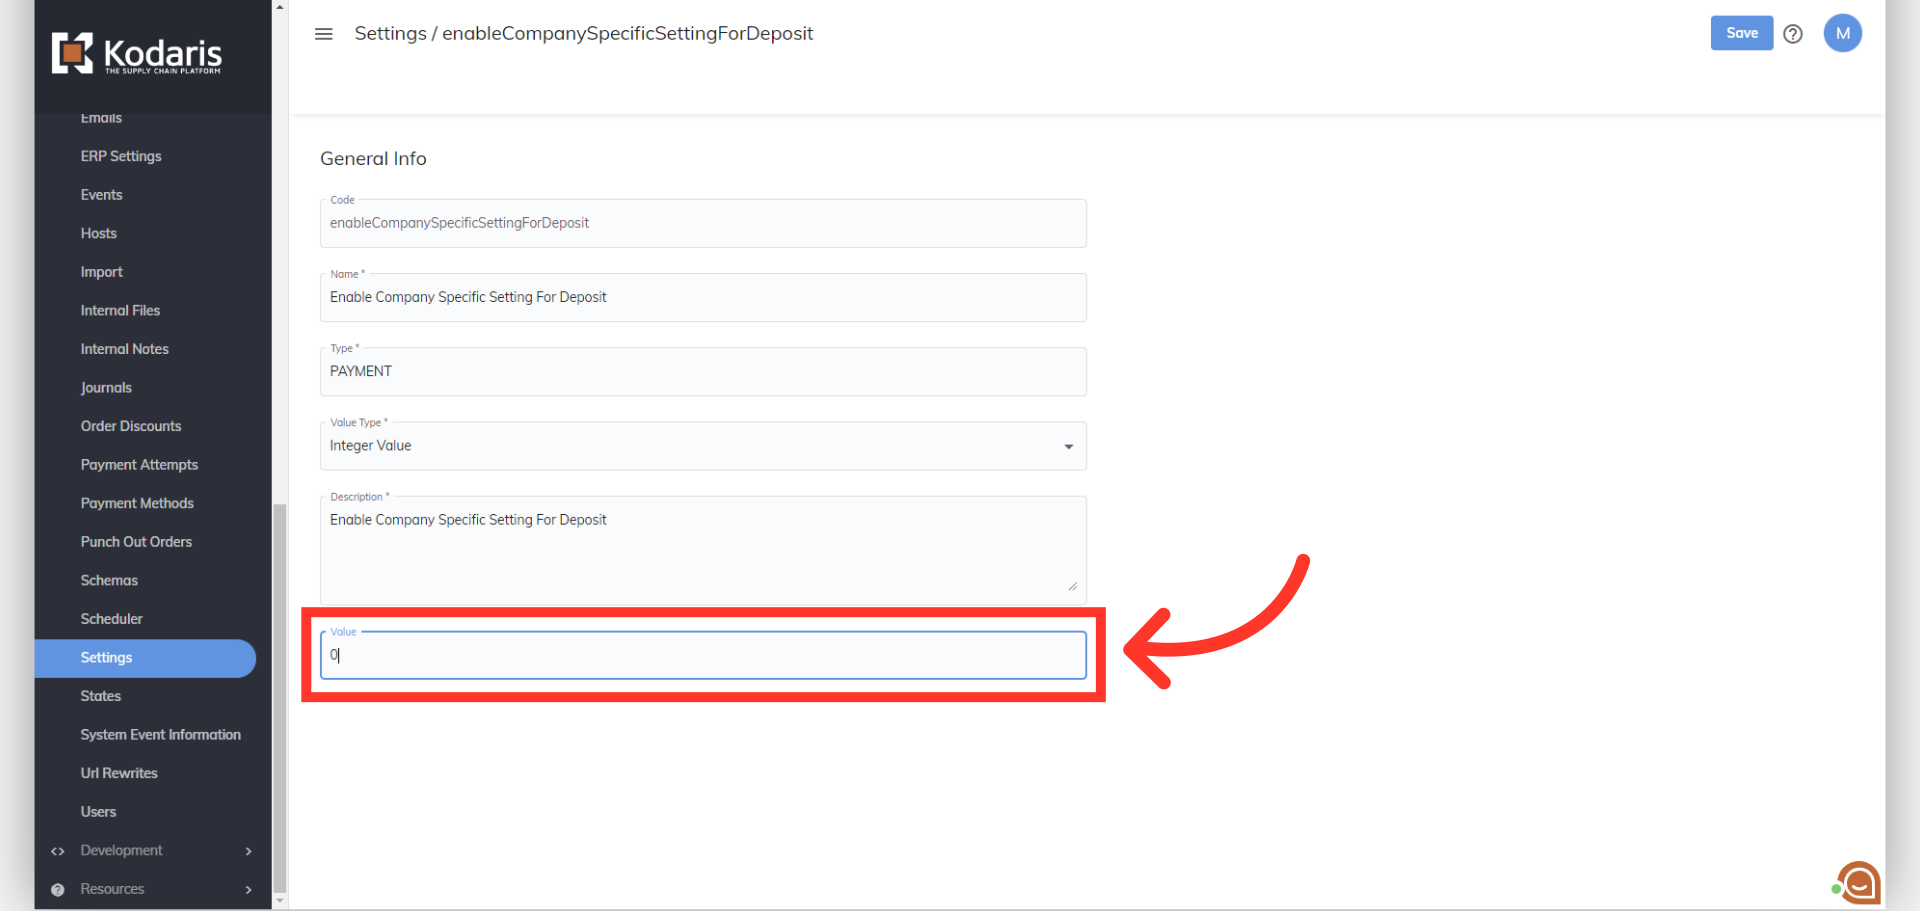
Then, click the "Save" button to save the changes that were made.

Now to enable the deposit feature on specific companies, select "Companies" under the Customers section.
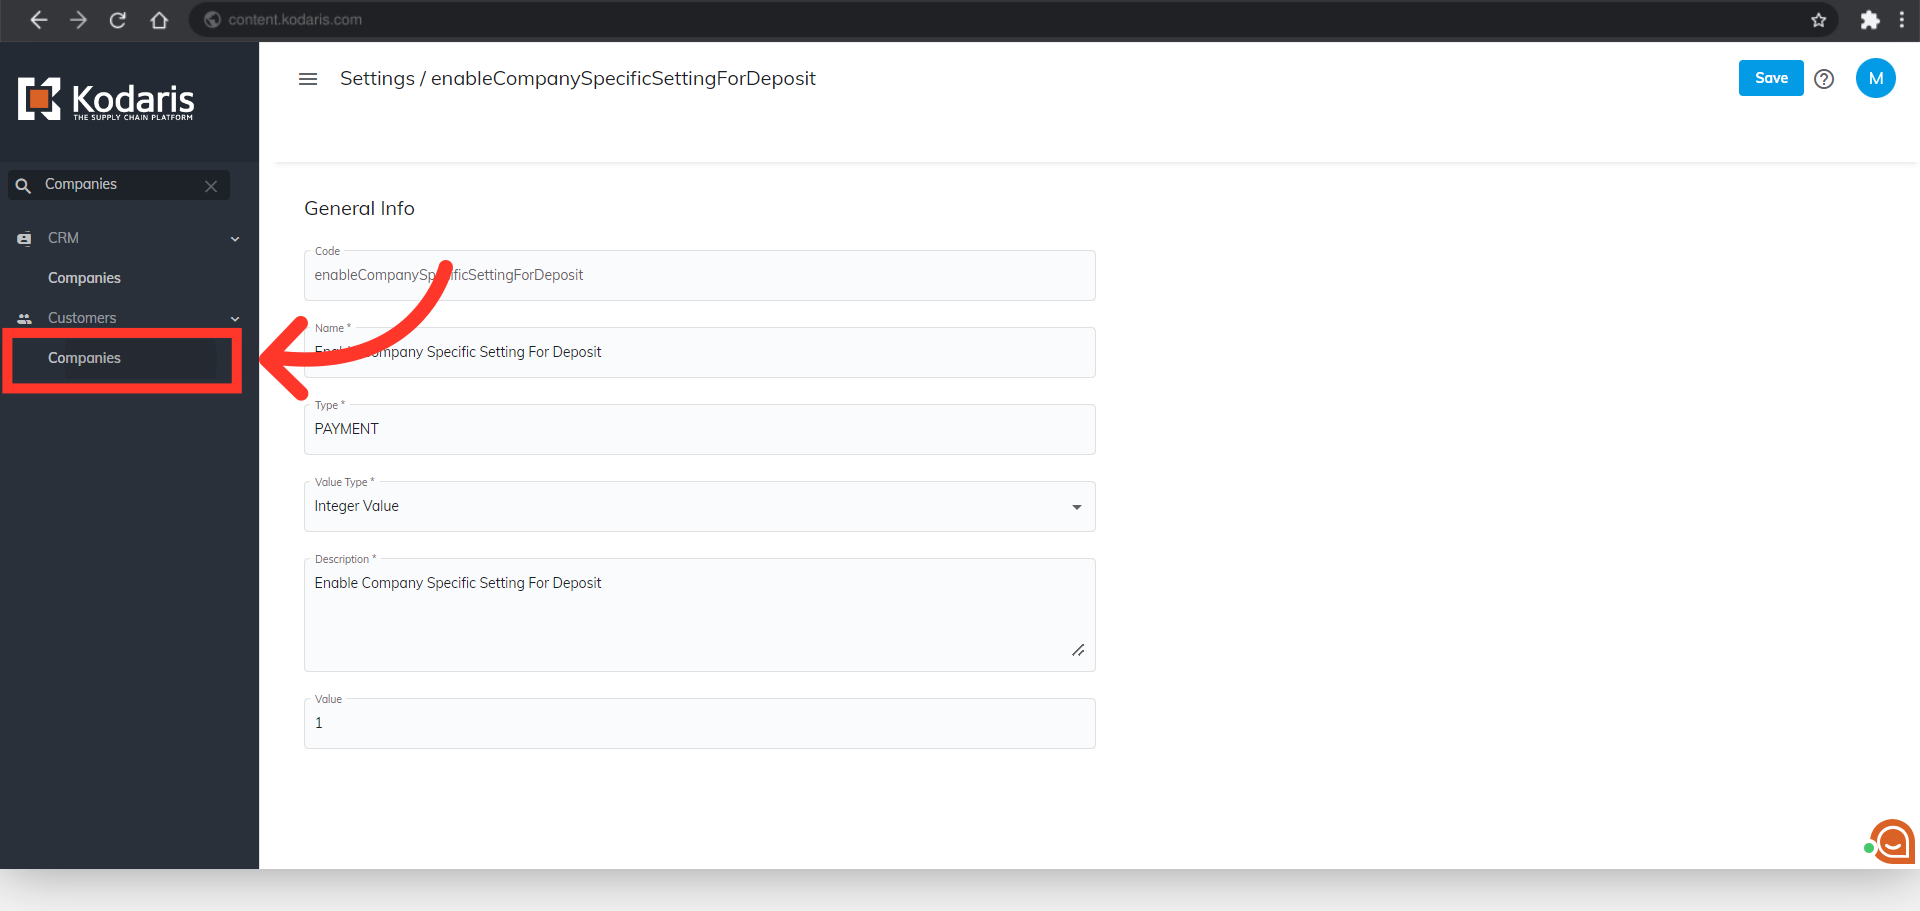
We will need to add a custom setting for any company that should have the deposit feature available in their customer portal. You can enter the company name, code, or a keyword to search for the company.

Click the more details icon to go to company's details screen.

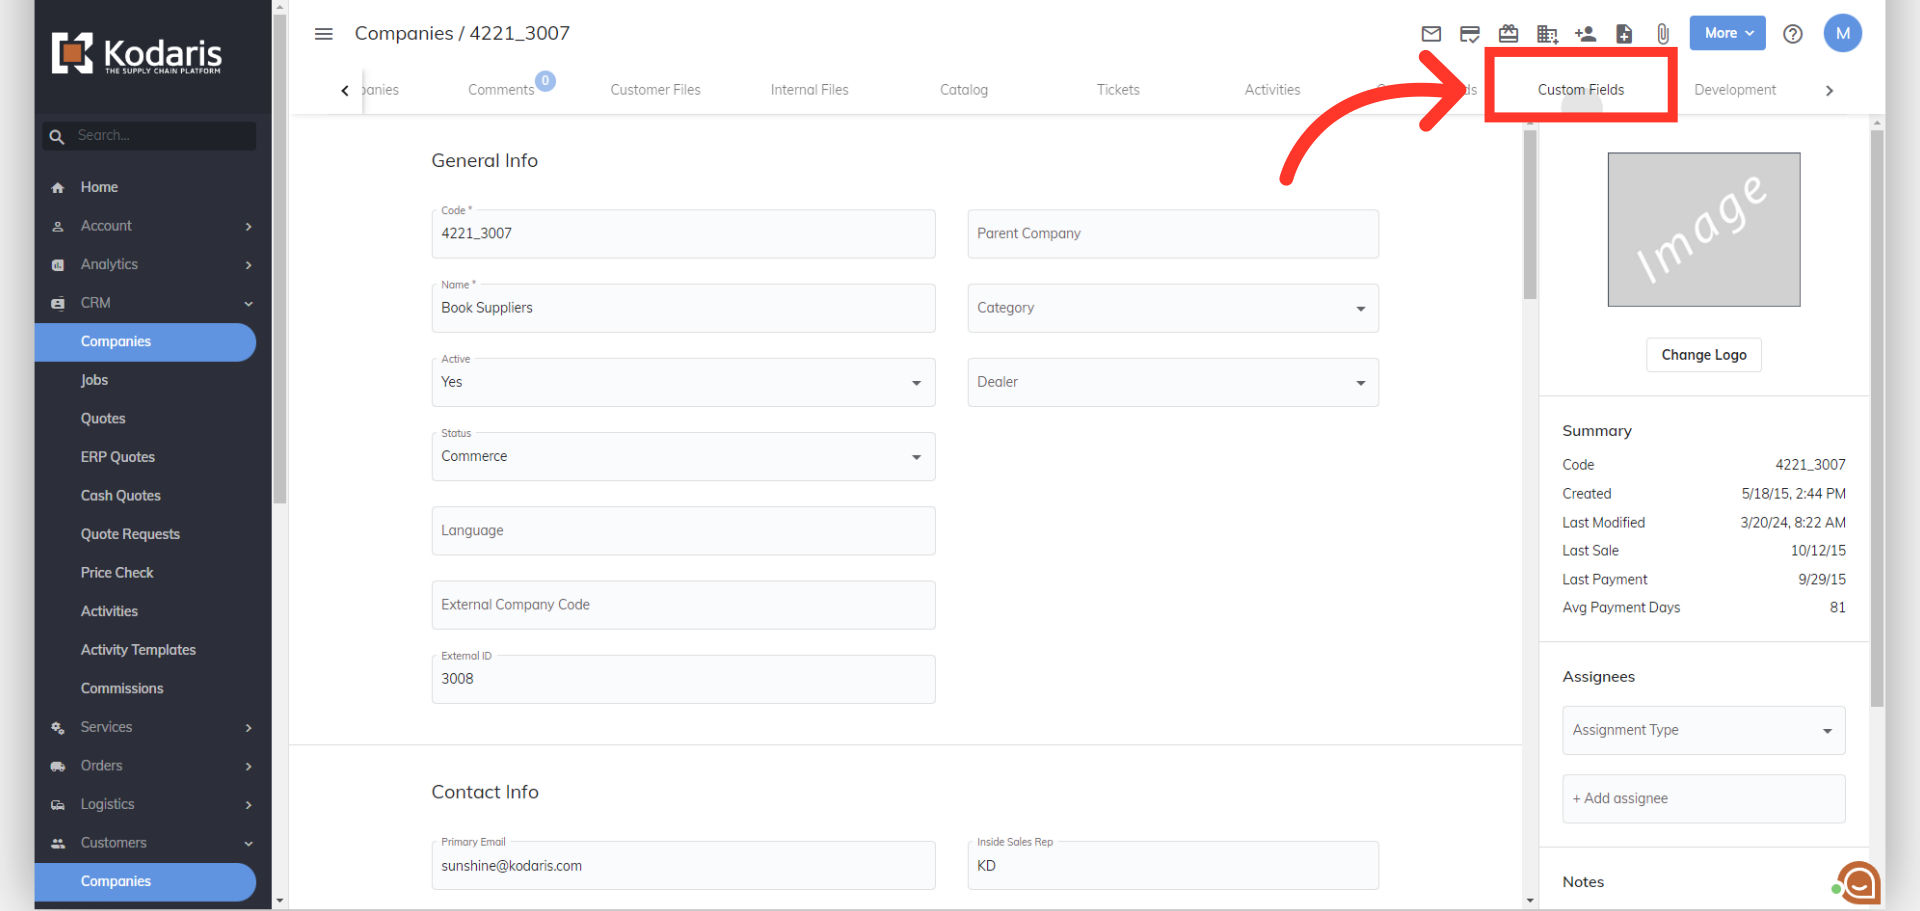
Scroll the tabs until you find the "Custom Fields" tab.

Once found, click the "Custom Fields" tab.
The "paymentOnAccount" setting will need to be added to the company.

Each field will need to be filled in. Code = paymentOnAccount Name = paymentOnAccount Description = Payment On Account Type = Payments Value Type = interValue Value = 1

Once you're done, press the "Enter" key in your keyboard to add the setting.

The setting has now been added, and the deposit feature has been enabled for this company. In order for customers to access this feature, they will need to be assigned the accounts payable role.
